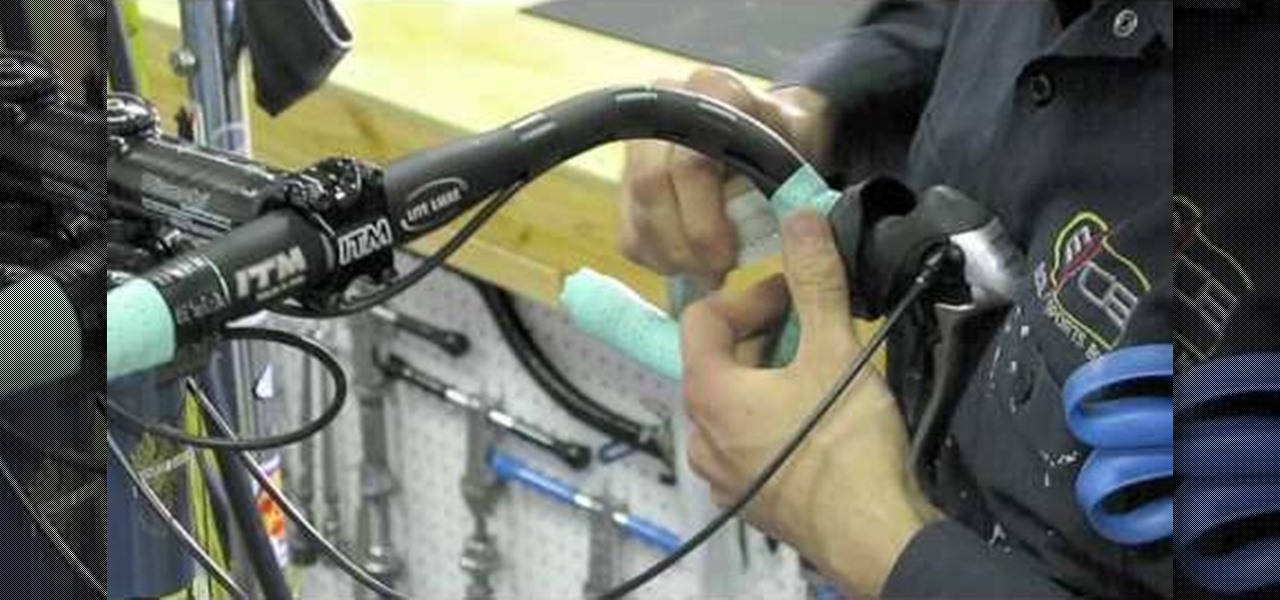
In this video we learn how to wrap handlebars. First, open up the tape and remove the adhesive. Place the tape on the bar and then tuck in one half as you work your way up the bar. The adhesive should be on the bars and there should be tension on them so they lay flat. Once you finish wrapping this, make sure they are tight and secure. Check your work to make sure you didn't leave any gaps and the curve is smooth. Don't pull too hard if you are working with cork tape, this will cause damage t...
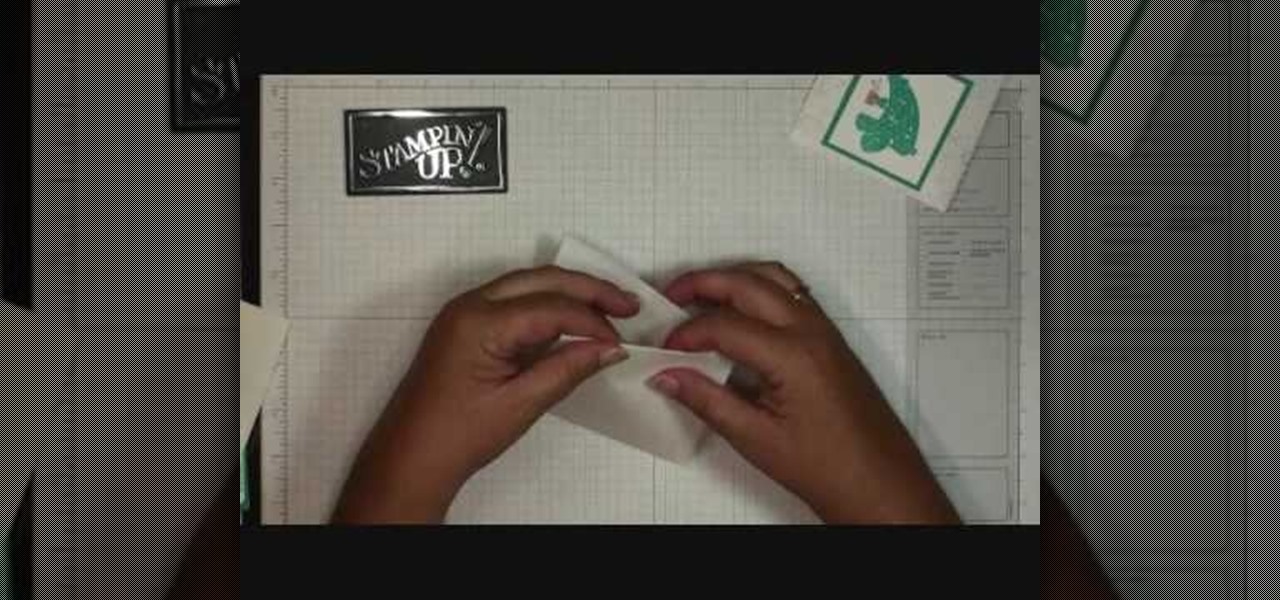
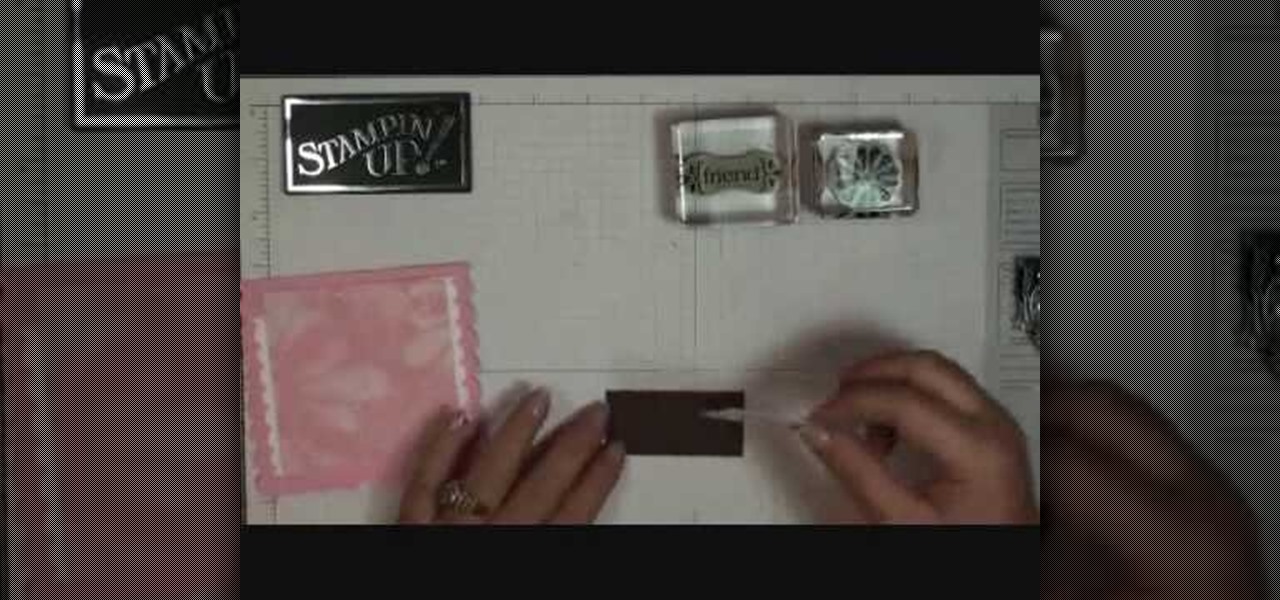
In order to make hot cocoa holders with Stampin' Up, you'll need the following: a whisper white Stampin' Up envelope, scissors, a paper cutter, cocoa, a jumbo wheel, ink pad, adhesive, stamps, ribbon, pen, stapler, glitter, and card stock.
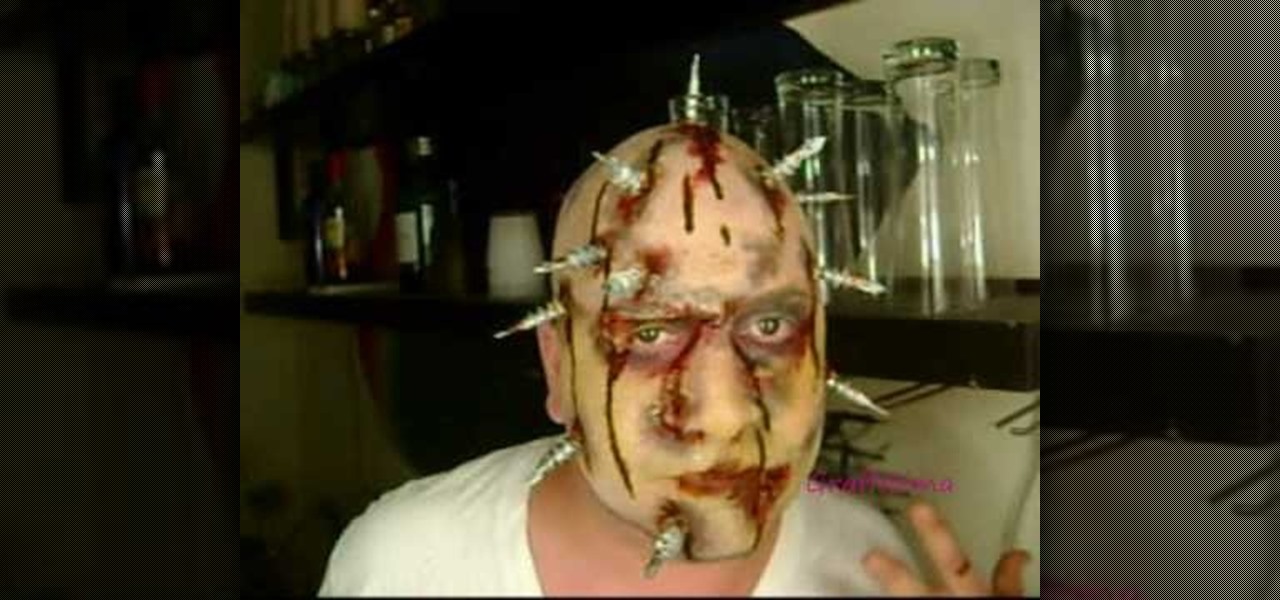
This fantastic Halloween special effect makeup tutorial teaches you how to create a bloody bolt look using mostly MAC products. The artists teaches you how to create texture and create a distressed look with the base and color makeup. He applies the adhesive and attached the scar effects and adds the "bolt props" with the adhesive. He uses a purple and yellow pigments to distress the skin further. He then takes fire red to create the blood. He also shows you how to make realistic blood with s...
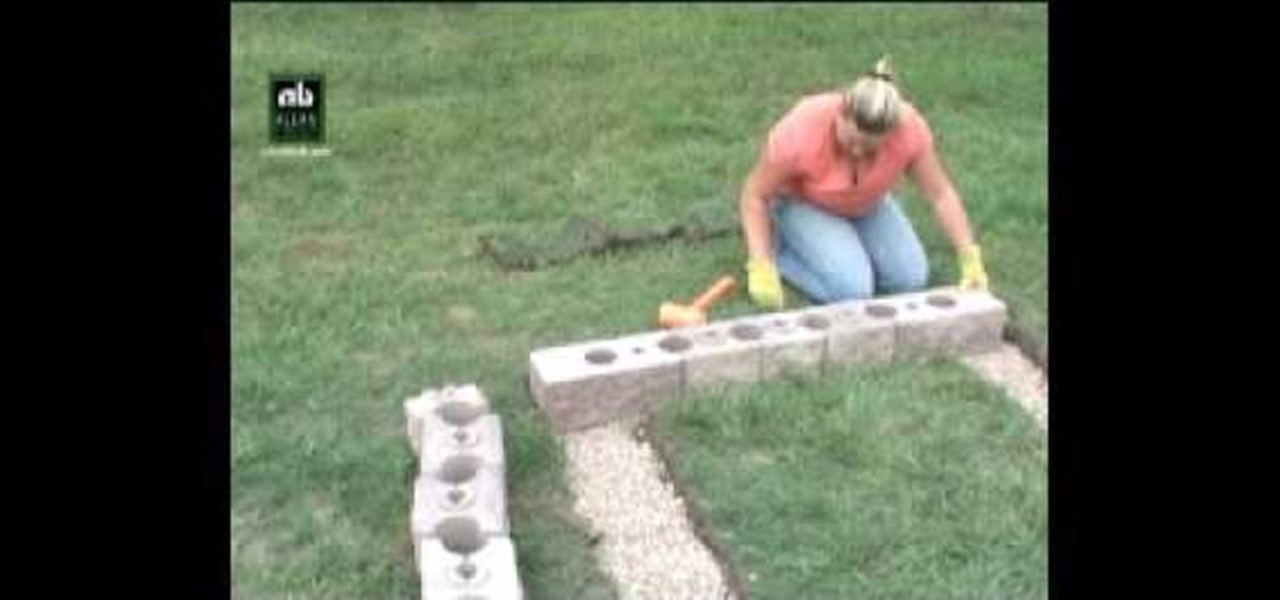
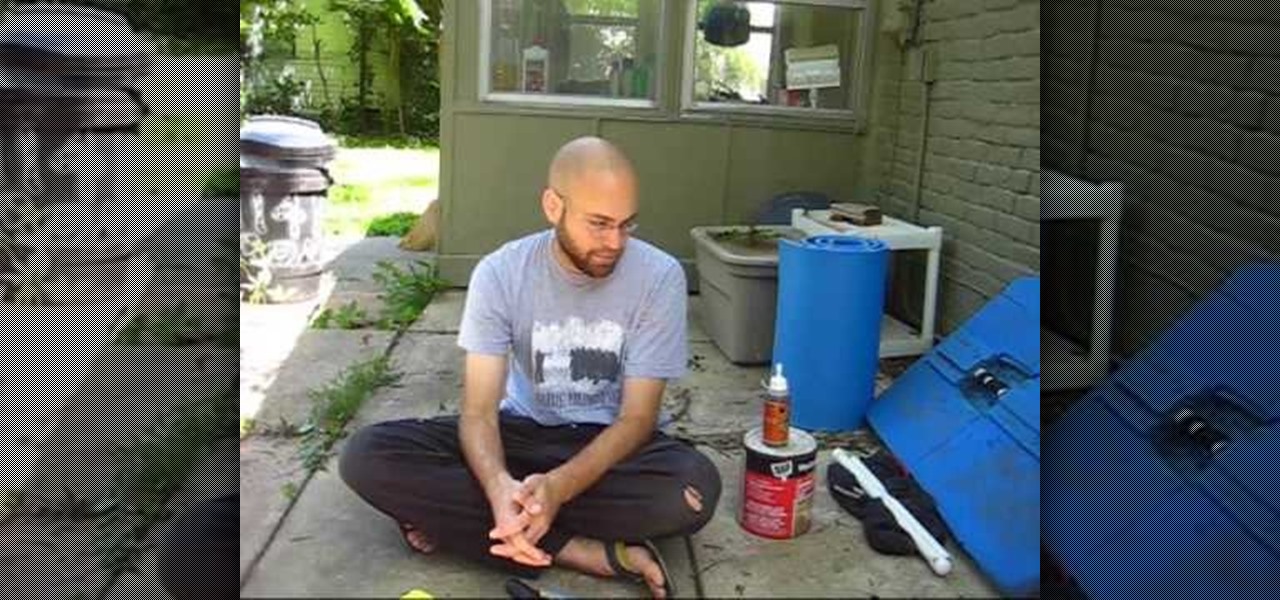
blockvideos shows how to build a cinderblock compost bin for recycling needs. The builder will need 20 corner blocks, 36 AB York blocks, 12 AB Dublin blocks, 17 wall caps, 5 fifty pound bags of crushed rock, and and 2 tubes of masonry adhesive. To begin, find a location to build the compost bin and lay out the first layer of back wall and side wall blocks, lining them up straight. Check the dimensions of the layout. Once confirmed accurate, use a shovel to mark the grass around the blocks. Re...
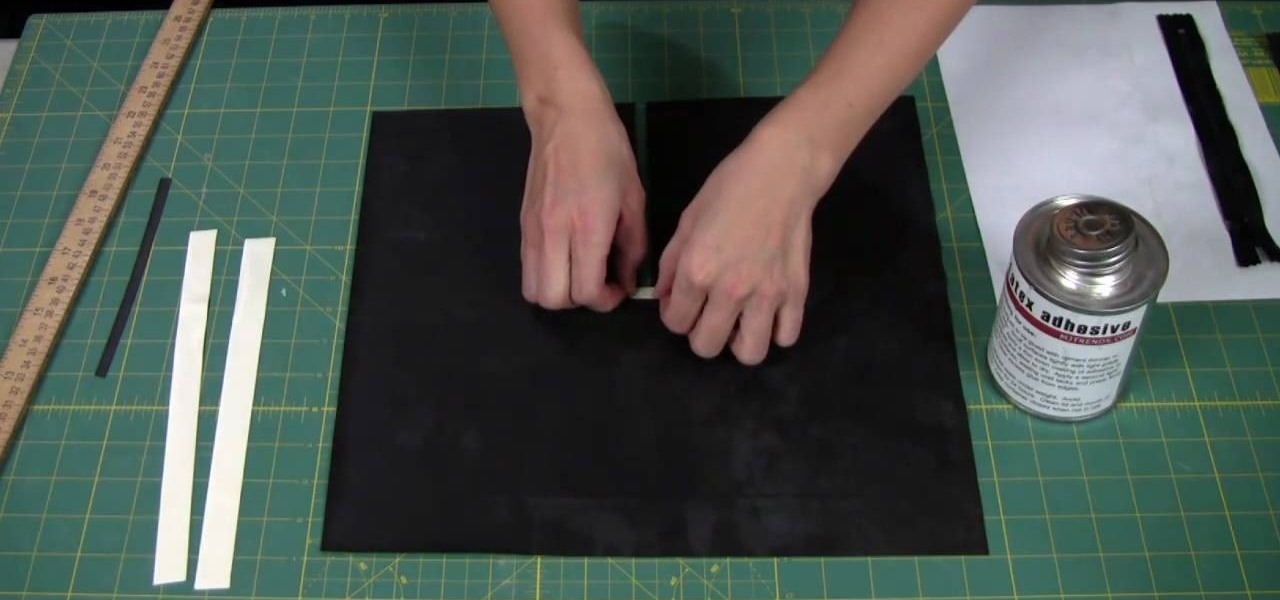
In this video, we learn how to add a zipper to a latex garment. First, apply glue to the zipper, using an ammonia based adhesive in one coat. Next, take a small paint brush from any store and apply a thin layer of adhesive to the zipper. The top will take about 45 minutes to dry, then turn it over and apply another layer of glue to the back. After this, cut two 1/2" strips of latex a little bit longer than the zippers. Also cut a 1/4" wide and 1" long piece of latex as well. Now, apply these ...
In order to make a scallop square card with Stampin' Up, you will need the following: a big shot, a large scallop square # 115950 Bigz Clear die, stamps, adhesive, design paper, mini glue dots, decorative ornaments, and card stock.

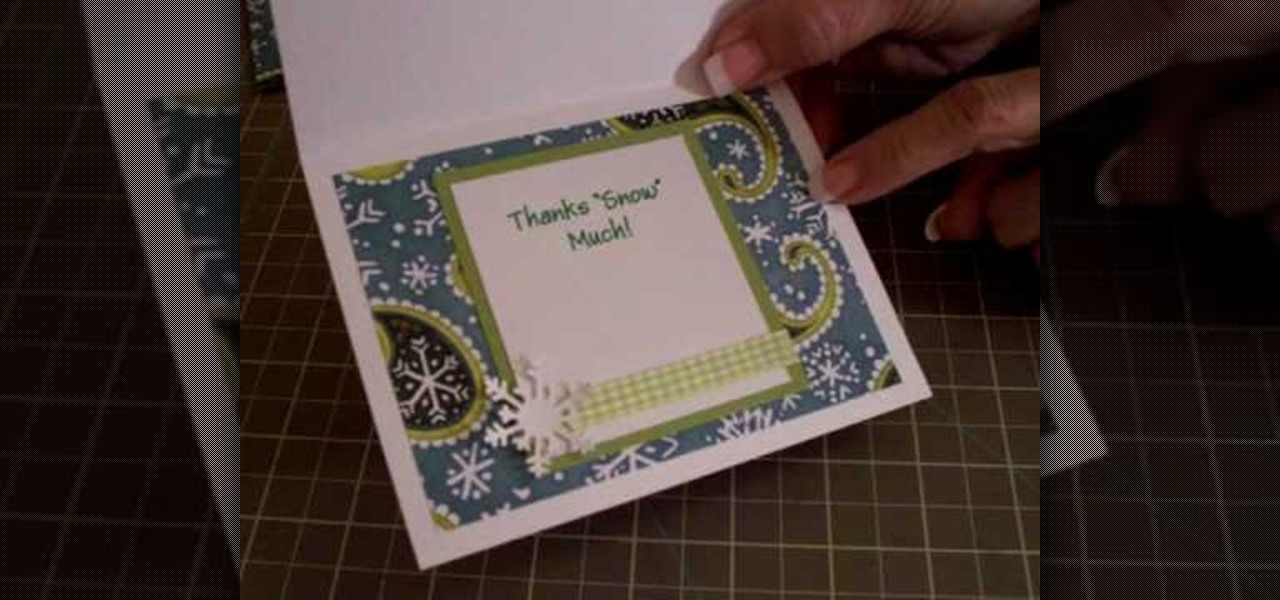
In order to make a thank you card for Christmas gifts, you will need the following: Winter Woodland cartridge, glimmer misty, pop dots, adhesive, gingham ribbon, and pattern paper.
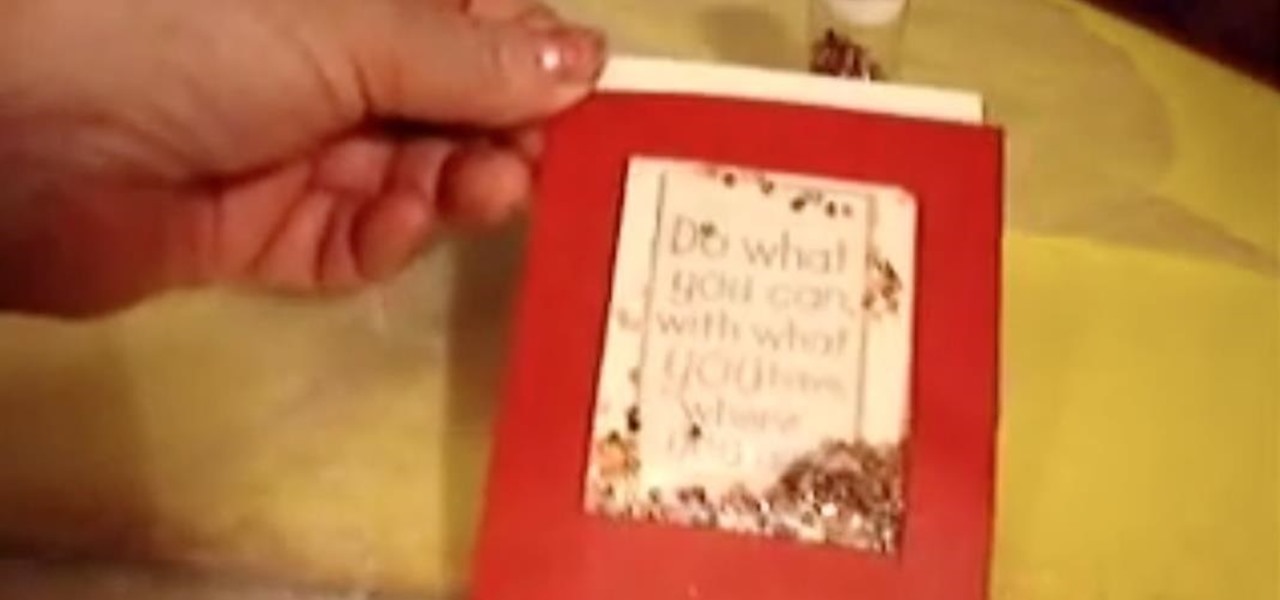
In this tutorial, we learn how to make a paper flower using paper scraps. To make this, you will need: 3 pieces of small pink scrap paper, 1 piece of small green scrap paper, 1/16" brad, adhesive, hole punch, ink, and a sponge. First, you will draw one different size circle on the 3 sheets of pink paper. Next, draw leaves onto the green scrap paper. Now, start tearing the shapes out of the paper leaving no pencil showing. Crumple the paper up several times, then get your ink and put it on you...
In this tutorial, we learn how to make a scrapbook shaker box at home. You will need: square card stock shape, another square card stock shape with a hole in the middle, and a piece of acrylic. First, place the acrylic along the piece of card stock with a hole on it and glue them down together on all four sides. Next, attach a journal entry to the center of the other card stock square. Now, line adhesive to the acrylic piece on three sides and stick the card stock to the adhesive. You can now...
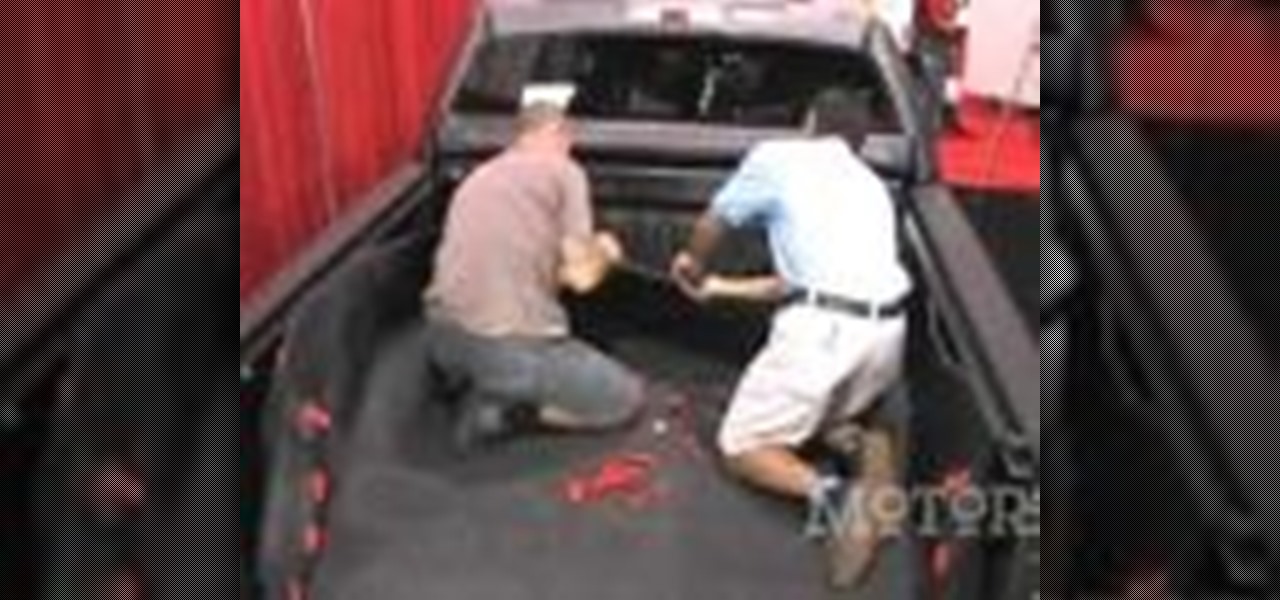
In order to install a BedRug pickup truck bedliner, you will need the following: a BedRug, Rubbing alcohol, and cloth rags.
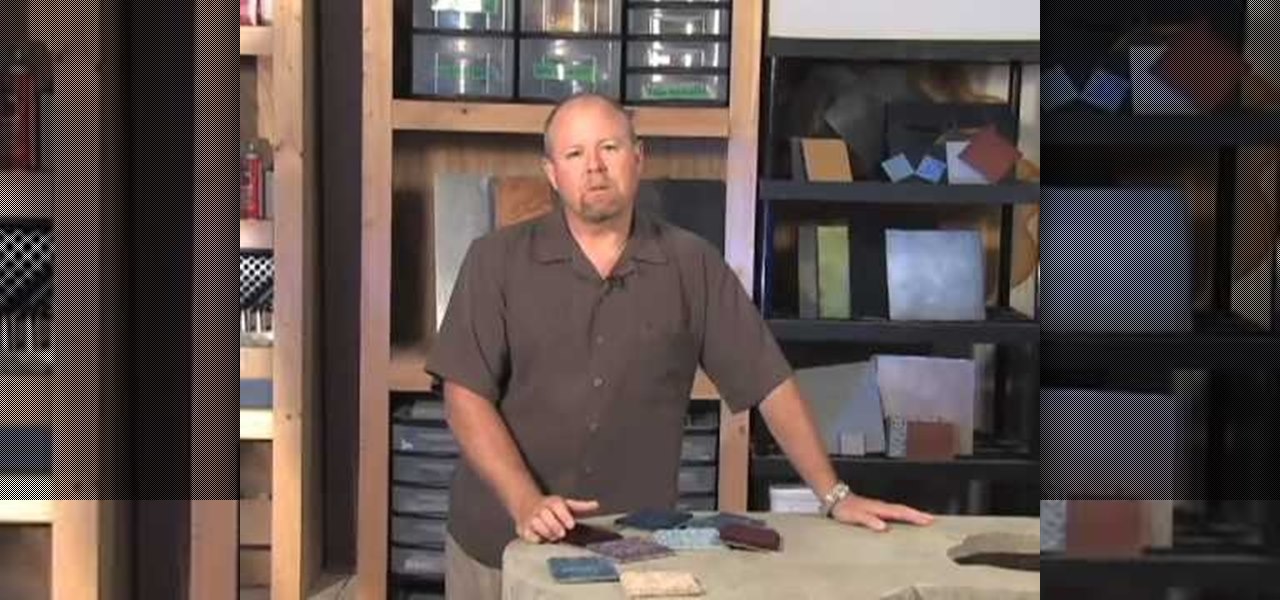
Bob Harris of decorative concrete institute explains how you can remove your tiled or carpeted flooring for a concrete substitute. He suggests when your removing carpeting that it can be very heavy and advises you to hire someone who can lift and carry it out, or rent a dumpster for easy take away. He states that after the carpet is removed you'll need to remove the adhesive from the floor. You can do this by stripping or grinding, and at other times the use of harsh chemicals may be needed. ...
Terri Sproul shows how to use a really cool technique to make an embellishment for a card. You first need to find a roll of aluminum that is self adhesive. Work on the back of the aluminum, the side with the adhesive. Use a stamp to lay out your design on the back, by stamping the image on the back. Then you must trace the outside of the image. Use alcohol inks to add color to the aluminum. Then she cuts the image out with her scissors. Then she uses a glue dot to place the piece on a card sh...
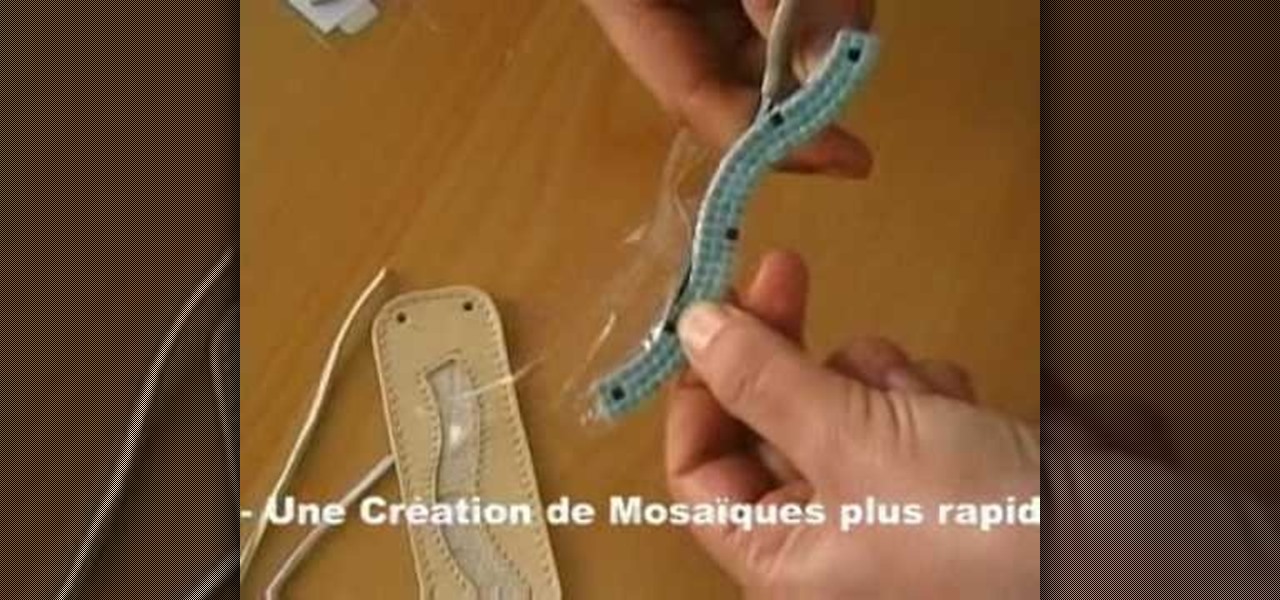
Alea Mosaic shows you how create a beautiful stone-inlaid jewelry bracelet. This video clearly and concisely lays out the steps. First, you affix a pattern underneath clear adhesive foil. Next, you peel the the cover off to expose the adhesive. You then place the stones according to the pattern, and fix a transparent foil on top. Once that is done, trim the plastic from around the stones. Then, you apply glue to the bracelet base, then place the stones inside.
Here is a short tutorial for those of who wanting to build miniature scenery using a structure of layered foam. The adhesive not mentioned in the video is PL 300 foam. However, you can use any type of adhesive as long as its foam friendly. This two part instructional video provides easy and satisfying method of building miniature landscapes fro train sets, architectural models, and dioramas.
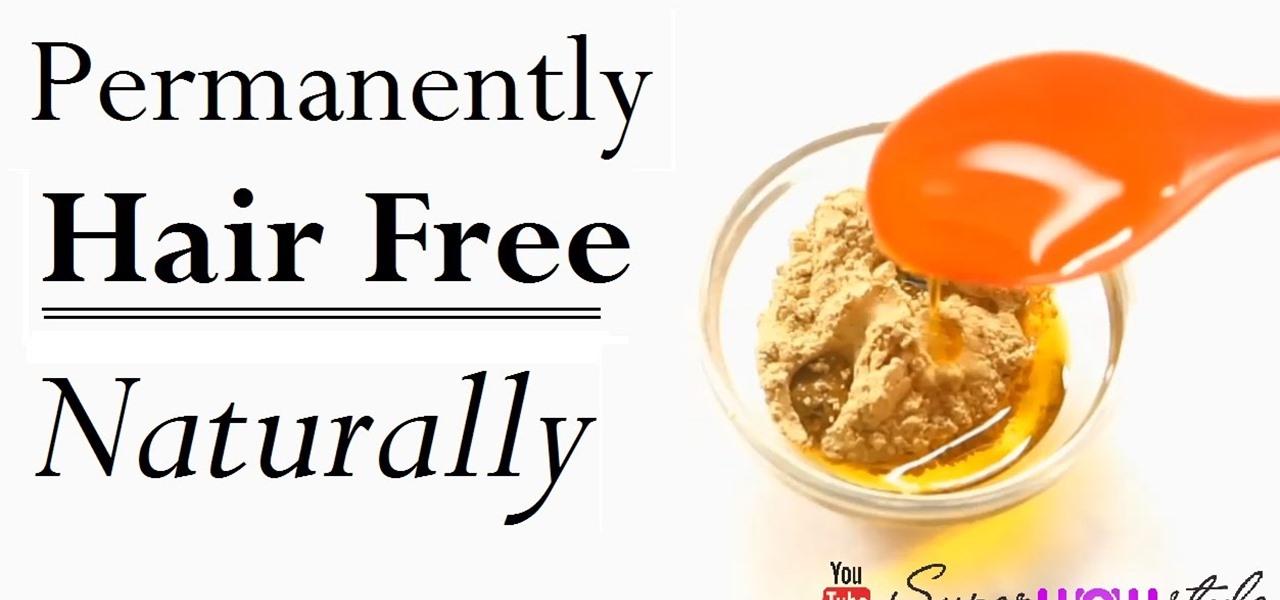
After 2 months of trial, I'm finally here to tell you a secret that WORKS!! A permanent hair removal secret from Burma - for natural hair removal permanently!
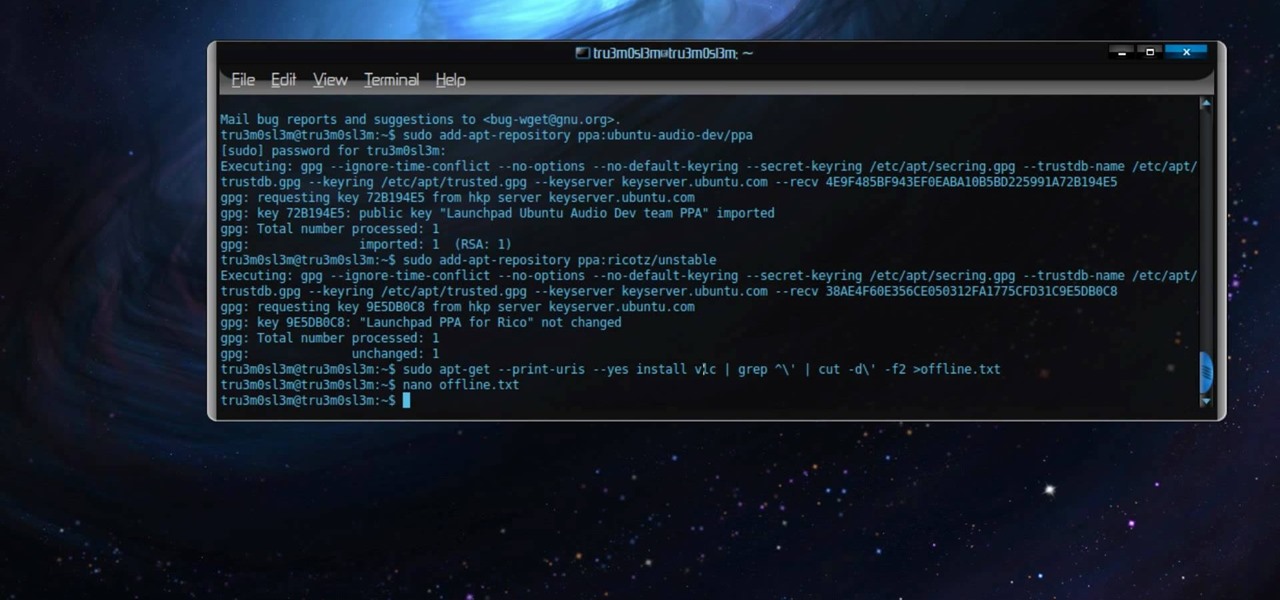
Permanent access to the internet might not always be possible for you and your Linux system, and this computer operating system could be a bit tricky for beginners, but fret not, help is here. Check out this video tutorial on how to offline package install and update on Ubuntu Linux.
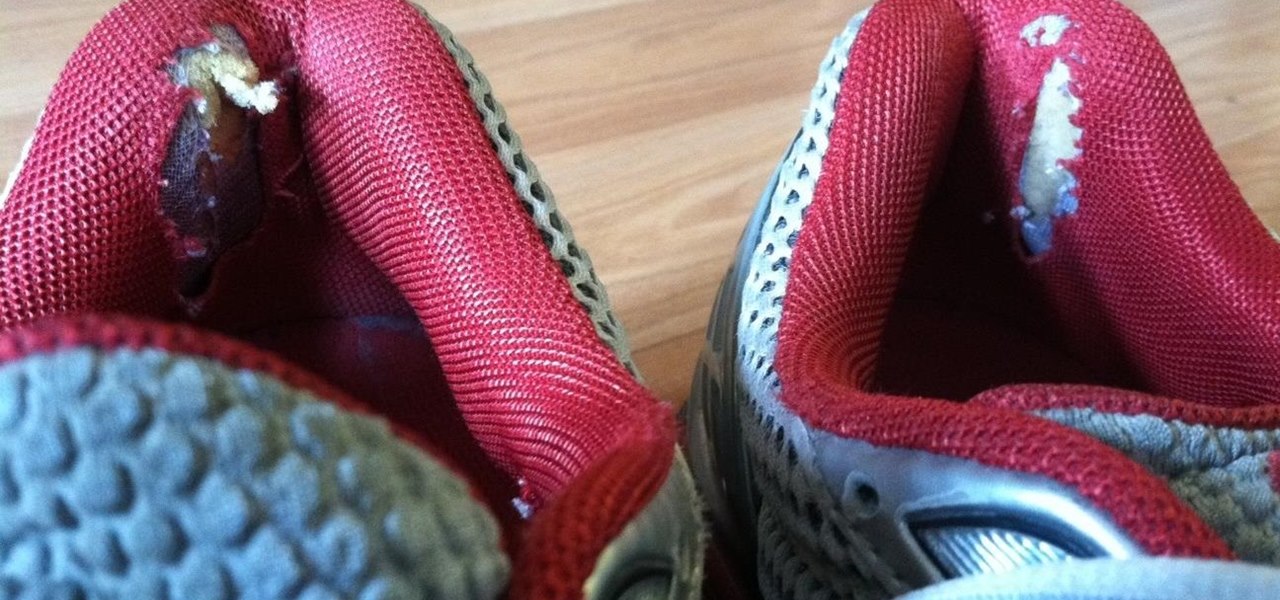
The worst thing about running shoes is that they're expensive, but you're supposed to abuse them. Even if you're not a runner, everyday wear and tear takes its toll. No matter how well you take care of them, if you use them enough, they're eventually going to wind up looking like this: And it's not just running shoes. I have a pair of Vans that I've worn for almost four years, and the heels are just about ripped all the way through.
Keep it clean, covered, and coated, and say goodbye to that scar from the get-go. You will need running water and mild soap, self adhesive bandages, antibiotic ointment, petroleum jelly, sunblock, and silicone gel sheets. Warning: See a doctor immediately if your cut is extremely deep, won't stop bleeding, or appears infected.
Updating an old lampshade is a great way to brighten up a corner, freshen up a room, and lighten up your life. Learn how to re-cover your lampshade with this tutorial. All you need is fabric, spray adhesive, fabric glue, ribbon or cording to easily cover your lampshade at home.
This tutorial shows you how to make a fun boffer shield out of foam and cardboard. You'll need four pieces of corrugated cardboard cut into 18 inch diameter circles, a craft razor, spray adhesive and paint.
With KipKay, you can learn how to build an underwater camcorder housing and you need 5200 Marine adhesive sealant. You can use industrial primer to color the box grey which would be a nice finishing touch. He says it'll only cost $10, but find out for yourself.
In this tutorial, we learn how to fill out a Canadian permanent resident application. Before you start, make sure you have all your personal information with you. After this, begin the application by filling out all the different sections. You must answer every question on this application or it will be deemed incomplete. You will be asked your address information, employment information, family information, and many other things. When you finish you application, you may be asked to provide a...
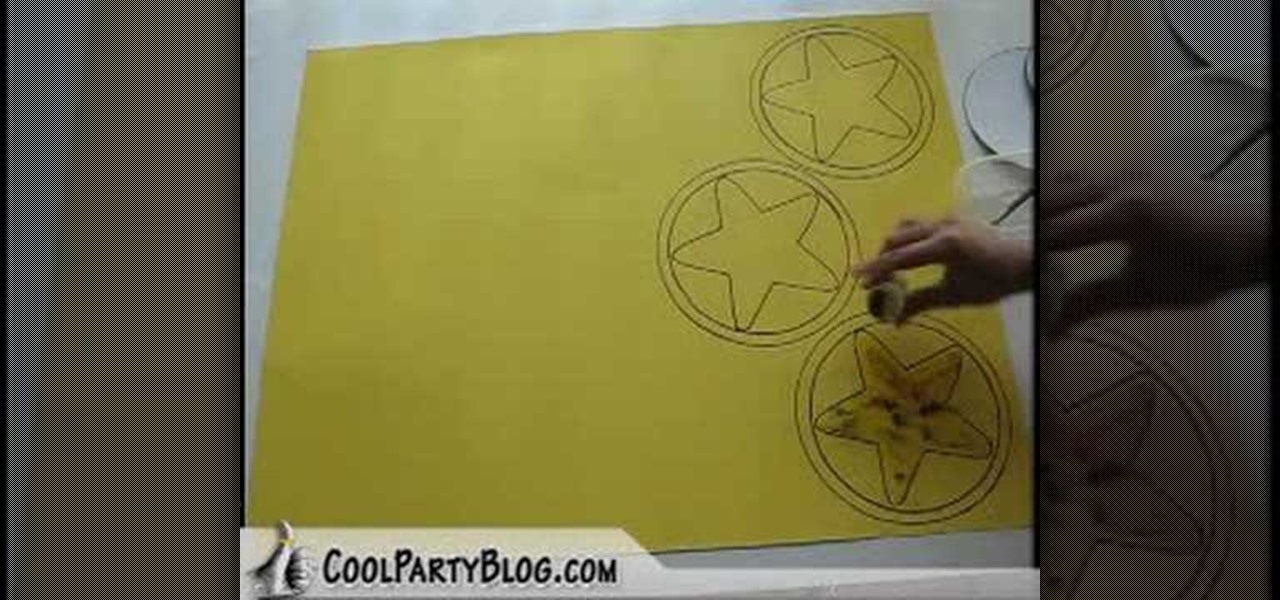
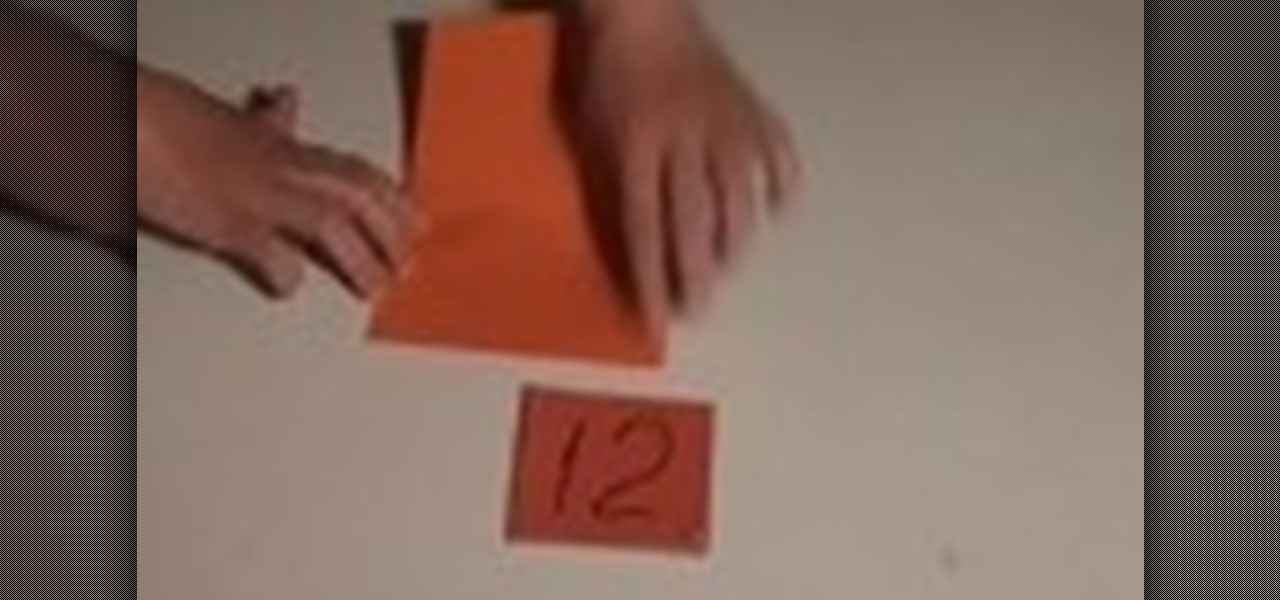
In this video, we learn how to make Mario Party star coin decorations. First, trace templates for the star coin onto a large piece of gold paper. You can get these templates from CoolPartyBlog. After you have traced the entire outline, retrace using a permanent marker, you want your lines dark and full. Continue doing this for all of the coin stars. Now, take the star template and trace it into the inside of the circles with the permanent marker. When finished, add glitter paint or loose glit...
In this tutorial, we learn how to get a Canadian Permanent Resident card. The residence card will identify you and your name as a resident of Canada. If you do not have a card when entering Canada, you have to obtain a new PR card within 30 days and have a new Canadian address. If you need to replace or renew your PR card, you must file an application as soon as you lose it. This information will need personal information and residency information. The fee is 50 Canadian dollars. If you need ...
Danny Lipford and Allen Lyle demonstrate how to turn an old door into a desk. First, remove the door hinges. Then, fill the biggest part of the voided hardware holes with wood and seal them with bonding adhesive. Don't leave too much excess bonding adhesive on the door or else you'll have to sand it off once it's dried. You may need at least two coats of bonding adhesive to get the surface level. Cut wood for the sides of the desk and then run them over a router. Sand down the door and the ne...
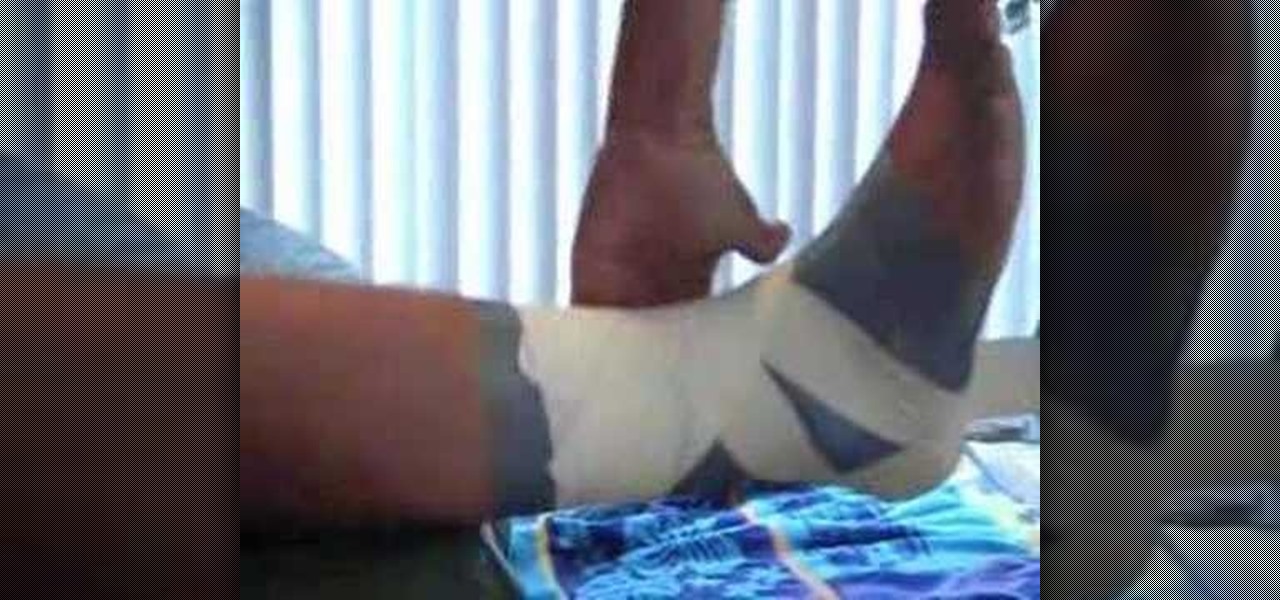
Use tough skin spray adhesive, under wrap or pre-wrap, athletic tape to wrap an ankle. Position ankle in 90 degrees of dorsal flexion. Spray the adhesive to insure tight taping. Heel and lace pads are placed over tendons. Pre-wrap is applied, the goal here is to apply anchors so adhesive from tough skin will adhere to tape. Three layers are applied working towards the calf. Apply heel lock tape from the calf towards the heel, applying tension as you cross the bend in the ankle. The correct lo...
This instructional video shows you how to be creative and paint your shoes. You will need acrylic paint, paint brushes of different sizes, waterproof permanent markers, and spray lacquer. You should create a base coat with white paint. Draw whichever designs you want with a permanent marker. Next color the design with the acrylic paint. Using one color so your paint doesn't dry out. Fill in the background with whichever color you chose. Then spray with a lacquer and you are finished.
How far can I go without having permanent scarring and damaging to my ear lobes? This simple video shows you the proper technique to work your way up to a 0 gauge.
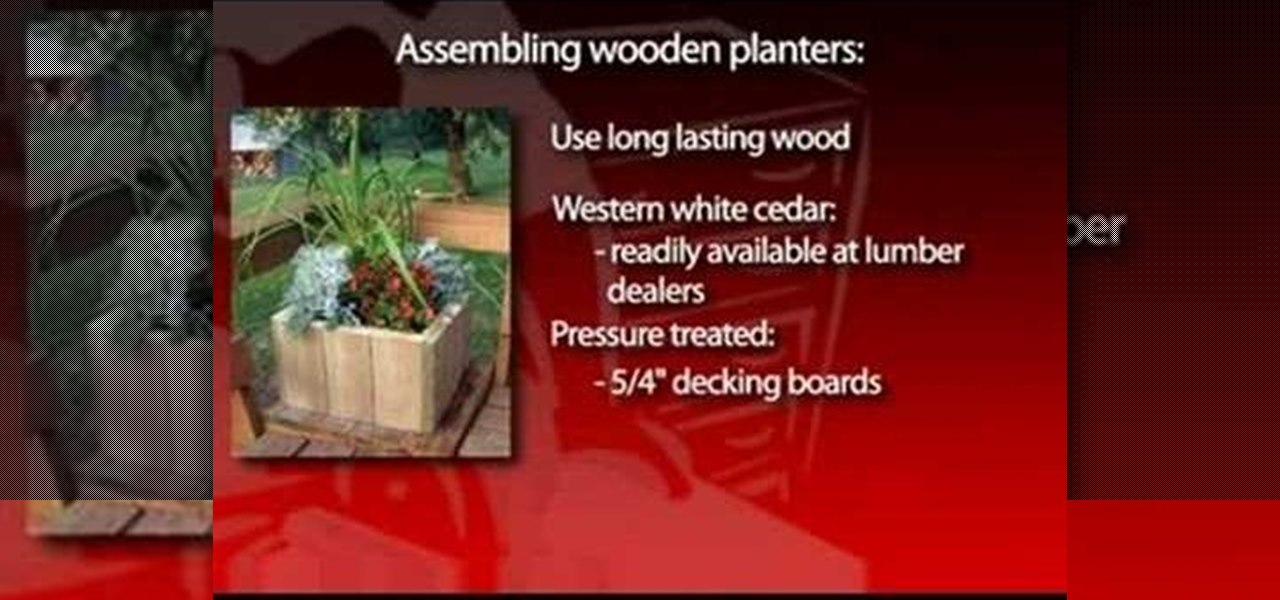
Planters or organized beds with planter borders can not only provide mowing definition, but contain the flowers and hopefully keep out weeds that may grow into them from surrounding areas. Backyard planters can be big or small, permanent or portable. The simplest planters consist of edging for flower or vegetable beds. In the past, many used recycled railroad ties for this, and they still add a distinctive rustic appeal to garden beds. In recent years, however, pressure-treated landscaping ti...
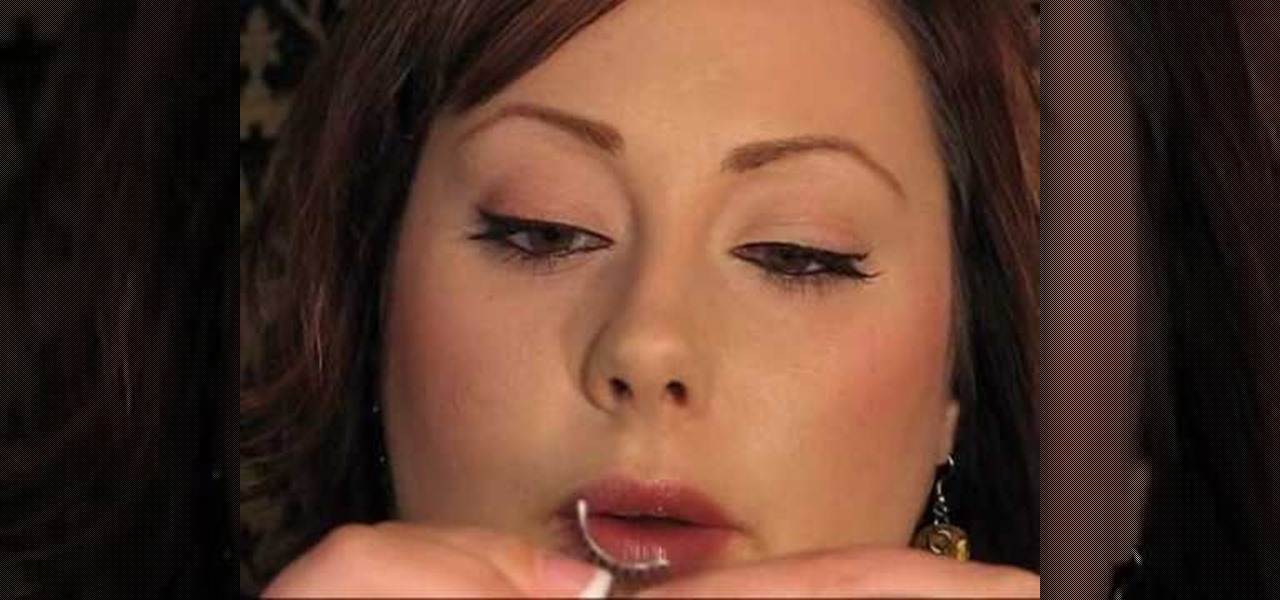
False eyelashes can be the most intimidating part of your makeup routine! It can be overwhelming or frustrating at first trying to apply them, but hopefully these steps will ease that anxiety. This beauty video demonstrates how to apply fake eyelashes.
In this how-to video, Kate Somerville shows us a tip on how to extract a whitehead or blackhead the proper way. Don't just go recklessly popping zits and pimples. It'll leave you with a red face and could cause permanent damage. Watch this video tutorial and learn how to extract whiteheads and blackheads like an esthetician.
Check out this video tutorial on how to create a paper pop-up card. You'll be happy you learned this one... it's easy to make, there's a nice result, and you're children will love it! You only need thirteen pieces of colored paper, a marker, glue or double-sided adhesive tape.
Each year, Apple seems to design its devices to be more difficult for owners to repair themselves. So when an iPhone breaks, a trip to the Genius Bar or an Apple Authorized Service Provider is most likely necessary. But if you have an iPhone X that needs a new battery, a leaked video just spilled the beans on how to replace the battery precisely as Apple would.
You will need white glue, a paint brush, a ruler, scissors, medicinal gauze, self-adhesive foil, a utility knife and paper. First, using a paint brush, apply the white glue to the edge of a stack of paper that you would like to bind. Press the stack of paper down with a ruler. Let the glue dry. Unfold the gauze to fit the book and cut enough to cover the spine. Coat the spine with glue and paste the gauze to it, overlapping the sides of the book. Coat the gauze with glue and let it dry. Make ...
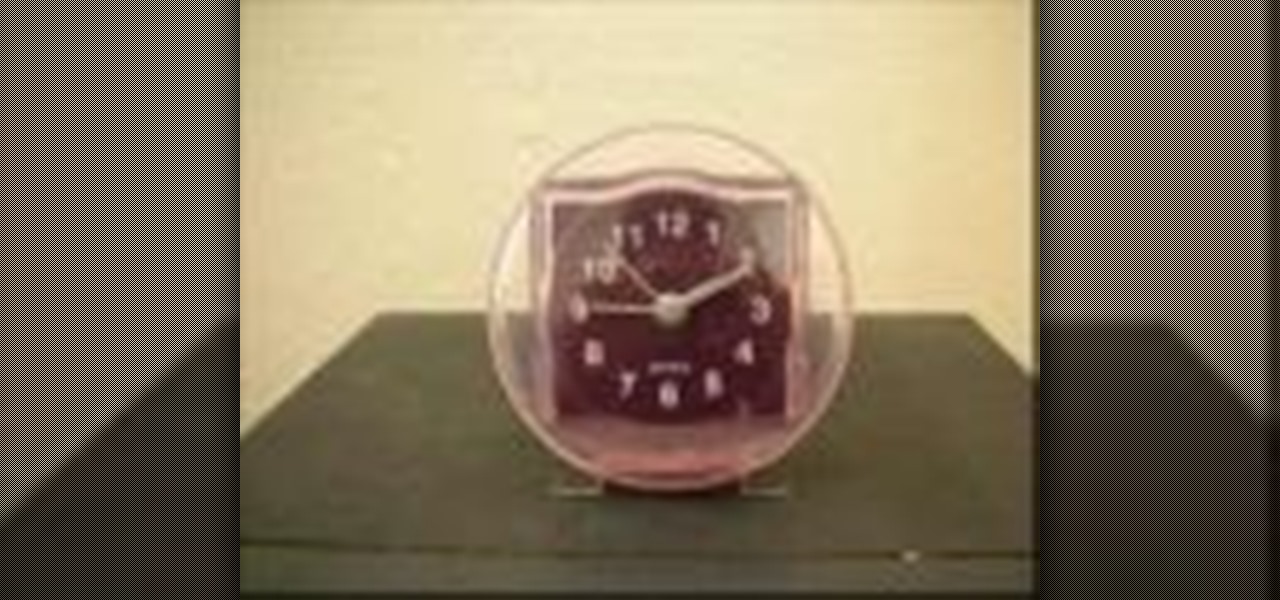
Power the clocks at your home with the sun! With a solar cell that costs around $5, you can convert a clock to solar power and avoid buying batteries or running up the electric bill. Instead, connect a rechargable battery to the solar panel with a few wires and some adhesive and soon you'll have enough energy to power your clock for as long as it lasts.
Construct your own shield for use in boffer combat! This tutorial shows you how to construct your own large punch shield out of several layers of blue camp foam, a length of PVC for the handle, a measuring tape and some DAP adhesive.
Add to your boffer larp arsenal with these foam arrows! This tutorial shows you how to make a modular boffer arrow out of three different kinds of foam, a cloth cover, arrowhead shafts, scissors, duct tape and your favorite kind of spray adhesive.
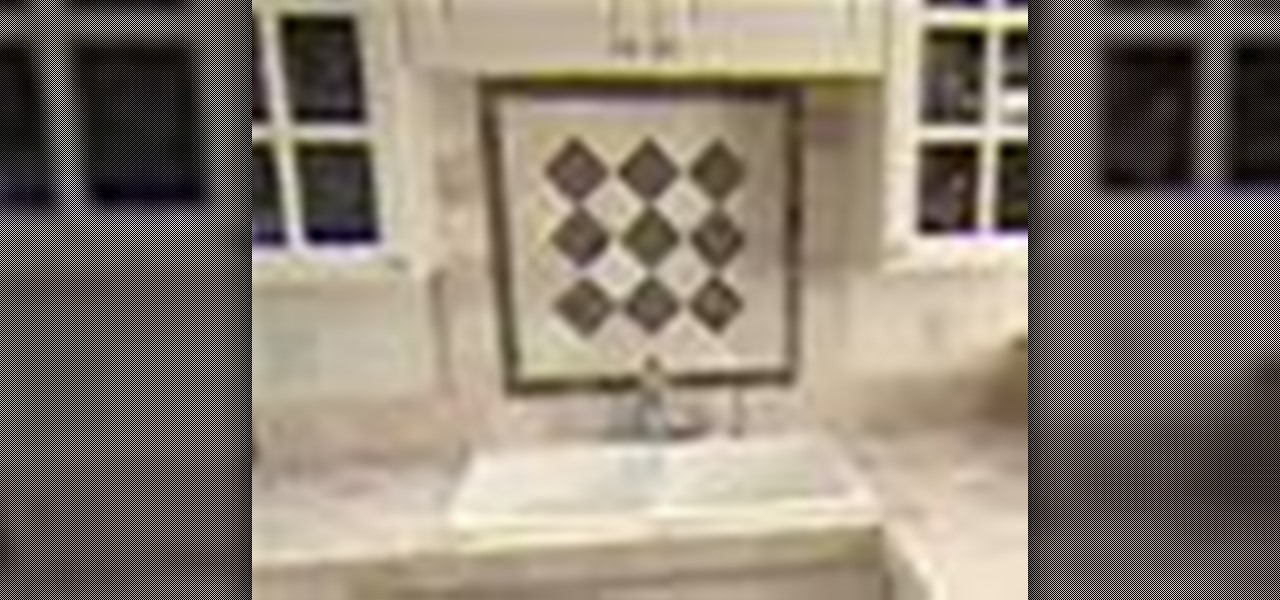
In this video, learn how to tile a kitchen backsplash. This video, hosted by the Home Depot will show you how to prepare and install this new improvement to your kitchen. This clip will walk your through a two-foot high backsplash with glass tile accents. You will also learn how to use mastic adhesive and the proper laying of decorative tile.
Even if you are just starting out, you can still install an easy full lace wig. Just pick up a tube of adhesive cream and put it on the easy way. Ms. Lola will take you step by step through the process for beginners. People are going to wonder how you got such a hot look and you can proudly tell them you did it yourself!
The CEC, Canada Experience Class, is a new program to help a person who has held residency in Canada gain permanent residency status. The program realizes that, by going to school or living in Canada while working, many people have the skills necessary to make the transition to live in Canada permanently. To qualify for CEC, you must be a temporary worker living in Canada for at least two years with two years of skilled working experience. A second way you can qualify is by being a foreign gr...