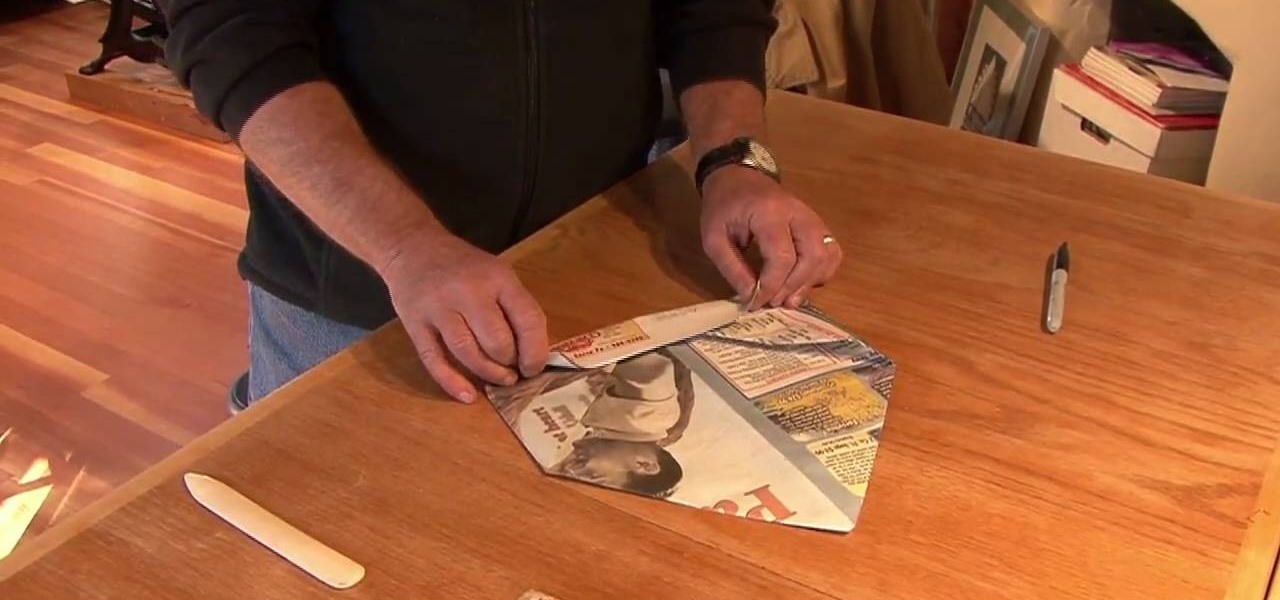
In this Arts & Crafts video tutorial you will learn how to make a folded paper printer's hat from a newspaper. Take two sheets of newspaper and fold down the half way mark to make two triangles. Fold the bottom edge of the top flap and make it meet the bottom edge of the big triangle. Now fold this up again over the bottom edge of the triangle to make a big cuff. Flip it over, take the outside edges and fold them to meet at the center. Now take the bottom corners and fold them up like dog ear...
While this video uses only a particular model of printer and only one style of paper, this tutorial will work for several different varieties of paper and printer. Just follow along with the tutorial to make sure you've loaded the paper properly for highest quality printing.
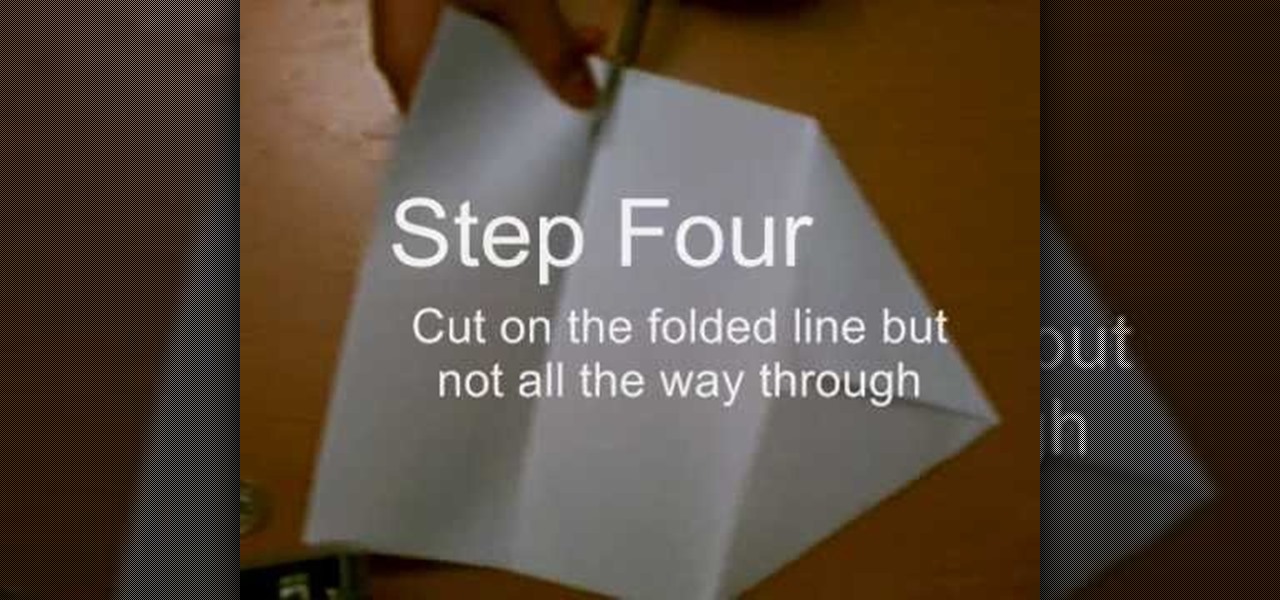
In this video, we learn how to make a whirlybird paper helicopter from printer paper. First, fold two triangles together on the paper. Next, fold the back to the triangle you just created. Next, fold the paper back and, then cut on the folded line but not all the way through. After this, fold the middle flaps until they reach each other. Then, cut through the middle of the bottom and fold one flap on the top, then fold the other flap on the flip side. Now you will be finished with your helico...

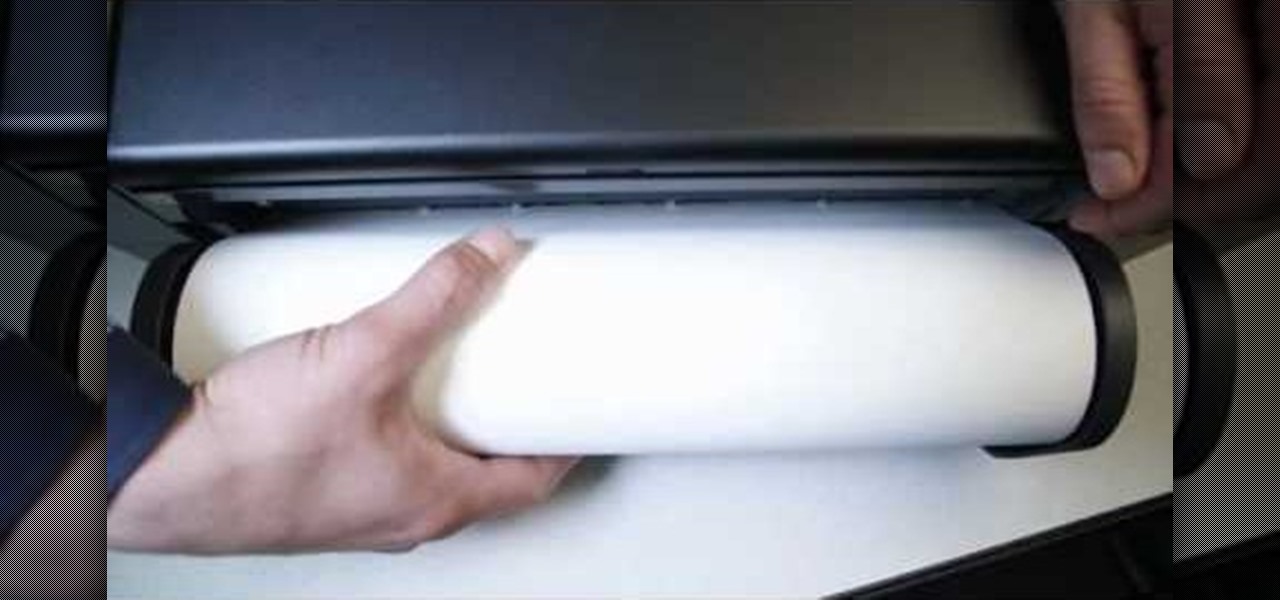
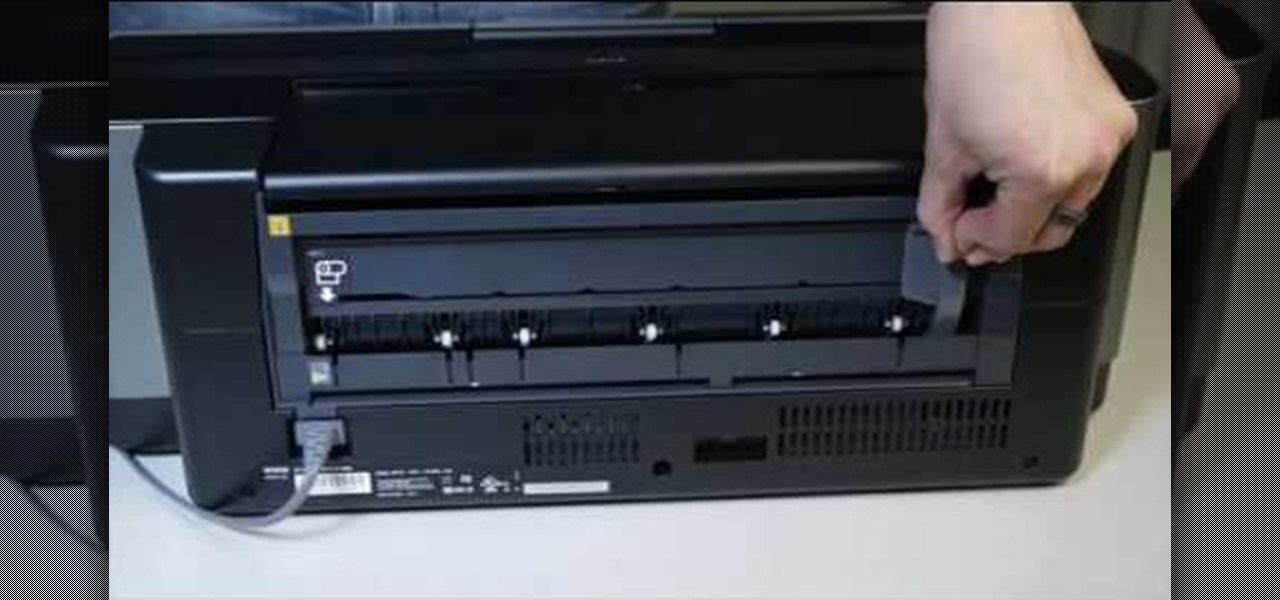
For someone used to working in reams or sheaves, a roll of printer paper can be confusing. However, replacing the paper in your printer which calls for rolls is not that hard. This tutorial shows you a very easy to follow process for loading paper into your printer. While this focuses on the Epson Stylus R2880 model, it will still work for other models.
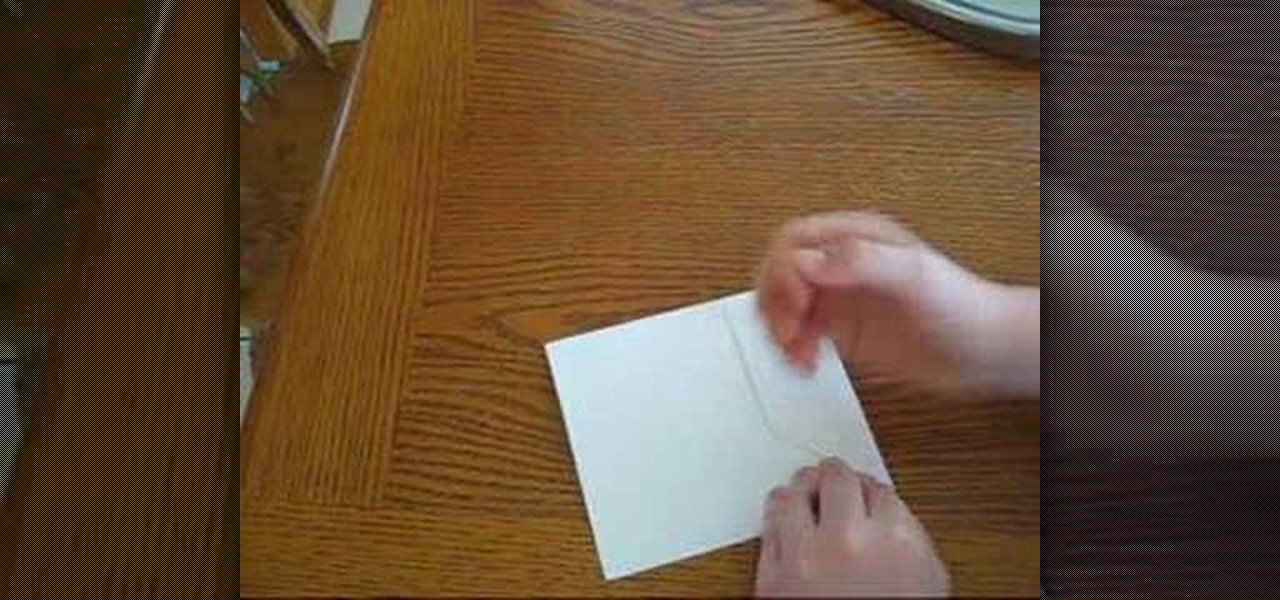
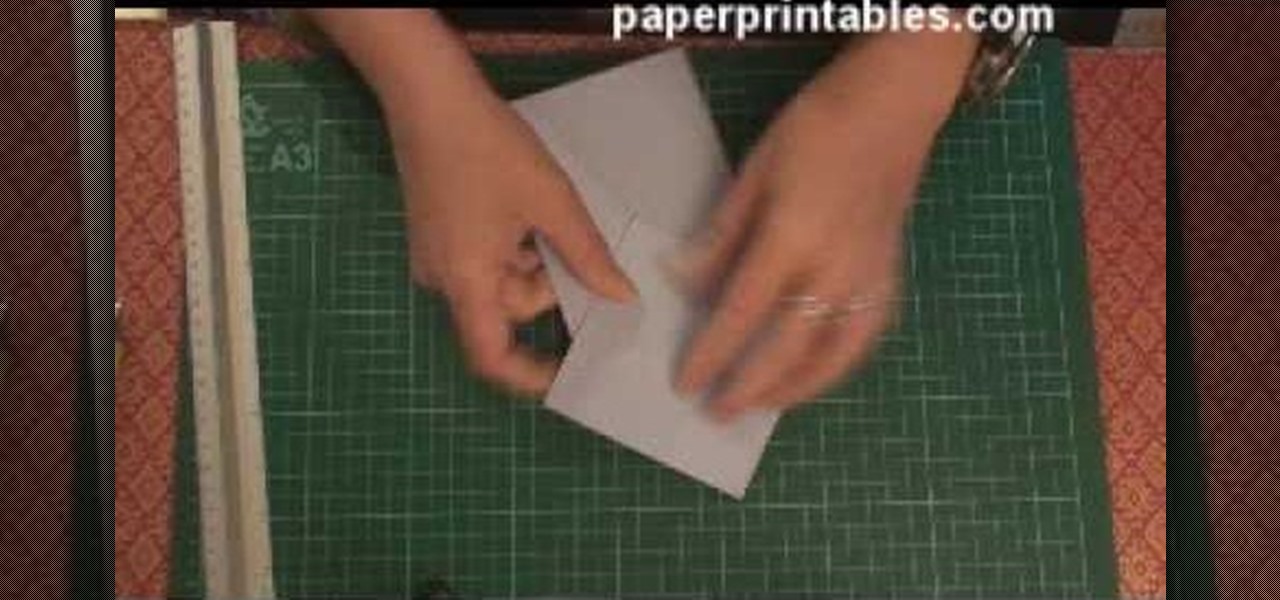
This tutorial video will demonstrate the process of how to make a wallet out of a piece of paper. This paper wallet is extremely useful because it's recyclable and easy to make if you've lost your other wallet.
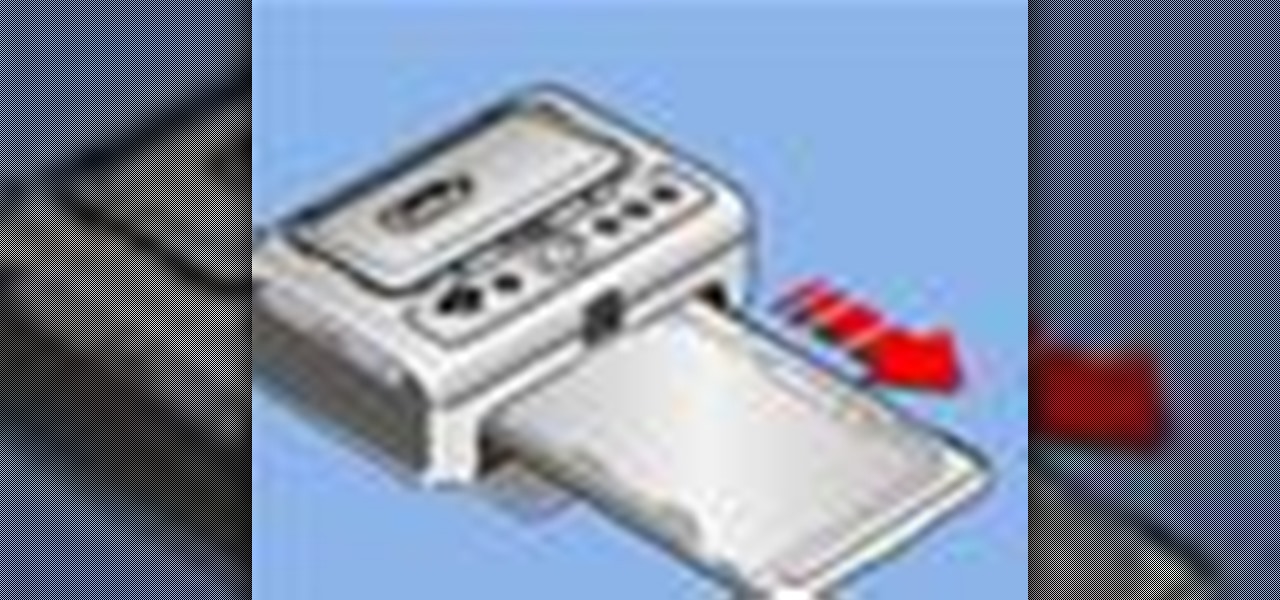
This interactive Kodak printer tutorial takes you through every step necessary to fully load paper into a Kodak EasyShare G600 Printer Dock. If you have a Kodak EasyShare digital camera, you probably have one of these G600 printers, and you've probably had a problem with it, or not, like a stuck printer cartridge, but lets not get into that. Just follow this tutorial to see the steps to load paper into your G600. Let Kodak teach you how. Load paper into a Kodak EasyShare G600 Printer Dock.

This interactive Kodak printer tutorial takes you through every step necessary to fully clear a paper jam on a Kodak EasyShare G600 Printer Dock. If you have a Kodak EasyShare digital camera, you probably have one of these G600 printers, and you've probably had a problem with it, like a stuck printer cartridge, or a paper jam, so fix it yourself, let Kodak teach you how. Clear a paper jam on a Kodak G600 Printer Dock.
If you haven't made your own PCB (printed circuit board) yet, perhaps you we're just missing the proper instructions. But now, watch and learn from AP Digital light! They show you a fast and easy prototyping technique using a laster printer, photo paper, and a regular household iron. It's the heat toner transfer method of making PCBs.
Giclee art reproductions can be printed on high quality paper. Learn about the benefits of printing giclees on paper with this free giclee art reproduction video series.
Make homemade trading cards of your family! These won't look exactly like baseball cards, or even feel like them, but they're cute and somewhat artsy depictions of your favorite photographs. You only need a few items (listed below), but make sure you have a nice photograph to transfer over. It won't look exactly like the picture, but it will look roughly hand drawn, but not quite. Definitely an interesting paper craft. Try it out. Experiment.
Check out this video to get a lesson in contact paper screen printing.
In this tutorial, we learn how to use ninhydrin to reveal latent prints on paper. This will work out because you will be spraying a special liquid onto the porous area. After this, you will turn on a black light and then be able to see the fingerprints appear in purple! Be careful with the solution, because it's flammable! This will also stain your skin, so make sure you wear gloves and don't let it contact a surface you don't want stained. To mix the solution, you will combine both of the so...
Silkscreening customized t-shirts can be really easy with self weeding or self cutting transfer paper. No need for a sticky mess, just heat press and peel. Learn how to print a t-shirt using self weeding or self cutting transfer paper by watching this video silkscreening tutorial.
How to make an origami basket with handle from sheet of printing paper (A4 or Letter). Video tutorial. You can use this paper basket as Easter decoration, picnic with kids, or just for fun.
Need a little help choosing the right paper for the job? When it comes to making a good impression, choosing the right paper can make all the difference. Use guidelines will help you pick the best type for your project.
IN this video, we learn how to use your inkjet to print on a shrinkle. To start, you will grab the paper for the shrinkle. Then, you will print the outline out on a normal piece of paper. From here, stick the shrinkle over, frosted side up, on the paper. Then, feel the piece of paper back through the printer and print exactly the same image over again. Don't print anything too dark, or it will bleed out on the back. From here, you can peel off the shrinkle and then cut it out. This will finis...
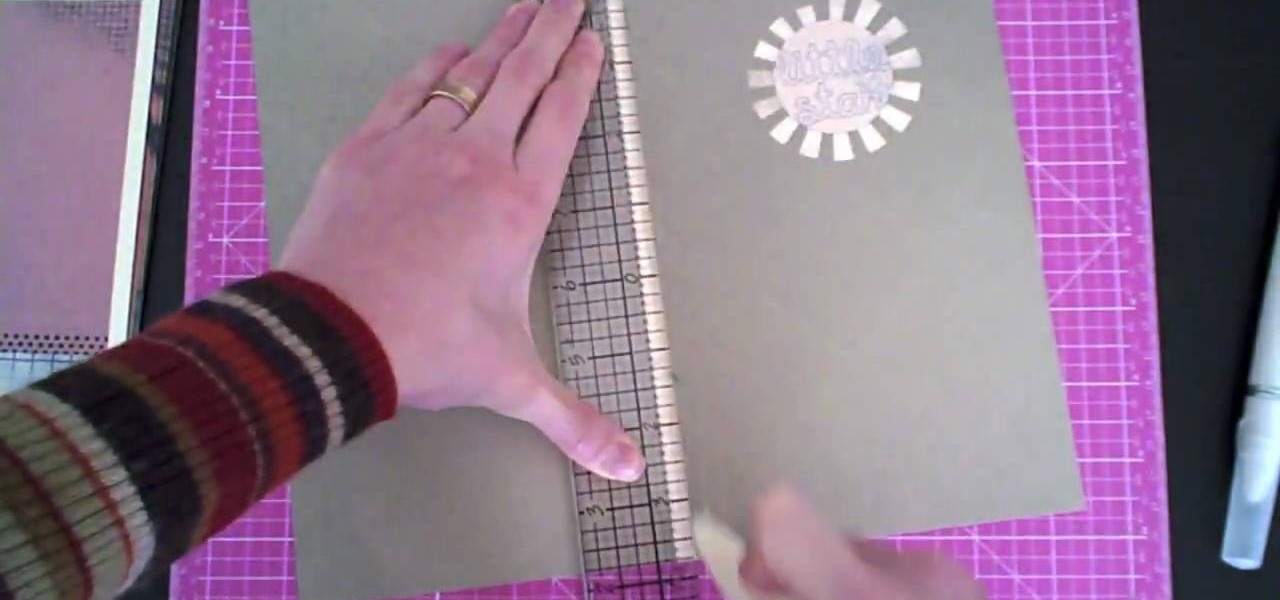
Watch this video to learn how to make a stunning diamond topped 3d card from a single sheet of A4 paper! 1. You'll need one A4 sheet of paper and some printed papers to decorate. 2. Score at 10. 5cm across length and 10. 5cm from one end. 3. Crease both scores in the same direction (mountain folds). 4. Turn card over mark 13cm from top on centre line an 17. 5cm from top on both edges. 5. Score from central 13cm mark to 17. 5cm mark on each edge. All printed papers used in this tutorial are av...
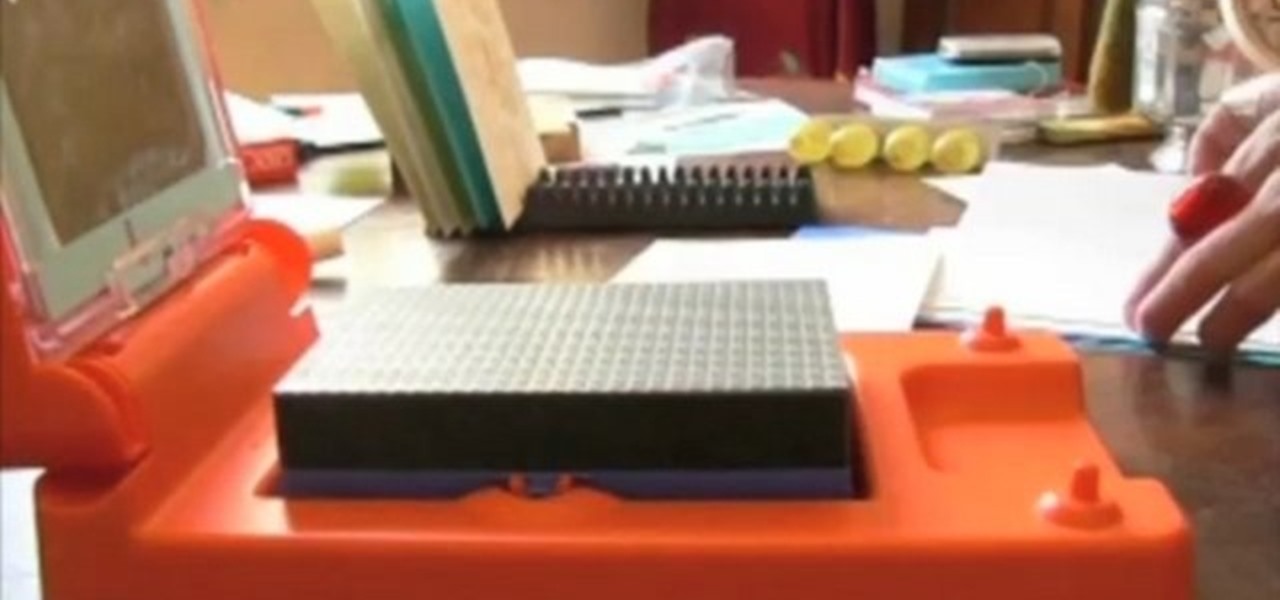
In this tutorial, learn how to use a Japanese paper printer called a Print Gocco. This device is used to print beautiful, uniform projects so that you can make many designs, quickly. This is great to use for wedding invitations or programs. This video will show you exactly what to do once you receive this fun printing press in the mail - all the way from Japan!
In order to make a pocket card out of an envelope, you will need the following: a used envelope, printed paper, adhesive, card stock, paper cutter, cuddle bug, an ink pad, stamps, markers, and crystals.
In order to make paper cutting art for your home, you will need: paper, pencils, X-acto knife, card stock, scissors, self-healing cutting mat, poster board, adhesive, and a scanner.
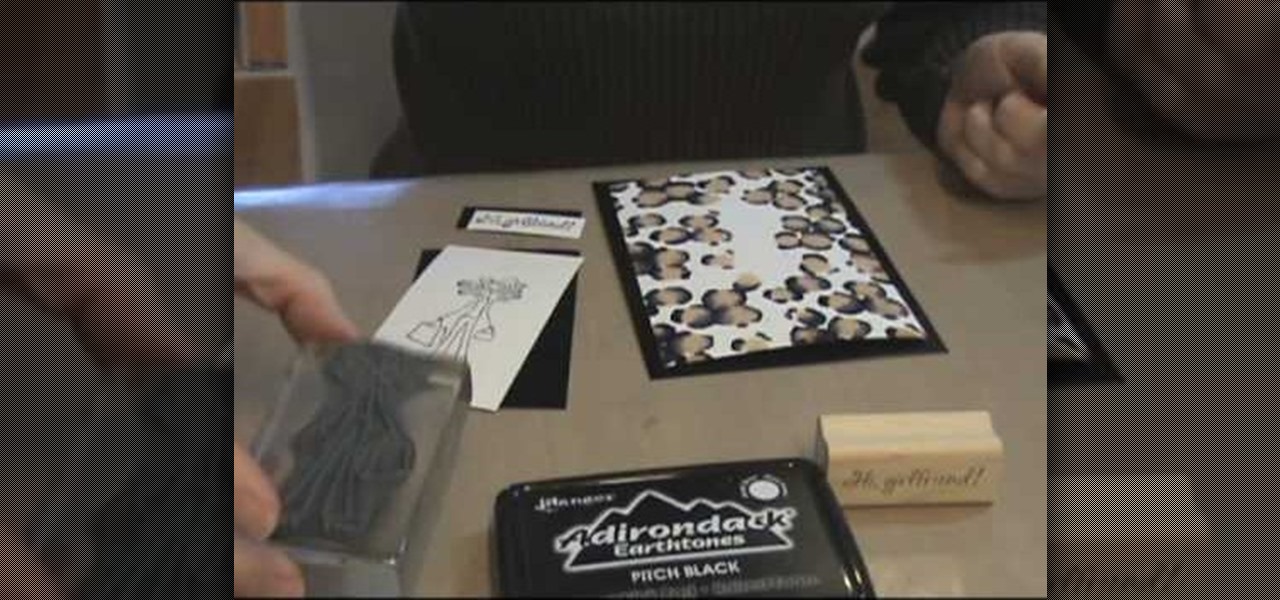
Create some great leopard prints with Ranger's Alcohol inks. The needed items are: 1. 5" Gloss sheets in white and in black color
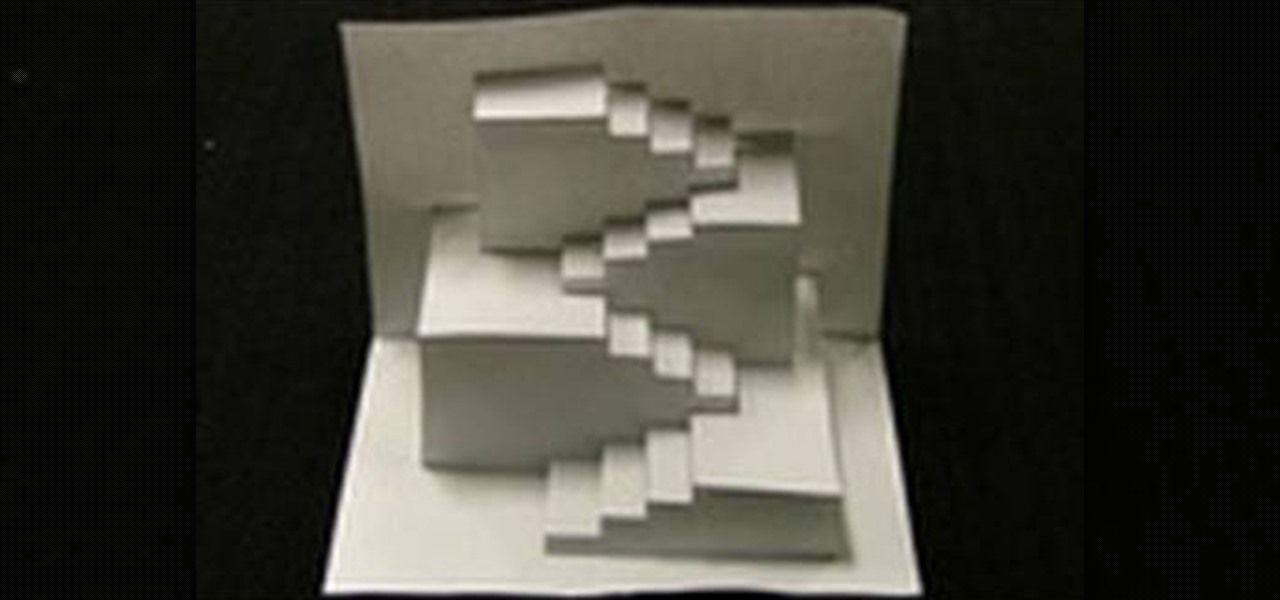
This video shows us how to create an amazing 3D design using a single sheet of paper. You will need: cutter printed template of the 3D design. Procedure: Download the template using this link. Print the template. Cut all the solid lines on the template. Fold all the broken lines on the template as shown. Arrange the paper in such a way that it looks like the 3D design shown on the video. Follow these steps and you will have your very own amazing 3D paper design!
The Epson Stylus Photo R1900 printer can not only print on paper, but it can print from roll paper, too! No more single sheets of paper are needed, which is especially nice when printing banners or larger documents. Epson shows you how to load roll papers such as Premium Canvas Matte and Satin into the Epson Stylus Photo R1900 using the roll paper holders that are mounted on the back of the printer.
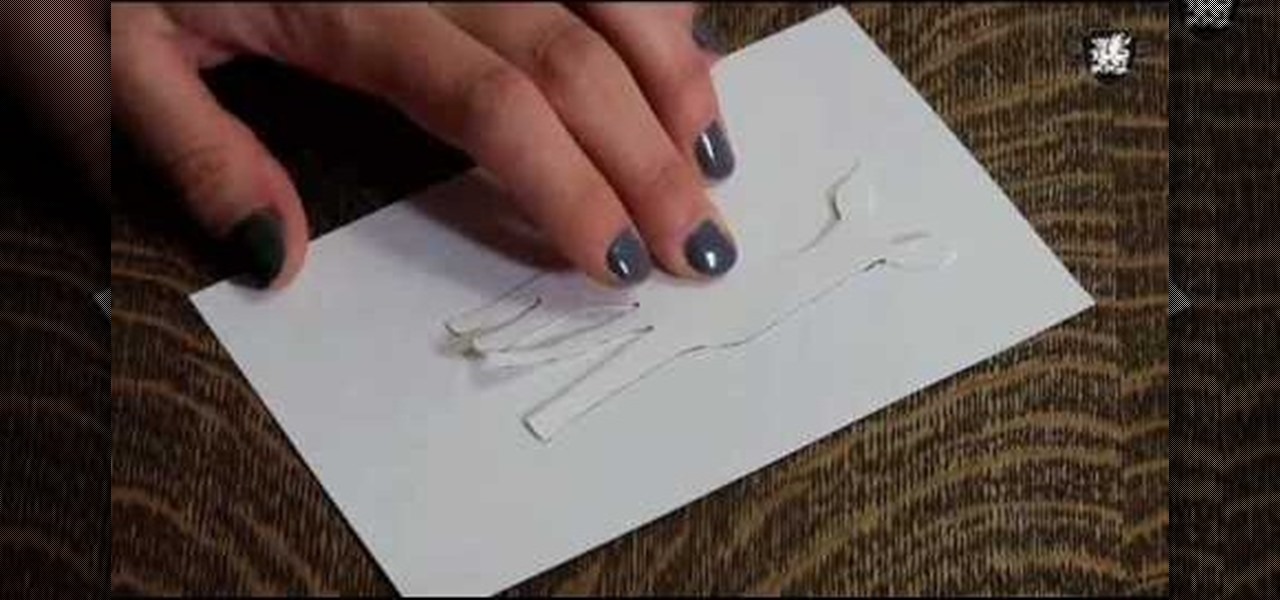
In this video, we learn how to make zebra and tiger prints with Ranger's alcohol inks. First, you will need some alcohol ink in black, gloss paper, a stamp, and felt. Now, take your felt and cut it into small strips. Make lines like a zebra or tiger would have. Next, push these strips onto the stamp bottom, arranging them to look like a zebra. After these are stuck on securely, trim off any edges and make some pointed. After this, you will squirt the black ink onto the bottom of the stamp on ...
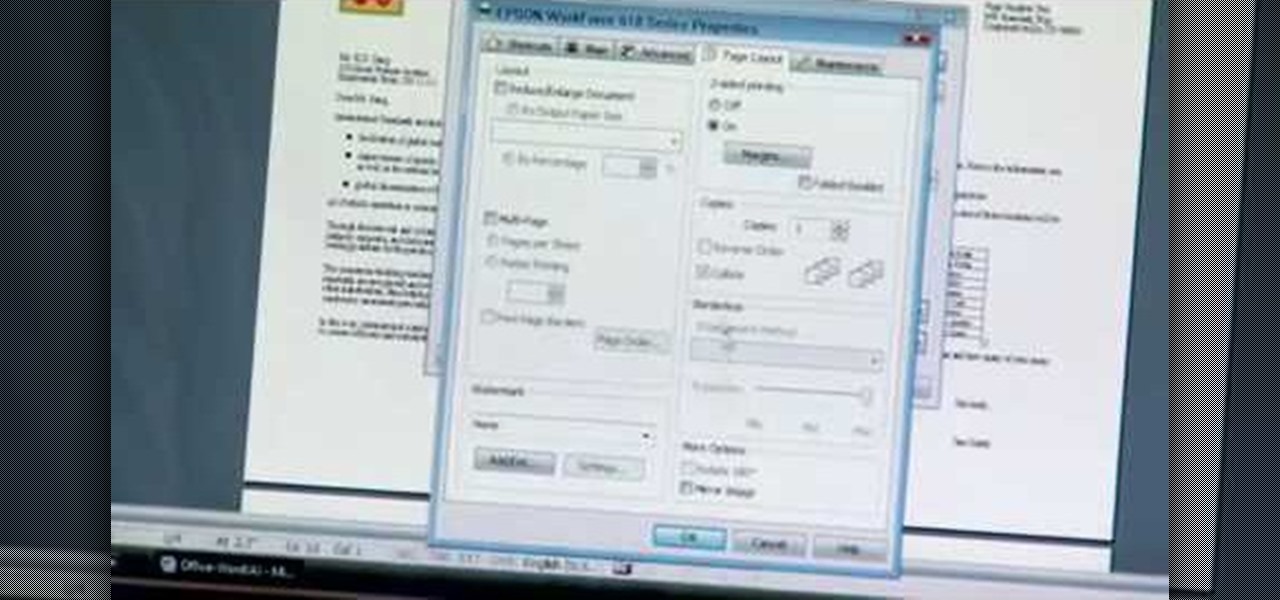
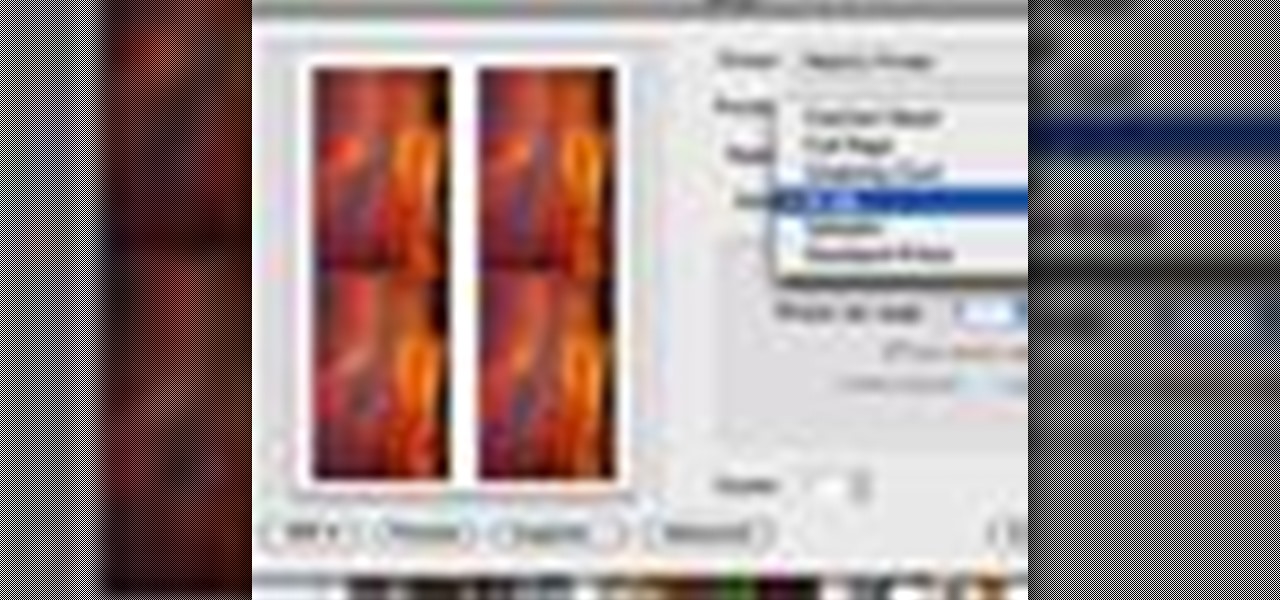
The Epson video describes how to print two-sided on one piece of paper. When document is ready, go to "File" and then "Print". Click the "Properties" button and select Page Layout tab and turn on the two-sided printing option. Click "OK" in print window. Wait for Epson printer to complete the first page. Take paper, flip over and put it back upside down in the paper feeder. There are instructions that will pop out on screen for this. Click resume and the second page will be printed on the bac...
Thanks to modern technology, we don't have to visit our nearest Target or Rite Aid to get our pictures professionally retouched and printed. With many printers offering photo-quality ink and paper companies that offer photo-quality paper, you can use your home printer to create professional-grade photos.
In order to make the Spinner Pinwheel Card with your Cricut, you will need the follow: the Cricut Wild Card cartridge, card stock, ribbon, brads, printed/patterned paper, adhesive, and an ink pad.
In this how-to video, you will learn how to make an animated optical illusion with paper. First, start off with one ball and copy it five more times so that it goes in a line to the corner. Make sure there are six balls in total. Next, create a striped pattern shown. There are black bars with small white lines in between. One white space equals one sixth of the black space. This is essential in making the illusion work. Once both patterns are printed out in separate pieces of paper, lay the p...
Creativity Prompt demonstrates how to make a hybrid board book. First, select printed paper of your choosing. Cut off the excess paper with a cutting blade and crease the paper for the spine. Fold and burnish the paper. Apply a generous glue stick layer to a recycled board book and adhere the paper to it. Burnish the paper with a brayer to strengthen the adhesion. Let the glue dry and trim off the excess paper. Cut the rest of the paper for the board book pages. Cut out photos and titles for ...
This beautiful Kirigami captures the moment a hummingbird kisses a blossom. Just download, print, cut and assemble, it's easy. It's better than giving a card, it's giving a piece of art. Best of all, you can make them again and again. Download a pattern for free at http://www.easycutpopup.com.
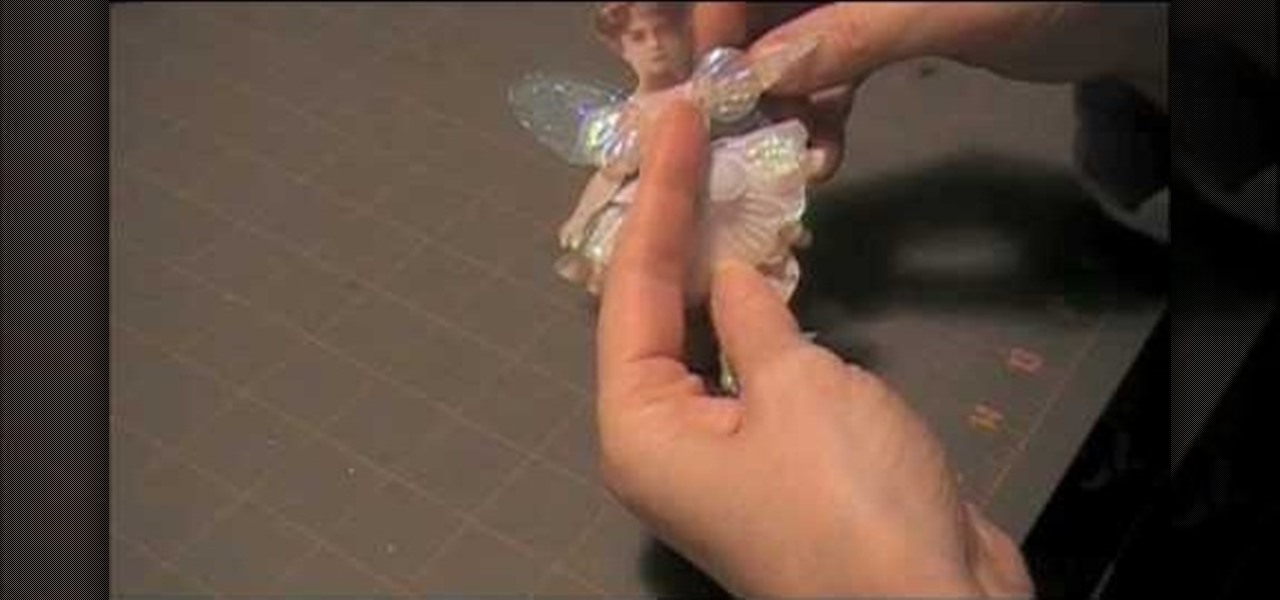
In this video tutorial learn how to make a jointed flower fairy paper doll sitting on top of a trinket box. You will need three strips of paper and two circles cut out of paper. To create the box, curl the strip with a pencil. Then adhere scotch tape to the strip and tape the strip to the circle to create a box-like structure. Cover the perimeter with a larger strip of paper in whatever design you want to use. Follow these same steps to create a larger box. Fit these two pieces together and a...
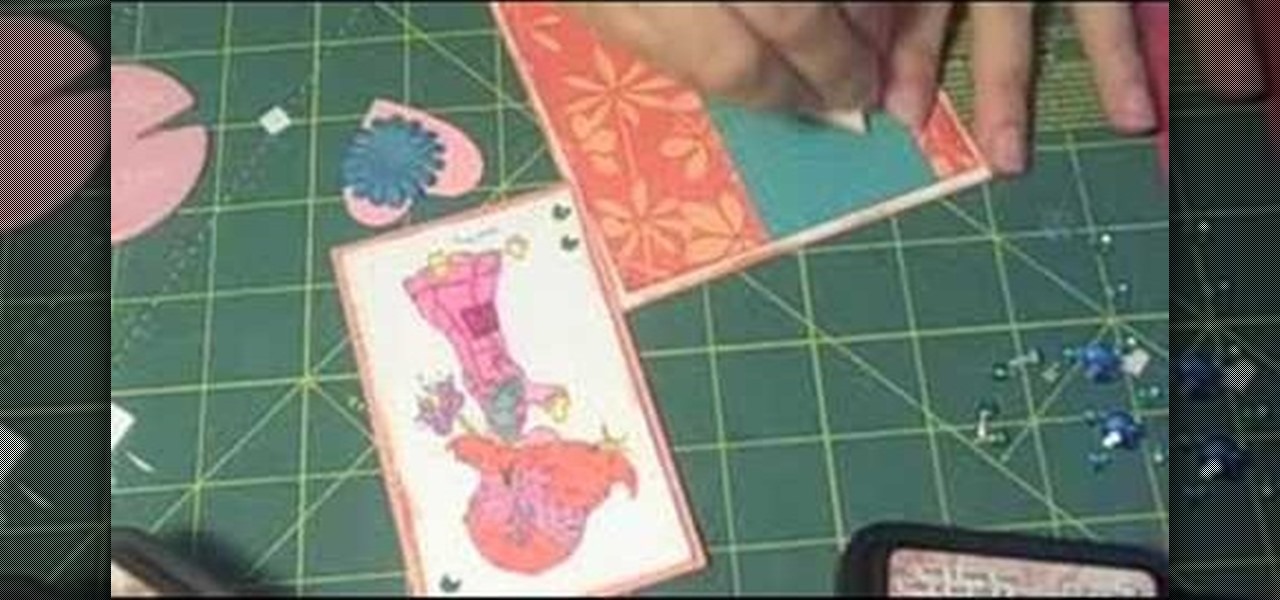
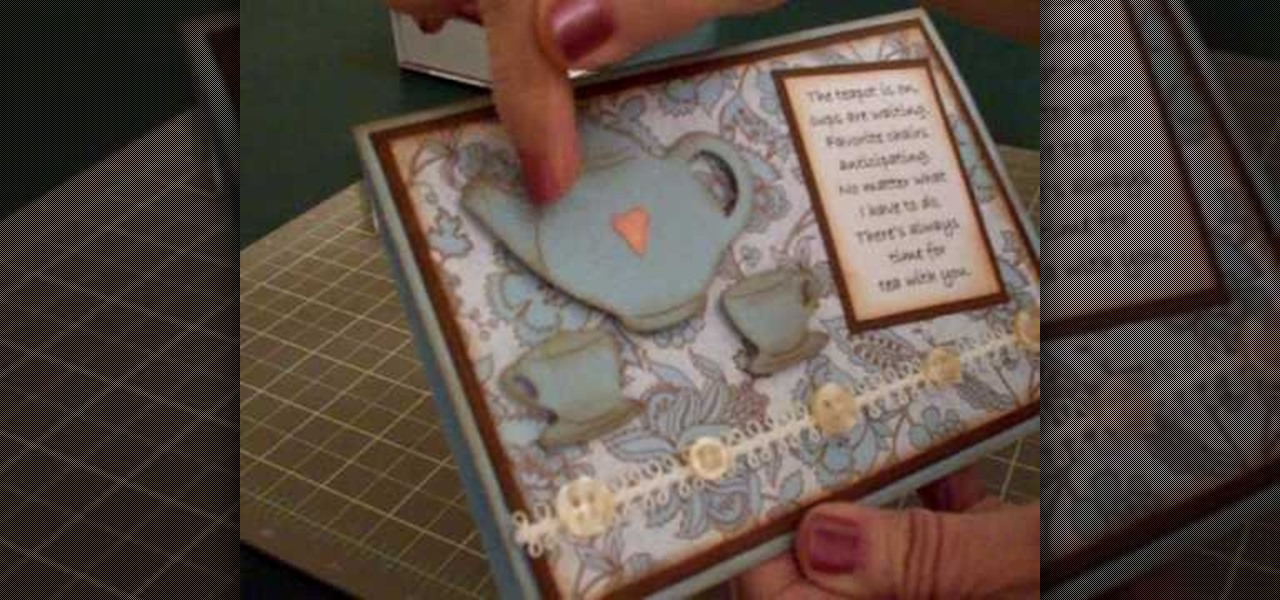
In this video, Mary shows us how to make a teapot card using Cricut everyday paper dolls. First, print out a sentiment that has to do with teapots and fade the edges of the paper. After this, cut out a teapot and cup from the everyday paper dolls on page 43. Cut the teapot and cut twice, then chop them so you can see the details of them. Place this on a paisley or flower background for the card, along with old buttons on the bottom of the paper. Make the card the size you would like, using yo...
Cardcrazy09 teaches us how to make a graduation card. You take a piece of black card stock paper and stick thin white paper edges on each side, like a window. You then use the Cricut to make a star and the word Congrats. This will go on the left, on top of some black printed moxie paper. The right side of the card also features a piece of moxie paper, with graduation hats pattern. There are also nail heads stuck on top. The last idea is to also include money to your son/niece.
Corynne from The Crafts Channel teaches how to make a stylish bird motif in minutes. You'll need: Colored/printed papers, scissors and glue. Get a colored paper. Draw a whatever bird image You like at the back. Cut with scissors. Get another colored paper of different color and draw a wing. Put a glue on the wing and glue it onto another colored paper. Cut it leaving 1/2 an inch over the first wing to have layers. Decorate bird as what You want Your bird motif to look like. Follow these steps...
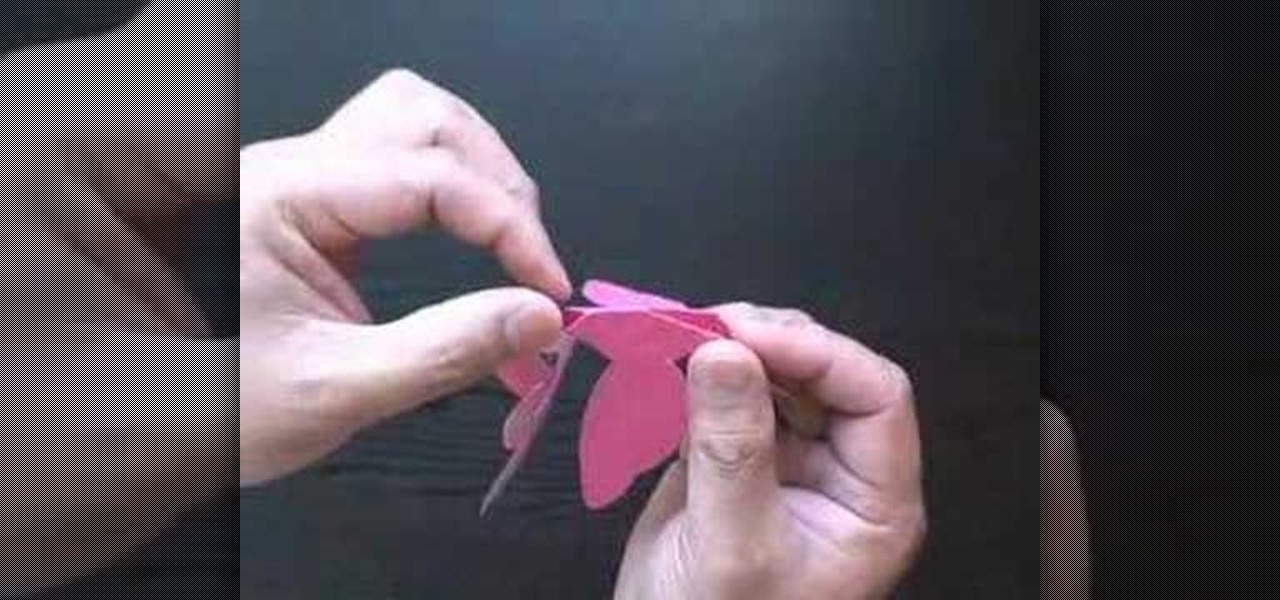
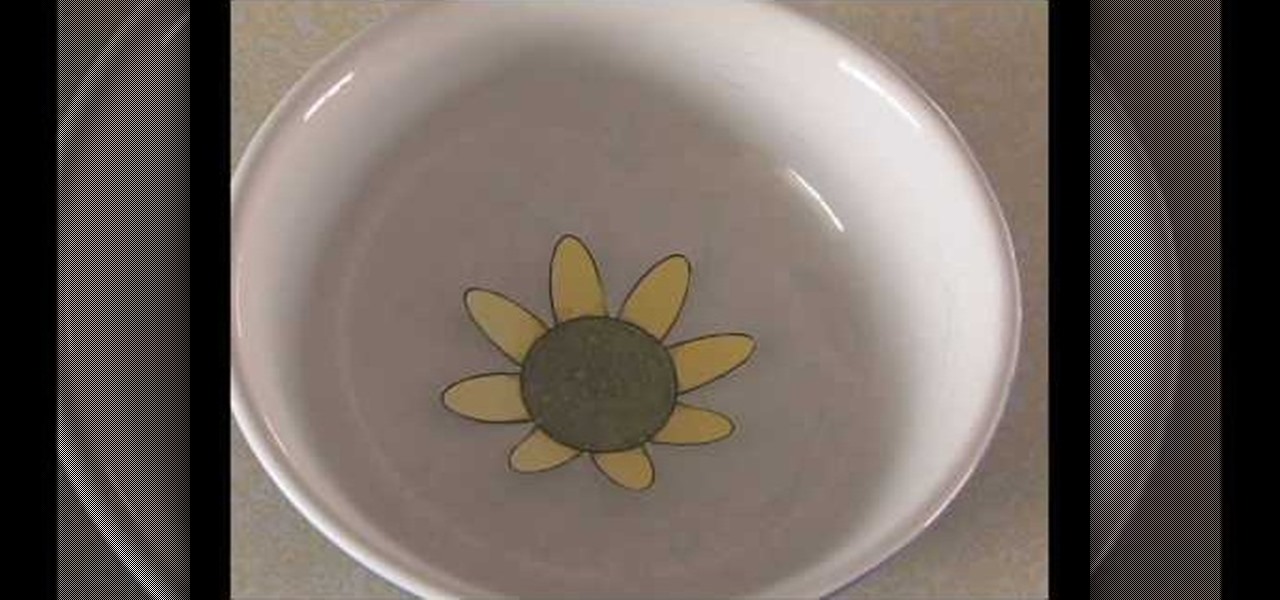
This video shows us how to make a blooming paper flower. To start, you shall first draw a flower on your computer, using paint or other similar program. The flower should be simple, a circle with eight identical pedals arranged around it. Print your drawing and, using a pair of scissors, cut your flower out leaving no excess paper. Take each pedal and fold it inwards towards the center of your circle. Now, get a bowl that will easily accommodate your flower and fill it with enough water to al...
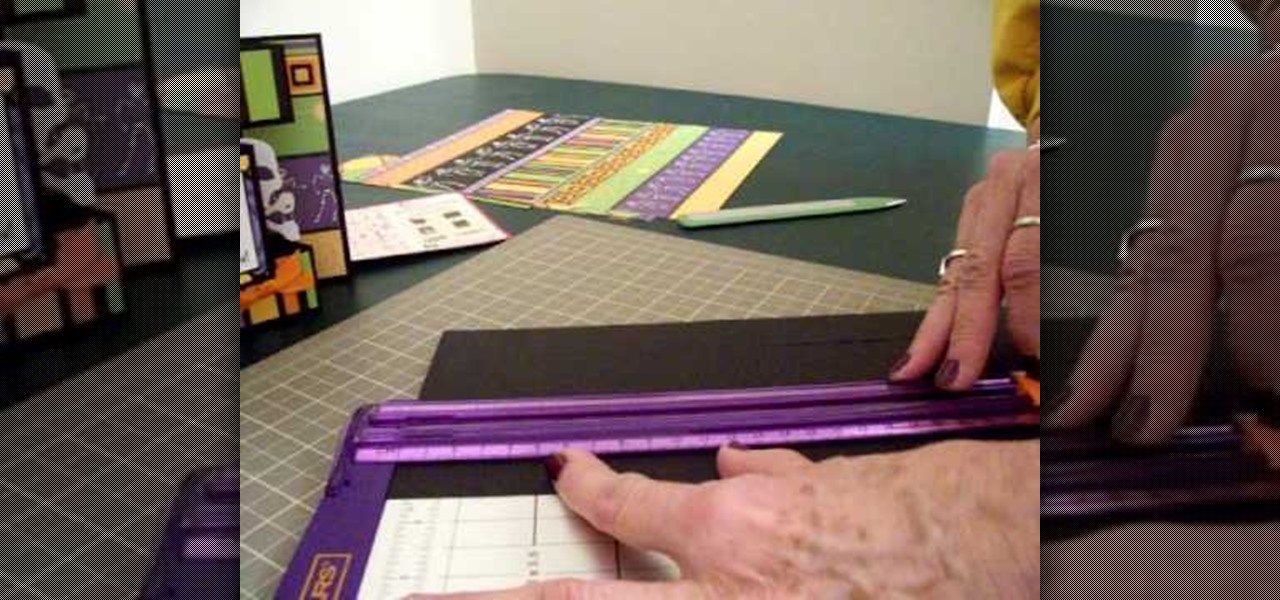
In order to make a Tri-Shutter Halloween Card, you will need the following: card stock, fishing line, ribbon, paper trimmer, printed/decorated paper, and adhesive.
With a photo printer and photo-quality paper, you can create high quality prints of your photos. Using iPhoto, you can print a single image, multiple images, an album, or a reference page of thumbnails called a contact sheet.
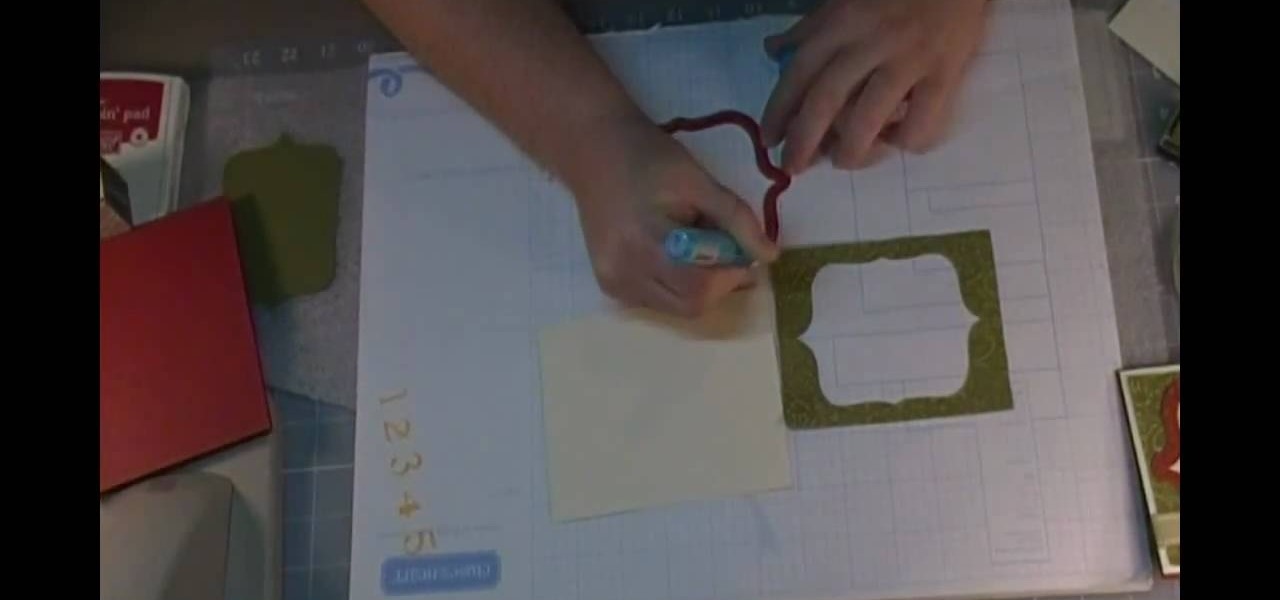
In this tutorial, we learn how to create a simple Christmas card using Cricut. First, you will need to take your card stock and fold it in half to create your basic card, pushing hard on the crease. After this, place a green holiday print on top of the front of the card and adhere it down. Next, cut out a bell shape outline, then cut out a piece of white paper in the same shape. Apply the white paper down first, then place the bell frame over the top of it. Push down a stamp sentiment on the ...
In this video we learn how to make a clear cheat sheet for a test. If you're in a time crunch and need to ace a test, this is a great option to cheat. First, you will print out what you need to know on a piece of white paper. From here, take some clear packing tape and tape it over the information on the paper. After this, dip the paper into water and cut it out into sections. Next, you will peel the paper back from the tape and you will be able to see the print on the tape! Use this with a t...
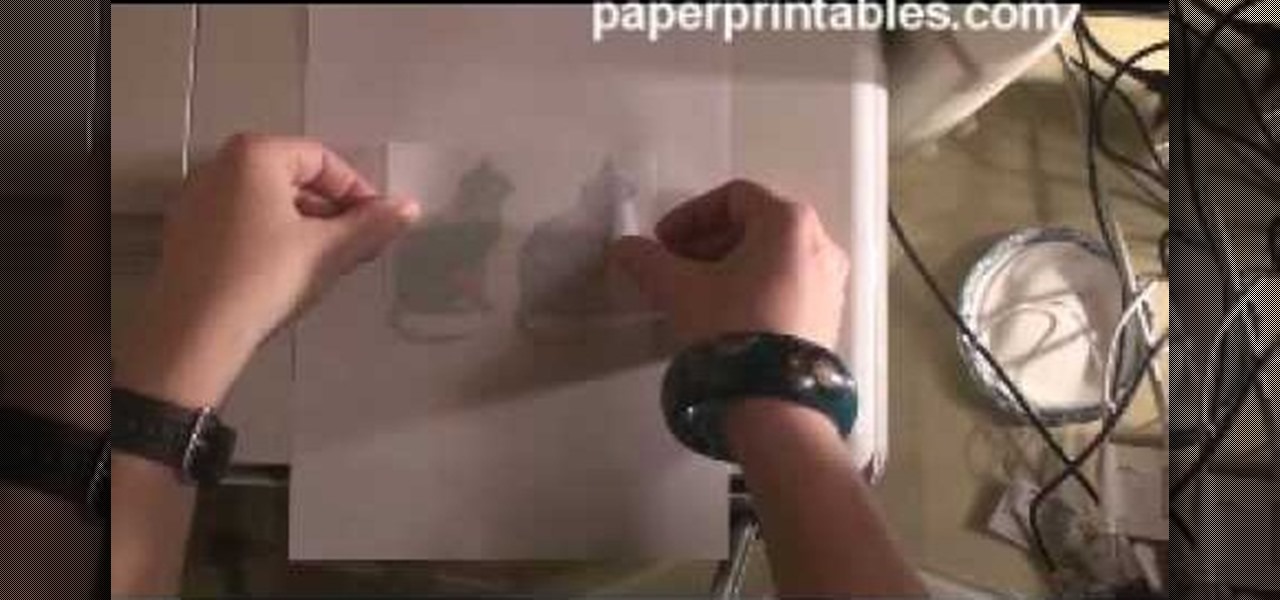
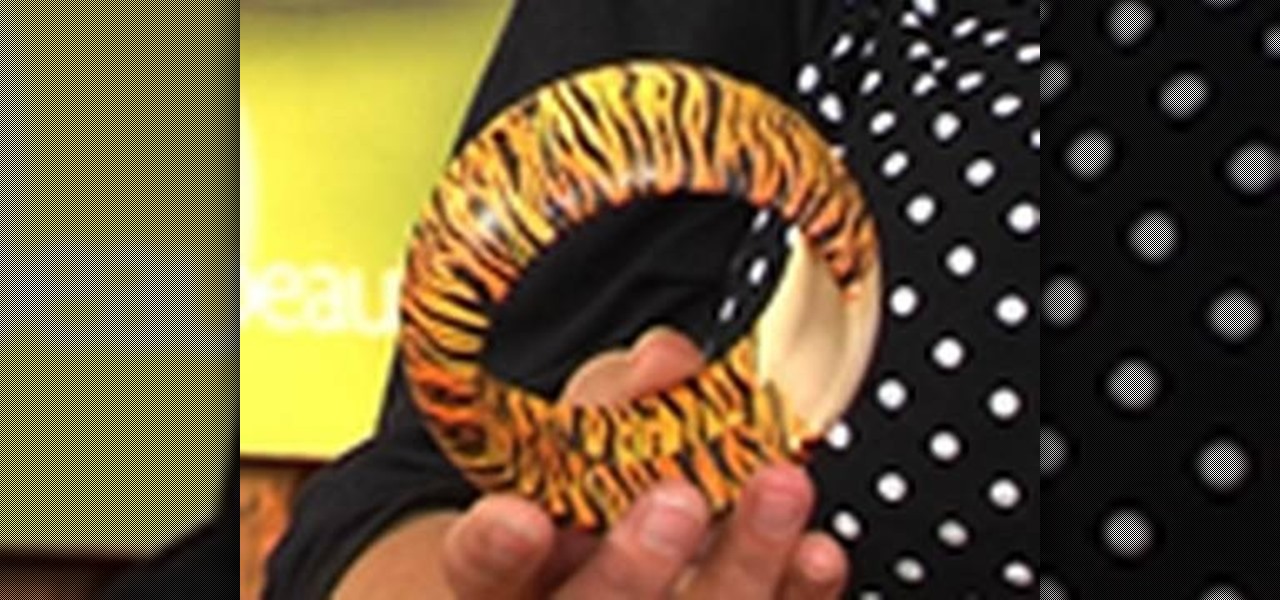
Two ladies are discussing how to prepare to decoupage a wooden bangle bracelet. They are using a broad wooden bangle crafted from birch wood that can be purchased at a local craft store and printed tissue paper, for example, one in an animal print. This is part one of a three part series.