You may have never heard of vacuum forming, but you use products made with the technique all the time. The lid on your coffee cup, the plastic bowls you used at last week's barbeque, and the blister packs your prescriptions come in are all made with a vacuum forming machine.

Watch this video from the Concrete Network to learn the proper function and use of the laser level or builder's leveling tools for forming a concrete slab.
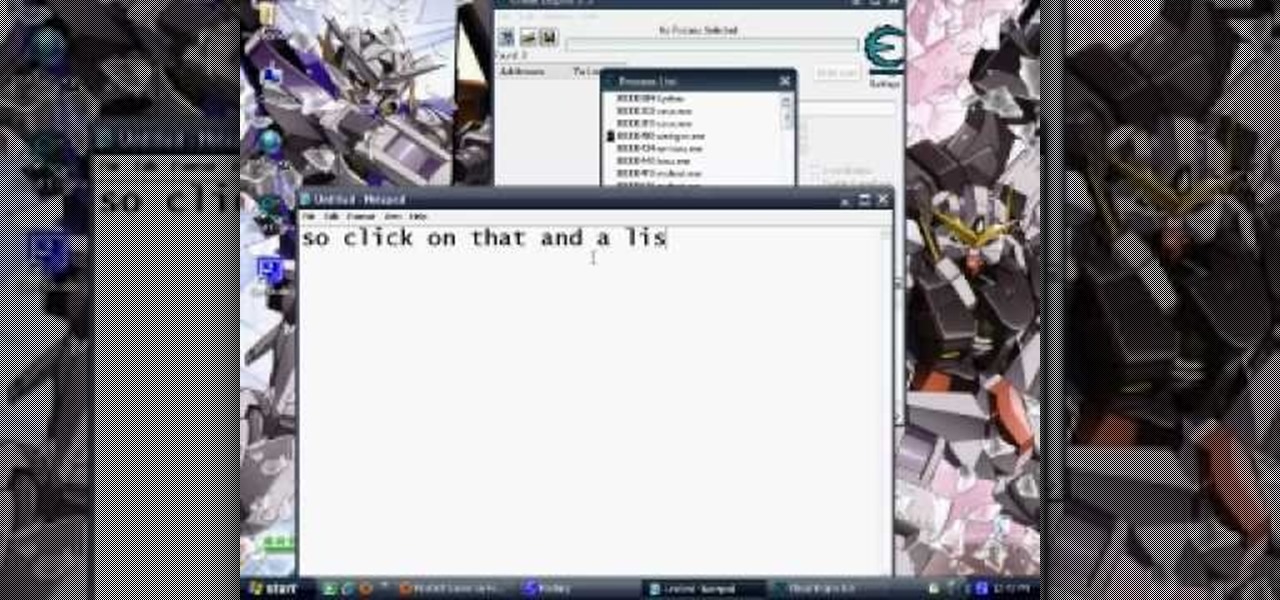
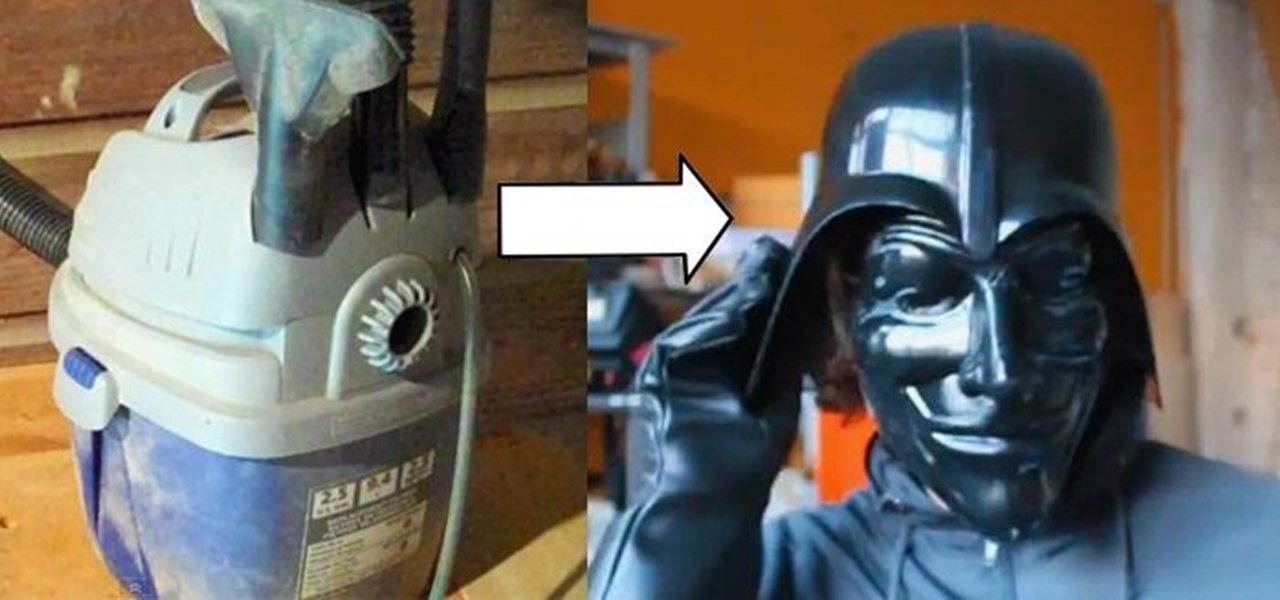
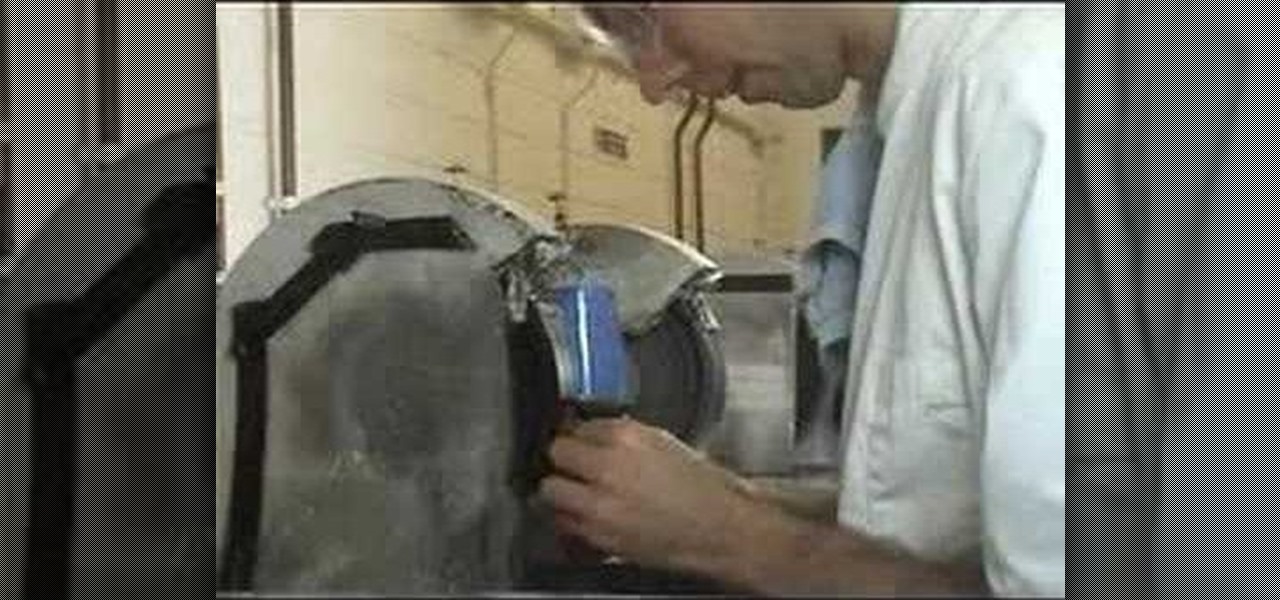
Learn the basics of vacuum forming to create storm trooper costume items.
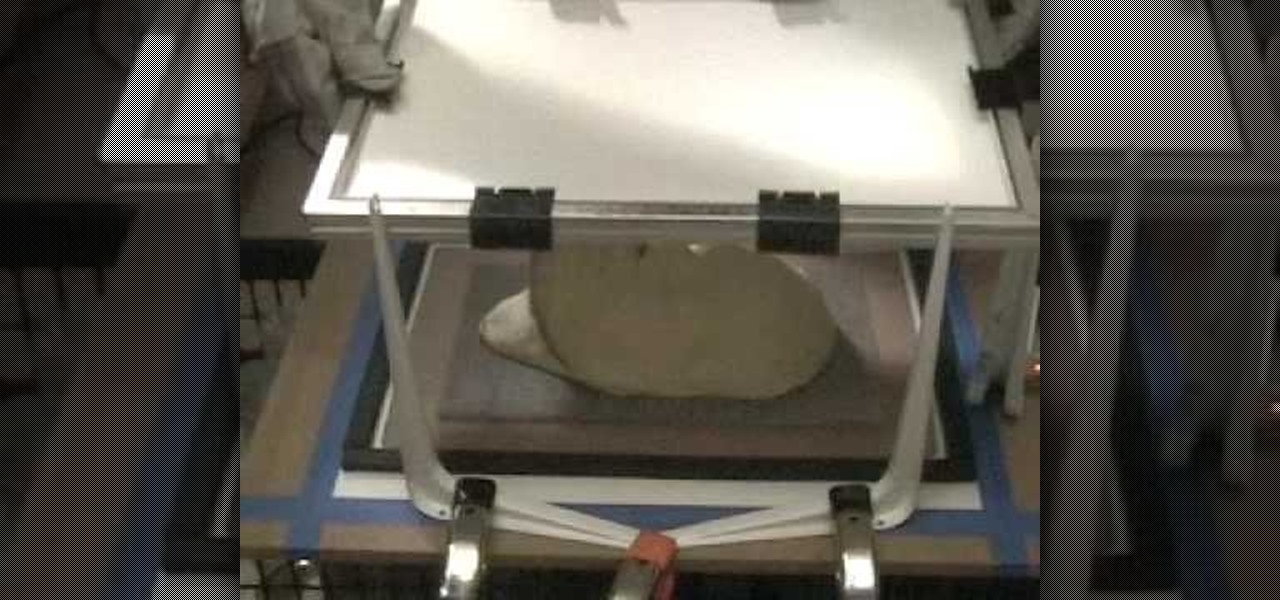
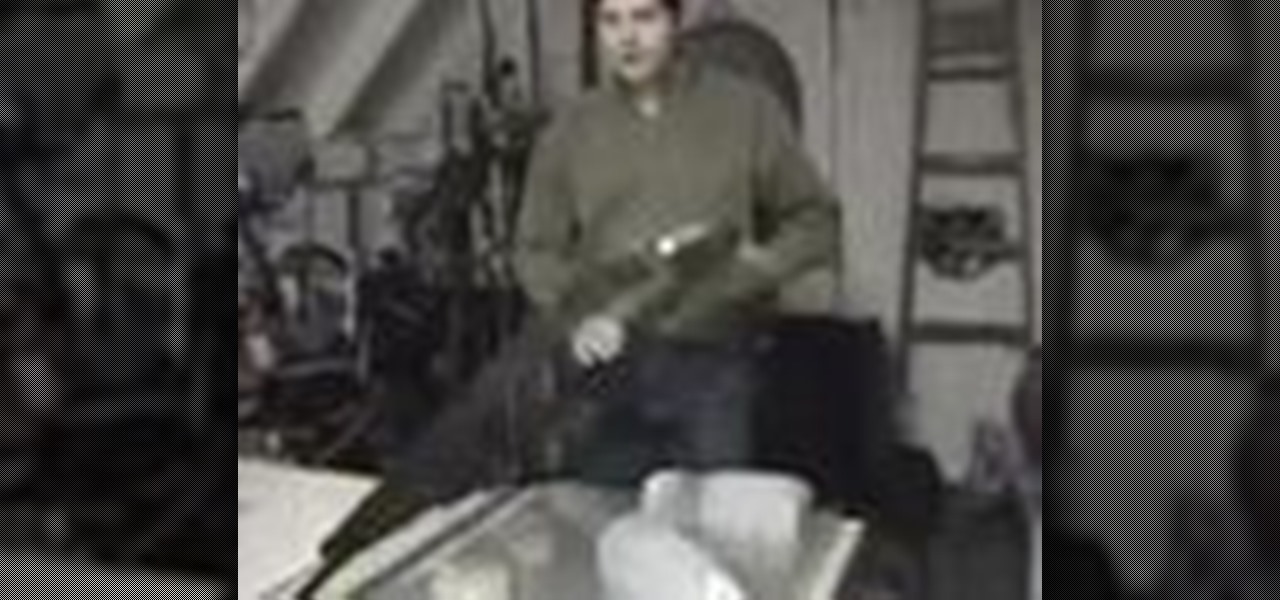
This video will teach you the process of vacuum forming sheet plastic into 3D shapes using the $40 make-it-yourself vacuum former from this "Instructable."
A needle is when one foot is on the ground (flat) in-line with the shoulders, and the opposite leg is kicked back, reaching for the sky. This puts the dancer in a "needle" position, with the straight legs forming a straight line, from head to toe. In this dance lesson, you'll learn how you can do a needle yourself. You need to be extremely flexible before trying this dance move, so don't over-exert yourself.
Learn how to turn rough agate into a beautiful drop shape cabochon by hand from a qualified lapidary at Holts, London. A cabochon is a gemstone which has been shaped and polished as opposed to facetted. The resulting form is usually a convex top with a flat bottom. Use this technique of forming softer stones into smooth oval shapes for fine jewelry.

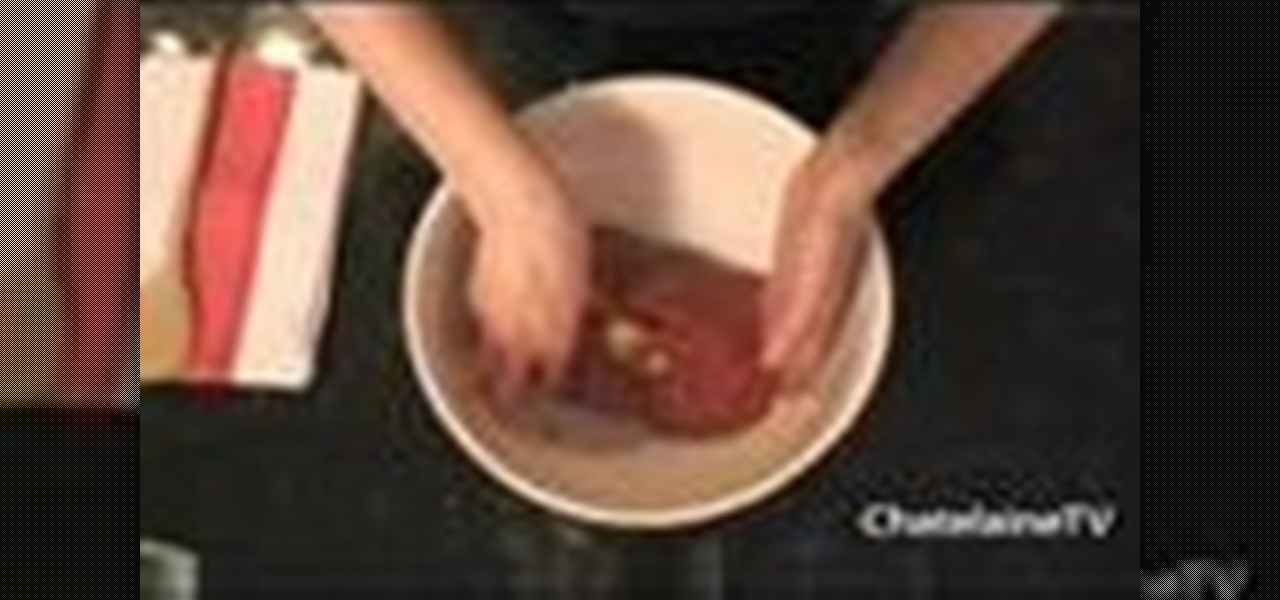
Are your hamburgers always falling apart on the grill? Does that meat ever even make it that far? Something could be wrong with your forming technique, and Chatelaine is here to show you how it's done. For a perfectly formed burger, make sure you even distribute you ingredients, mixing the meat with your hands or a fork. Try not to over-mix though, cause you will toughen your burger. Check out the rest of the tips in this video.
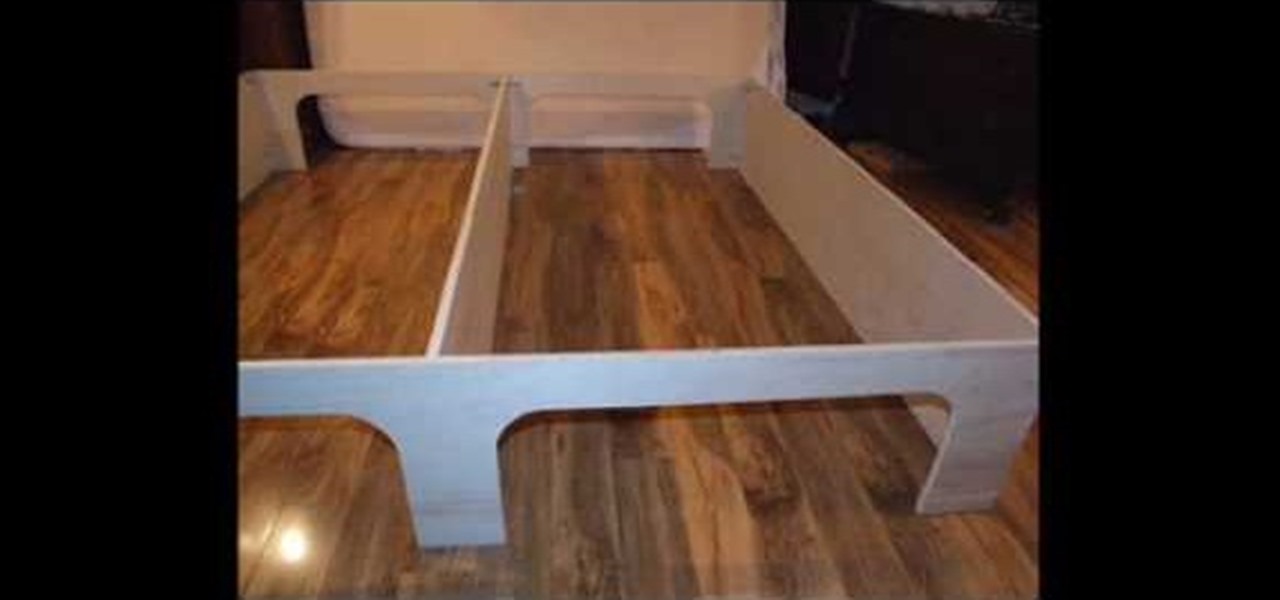
Following are the steps to describe how-to build a platform storage bed at a low cost: 1. All you need are the following materials: (Say a bed size of 16. 5 inch)4 sheets of plywood, 3 (1x4x8) plywood, 20 2-inch corner braces, 1 (1/4-inch) drywall screw, few nails.
Forming a successful work group is tough but a great way to complete tasks in a shorter amount of time. Learn how to get the most out of a work group from a communications and public speaking expert in this free instructional video series.
There's more than you think to making jewelry. It takes meticulousness and dexterity to be good, but forming an earring hoop makes the whole process seem easy, but don't be fooled. This wire earring hoop is simple, but that's just a little part to jewelry making. This demonstration video will help walk you through the process of forming a wired hoop for earrings.
Kevin demonstrates how to make a paper frog. Take a regular sheet of construction paper. Fold the outer ends towards the center forming a triangle. Fold a crease at the base of the triangle and cut it out. Open the folds and you can observe two creases. Create two X-shaped creases by bending the opposite corners. Hold the triangles on the side of the X and squash it down such that the other two triangles meet. Repeat the process on the other side. This forms a square with a diagonal cut conta...
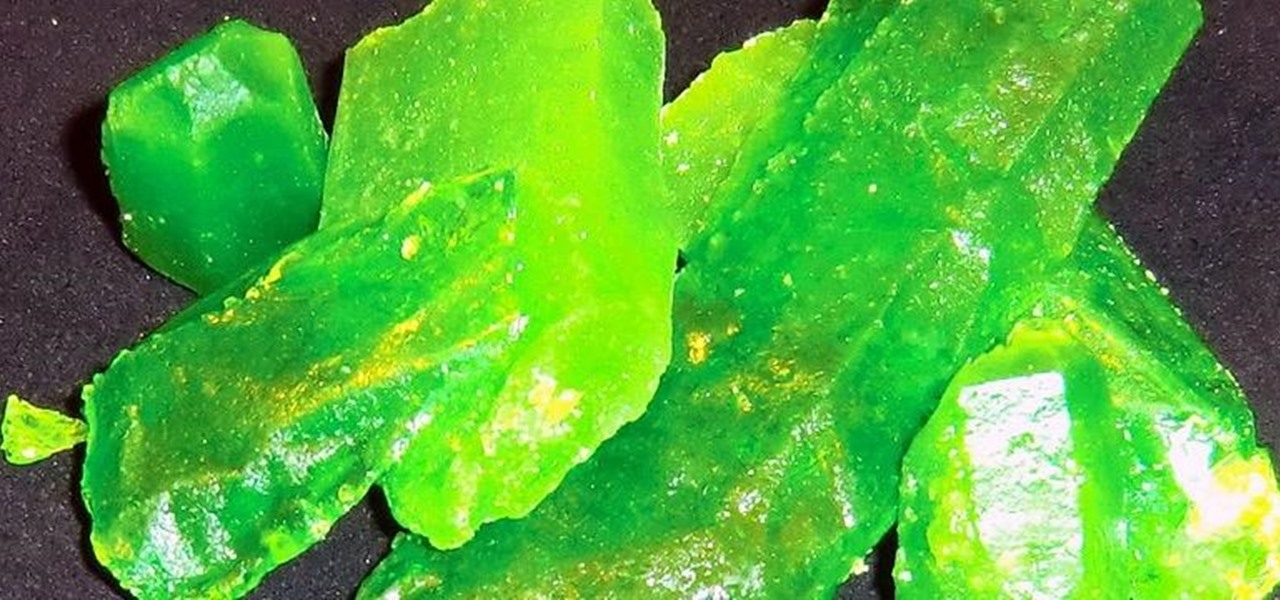
If there ever was a day to eat green candy, St. Patrick's Day would be it. But is there something better than the banality of green candy swarming the streets on St. Patty's Day? Yes—glowing green candy, and Instructables user BrittLiv wants us to show you how it's done.
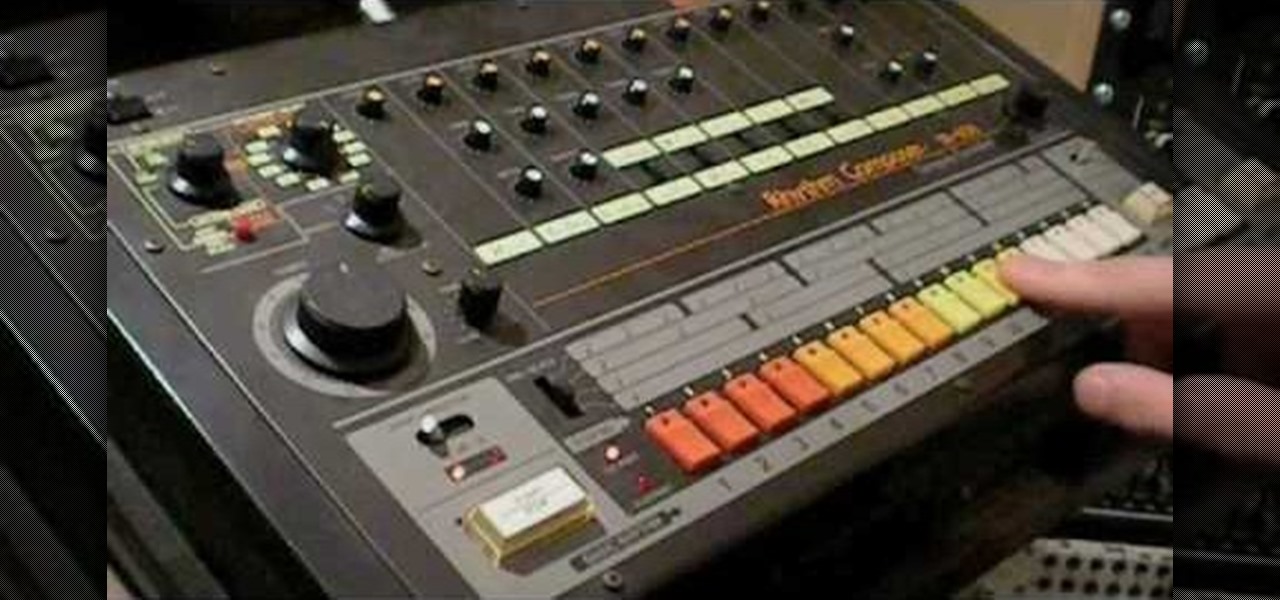
The Roland TR-808 drum machine is one of the most important modern instruments, forming the backbone of both hip-hop and electronic music percussion. If you have gotten your hands on one, you're a lucky devil, but you have a long way to go before you can unlock it's true potential. Watch this video to learn how to program an 808 all the way up to a 64-step beat!
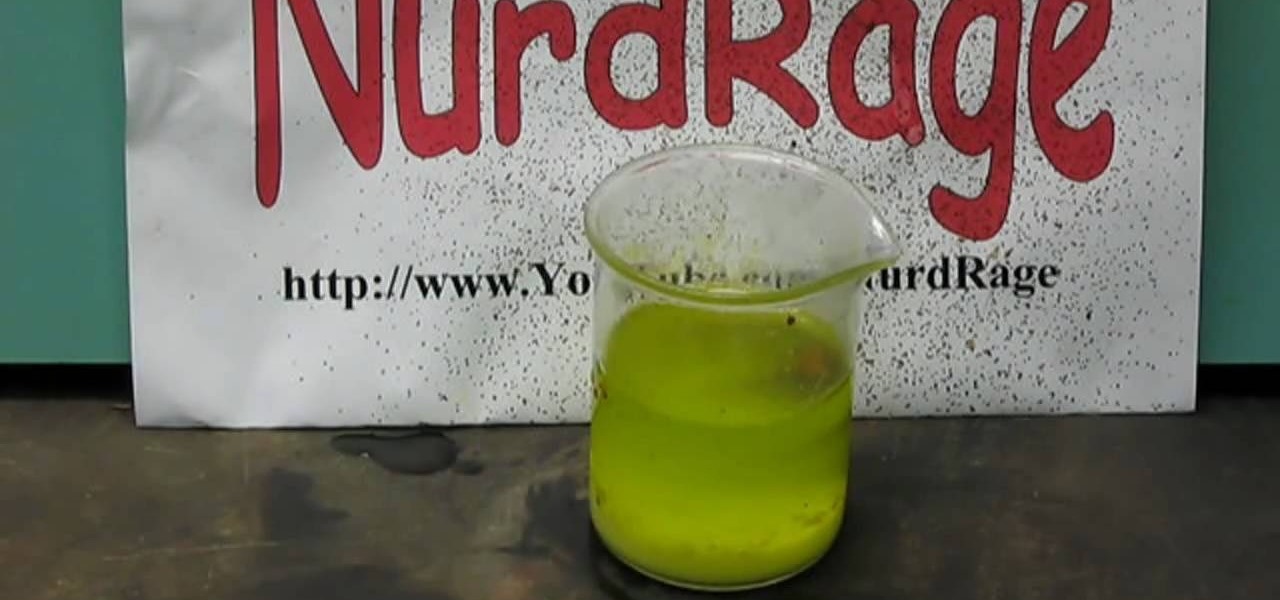
Watch this science video tutorial from Nurd Rage on how to test if a fertilizer has nitrates rather than urea or ammonia as its nitrogen source.
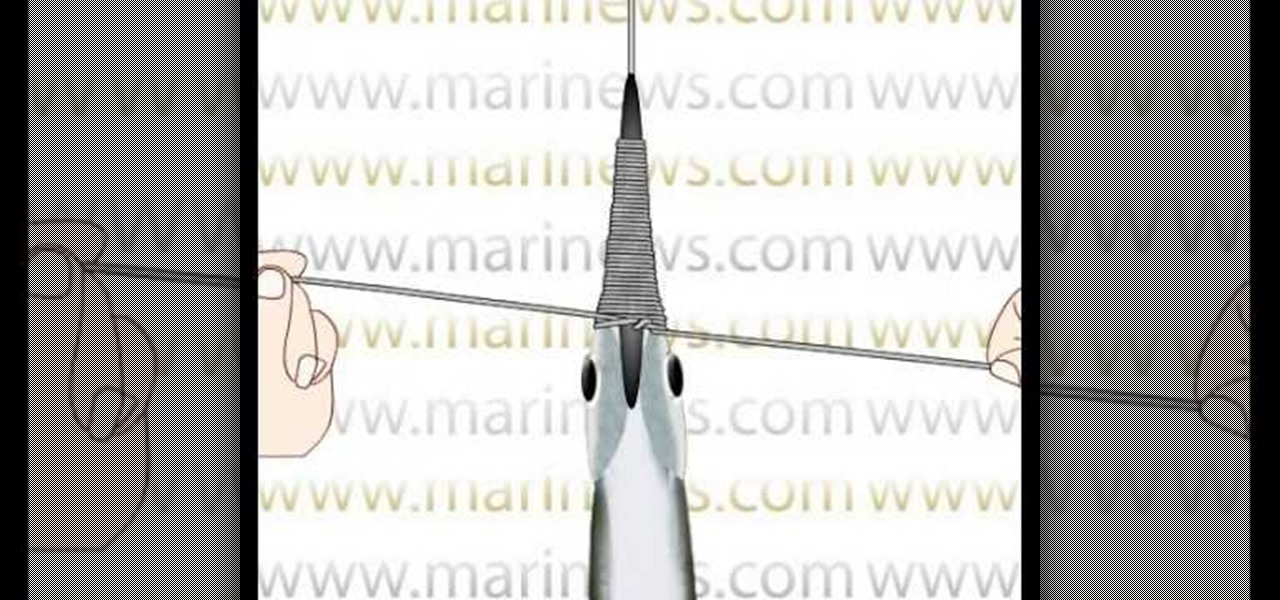
So, you've mastered the knot tying process for fishing, and you already know how to catch bait, so now what? You need to put that live bait to good use... this animated tutorial from Marinews will show you how to rig a garfish for fishing swimming bait. Catching bait might just be as hard as baiting fish, but it's all in good fun when you kick back with a brewsky in your hands. You can learn by simply watching the bait rigging animation at a moderate speed, or if need be, click on "learn by s...
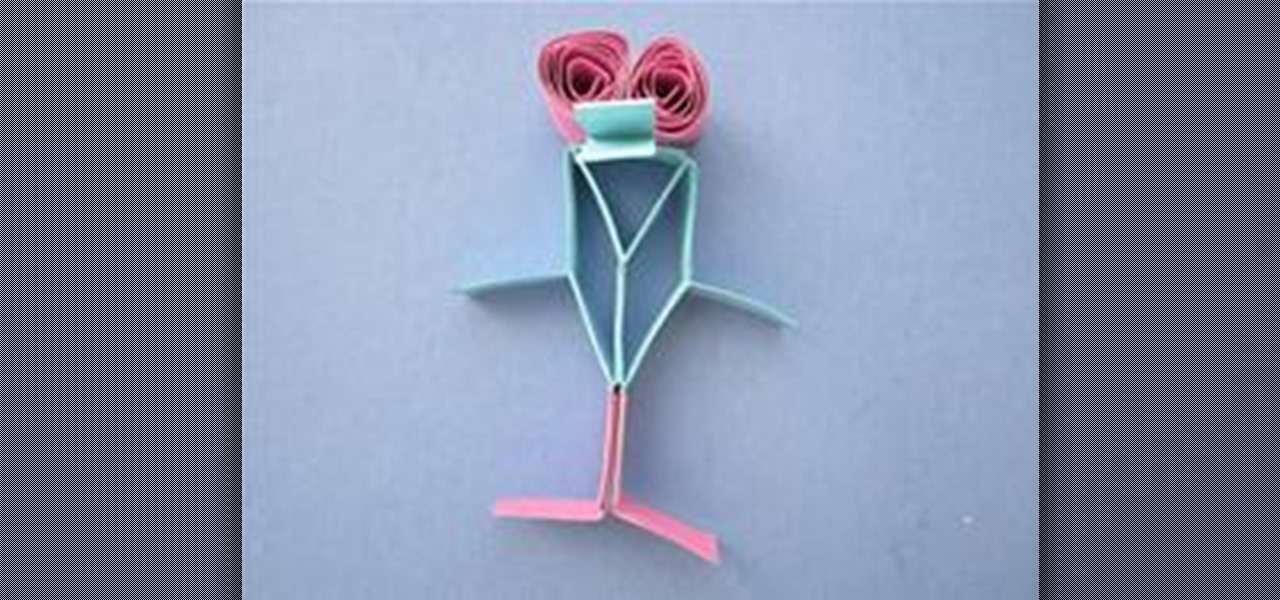
Use geometry to make an adorable and fun heel klickin' friend using McCormick vertex elements! You will need:
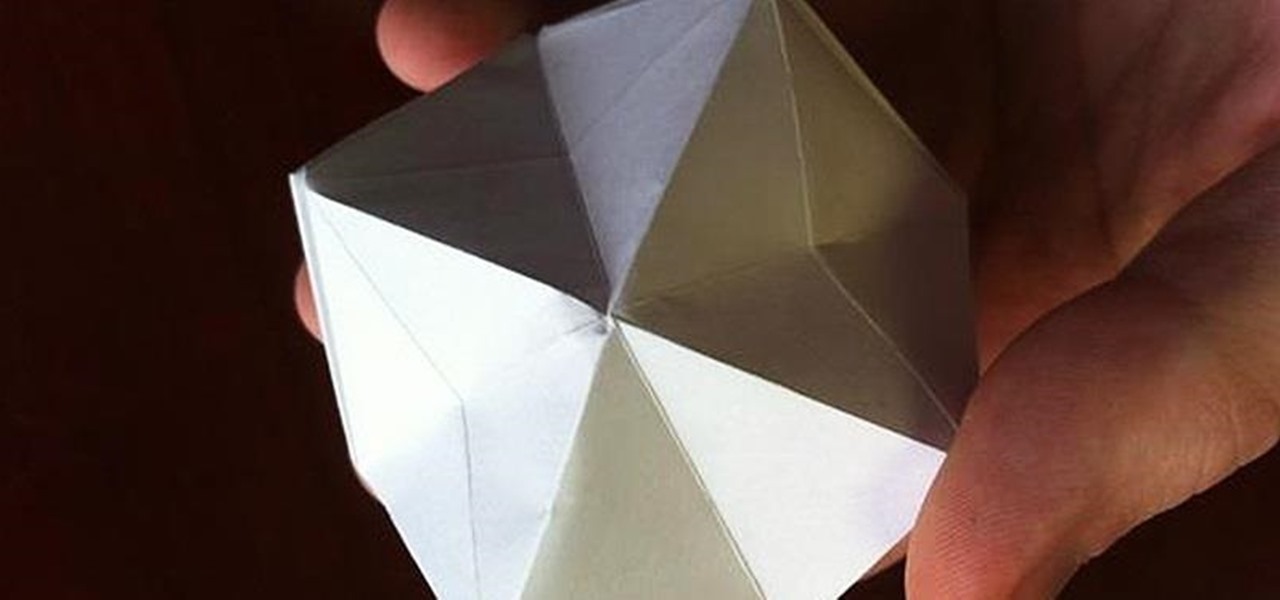
One of the most popular and basic origami geometric shapes is the "water bomb," which is a simple inflated cube. With a few extra folds and only a minor shift in approach, a more complex geometric shape can be achieved.
Tutorial of how to quickly make and Origami Magic Ball! Get a piece of 20x40cm paper. Fold along side in 32 equal parts, by repeatedly folding the paper in half - using genderless folds. Fold the short side in 8 equal parts- using valley folds. Turn the sheet over and start diagonal folds - using valley folds into 32 parts. Roll paper out flat, and fold it zigzag following previously made genderless folds. At corner of paper, create a "water bomb" by pressing together previously made folds fo...
Sure, there are a lot of videos out there that will teach you how to make burning letters or icy letters in Photoshop. But how many will teach you this? This video will show you how to make letters in Photoshop that look like glass, forming a window to the background behind them. It looks really cool, isn't too hard to pull off, and should make your website or film titles much snazzier.
In this tutorial, we learn how to do close to open transition in tango via back bolero. You can communicate through closed and open embrace by forming your body correctly. You need to use your embrace right and take your energy in your ocho factory and legs to get the dance right. You should be close next to the person but both of you should have a strong stance so you are ready to transition into different moves while dancing. As you practice, you will better learn how to dance and transitio...
Candy and clay aren't two words you usually hear in the same sentence. But for pastry chefs and bakers, candy clay is a deeply ingrained part of their cake decorating vocabulary. That's because candy clay is a much better tasting sister of fondant, which is commonly used to decorate cakes.
We don't know why you wouldn't like to make a pom pom. After all, they're cute, chubby, and make anything they're attached to - keyrings, the tops of berets, air - look absolutely adorable. But then again, they do take a lot of patience to make.
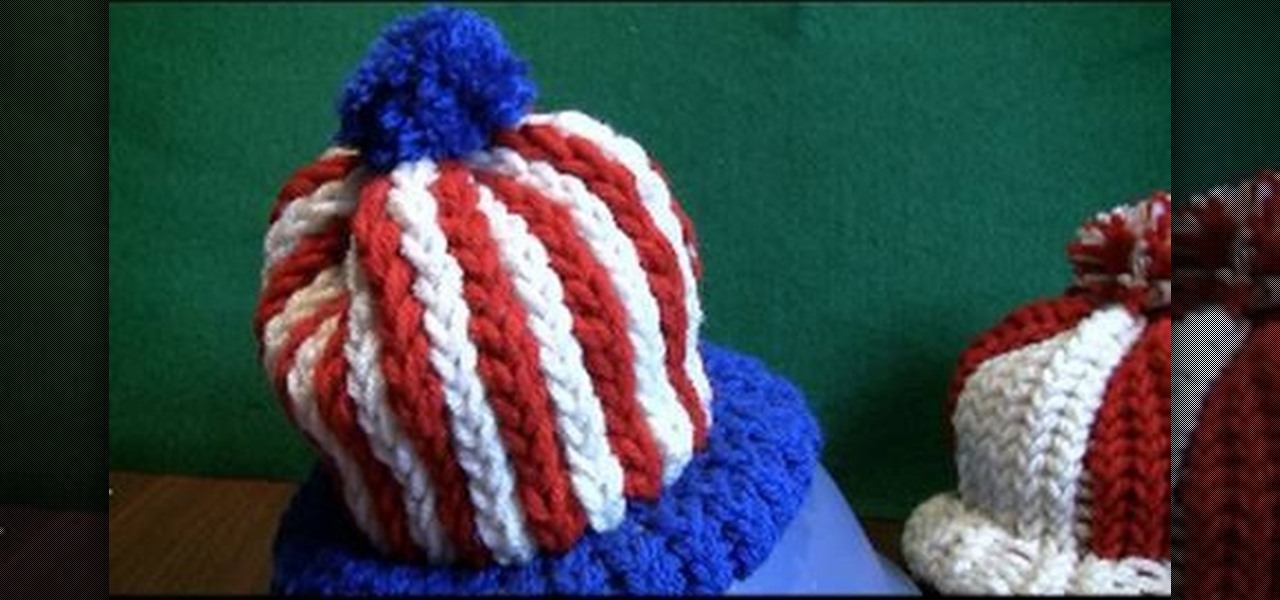
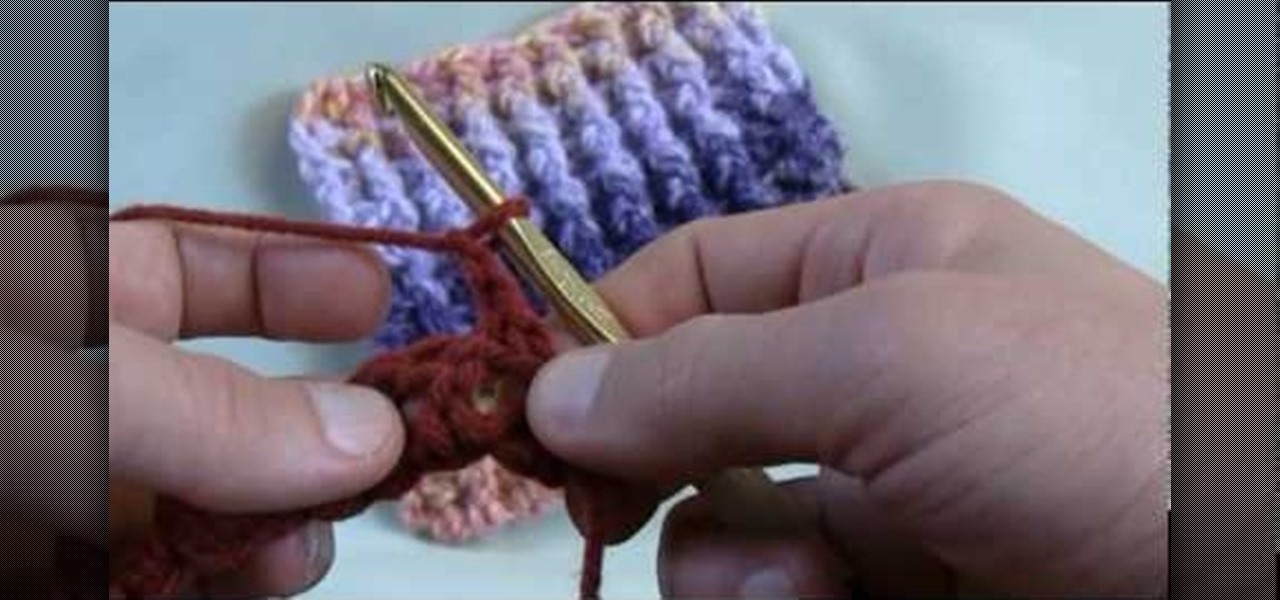
A crochet single rib stitch is essentially a fancy way of saying a crochet stitch with an undulating up and down pattern. A "rib," or elevated stitch, runs across the finished piece vertically, forming an interesting pattern that can be used to accentuate scarves and mittens.
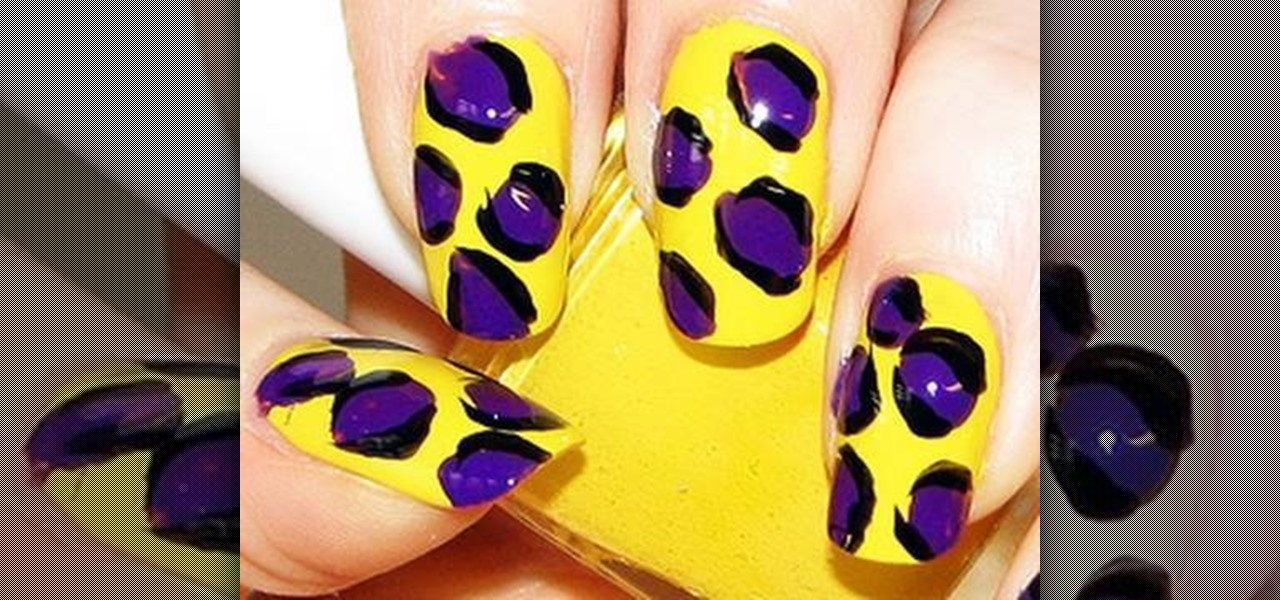
This video is about how to create colorful leopard print nails. So the first thing that you will have to do is to choose any colors of the nail polish that you want. After deciding for the first color of the nail polish, apply it to your nails and let it dry. The next step is to get a plastic plate and place a bit of a small amount of the second color that you chose. With the use of the nail art brush, carefully start forming small random spots on the nail. Apply these to the rest of your nai...
This video illustrate us how to make make marzipan flowers. Here are the following steps: Step 1: First of all take the almond paste and mix it with corn syrup.
Joico Spiker takes the time to show us how to style a mans hair so it is spiky and textured. It's very easy to get the gist of it even though the video is in a language other than english, . He recommends his hair styling product for this. He uses 3 separate stages of applying the hair gel, all three stages use about a nickel size dollop of gel. For the first stage you apply it over as much of an area as possible, setting a base for the second two stages. Next, you apply the second dollop of ...
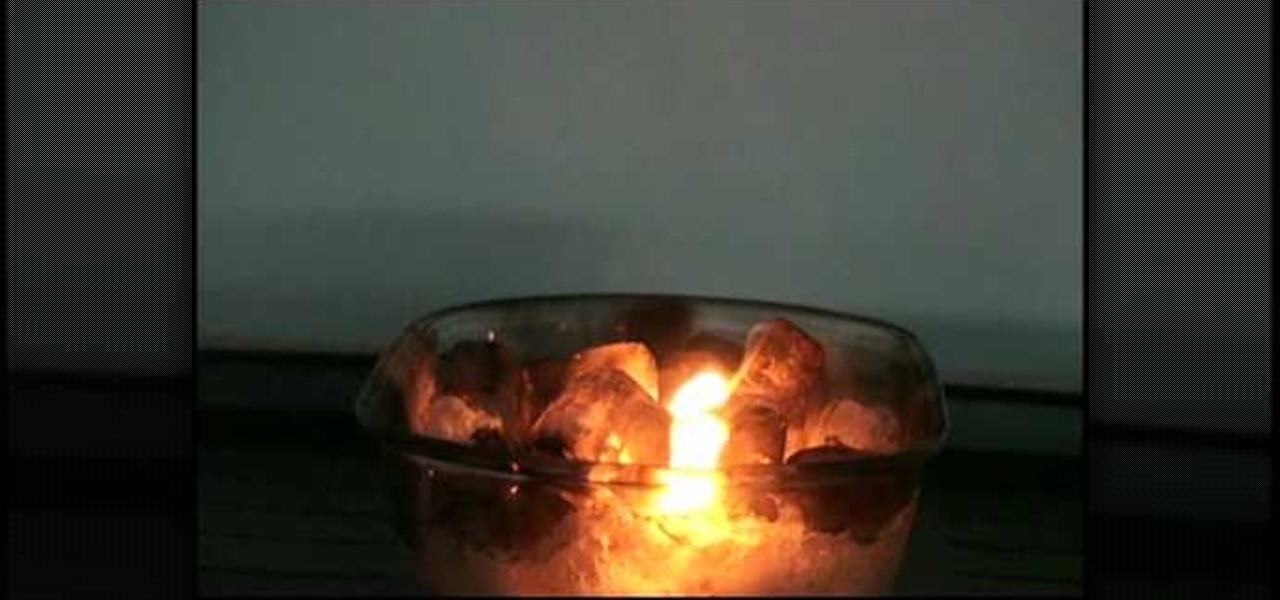
In this fascinating "how to" video, you will see how a simple process creates the illusion of ice that is burning. Only a few items are needed to enact this scientific experiment. As the narrator describes, "Calcium carbide reacts with water to form acetylene gas." To illustrate, the video shows a bowl of ice cubes, to which the special ingredient is added. As the ice melts into water, it reacts with the calcium carbide, forming the high flammable acetylene gas, which is often used in welding...
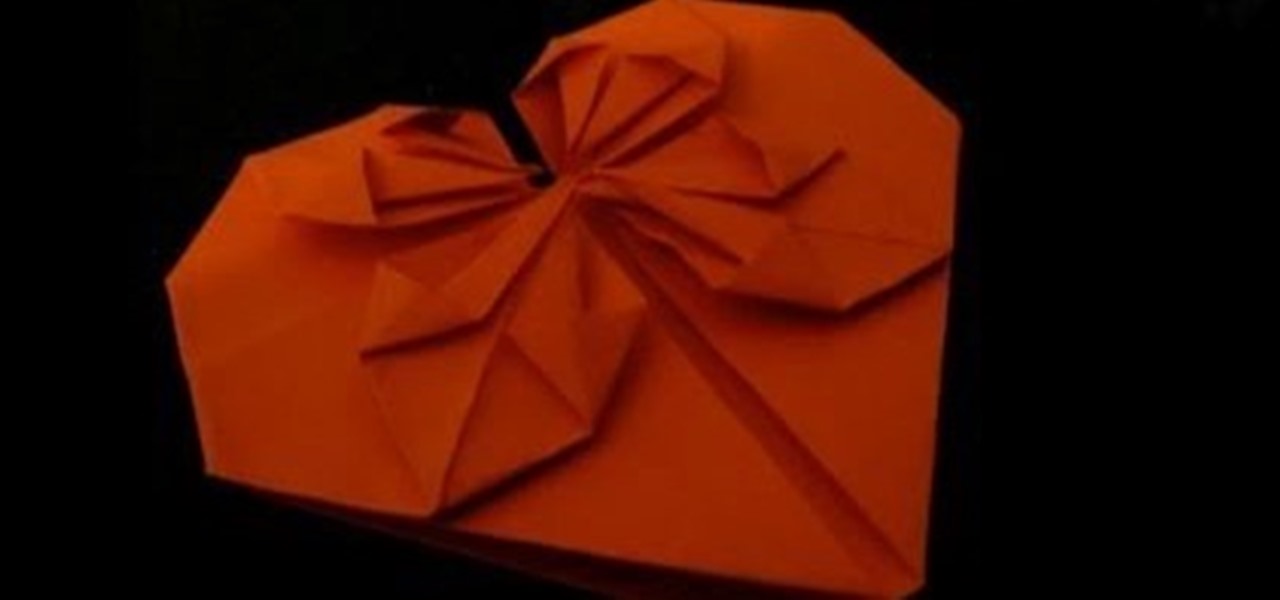
In this video, Nekkoart demonstrates how to make an origami valentine heart. Begin with a sheet of paper that is nineteen cm by eight cm. Fold the paper to form a square. Unfold. Fold both sides to the center crease. Unfold again. Fold the paper in half horizontally (not forming a square) and unfold. Fold a corner to the edge of the center crease. Unfold and repeat with the other corners. Squish both sides down to form a square. Fold down the upper half. Fold down the two triangles at the top...
Bouncing Balls is a Facebook game that allows you to destroy balls left and right! Get Bouncing Balls hacks, cheats, tricks and tips! Watch this video tutorial to learn how to hack Bouncing Balls on Facebook (08/13/09).
This video tutorial is for beginner puzzlers who are getting more advanced in their speedsolving of the Rubik's Cube. When solving the Rubiks Cube, there are these mathematical equations called algorithms, which I'm sure you already know, but in this algorithms you may find the need to mirror them, or reflect them, to get the exact opposite, forming a new algorithm. Well, this video will teach you all about how to reflect or mirror algorithms for the Rubik's Cube.
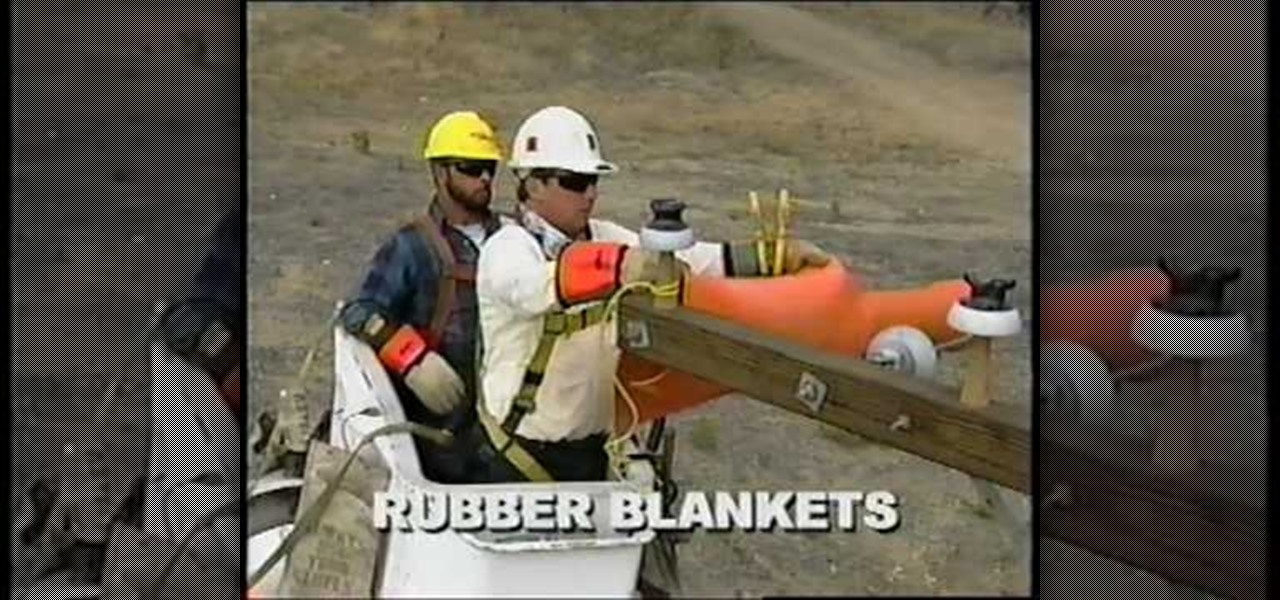
This educational safety video is geared toward public and private utility workers and linemen who need to remove pole tops while dealing with high-voltage electrical cables and electrical insulators. It discusses the proper pole topping removal procedure and demonstrates effective procedures for removal.
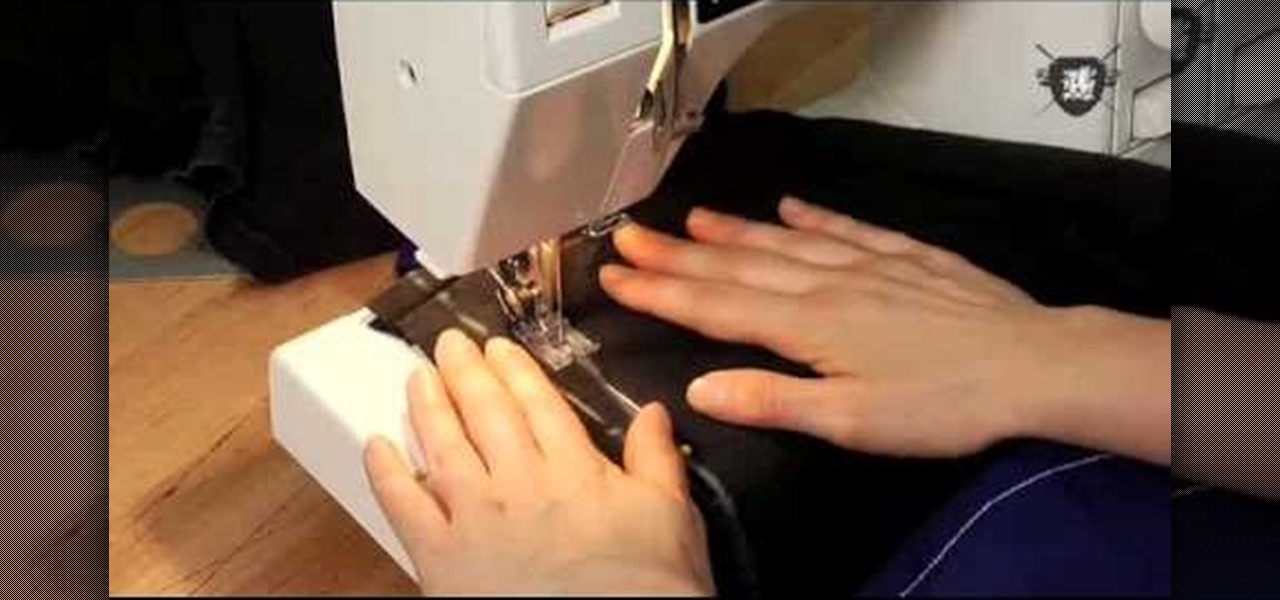
Of two old t shirts, one is taken and marked from the collar to under the armpit on all four sides of the t shirt. The marked lines are cut along. The shirt is tried on and pinched and pinned under armpit until the right fit and marked with chalk. Both sides of the shirt is cut off and along the chalk line is pinned. A straight edge and chalk is used to make a line from the pin to the bottom edge of the shirt on both sides.Both side of chalk lines are pinned down. The bottom is made even with...
Barbabella shows how to make a modular origami hexagonal box lid with star design. Fold a two-sided square sheet of paper to form a triangle, unfold it and fold it in the opposite direction. Using the guidelines fold the paper on three sides forming a small triangle and leave one end as it is. Turn over the sheet and fold the opposite side of the unfolded one as shown. Now mark the points as shown and fold it on one side. Now fold it to mark point below and the crease ends at the point marked...
Flash games are addicting, especially Bouncing Balls. But can you actually beat all of those high scores you see? Probably not, but you can if you use Cheat Engine.
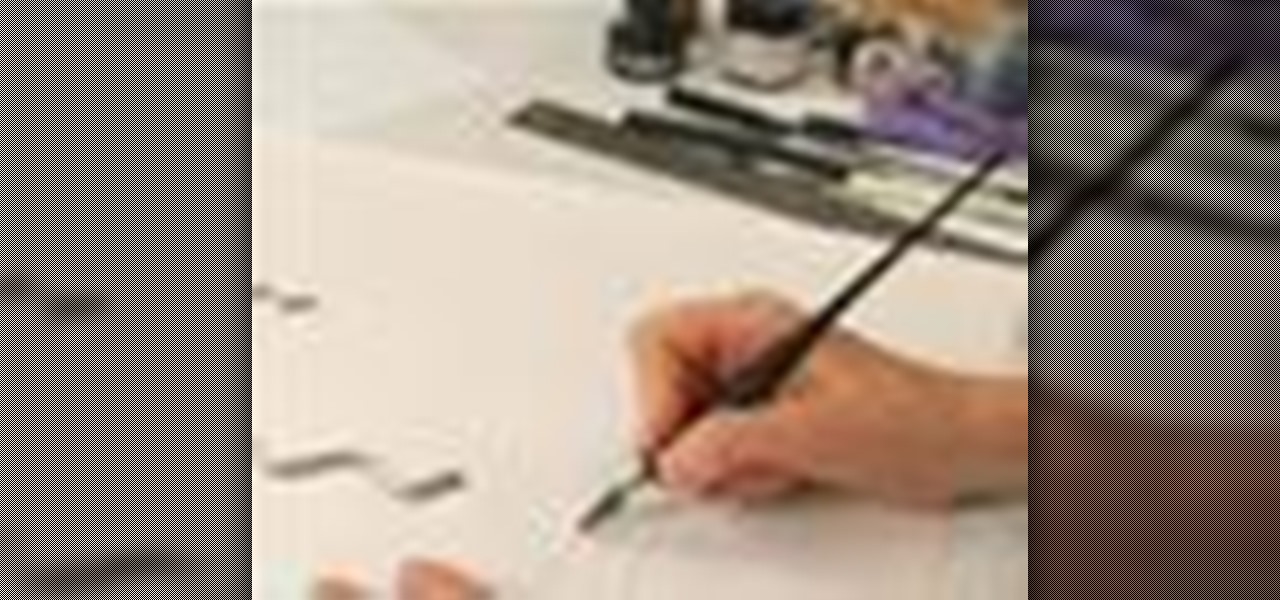
Calligraphy looks great for wedding and party invitations. Learn more about forming letters in calligraphy and how to write using the art of calligraphy in this free online video series.
Uncial calligraphy is characterized by rounded strokes. Learn more about forming letters in calligraphy and how to write using the art of calligraphy in this free online video series.
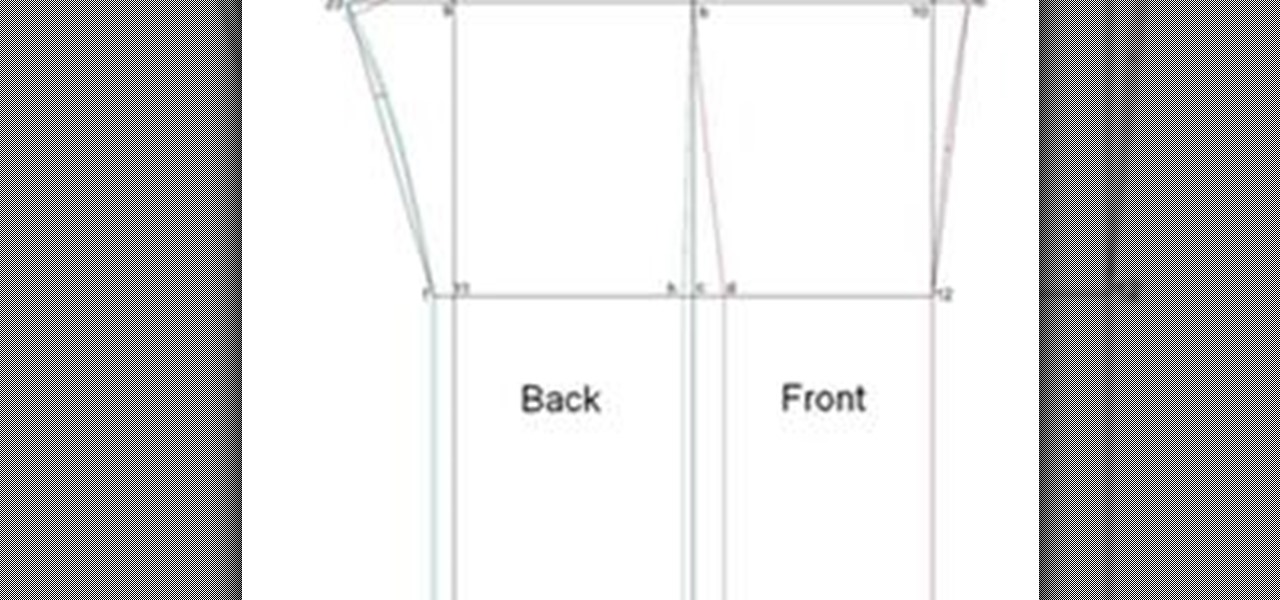
Written Instructions with accompanying video for anyone who wants to make a basic pant exactly to your measurements! Please get your correct measurements before you begin from How to Take Your Measurements.
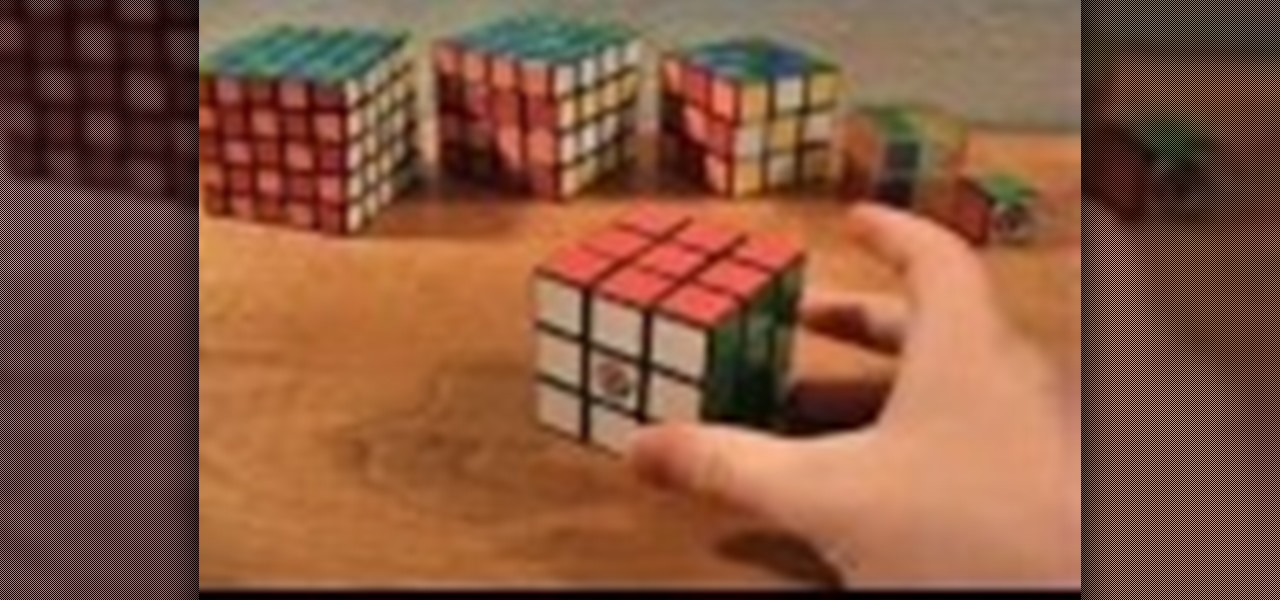
As the best-selling toy of all time, the odds of you once playing with a Rubik's Cube are pretty high. And if you're like me, or even the cube's inventor Erno Rubik, your first attempts likely ended in futility. Every twist, every turn, the cube just gets more and more mixed up. Is there really a solution?
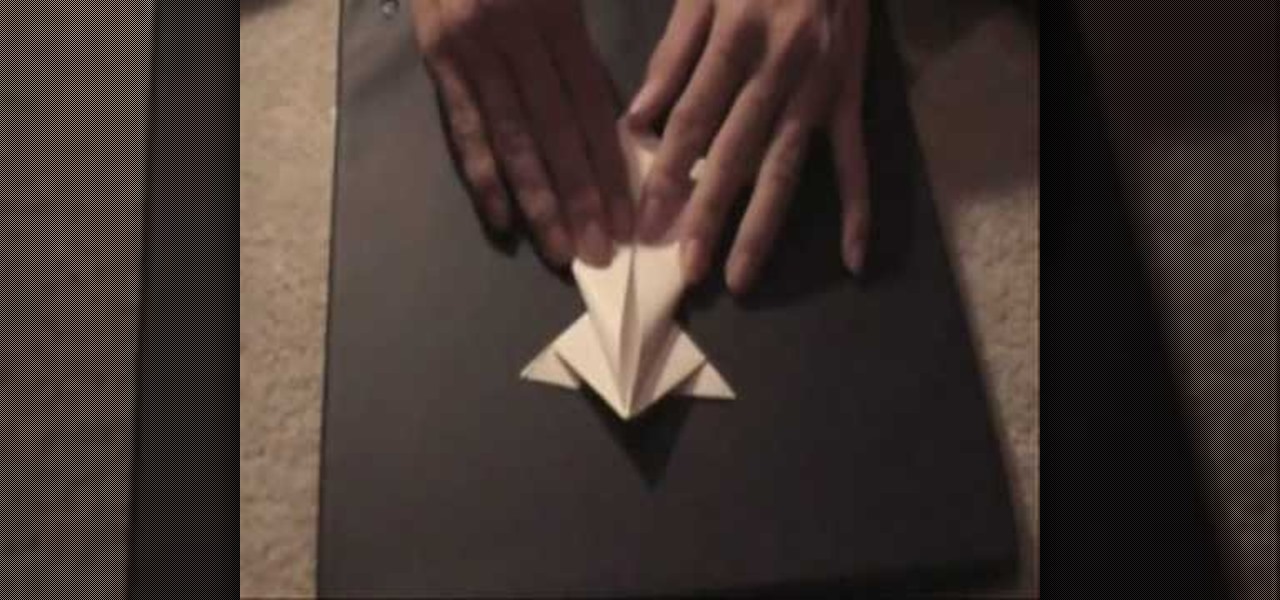
This video illustrate how to fold a paper frog. Here are the following steps.Step 1: First of all take a sheet of paper and fold it into half diagonally forming a triangle.Step 2: Now roll back the paper and fold this triangle it into half so that a smaller triangle is formed..step 3: Now fold back the triangle and make it into two equal halves.Step 4: Now take the corners and fold them all to the center and open it from the center to the joined line.step 5: Hold back the triangles out of the...
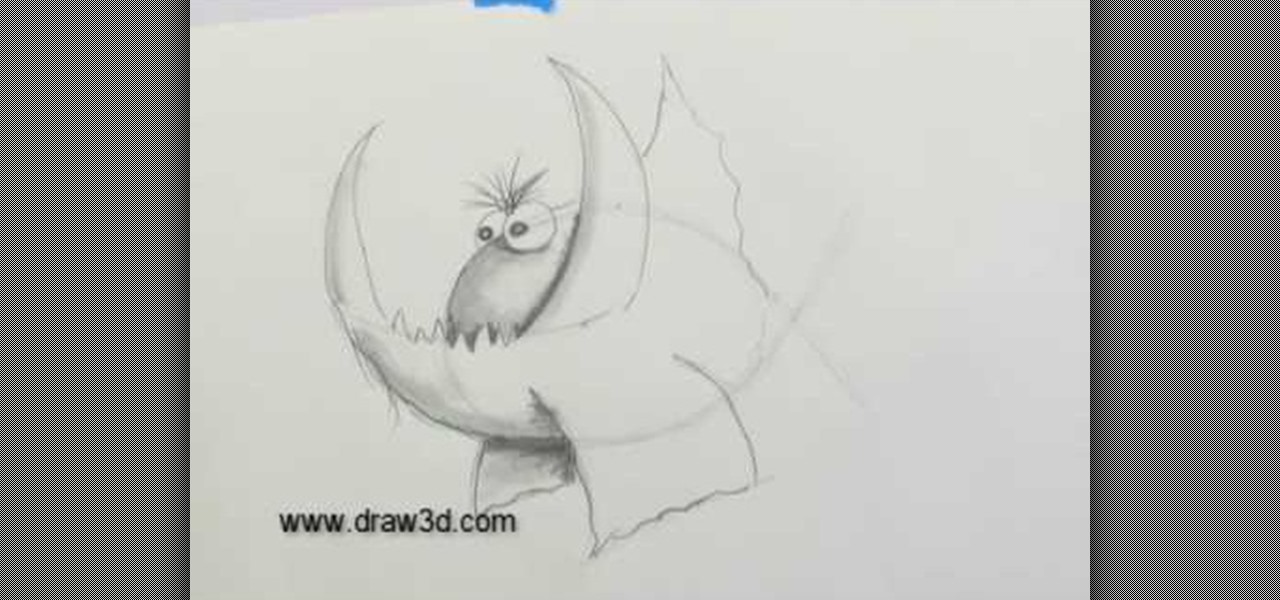
This video illustrate how to draw a 3D fanged fish. Here are the following steps.Step 1: Take a sheet of paper and pencil and start drawing a circle forming the face of the fish.Step 2: Now in the middle of the circle draw an wavy line showing the jaws of the fish.Step 3:Now draw two small circle on the boundary of the circle forming the eyes of the fish.Step 4: Now from the jaws draw two fins in opposite direction to each other.Step 5: Now draw Two fans beneath the face showing the back fins...