Maximize the display capabilities of your LCD computer monitor! Set up your contrast just how you want it by using test patterns, adjust the backlight, adjust the color display for over- or under- saturated colors, and then play with your monitor presets.
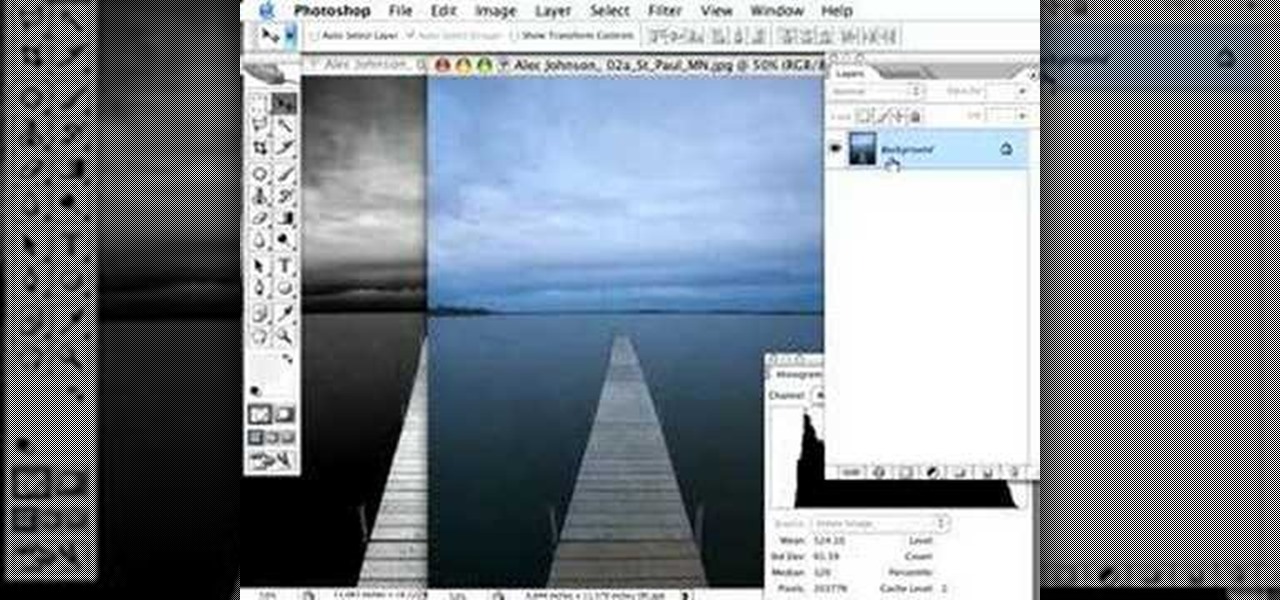
Color and contrast are two separate, yet still related, qualities of any image. With Photoshop, it's possible to adjust the color without touching the contrast, and vice versa. This tutorial by the King of Photoshop, Bert Monroy, walks you through how to do both separately.
Windows 7 provides the high contrast display feature for the monitors. To use this feature go to the desktop. Right click and select 'Personalize' from the menu. This brings up the Personalization window of the 'Appearance and Personalization' option of the Control Panel. Here you can change the visuals and sounds of your computer. Scroll down in that window till you find high contrast themes. Choose one of those themes. When you select them Windows automatically applies the theme to your com...
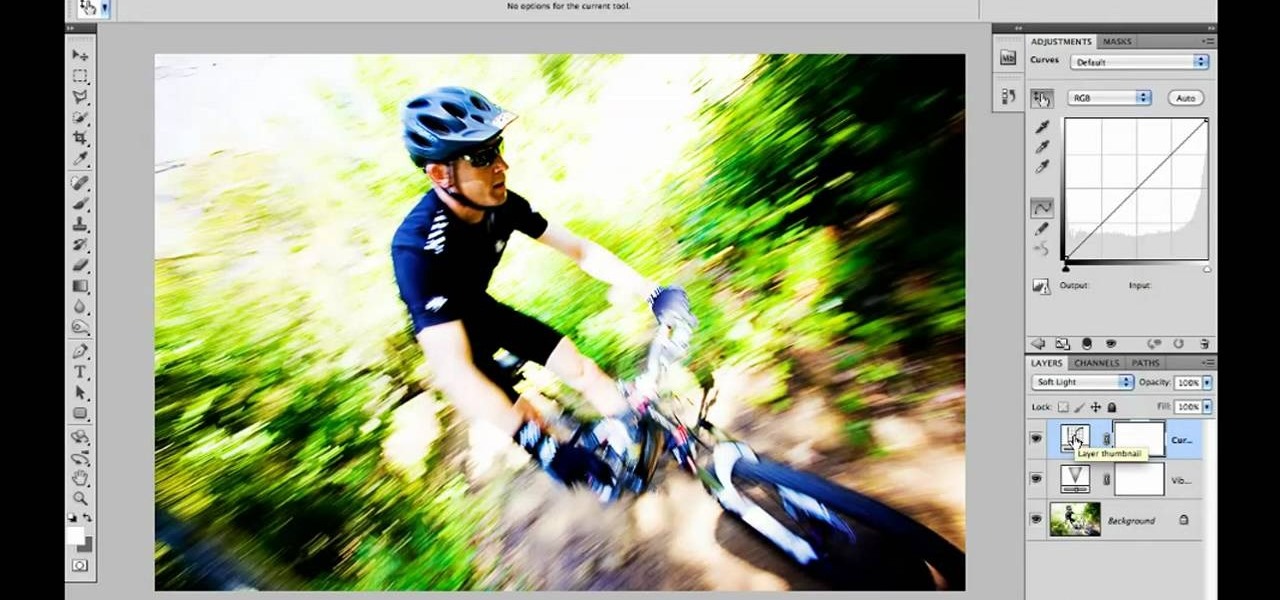
Oftentimes, a photo may not capture the true vibrancy of color in real life, but Photoshop can fix that. Photos with lots of color can be given even greater hue saturation by adding extreme contrast in Photoshop. By using multiple effects, including overlay blend modes and noise across multiple layers, a picture's color intensity can be made more bold with these techniques. By following the steps in this video, colors can be made more vibrant using extreme contrast with Photoshop software.
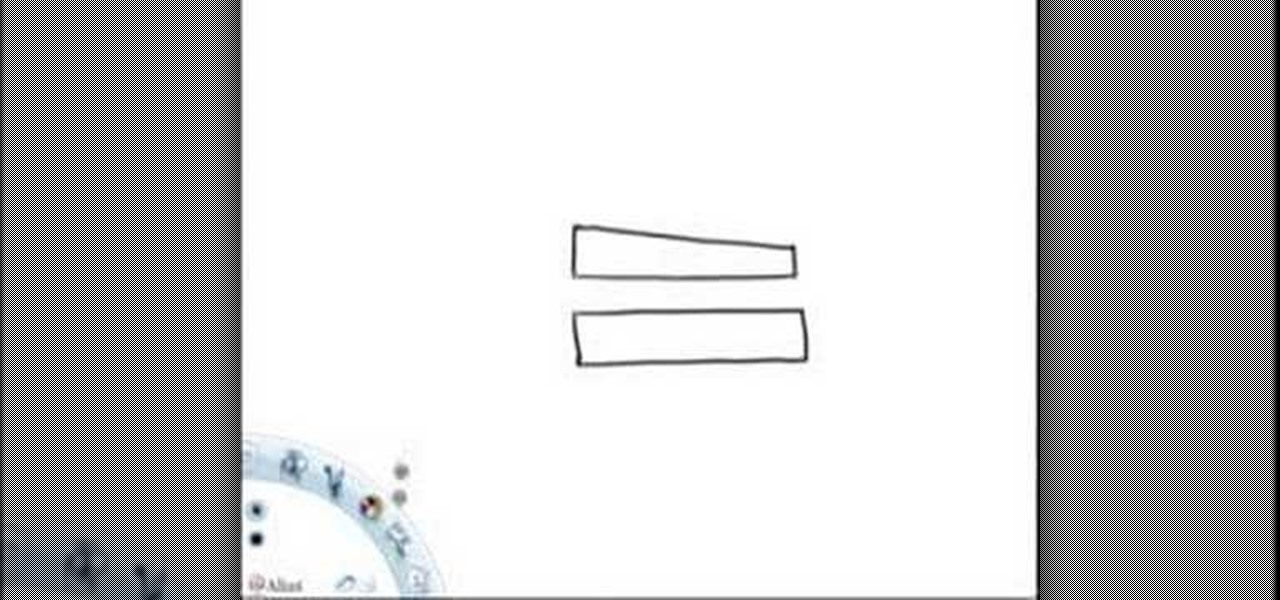
Watch this instructional drawing video to begin drawing forms using contrast. Contrast is only the concept of things being different from each other. Creating an interesting composition is all about drawing creating a happy imbalance of. Play with this drawing concept using color, shadow, and quantity of objects.
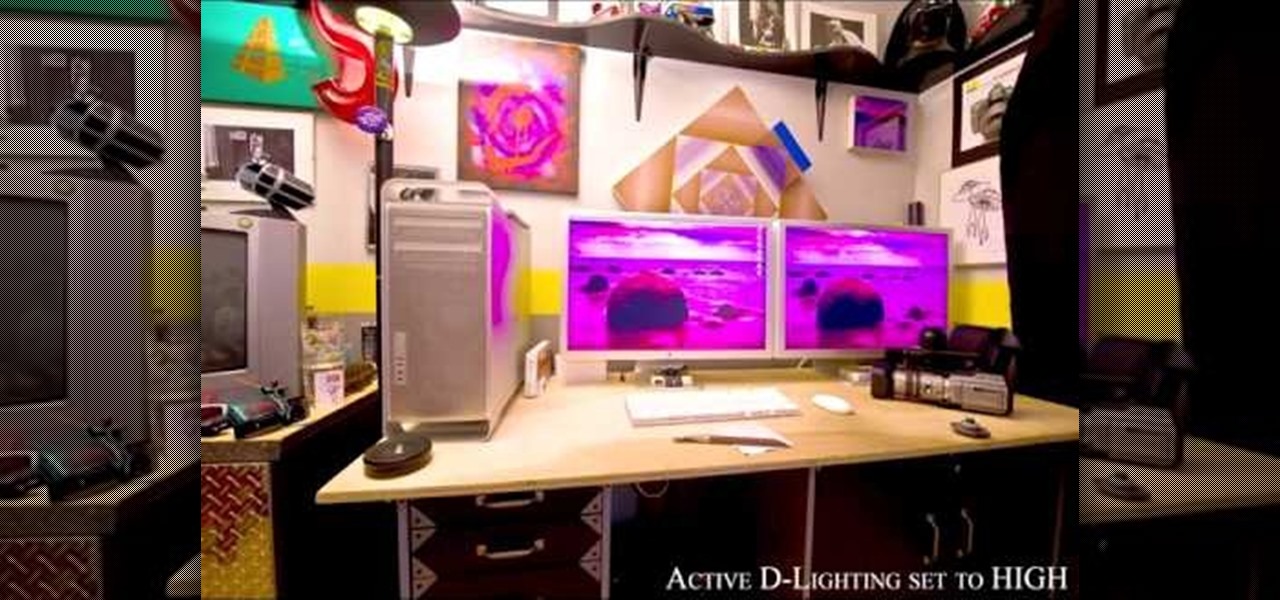
This instructional photography video explains step-by-step the features of active D-Lighting: what it can do and how it affects your images. Active D-Lighting allows you to photograph in various lighting situations for more neutral contrast results. Here is a basic explanation of the settings on a professional Nikon photo camera:

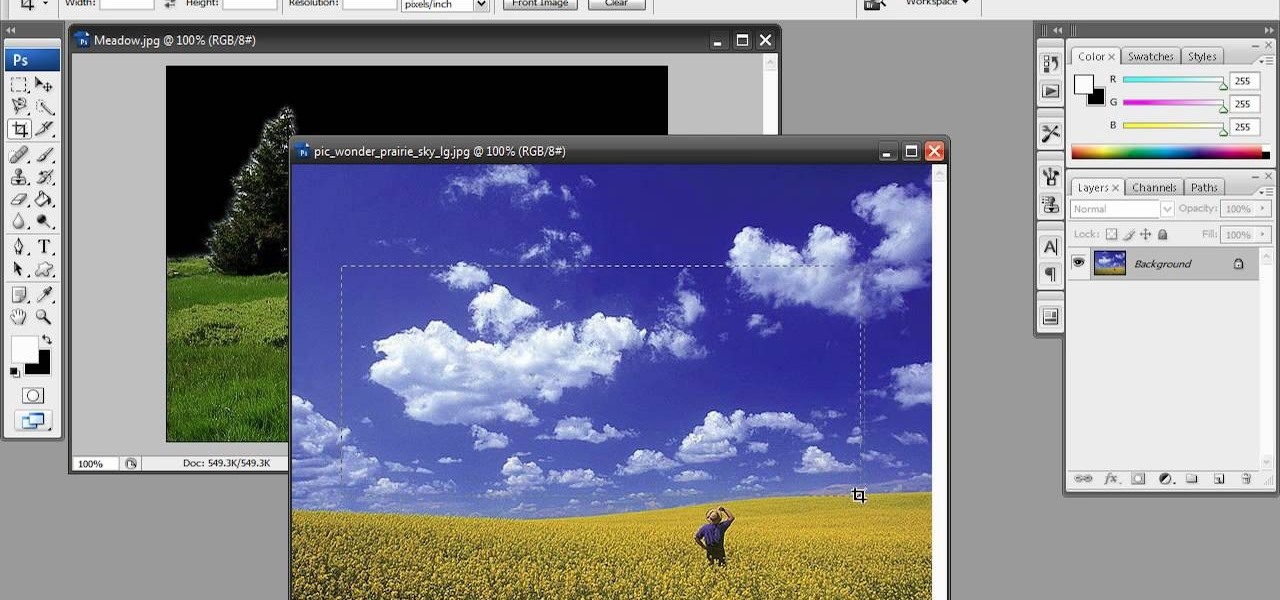
Have a beautiful photo that needs some help? In this video learn how to correct grass and sky color and contrast with a little revolutionary software program called Adobe Photoshop. Transforming brown/yellow grass to bright saturated grass and converting a dull sky to a bright blue wonderfully vivid sky with help take your photo from "just okay" to "superb".
The personal computer is a strange and powerful entity, capable of bringing great joy. Just as often, you probably want to chuck the damn thing at the wall because it doesn't work right. If you want to pull a prank on a friend that will really upset them, messing with their computer is one of the best ways to do it. This hilarious video will show you how to do three great PC pranks quickly and easily, including changing the contrast on the monitor and pretending to edit websites using Javascr...
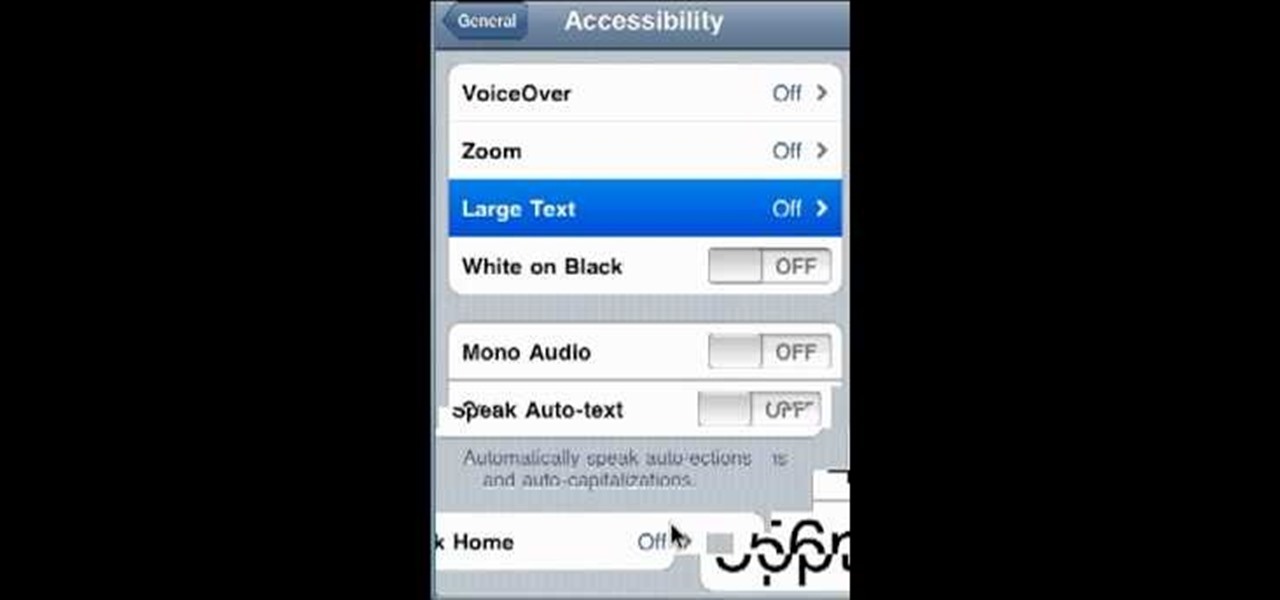
Much like Mac OS X computers, Apple iOS mobile devices like the iPhone and iPad support high-contrast white-on-black text for those with visual impairments. In this video clip, you'll learn how to turn it on and use it on your own iOS mobile device.
This clip presents a general introduction to the Sony Vegas Pro 8 brightness and contrast filter. Whether you're completely new to Sony's popular nonlinear editor (NLE) or are a seasoned digital video professional simply looking to pick up a few new tips and tricks, you're sure to be well served by this free video software tutorial. For more information, including detailed, step-by-step instructions, take a look.
In this lesson, learn how to correct and enhance images with regard to exposure, contrast and color balance in Photoshop. The differences between exposure and contrast are discussed in detail along with tips on how to make less than perfect images look better.
Here is a simple trick you can play on your friends by pressing only 3 keys. Set Windows to High Contrast mode and ugly up someone's desktop.
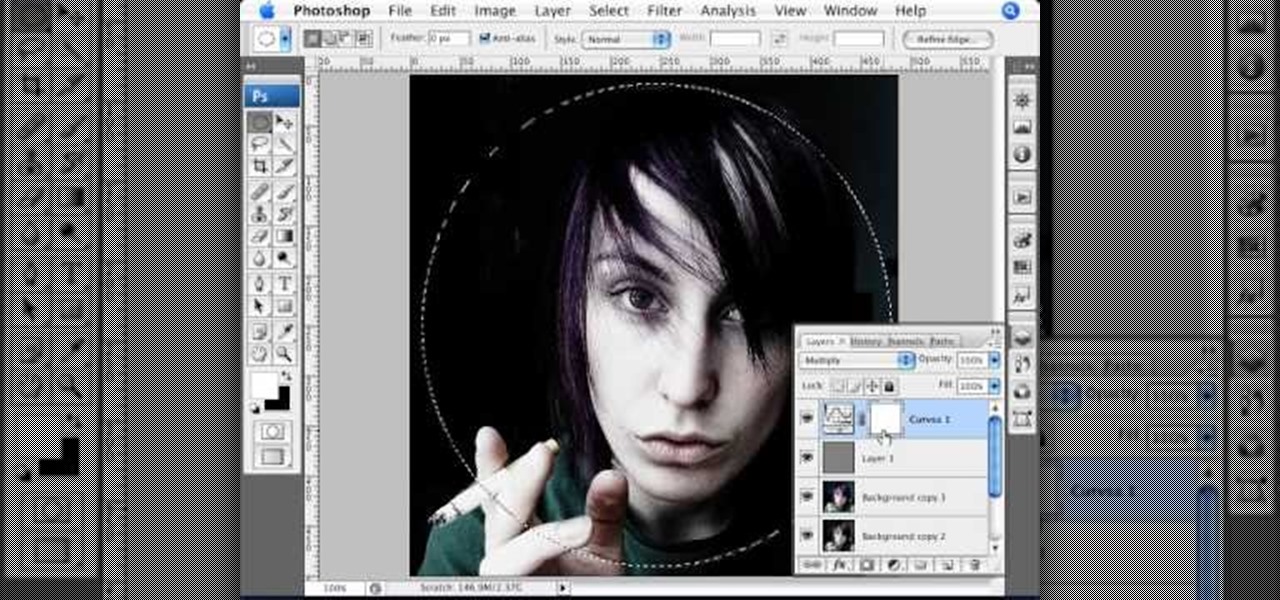
Using a series of submitted images as guides, this video tutorial looks at creating high contrast black & white images as a vehicle of communicating subject relationships. Technically, you will learn to create adjustment layers. Learn also how to use levels to adjust the tones of the image.
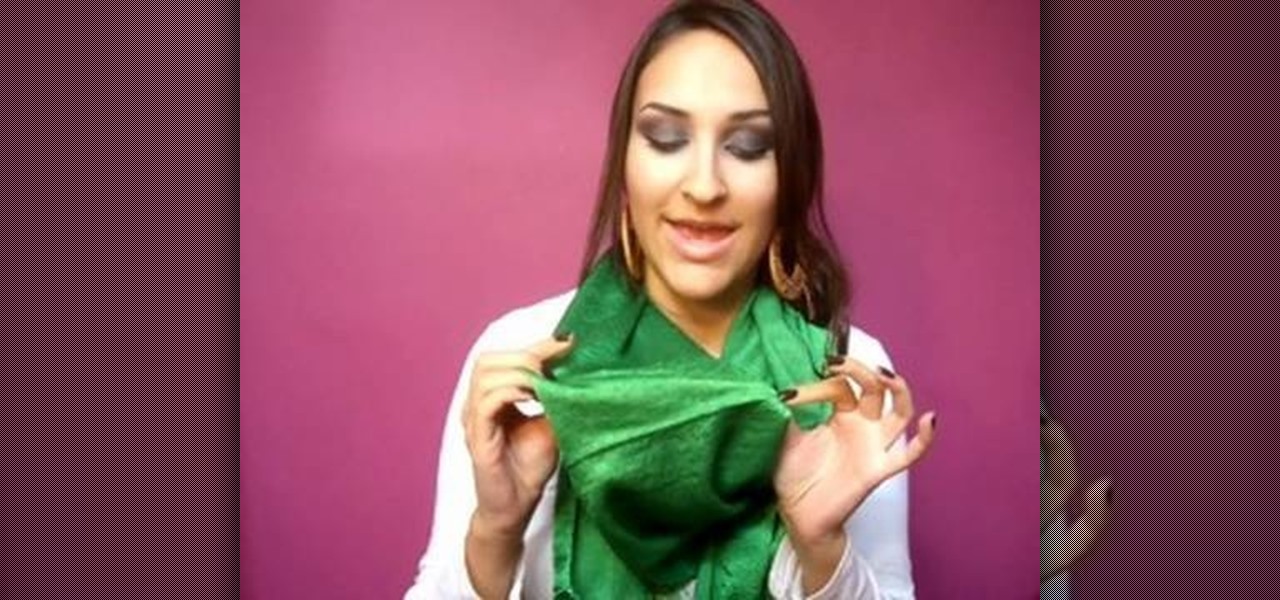
In this video, we learn how to wear a scarf by creating contrast and texture. A squared shaped scarf with contrasting patterns will look great with anything that you are wearing. To wear this, make it into a triangle, then tie the ends together around the back of the neck. Then, you can let the scarf hang down on the front to add a texture to your look. A solid color scarf is also great if you are wearing a simple top to add a splash of color. You can tie this around the neck one, then let th...
Clicks are made on "Image",then "Adjustments", followed by "Brightness/Contrast" ; contrast is set to 30 and brightness is set to 60 to add more light to the picture. "Adjustment", "Variations" are clicked in that order and both yellow and red are increased. "Filter", "Render", "Lightening Effects" are chosen in that order and a new window appears; within which the style is set to "Soft Omni". The brightness is decreased ;similar to the way it was increased, and contrast is increased to 60. T...
Mac OSX offers an easy solution to increasing the contrast of your display, and switching the screen from black on white to white on black. In the Universal Access section of System Preferences, under the large "Display" label, you will find a set of controls. Switching from black on white to white on black will invert the colors on the screen, making it easier to read for some people. There is a toggle to the right of that control which switches your display from color to grayscale. Below th...
Want to increase the vividness of a photo without also adjusting its contrast? With Adobe Photoshop CS5, it's easy! And this clip will teach you what you need to know. Whether you're new to Adobe's popular raster graphics editing software or a seasoned professional just looking to better acquaint yourself with the program and its various features and filters, you're sure to be well served by this video tutorial. For more information, including detailed, step-by-step instructions, watch this f...
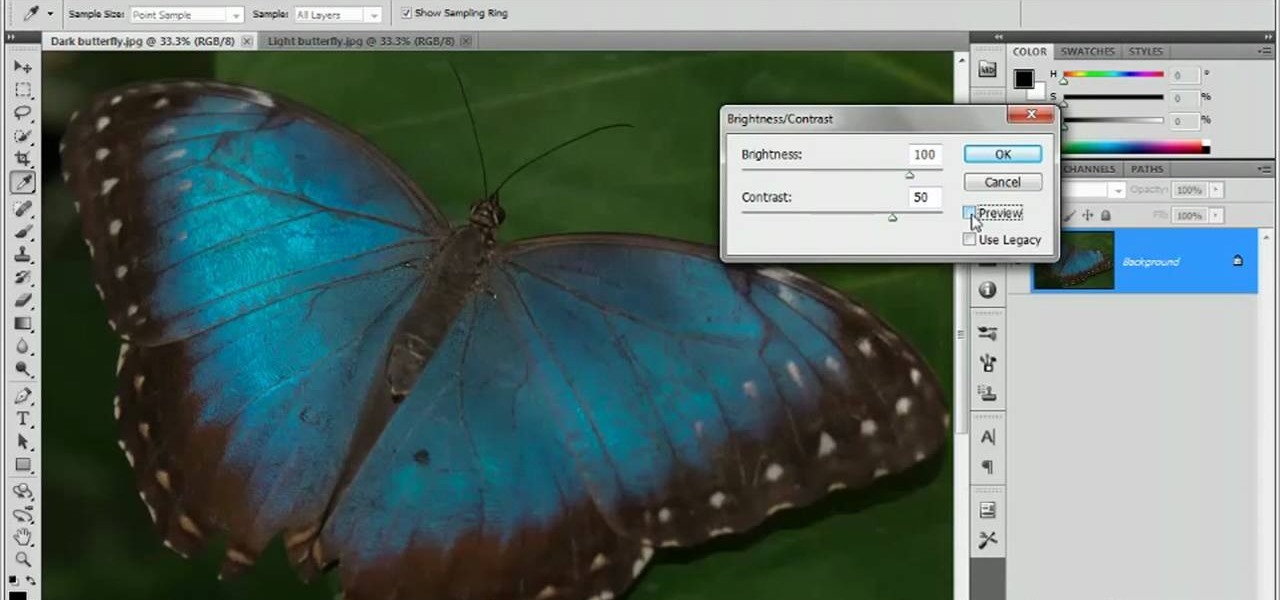
Have a digital image that's a little bit too dark or otherwise lacking in depth? Your fix is just a few mouse clicks away. This free software tutorial will teach you how to use the new Brightness & Contrast tools within Adobe Photoshop CS5. Whether you're new to Adobe's popular image editing software or a seasoned graphic design professional just looking to better acquaint yourself with the unique features of Photoshop CS5, you're sure to find something of value in this free video tutorial.
Do you want your photos to have a more dirty and gritty look? In this video tutorial you will learn to create a high contrast, bright and vibrant studio photo effect. This is a technique often used in the print medium.
This software tutorial shows you how you can blend three differently exposed images using Photomatix, and then demonstrate how to use some basic Photoshop techniques to touch-up the resulting image. [Note: the Flash overlay in this video doesn't sync completely with the audio; pausing for a second and then resuming it fixes the problem.]
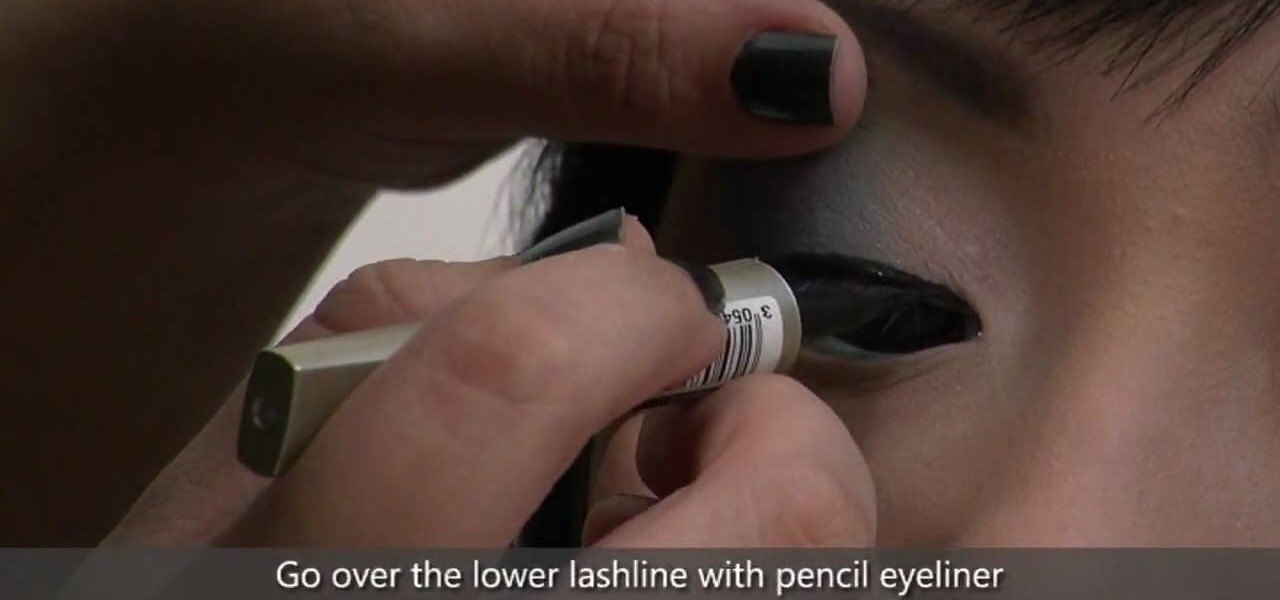
In this tutorial, we learn how to enhance the color of your lips and eyes with GIMP. To change the eyes, use the ellipse tool to highlight each individual eye, then change the contrast of the eye as well as the color and highlights. Do this for both eyes, then save. To change the lips, use the lasso tool to highlight the outside and inside of the lips, then go to "select", "from path", and then change the color balance as you did on the eyes. Change it until it's the desired color you want, t...
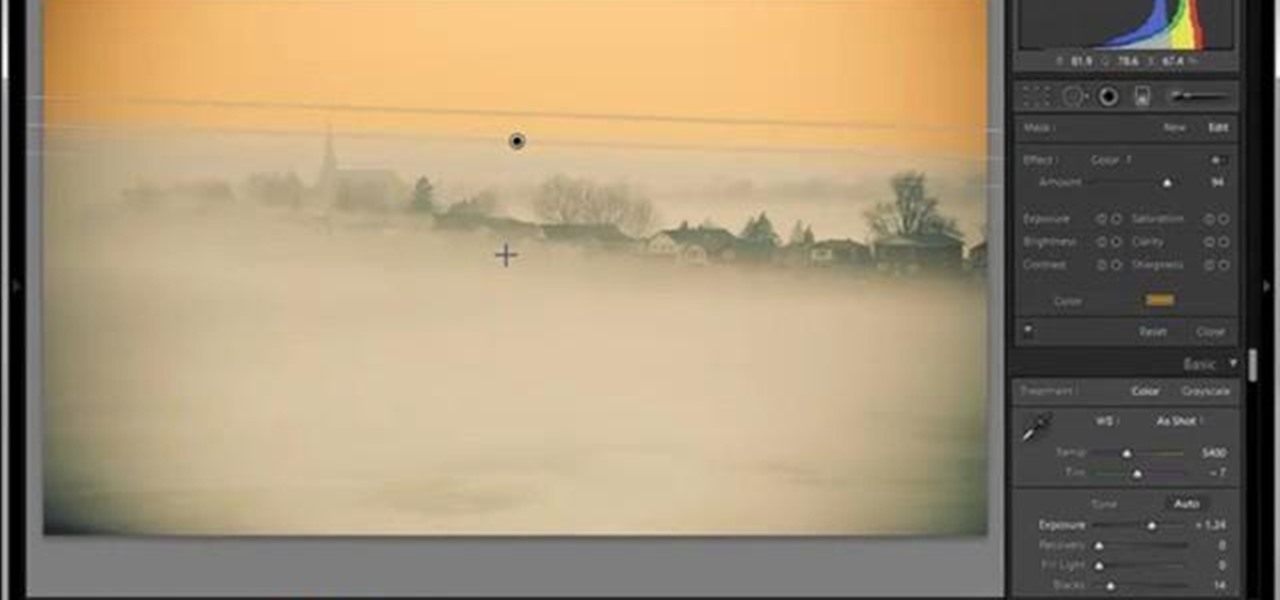
In this tutorial, Yanik Chauvin teaches us how to create an old-style looking photo starting from a grayish, underexposed one, using the software "Lightroom". He starts by creating a virtual copy of it, and then he adds a Camera Calibration preset named Camera Landscape and increases the exposure. After that, he crops the image removing the blank parts of the photo, and adjusts Contrast, Blacks and Clarity to strength the image borders.
It’s like a personal photo, except classier, and you can make the model look slightly more attractive than they really are.
Need to convert a large number of images to rich, contrasty black & white using Photoshop? Whether you're new to Adobe's popular image editing software or simply looking to pick up a few new tips and tricks, you're sure to benefit from this free video tutorial from TutVids. For more information, including step-by-step instructions on how to batch convert color images to high-contrast black and white, watch this graphic designer's guide.
Tutvid shows you how to add flare and dramatic color to your raw camera images (usually the format of a DSLR). In a step-by-step guide with narration, Tutvid takes you through the process of using CameraRaw (used as an extension of Photoshop but never really brings it in photoshop) to add desired colors to your picture. Pull up your raw file in CameraRaw, and press "Command" or "Ctrl + R" to open up the editing panel. With an example, he shows you how to bring out lights in underexposed (dark...
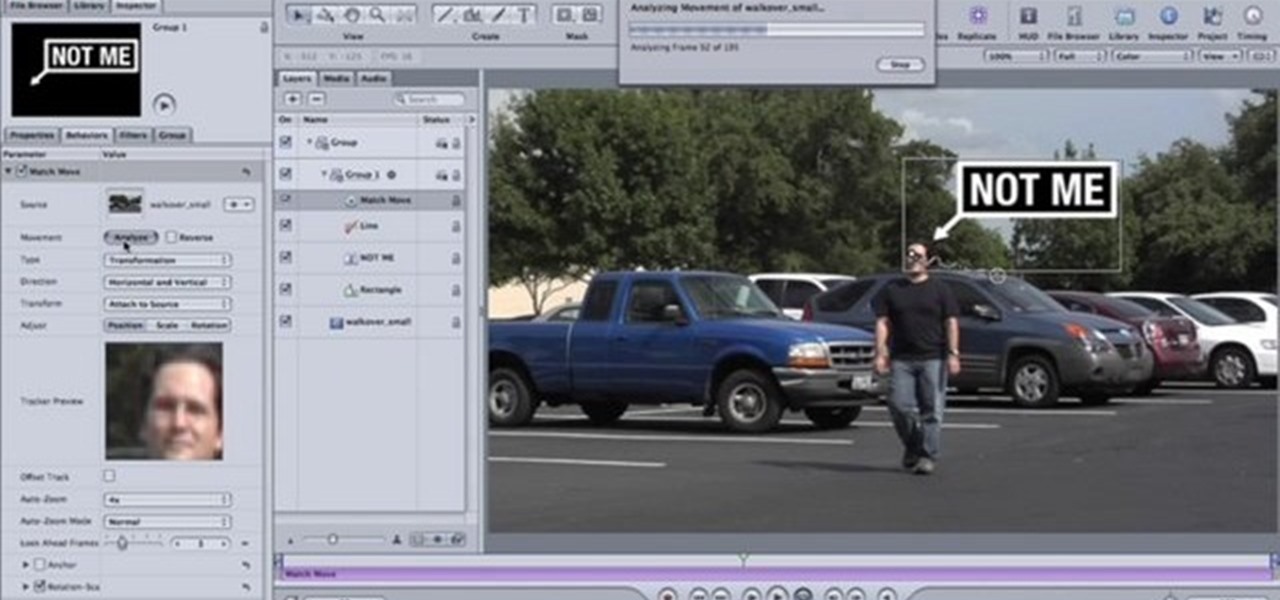
Special Case has this handy video tutorial on Motion… the motion graphics editor in Final Cut Studio. See how to use Motion's match-moving capabilities. The match-moving features are a great device to take advantage of, and is helpful for improving your Motion skills.
It's difficult to find that perfect lighting when you're taking a photo. You won't always have studio lights — or at all — and you're not always out during golden hour. So how can you combat lighting issues without waiting around for a well-lit condition? Do it in post. Adobe's Photoshop Express makes it easy to fix and even customize the lighting in your photos using the right adjustments.
This video tutorial shows both the basic features and more in-depth uses of the Blackberry Curve II camera's capabilities. The tutorial goes through many options, providing a good description of how to access and use each. The viewer will learn the specifications of the camera including its mega-pixels, zooming capabilities, and so forth. Manipulation of lighting effects, color effects, and options when saving and deleting pictures are just some of the components reviewed.
In this video you’ll learn two facets of Illustrator CS2’s 3D capabilities. You’ll learn how to create a simple 2D shape and revolve it into a bottle, and then you’ll see how to put your own custom label on it. Next you’ll see how to take a simple 2D shape and extrude it to mock up the popular MP3 player.
If you have brown eyes then you know that colors like brown and gold are "safe" eyeshadow colors, meaning they look good no matter what (there's lots of brown and gold in our eyes, after all) and are neutral enough that you can wear them anywhere.
Safety is everything, and for pilots, safety means checklists. Pilots need to develop a pre- and post-flight checklist for each different aircraft they are responsible for flying, to make sure everything runs nice and smooth in-flight.
Taking the negative of an image in photography brings out its major contours and creates a powerful graphic contrast between white and black. The same sort of effect happens when you construct a card using only the "negatives" and no other colors.
Want to capture frames from your movies? GOM Media Player has a built in screen capture feature for the video files it plays. You can even zoom in and out, adjust the brightness and contrast, and even turn your new screengrab into your computer desktop wallpaper!
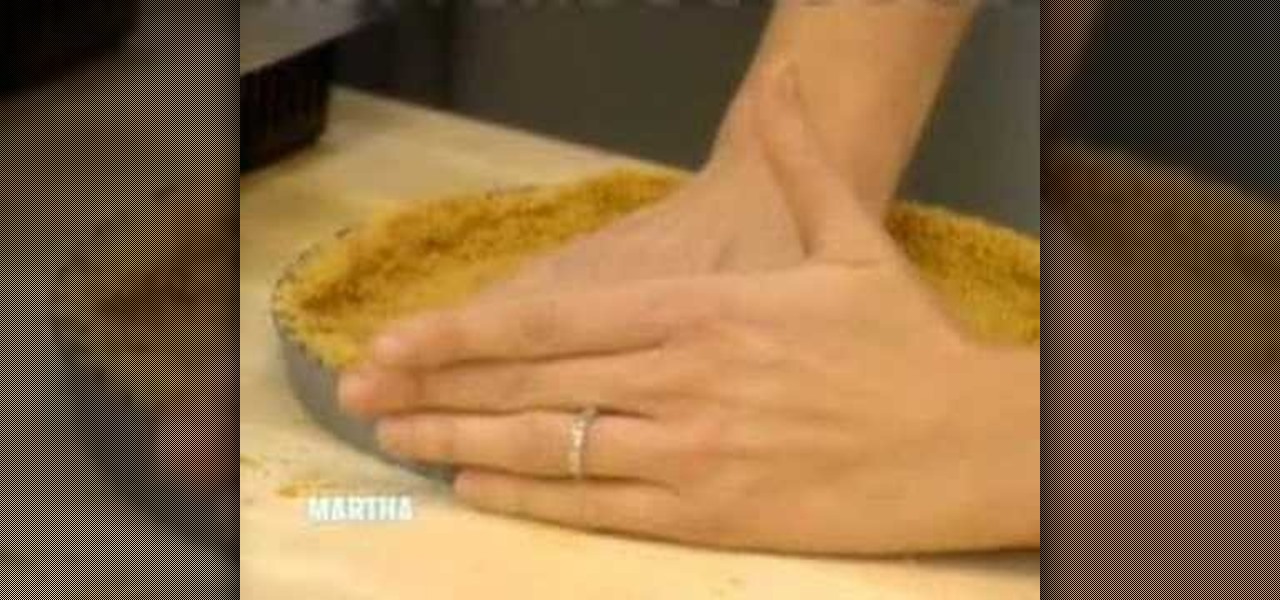
When life gives you limes, make a key lime tart! Harnessing the tartness of limes, a key lime pie offers a surprising and delicious contrast to savory summer foods like BBQ ribs and french fries.
Lemons are ripe and aplenty right now, so why not harness their delicious tart overtones by including them in a fresh springtime dessert? Watch this video by Honeysuckle Bakery to bake your way to tangy bliss.
Anyone who's worn a wig for Halloween or a theater performance knows that no only do they look pretty fake coming out of the bag, but the edges of the wig and the scalp portion contrast awkwardly with your own skin.
Brighten skies with Adobe Photoshop. Whether you're new to Adobe's popular image editing software or simply looking to pick up a few new tips and tricks, you're sure to benefit from this free video tutorial, which offers a step-by-step guide to enhancing dull skies using Photoshop's various color and contrast adjustment tools.
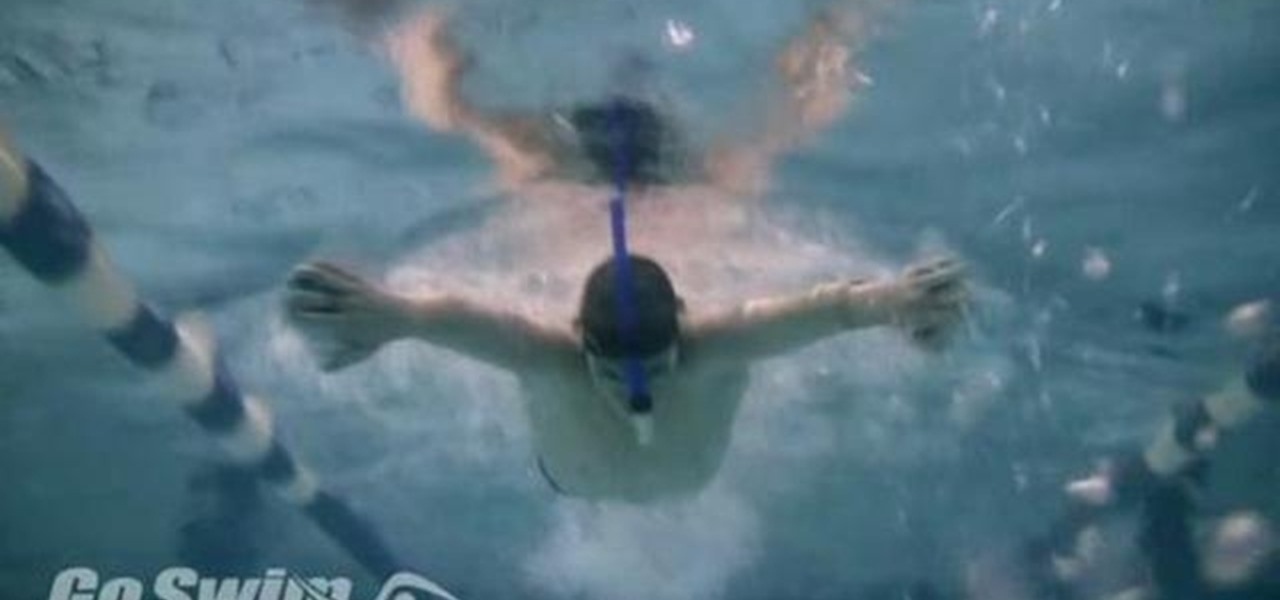
A common trait of really fast breaststrokers is that they initiate the pull prior to lifting their head. In contrast, a common trait of Masters swimmers is that they bring the head up too soon in breaststroke and leave it there too long. Learn how to keep your head down during the pull to swim a faster breaststroke.
In this video tutorial you will learn to use the Photoshop extract filter to extract images from the background. The trick works best for erasing mostly solid-colored, contrasting backgrounds. Photoshop also does a nice job of getting rid of the color halo problem – but you may have to do some additional touch-up work at the end.
In order to perform the ultimate transportation two card trick, you will need the following: 2 jokers, 2 contrasting cards, the remainder of the deck of cards, and a flat surface.