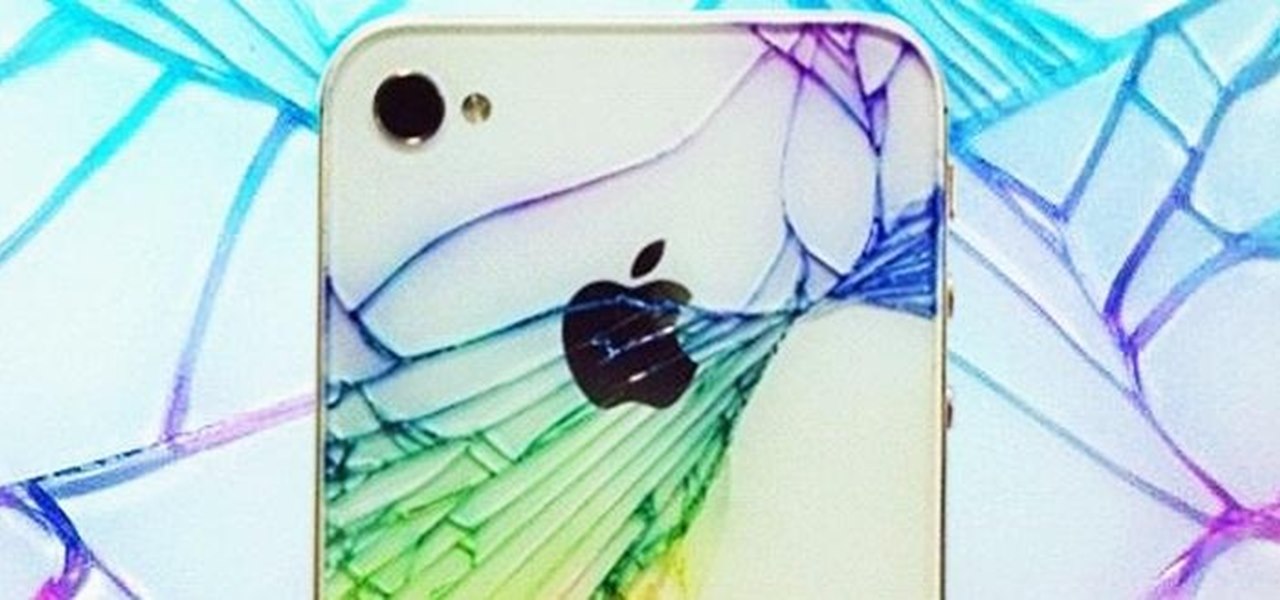
The iPhone is probably one of the best looking phones ever made, but that beauty comes with a price. If you have a 4S or previous version, all it takes is one drop and the back glass is shattered (unless you're incredibly lucky). Replacing it yourself is pretty simple and cheap, but if you're not into DIY repairs, here's an easy alternative solution, as long as you have a white device. Redditor skrillexisokay used highlighters to transform a broken back glass into a work of art. And the best ...

James from DreamWeaverTutorial.co.uk shows you how to use collapsible panels with the spry module in Dreamweaver CS4. The spry collapsible panel works similarly to an accordion widget, except it only has one section which features a tab panel and a content panel. When you click on the tab panel the content panel either appears or disappears (toggles on and off). You can add background colors, text colors, images, rollover effects and more, and James shows you exactly how to do all that in thi...
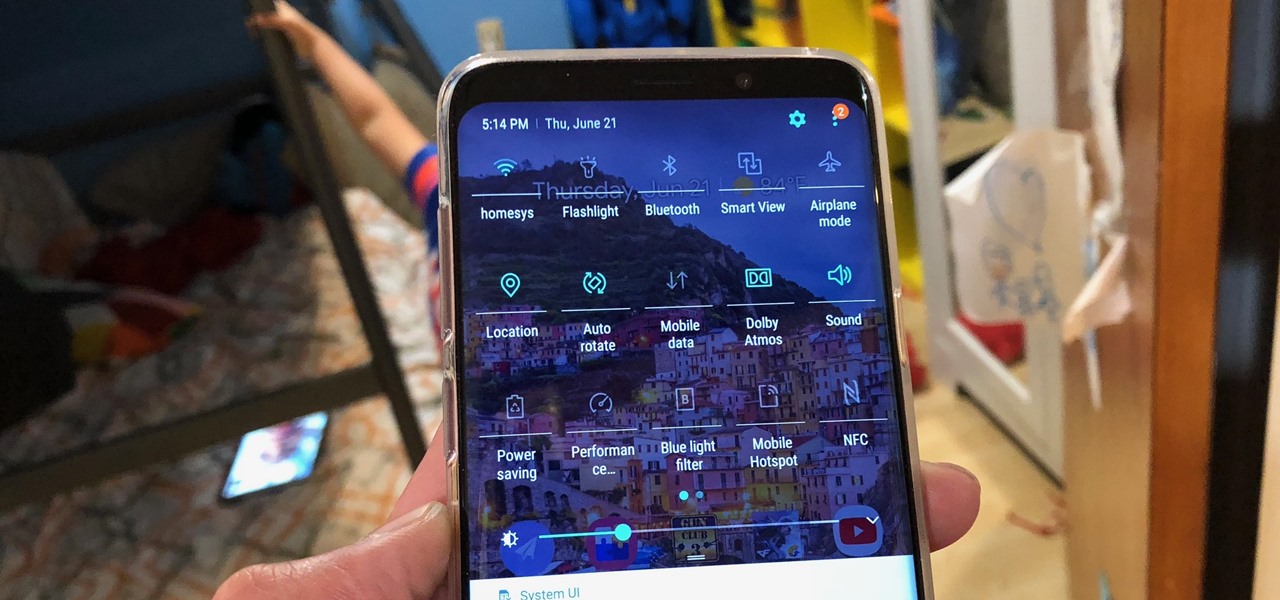
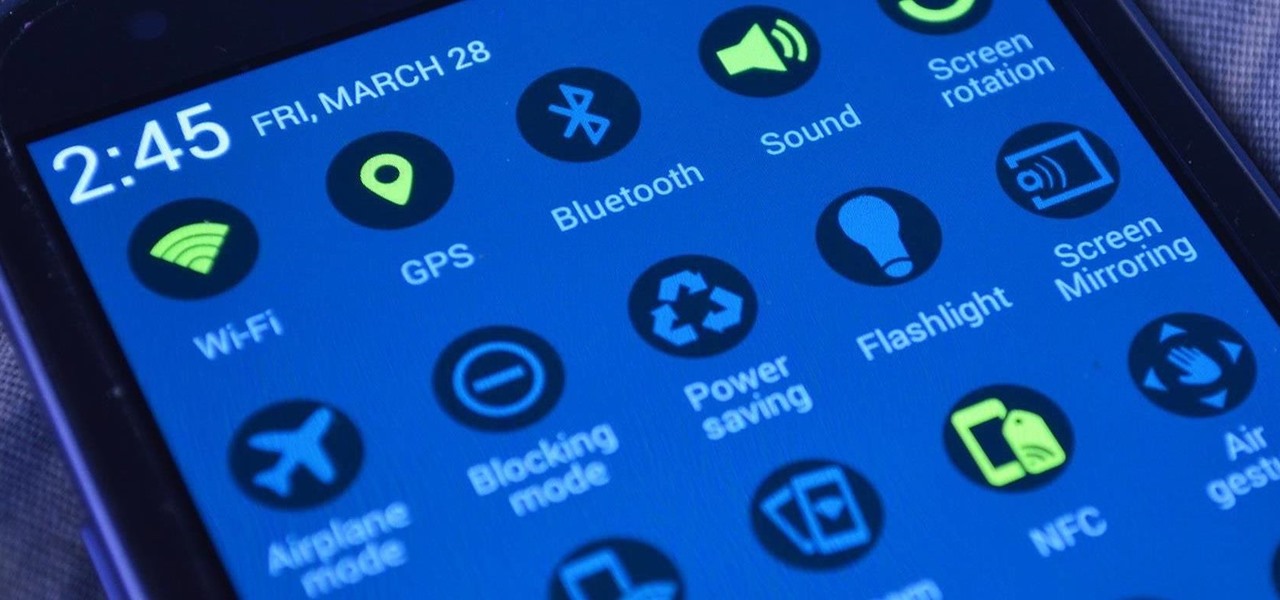
With the re-emergence of Samsung's Good Lock app, you're once again able to tweak parts of your Galaxy's interface with no root or major modifications required. One add-on in particular even lets you fully customize the Quick Settings panel on your S8, S9, or Note 8 in a full spectrum of colors to truly make it your own.
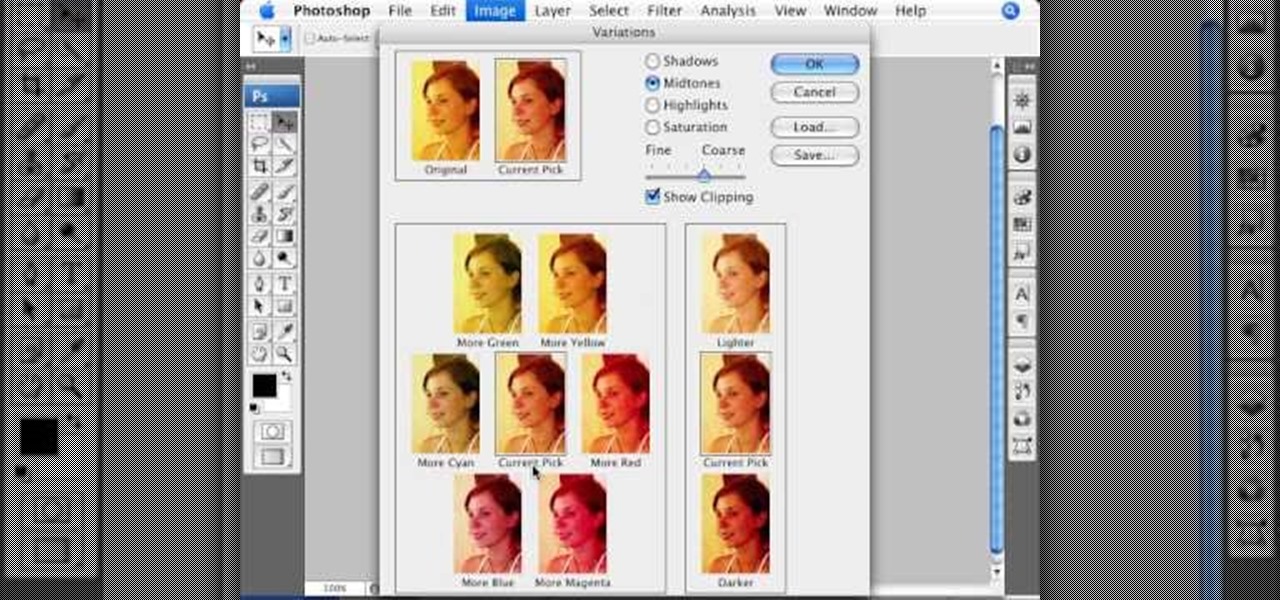
This informative video tells you how to use the variations panel in Adobe Photoshop to correct color issues in your photo. Too much yellow in your picture? Learn how to use the variations setting to instantly fix this with the corresponding opposite color. With simple clicks and easy preview-able pictures, you can correct color over-exposures with a click of the mouse. First go to the Images drop down and select the variations option. The original photo on the top can be clicked to revert you...
Jim teaches us how to punch down a 24 port patch panel in this tutorial. You will need: cable scissors, a punch down tool, and 24 port patch panel. Now, strip the cable by cutting it and stripping down the wires. Now, attach the wires to the port punch panel by following the pattern of where the different colors are at. When you have these connected, use the punching tool to punch the wires down, then it will cut off the excess wire from the panel. When this is all done, you will want to tie ...

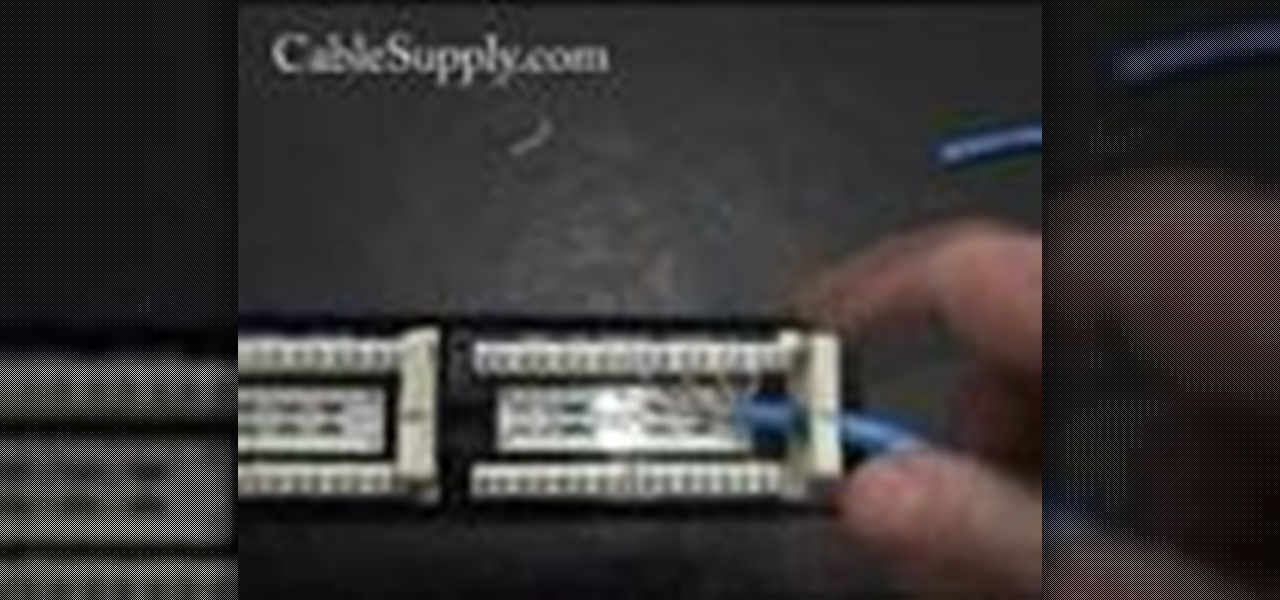
In this video, we learn how to punch down a 12 port patch panel. Start off by grabbing your cable and using scissors to cut off the outer covering of the cable. Next, use the wire scissors to cut off the end of the wires (about 1-2 inches). After this, place the stripped down wires into the appropriate spots that correspond to the colors that are on the 12 port patch panel. After you finished this, you will need to grab your punch down tool. Use this tool to push down on the wires, then it wi...

Pixel Perfect is the "perfect" show to help you with your Photoshop skills. Be amazed and learn as master digital artist Bert Monroy takes a stylus and a digital pad and treats it as Monet and Picasso do with oil and canvas. Learn the tips and tricks you need to whip those digital pictures into shape with Adobe Photoshop and Illustrator. In this episode, Ben shows you how to apply light sources to 3D models in Photoshop.
This video will walk you through the process of creating your very own icon to use for your email by using Adobe Photoshop. Photoshop is a great tool to use for a variety of purposes and in this instance can make the perfect icon in just minutes.
In this tutorial, Mat Weber teaches us how to install a basement floor. Start with an insulated subfloor system, top it with cork panels, and then top it with easy to install carpet squares. First, you will install OSB subfloor panels, these will protect against moisture extreme and can be applied directly over concrete. When you have finished installing these, apply cork panels to the top of the subfloor and press down so these don't come up and are packed down hard. When finished with this,...
Pixel Perfect is the "perfect" show to help you with your Photoshop skills. Be amazed and learn as master digital artist Bert Monroy takes a stylus and a digital pad and treats it as Monet and Picasso do with oil and canvas. Learn the tips and tricks you need to whip those digital pictures into shape with Adobe Photoshop and Illustrator. In this episode, Ben shows you how to create an old rusty control panel in Photoshop.
The enhance controls in Aperture's adjustments panel provide a number of tools for refining your tonal adjustments, controlling saturation, and for correcting color casts.
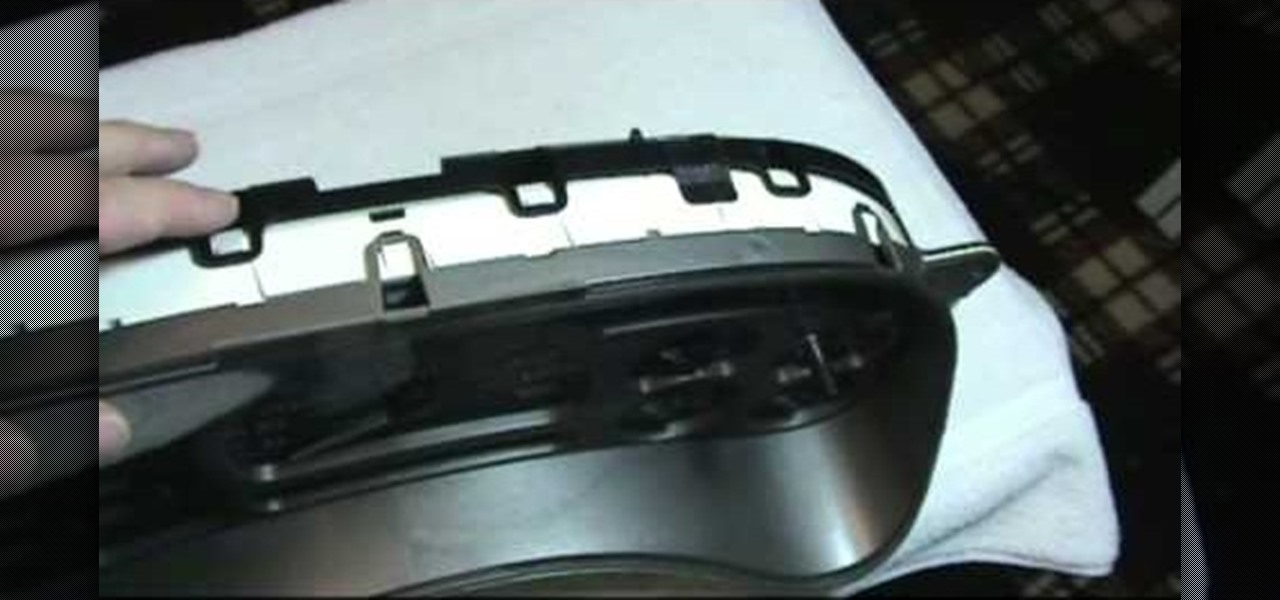
GM cars might be the flagship of American industrial production, but they are not very reliable for the most part. If something is wrong with one of the gages or instruments in your instrument panel cluster, you have to remove the panel and fix it. This two-part video will show you how to do that on most GM vehicles.
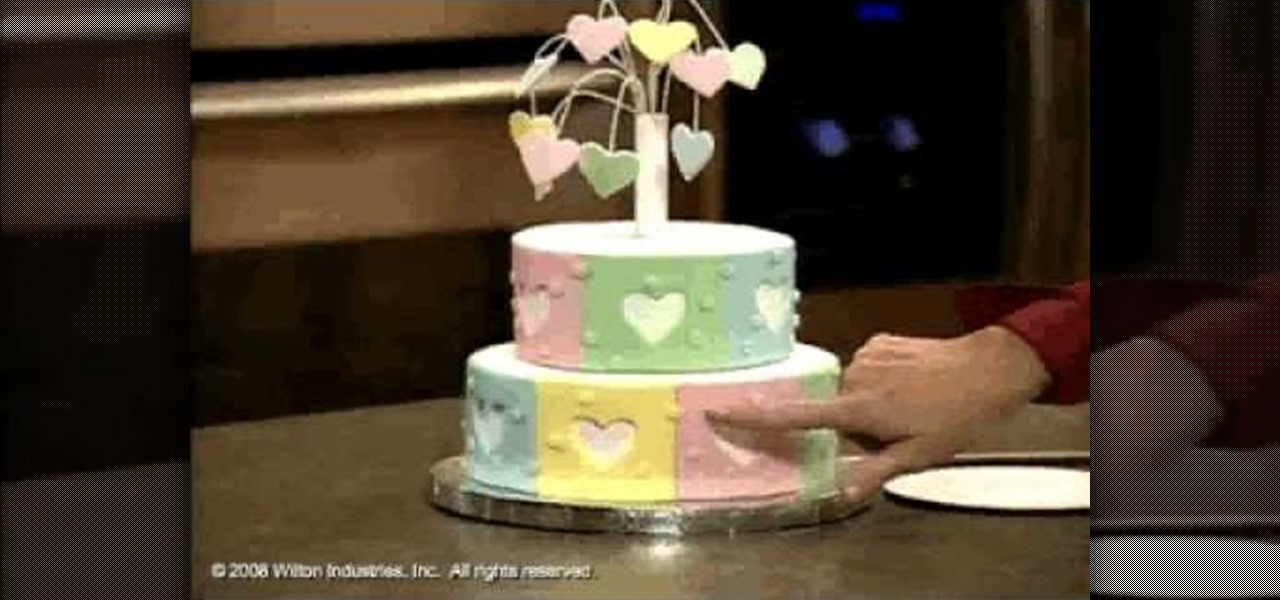
Wilton Cake Decorating demonstrates how to make and decorate a heart fireworks tiered cake. Roll out the pliable edible cake clay so that it is about 1/4 of an inch thick. Cut out heart shapes with cookie cutters. Let them dry for a few hours. Attach the hard hearts to wire with an icing adhesive. Create a bouquet out of the candy flowers by crooking the end of the wires and sealing the bases with floral tape. Create three-inch panels for the six-inch cake out of the cake clay. Cut out heart ...
This video shows you how to simulate hand coloring in Photoshop. The first step in the process of simulating hand coloring is to turn the image you have chosen into black and white. Following turning the pictures coloring to black and white you must bring up the hue color control panel. The final task includes selecting the object to color within your image as well as picking the color in hue that you wish to use. The coloring must be done manually by the users control of the mouse.
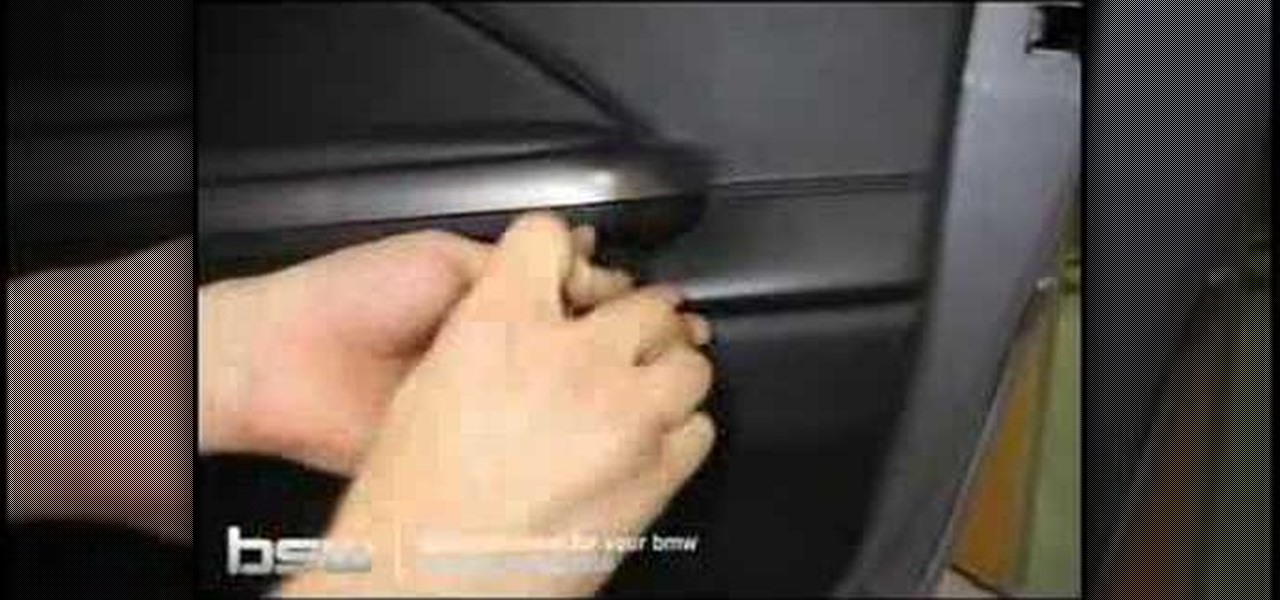
Bavarian Soundwerks teaches you how to install door panel speakers on a BMW 7 series (E38). Part 1 of 7 - How to Install new speakers into the door panel on a BMW E38.
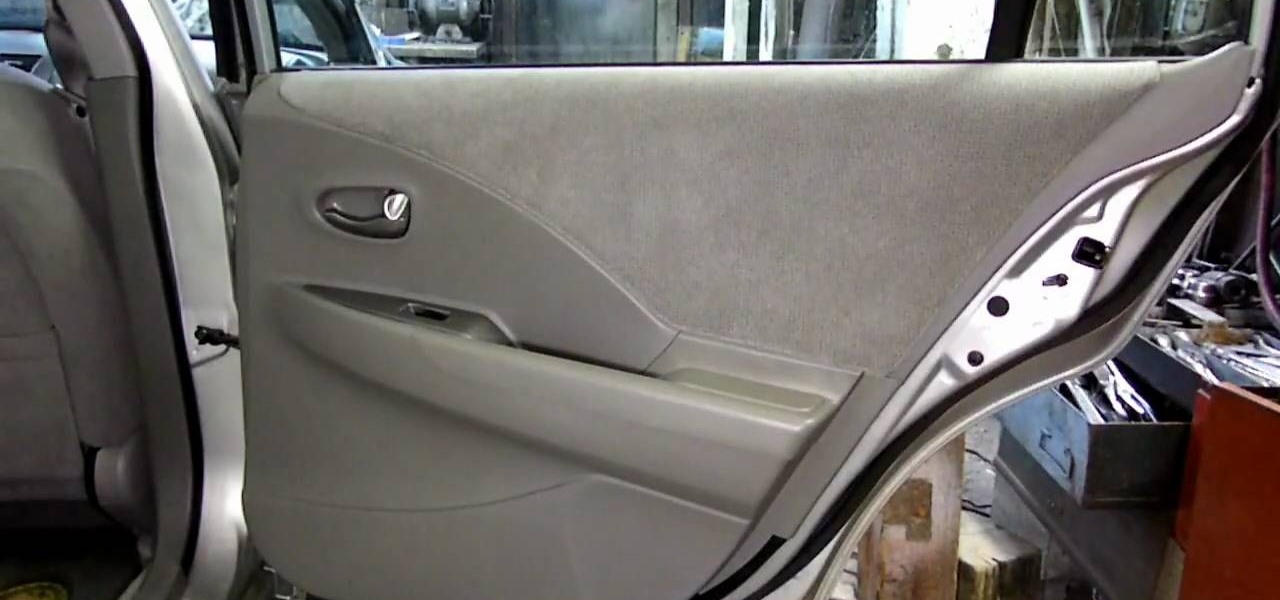
In this video richpin explains to us how to remove the inside rear passenger-side door panel on a Nissan Altima. He doesn't explain why you would want to do this, but if you feel compelled to, herein you will find the most detailed instructions you could ask for. Here is a list of the readily available tools that he uses:
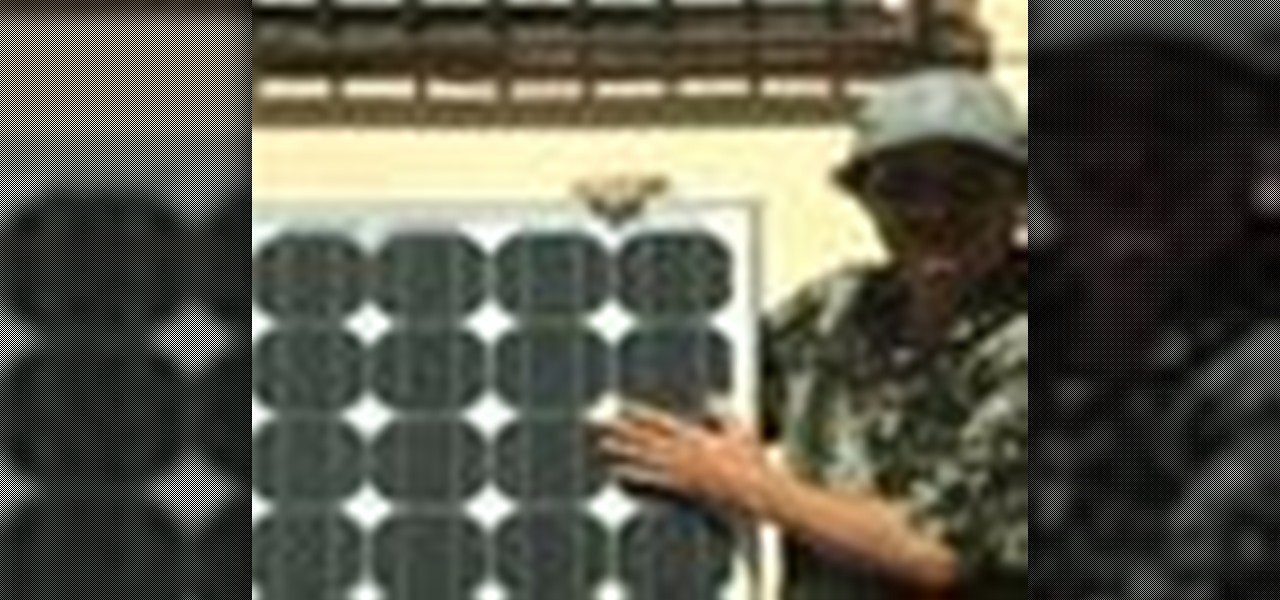
Solar power is one way that people have found to conserve energy. Learn how to install a solar panel from a professional in this free energy conservation video series.
Samsung's TouchWiz skin gets a lot of flak for its appearance, namely the garish colors on the quick settings toggles. The bright green on dark blue scheme is definitely an eyesore compared to the ones in stock Android, and even other manufacturer skins like HTC's Sense.
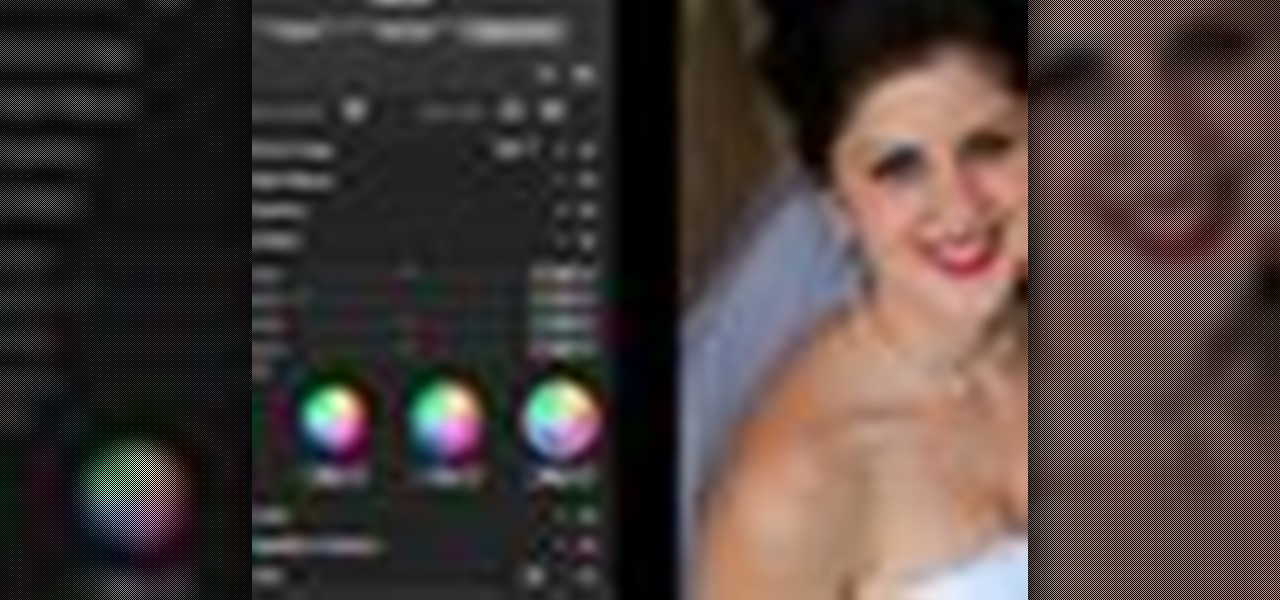
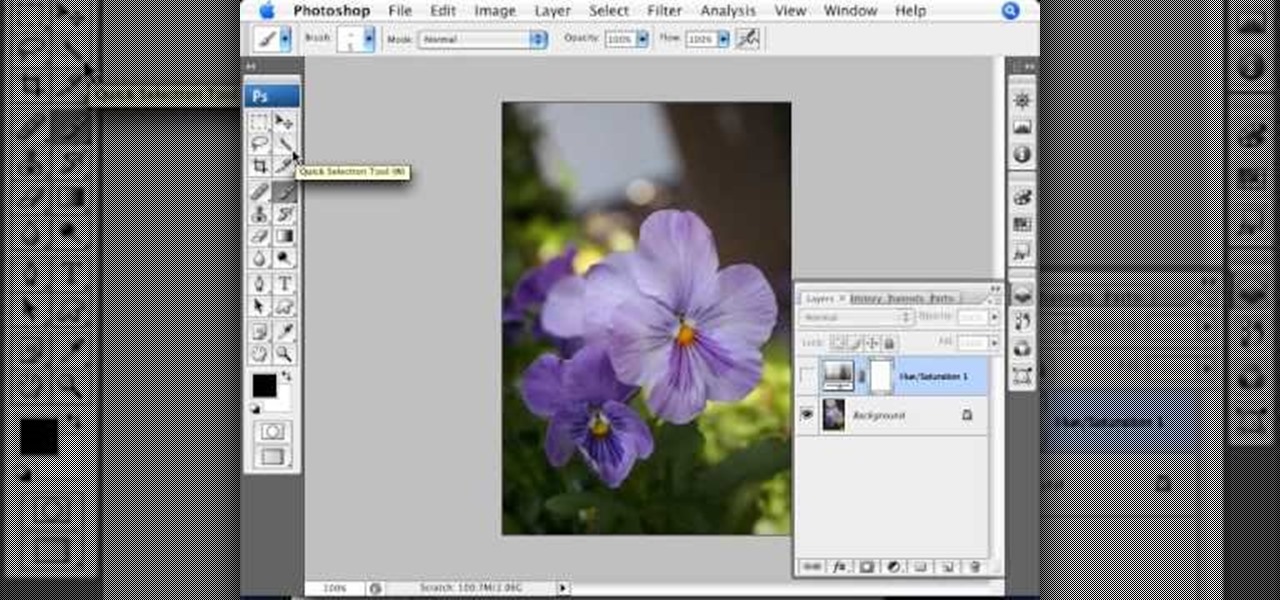
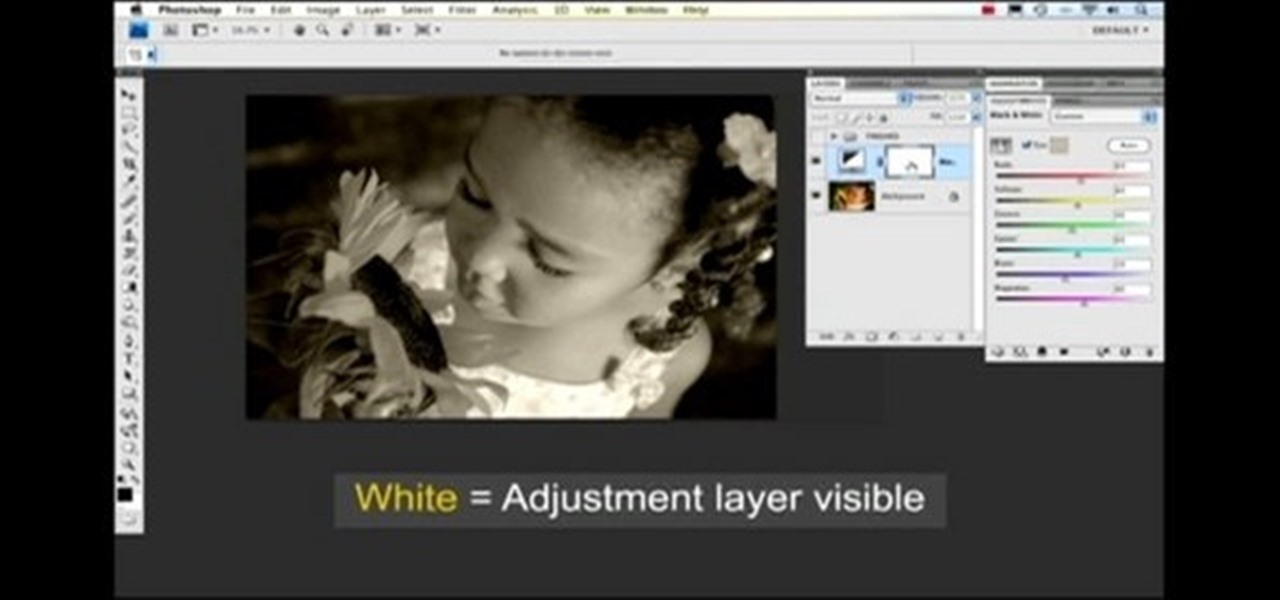
Nichole Young demonstrates how to hand color using layer masks in Photoshop CS4, which also works in Photoshop CS3. The procedure can be summarized in two stages: turning the picture you would like to edit black and white and then bringing color back into it to give it a hand-colored look. The black-and-white effect is achieved by creating a new layer over the background layer. The next step is to give the picture a warm look by adjusting the layer’s respective color balance. Then bring the c...
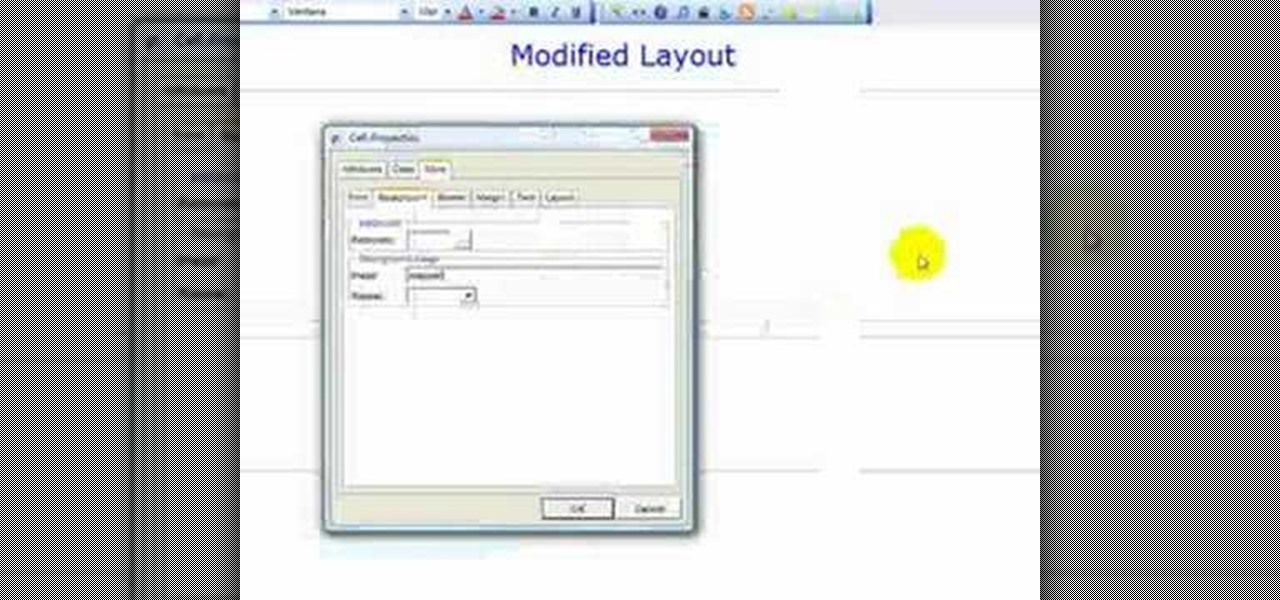
This web development software tutorial shows you how to create a custom left panel for a website using XSitePro 2. The options for XSitePro 2 have changed from XSitePro 1. Now, it's easy to change the right panel, but the options to change the left panel have been hidden. Watch as Jason shows you how to rebuild the template in XSitePro 2 to allow you to modify and customize the left panel.
As far as the world of consumer electronics goes, it doesn't get much greener than recycling solar panels. In this video tutorial, you'll learn how to solder together broken solar panels, giving them new life as a functional AA battery charger, which produces about 6 volts in direct sunlight and about 3 volts indoors. In order to get started on this hack, you'll need a number broken solar panels (which can be had cheap for cheap on the Internet), a low-temperature soldering iron, silver-beari...
The LG G7 ThinQ will likely be lambasted for its notch and awkward name, but one thing they seem to have gotten right is the new display. The G7 ThinQ will give many a first look at a new type of panel with lots of promise. While it was previously limited to TVs, from what we know, it should really shine on a smaller screen.
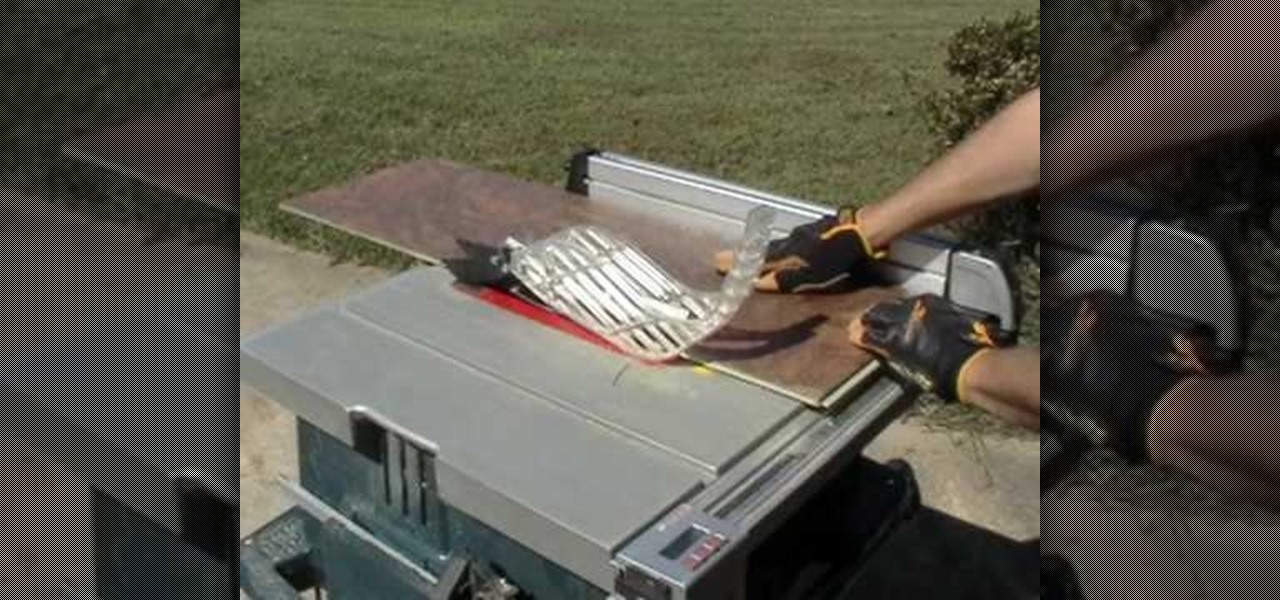
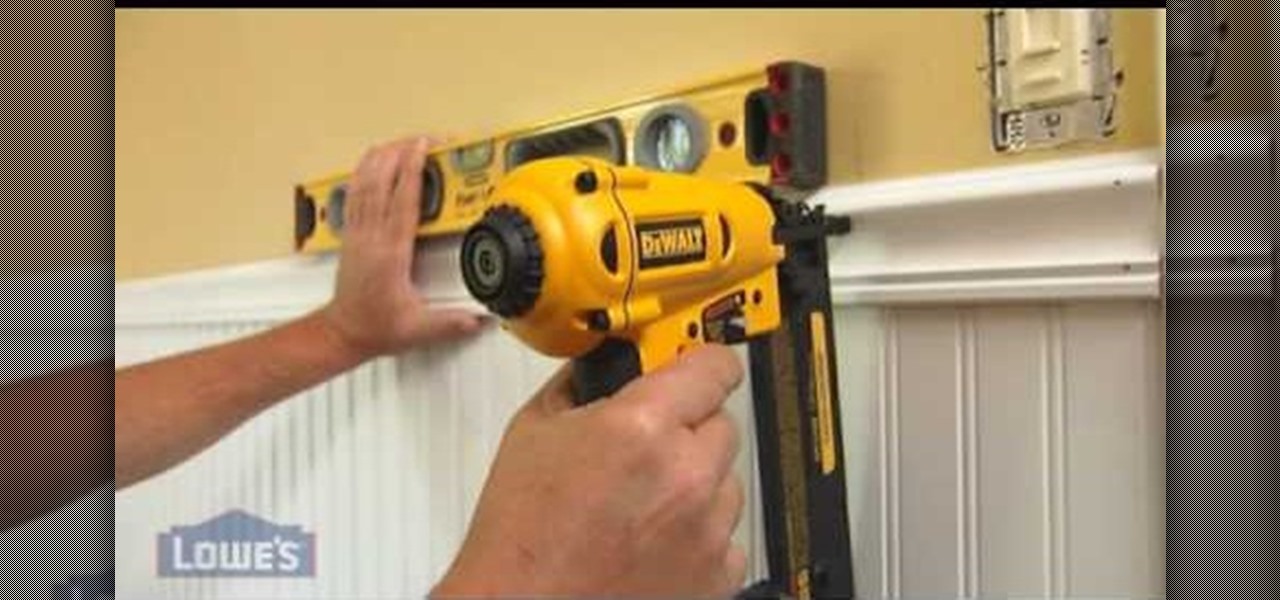
In this how-to video by Lowe's department store you are showed an intermediate do-it-yourself installation of beaded plank paneling and molding. He shows where you can get information on how to do this but then goes on to show the different paneling and molding you can make. He goes on to show how to measure and cut the paneling to your desired length. After describing how to measure and cut the panel he goes on to show how to prepare the paneling with the paint. He goes on to show the differ...
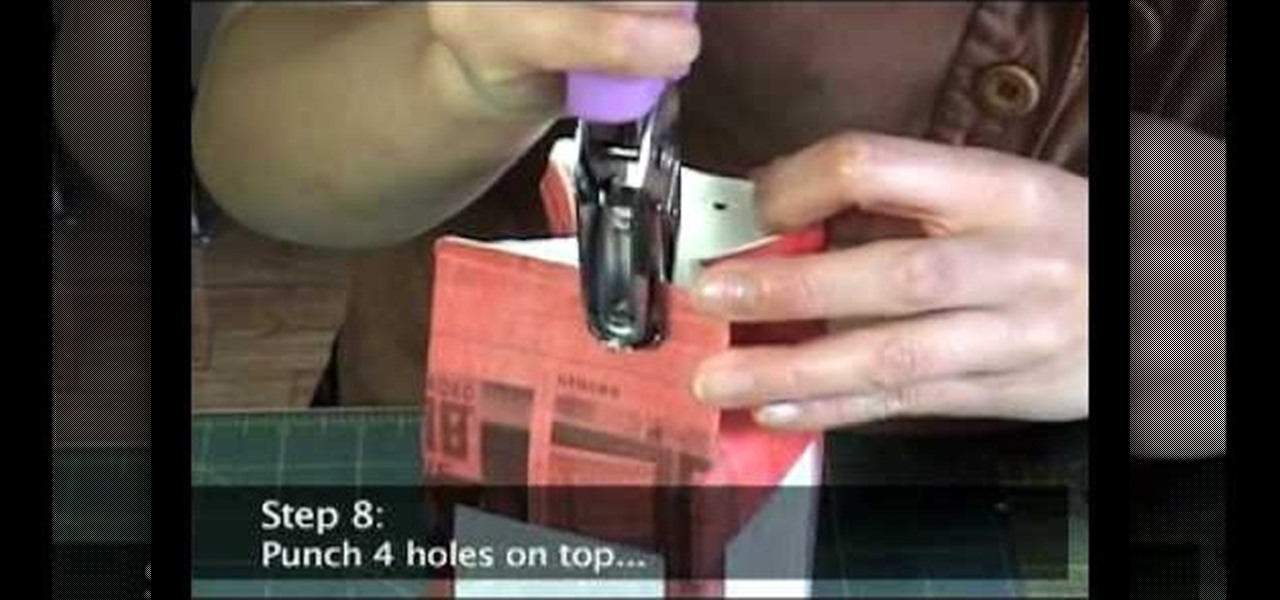
In this video tutorial, viewers will learn how to make a milk carton lantern. This lantern uses recycled items. The materials required for this lamp are: a milk carton, unryu paper, colored newspaper, raffia, ruler, glue gun, hole puncher, X-acto knife, glue stick and scissors. Flatten the milk carton. Draw a rectangle with each panel and measure about 1/2" form each of the sides. Measure about 3/4" from bottom and top. Cut out the rectangles with the X-acto knife. Glue the newspaper to the c...
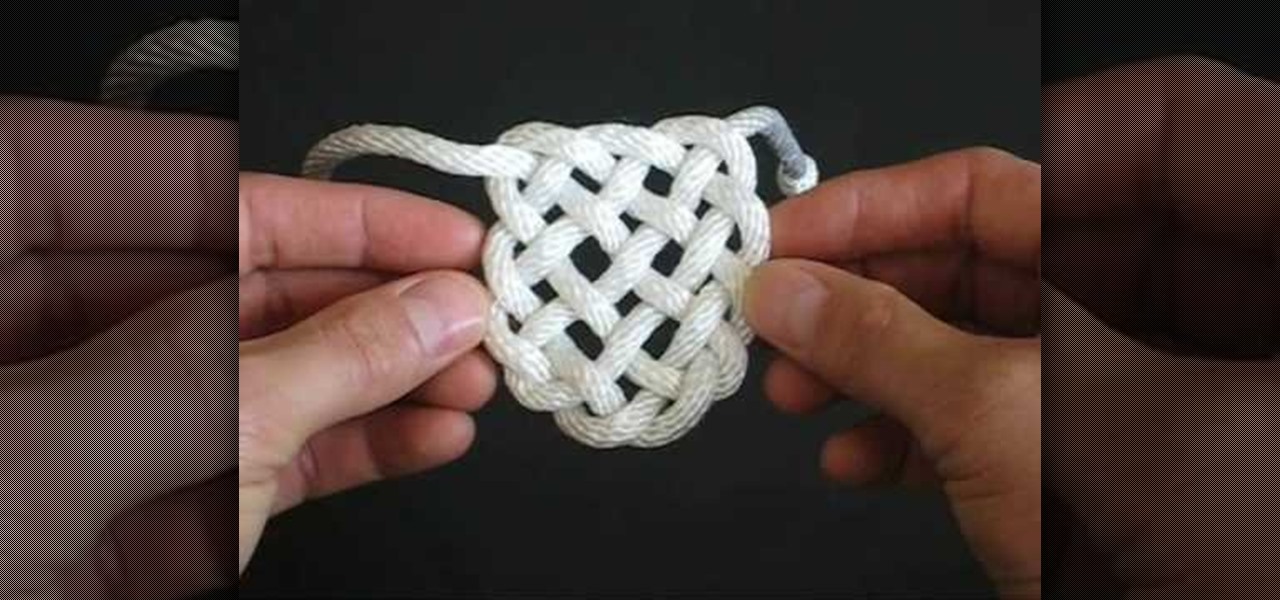
The Panel Knot can be used for a number of different occasions. These knots are a great decoration piece and can be done with different styles and colors of rope to get a splash of life in your home. These knots can also be used as an accessory to any outfit. All you need is a piece of sturdy rope, your hand, and about 3 minutes to learn this great trade. This can also be a great activity for your family to enjoy making together.
We all have apps that we use most frequently, or system preferences that we're regularly adjusting. Whether it's Netflix or a new game that you're hooked on, there are times when you want quick and easy access versus searching for them, even if they're on your home screen.
Bavarian Soundwerks teaches you how to install door panel speakers on a BMW 3 series (E46). Covers removal and reinstallation of your BMW's speakers for BSW's Stage 1 Audio Upgrade, a complete speaker replacement upgrade.
This video demonstrates how to sew a blind hem stitch to make Roman shades. This stitch is very easy to do. You need a sewing machine that has a blind hem stitch already programmed in it and a blind hem foot. The video shows two different kinds of blind hem foot for two different sewing machines. The one for Viking machines is used here. Fold and pin a one inch hem on your panel, making sure that the pins are pointing off the edge of the panel. Lay your panel on the machine with the hem side ...
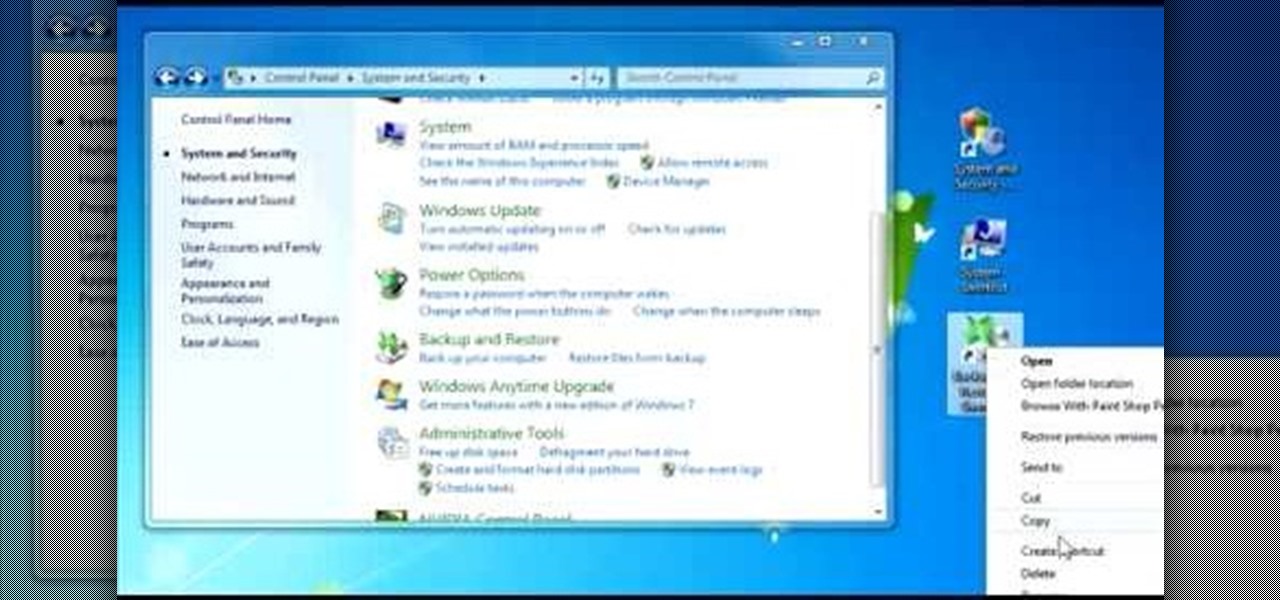
In this Windows 7 tutorial video, host Rich from PC Mech shows you how to create control panel shortcuts on your desktop in Windows 7. You will learn how to use the "drag and drop" method to quickly create shortcuts to various applications you may use quite often in "Control Panel", so that you may access them more quickly, without having to go into the Control Panel menu and drill down through menus and sub menus to find the applications you're looking for.
Store bought cards can be so impersonal and cold. This tutorial video sequence will teach you how to make your very own, extremely cute secret panel card. This cute card it great for holidays, birthdays and other occasions!
An Accordion widget is a set of collapsible panels that can store a large amount of content in a compact space. Site visitors hide or reveal the content stored in the accordion by clicking the tab of the panel. In this video special guest Mike McHugh from Creative Sweet TV shows us how to create a very fancy looking Spry Accordion Panel using Dreamweaver CS3.
This Thread Banger video demonstrates making a skirt from men’s button down shirt sleeves. Brooksie from Haute Sew presents the technique. Two men’s button down shirts are needed. Cut the sleeves off the shirt at the seams and then split them open at the shirt sleeve seams, leaving the buttons in the middle. Pin the sleeves together along the raw edge with wrong sides together and sew them. The panels can be made to alternate colors or in color blocks depending on the style of shirts used...
The personal computer is a strange and powerful entity, capable of bringing great joy. Just as often, you probably want to chuck the damn thing at the wall because it doesn't work right. If you want to pull a prank on a friend that will really upset them, messing with their computer is one of the best ways to do it. This hilarious video will show you how to do three great PC pranks quickly and easily, including changing the contrast on the monitor and pretending to edit websites using Javascr...
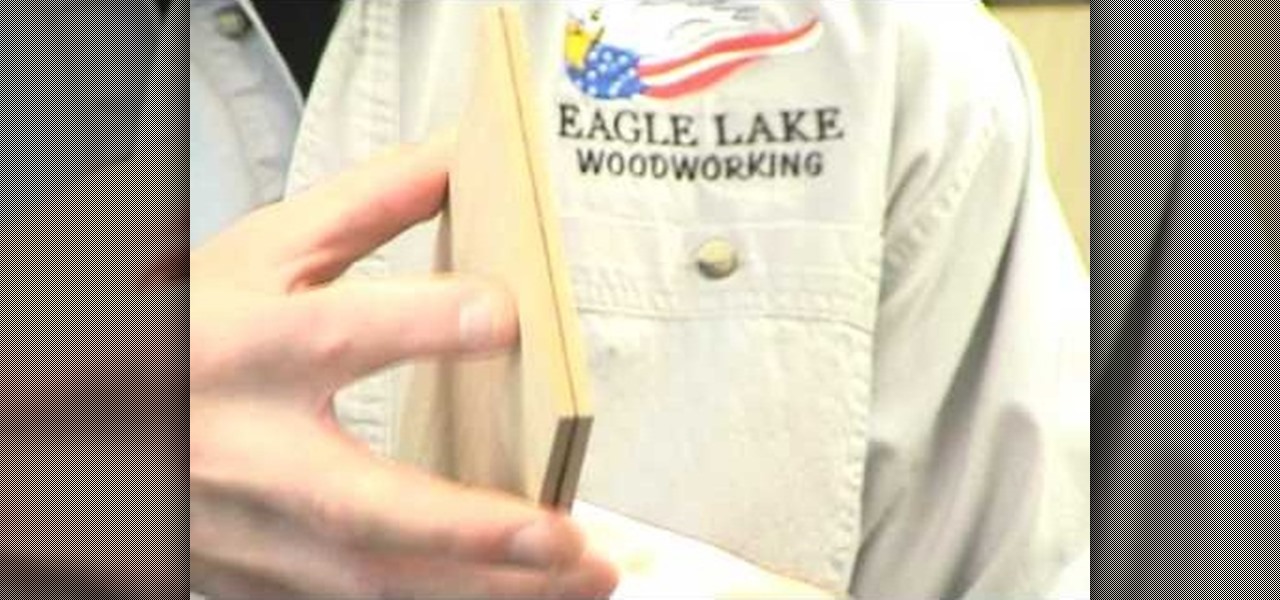
Eagle Lake Woodworking, hosted by John Nixon, offers great do-it-yourself guides for building your own furniture, especially in the American Arts and Crafts style, and turning your garage into an amateur woodshop. Search Eagle Lake on WonderHowTo for more carpentry tutorial videos. From Eagle Lake Woodworking on this specific lesson:
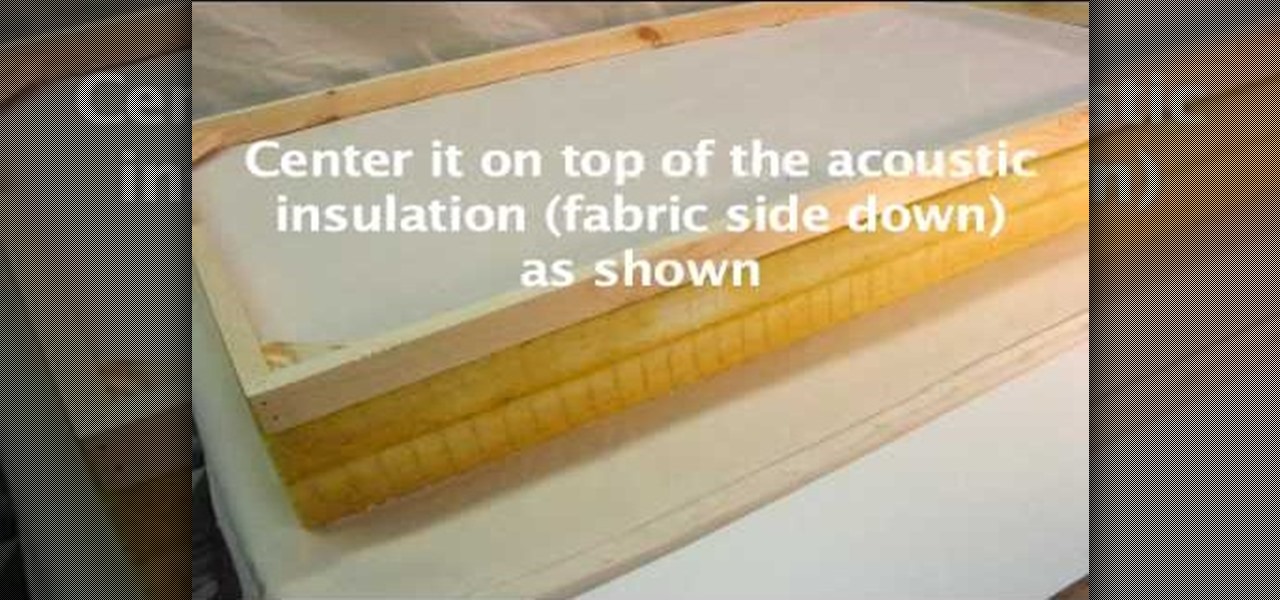
Learn to make your own super effective bass traps and acoustic panels with materials from your local hardware store, just by watching this home audio video tutorial.
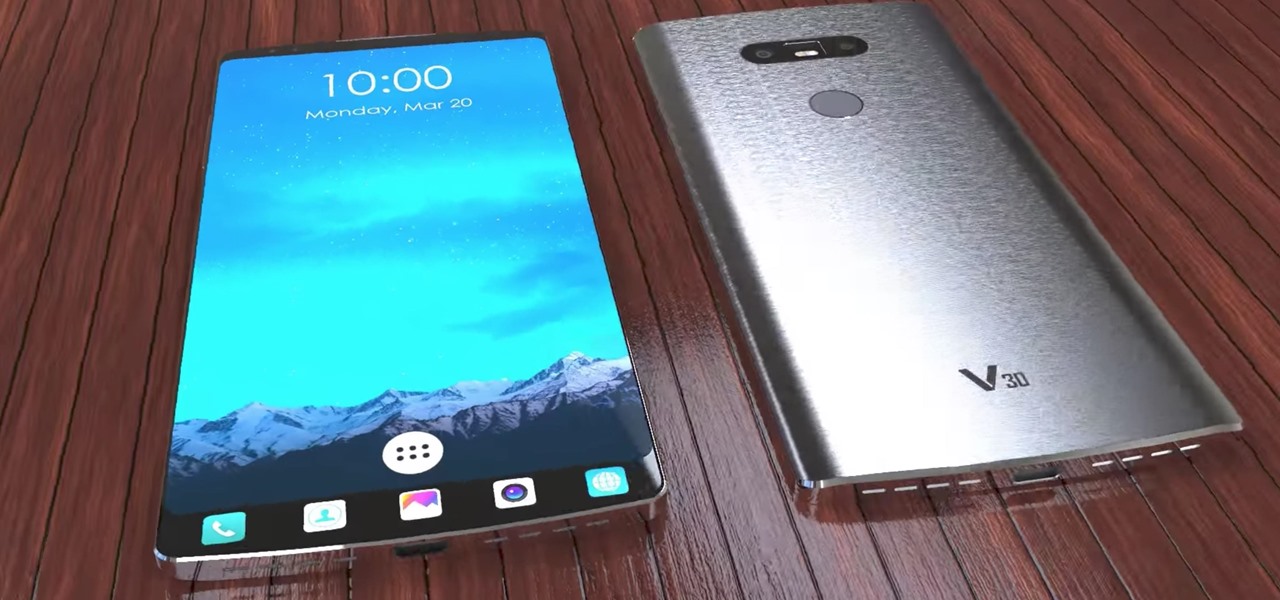
Samsung has some competition as LG may be incorporating OLED panels for their new flagship V30 launching later this year.
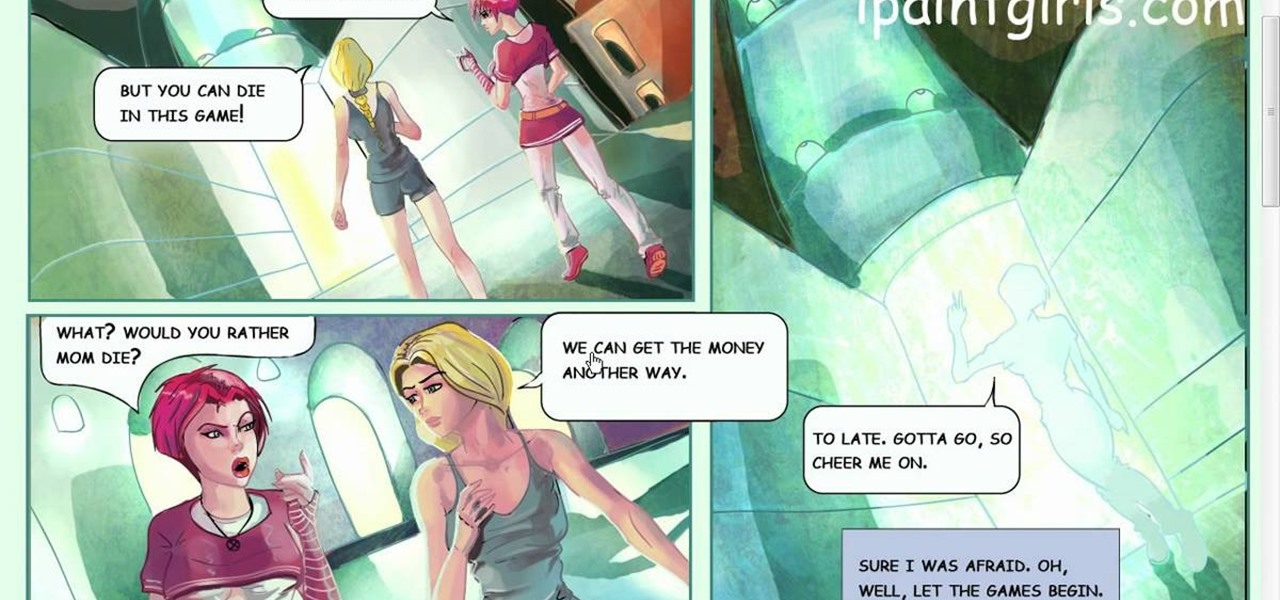
When you are organizing the panels of your comic, you should keep in mind the way you want eyes to follow it. With multiple panels on a page, your spacing between them will determine where the eyes will go. If you want the reader to read up and down and from left to right, then you should create columns, by leaving more space in the middle.
Use Adobe Dreamweaver CS4? See how to create quick-and-easy collapsible panel using the open-source Spry Ajax framework. Whether you're new to Adobe's popular WISYWIG HTML editor or a seasoned web development professional just looking to better acquaint yourself with the CS4 workflow, you're sure to be well served by this video tutorial. For more information, including a step-by-step overview, watch this free video guide.
See how to create roll-over panels using Adobe Flash CS4 and a little bit of ActionScript 3. Whether you're new to Adobe's popular Flash-development platform or a seasoned web developer looking to better acquaint yourself with the new features and functions of this particular iteration of the application, you're sure to benefit from this free software tutorial. For more information, watch this Flash developer's guide.
Whether you're new to Adobe InDesign or a seasoned graphic arts professional after a general overview of CS5's most vital new features, you're sure to be well served by this official video tutorial from the folks at Adobe TV. In it, you'll see how the all-new Layers panel lets you manage objects in complex documents with more control in InDesign CS5.