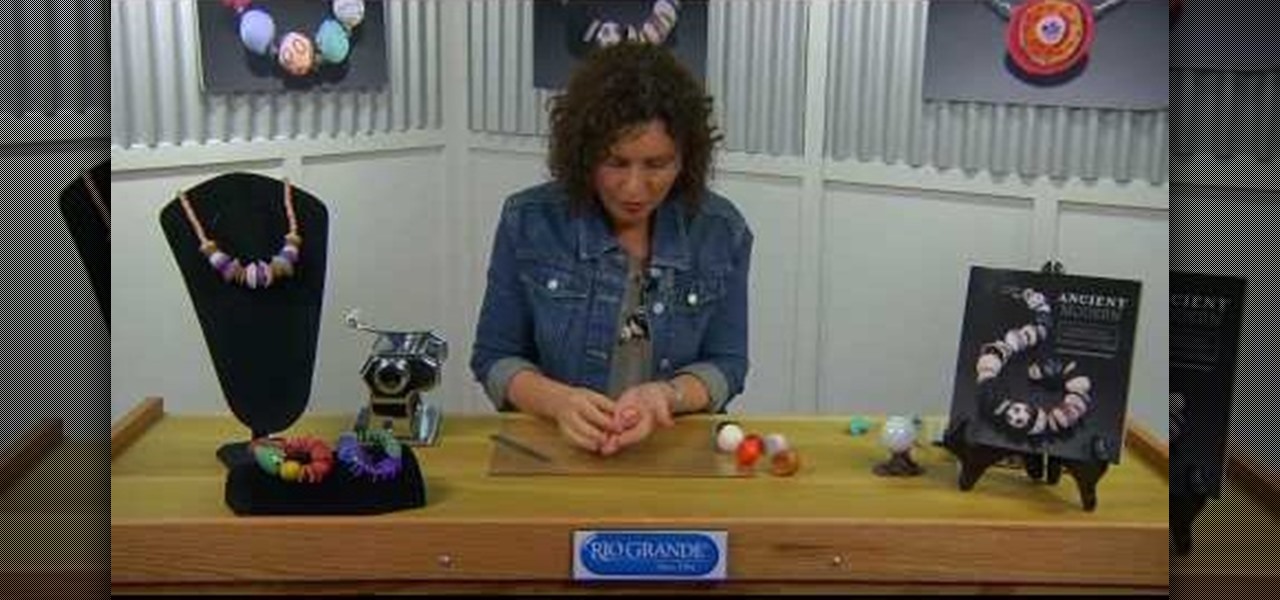
Check out this video to learn a technique for attaching soft clay to soft clay. No scoring or slip is needed. By just applying firm pressure to get a good strong joint. The small clay coil is used to reinforce the joints, and the blending is to make sure both parts are joint securely. Finally give a little pull to the new piece of clay that was attached, to test how good the joints are. If it comes loose than you are not applying enough pressure in joining the two pieces together. Finally, if...
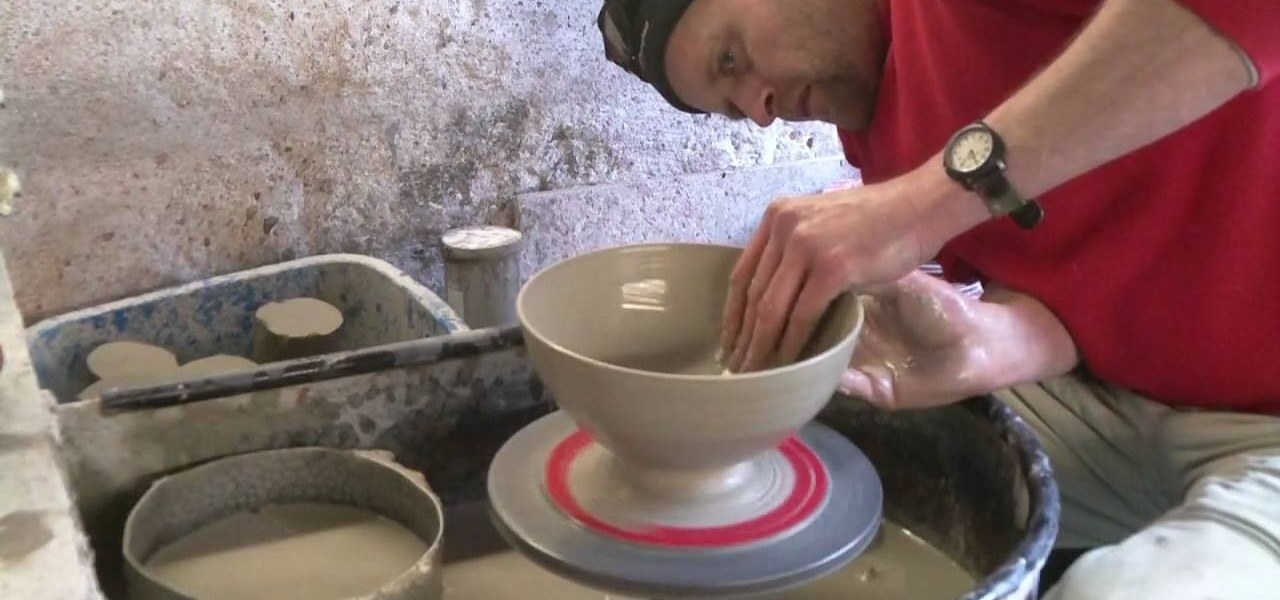
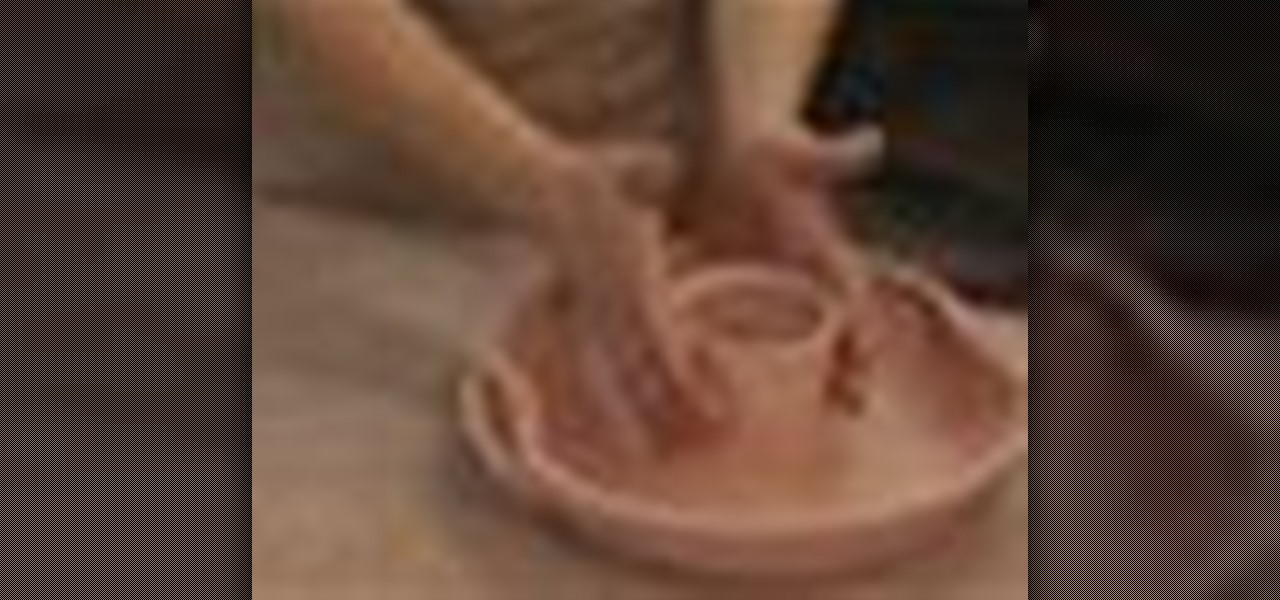
To throw a clay pottery fruit bowl, place a lump of clay on the potter's wheel and wet it with water. Use the foot pedals to spin the wheel while shaping the clay with your hands. Draw the clay up and then use your thumbs to create an indentation in the center of the clay. Apply slight pressure and the clay should assume a bowl form. Use water as necessary to create the right clay consistency. Draw the clay up to make the bowl walls thin. While shaping the bowl walls with one hand, create a r...

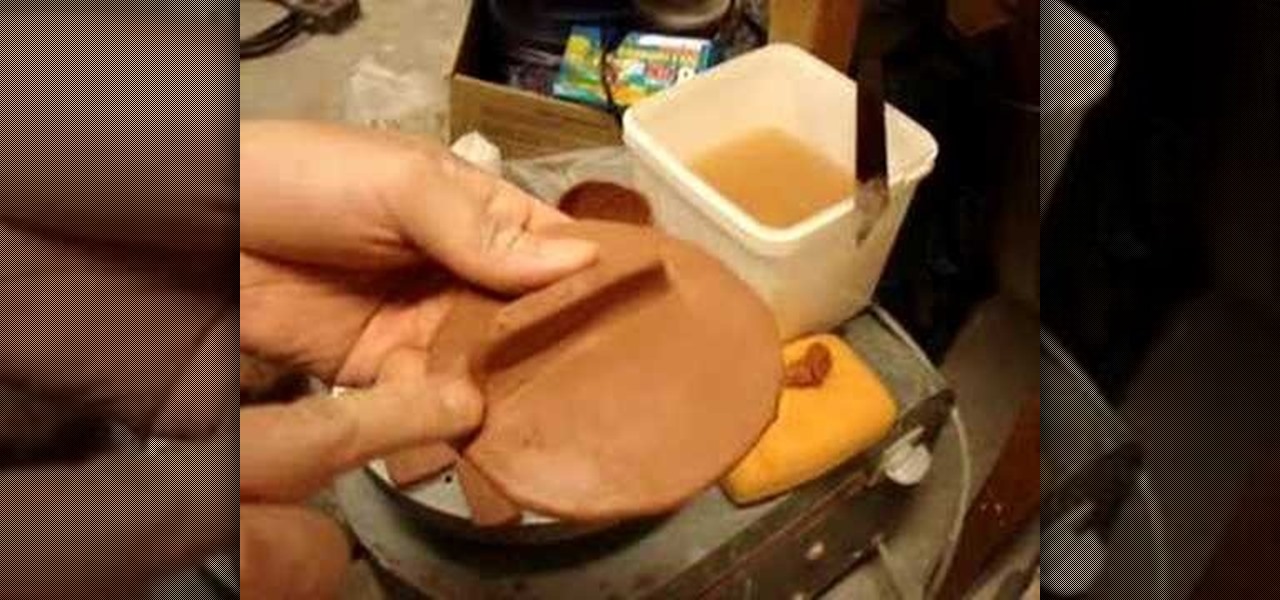
A terra cotta slip can add flair and durability to any pot that you've made at home, and also allow you to make up for inconsistencies in the composition of your clay. This video from Simon Leach shows you how to apply just such a terra cotta slip to a clay pot, an important technique to improve you pottery and ceramics skills.
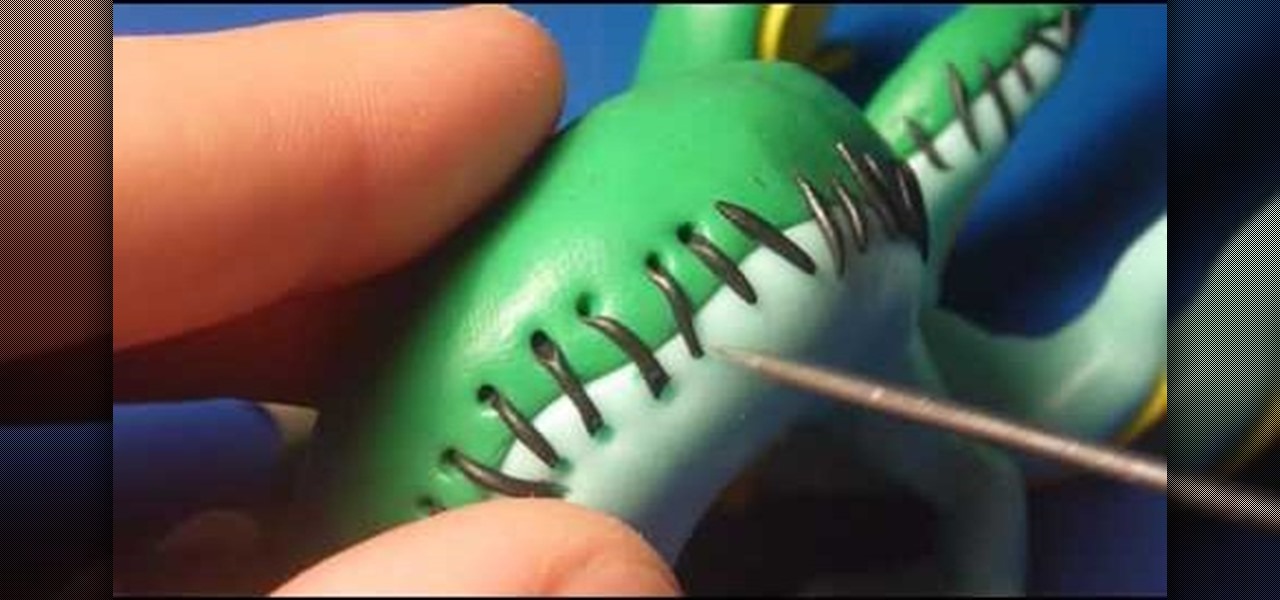
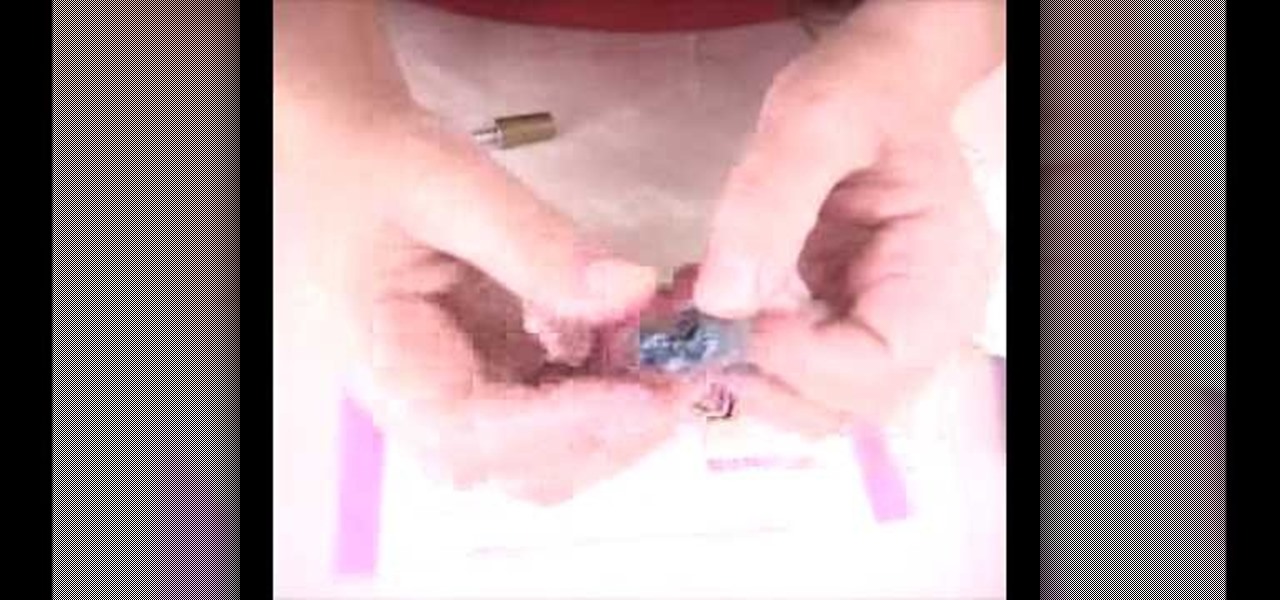
If you would like to create the look of stitches or sutures on your clay sculptures, you will need the following: clay, a toothpick or sharp implement, and a cutting tool.
Watch this video to create realistic hot cross buns for your dollhouse! Start off with some white clay, and glass marble beads. Take your clay and make a nice little ball and pour in some of the marble beads. Squish the clay together so all the little "raisin" beads get mixed in. Roll it through the pasta machine on setting number one. Next take your square cutter and press it down on the clay. You then have your first hot cross bun. Use different colored chalks to color the bun. Then bake yo...
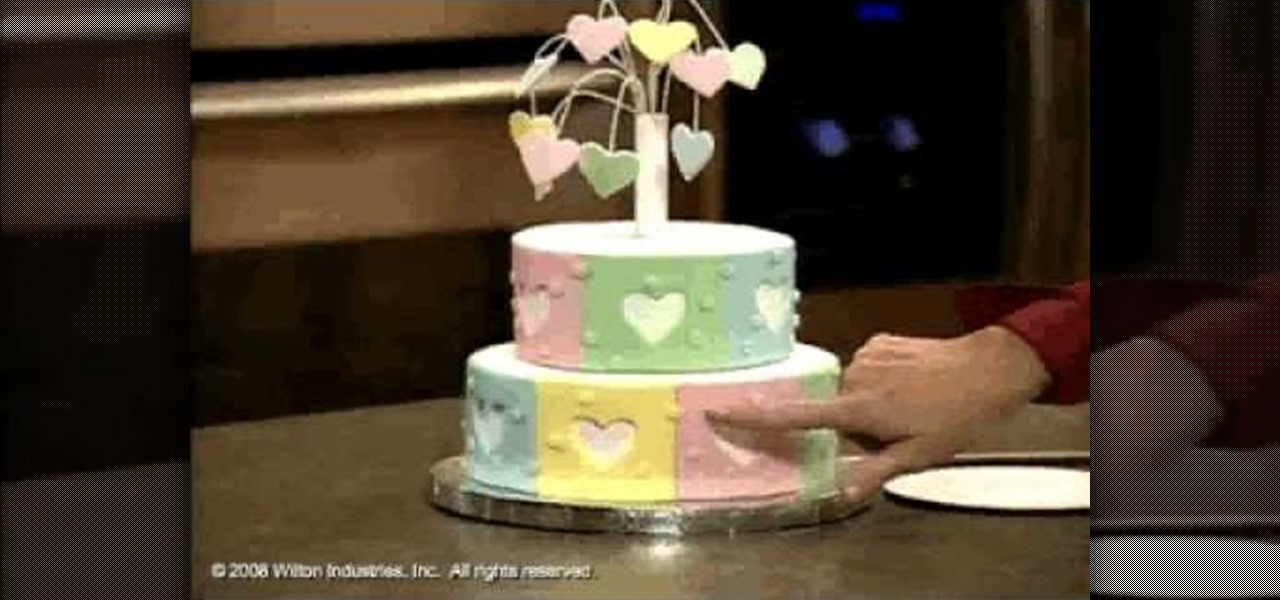
Wilton Cake Decorating demonstrates how to make and decorate a heart fireworks tiered cake. Roll out the pliable edible cake clay so that it is about 1/4 of an inch thick. Cut out heart shapes with cookie cutters. Let them dry for a few hours. Attach the hard hearts to wire with an icing adhesive. Create a bouquet out of the candy flowers by crooking the end of the wires and sealing the bases with floral tape. Create three-inch panels for the six-inch cake out of the cake clay. Cut out heart ...

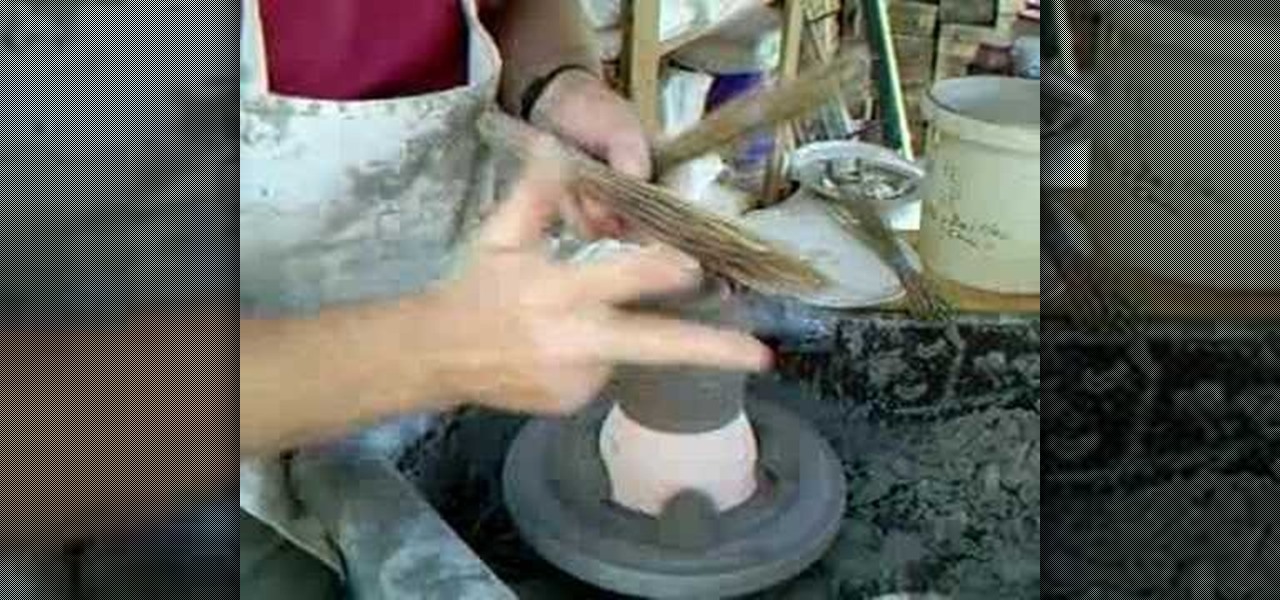
Watch this instructional video with ceramics expert Simon Leach to learn how to trim and glaze Hakeme tea bowls. Leach uses a groggy, toothy clay which contains high iron content. He then adds a white clay slip with Hakeme grass brushes, which provides a thin layer of natural white clay texture, using a scratching technique. The white slip should be applied when the clay is still quite soft. The striking effect of Hakeme ceramics becomes more apparent as the clay dries.
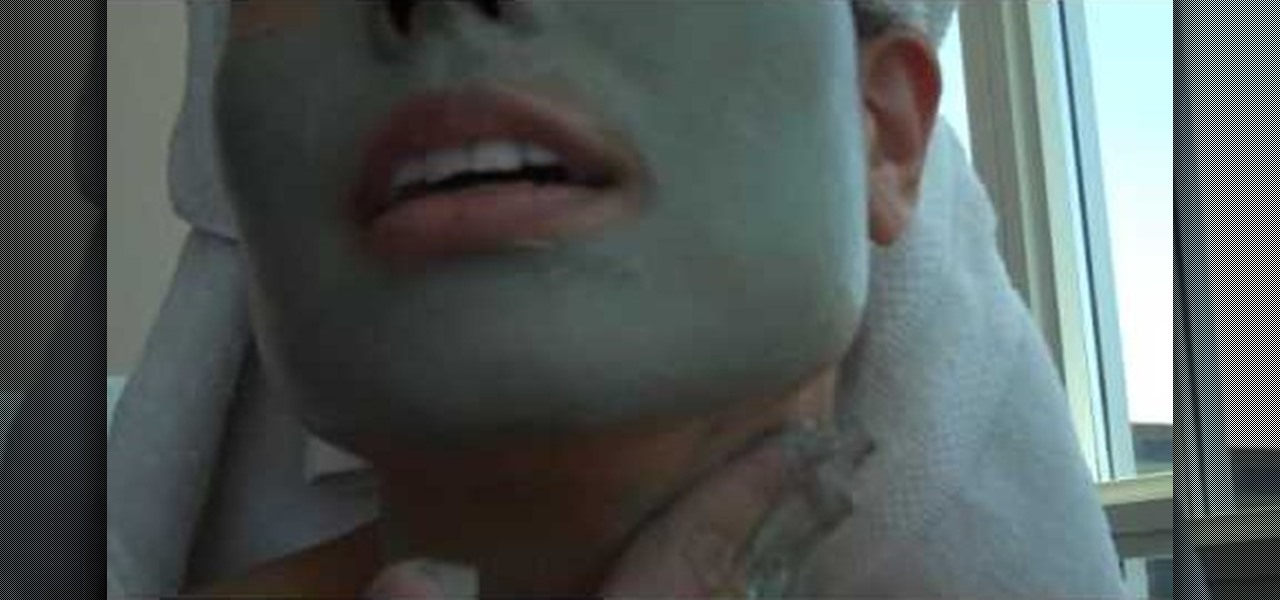
Nili Nathan shows you how to make a homemade clay facial mask for oily skin. To make your own clay mask, do the following: You will need 3 tbs of green clay. Mix with some hot water, about 3 tbs. Add 2 drops of Rosemary essential oil, 2 drops of lemon essential oil. Mix well with a fork, until it becomes a paste. Add more hot water if needed. Apply evenly to your face and neck, leave on for about 7 minutes. Rinse off with warm water. Enjoy the deep cleansing, healing effect.
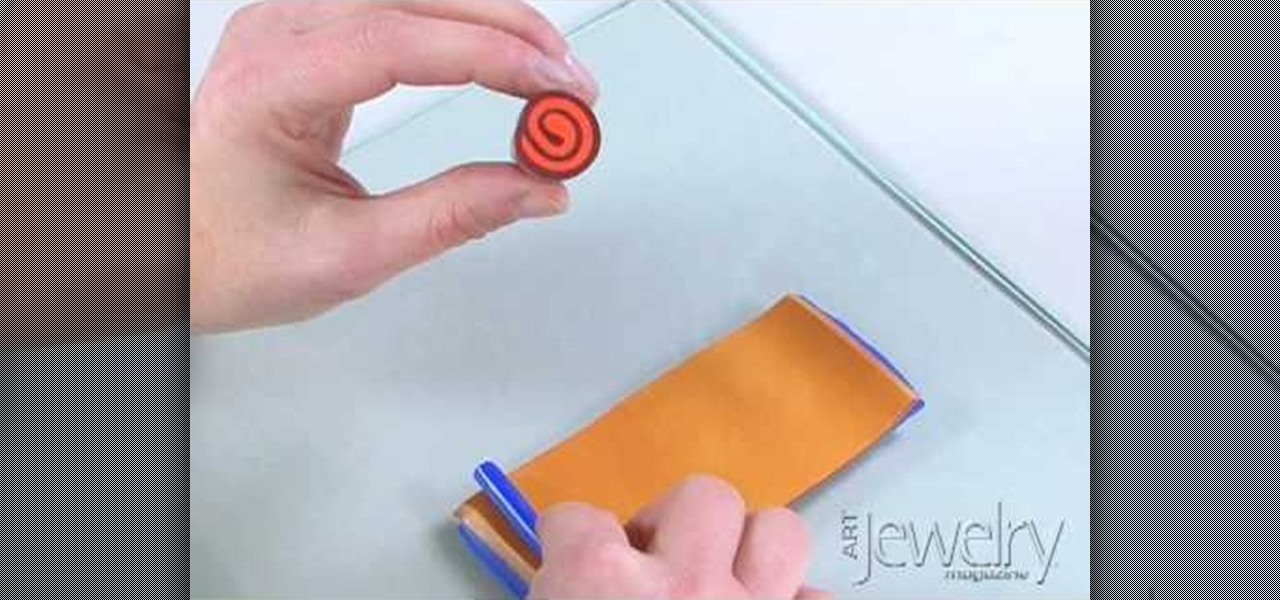
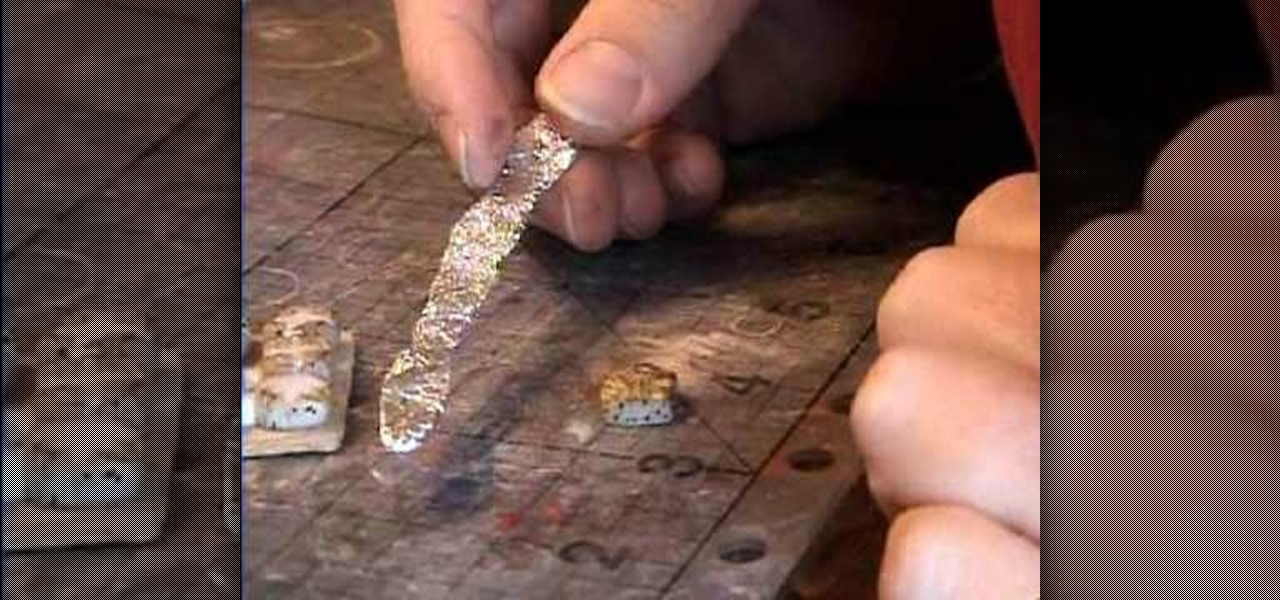
Jill Erickson from Art Jewelry Magazine demonstrates how to make a Jellyroll cane with polymer clay. Condition two different colors of clay by running them through a pasta machine set on medium. Then, trim off any rough edges. Stack the clay on top of each other and place a little bit of pressure on it to confirm the two layers. Using a blade slightly bevel the edges. Slide the blade underneath the two layers of clay for easier handling. Place a think snake of clay in the contrasting color on...
In this video Andrea shows us how to make a facial mask with French green clay for oily skin. You will also need rosemary, lavender and water. First, take one tablespoon of French green clay, one drop of rosemary and one drop of lavender. Then, mix with desired amount of water. Mix this all together and you will be ready to apply to your clean skin, avoiding the eye area (especially underneath the eye). After you've applied the mask, let it rest for about 10-15 minutes and then rinse off with...
The video is an episode of Indy Mogul. It opens with a man who tells us the topic of this show is to help people make fake prosthetics for a fish-man costume for Halloween. After an intro showing us that the show is about making homemade special effects and props on a cheap budget and a disclaimer the show tells us the ingredients we'll need to make the prosthetics. They are: clay, sunglasses, latex sheet, quarter-inch foam, styrofoam head and bald cap, and liquid latex. The show then demonst...
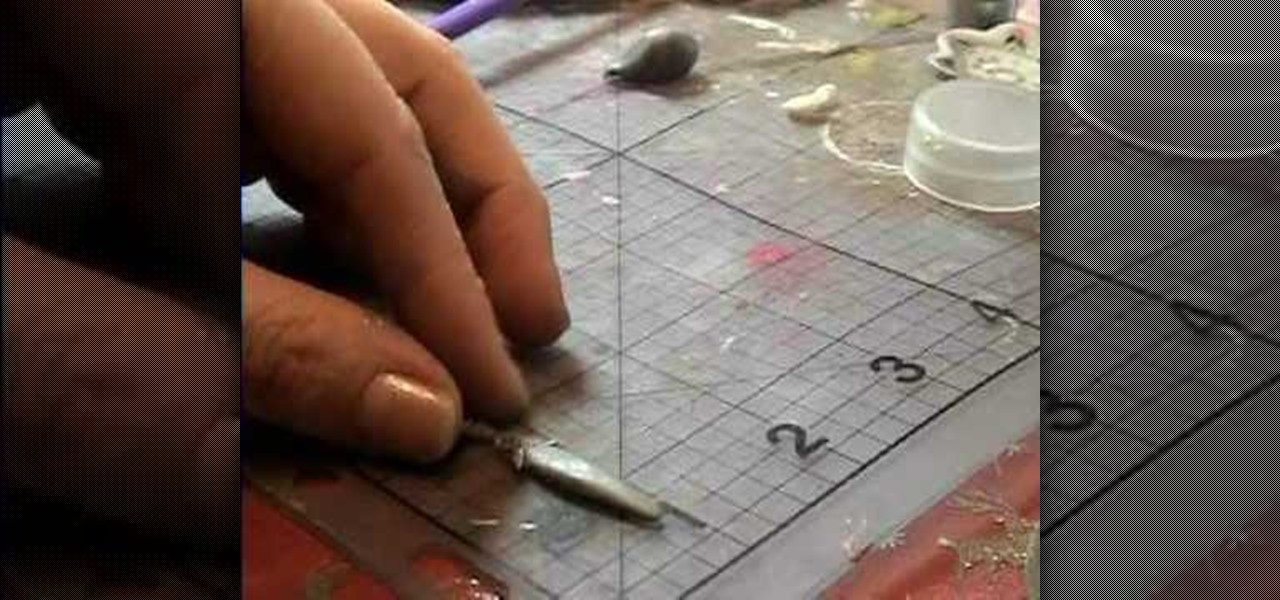
Garden of Imagination is demonstrating how to make a miniature knife for the doll house. This knife has a clay blade and a metal handle. The metal handle is made of a hanging earring finding. Now some black clay is taken. It is rolled and flatten and made into the shape of the blade. Now this is fixed to the handle and some glue is applied so that it stays permanently. Now the knife is ready. Now this is to be baked and after that some glaze is applied using brush so that it gets a shining ef...
The first step in making burritos for a dollhouse is to take some off white clay and roll it as thin as you can get it. After that, take a small circle using a small circular cutter of some sort. Next, make the "beans" with translucent liquid sculpting clay and some red clay by mixing the two ingredients together. Take a toothpick and apply this mixture in a line down the center. Now take one side of the circle and fold in just past the bean mixture. Now fold the side flaps over and roll the ...
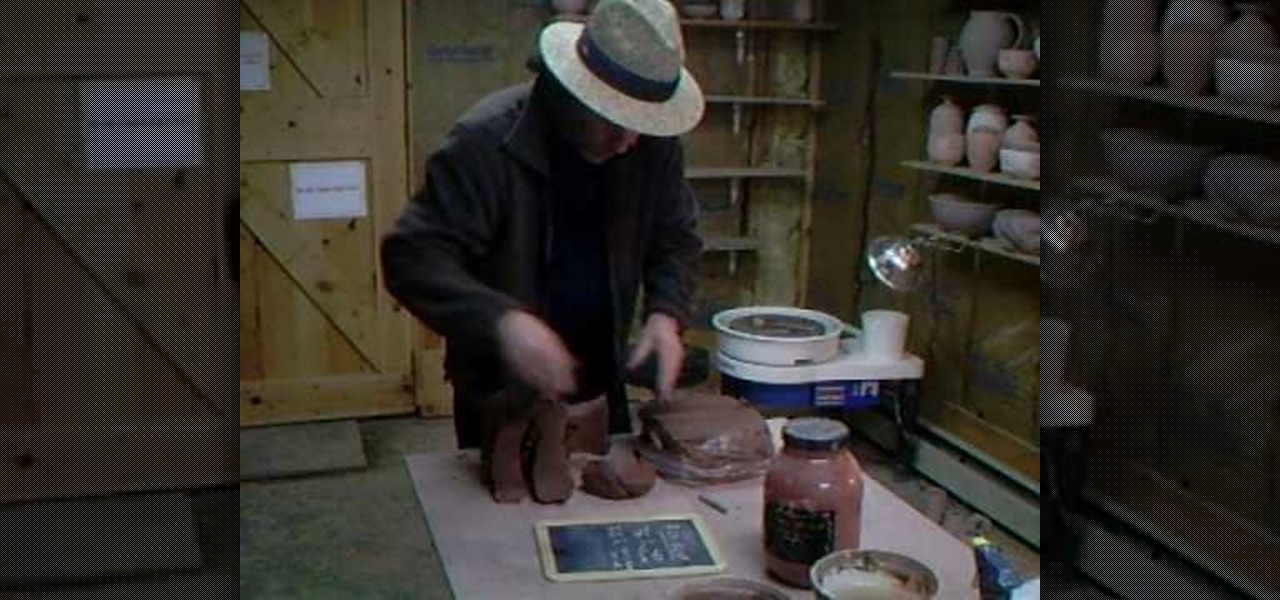
Simon Leach gets back to basic in this installment of his ceramics instruction video series. He teaches you first how to find places todig clay, then how to apply a red iron oxide slip to some flower pots he's working on. Multiple lessons in one video! This one is sure to teach you some interesting new pottery techinques.
Want a cool way to display your digital camera? It just takes a little clay and some time to make something really worthwhile, like this clay kitty cradle.
Clay pottery is a fun and creative art form that can be done with slabs of clay and not only on a spinning wheel. This free video clip series will show you several tips on how to construct a clay queso warmer and open a world of design ideas for you.
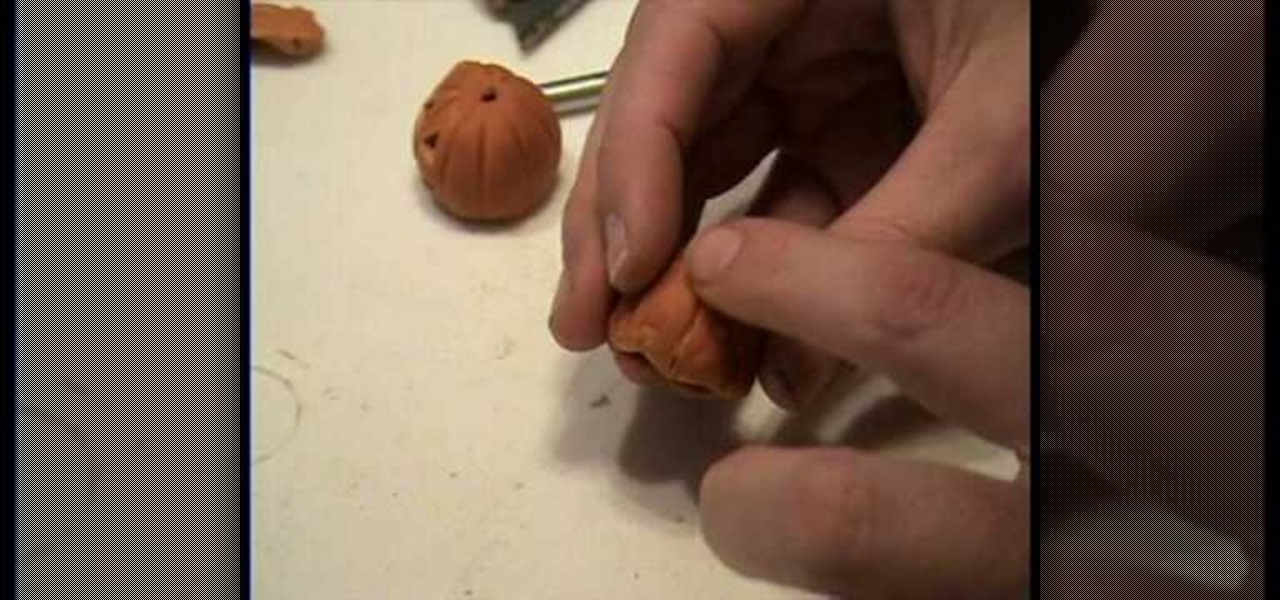
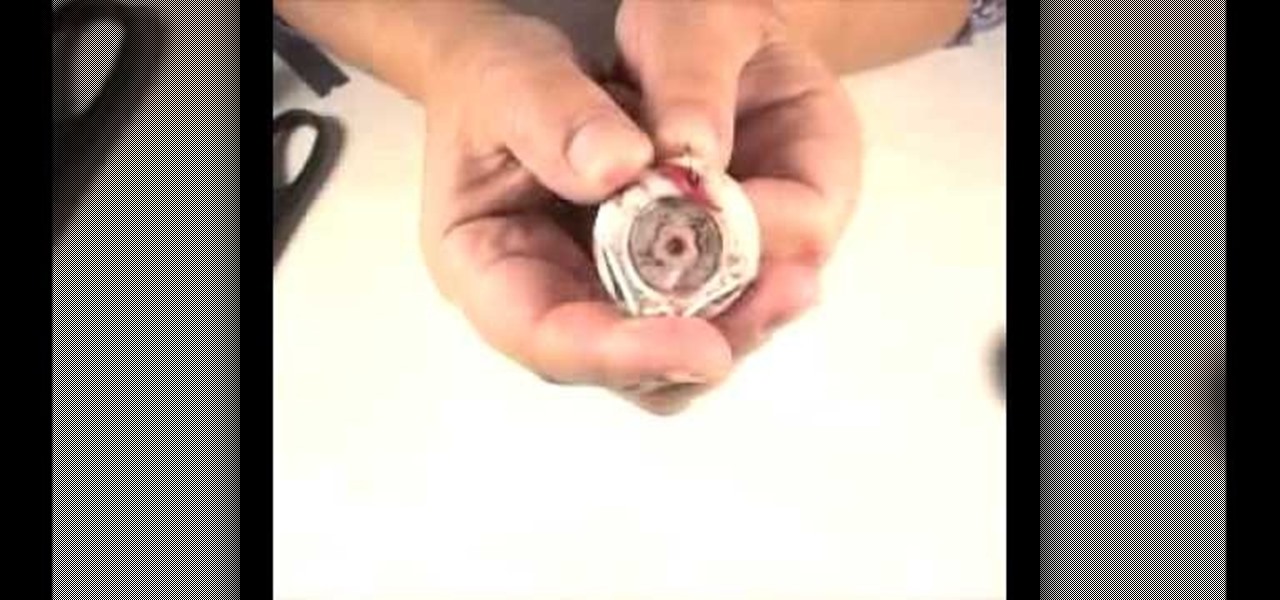
In this video we're shown how to make a miniature hollow pumpkin. First start with Sculpey clay, the color you want to use is sweet potato pie. Roll some out flat and wrap it around a large glass marble, cutting off the excess clay. Next cut a small opening at the bottom so you can remove the marble later. Start sculpting the outside of the clay into a smooth spherical shape, using the marble as a guide. Next, take a toothpick or other similar utensil and poke a small whole in top of your pum...
Learn how to make a clay birdhouse on the pottery wheel in this free ceramics video series. Part 1 of 14 - How to Make a clay birdhouse.
Learn how to make pottery clay for ceramics by either mixing the clay or digging it out of the ground in this free ceramics video tutorial.
Clay pottery is a fun and creative art form that can be done with slabs of clay and not only on a spinning wheel. This free video clip series will show you several tips on how to construct a slab planter and open a world of design ideas for you.
Clay pottery is a fun and creative art form that can be done with slabs of clay and not only on a spinning wheel. This free video clip series will show you several tips on how to construct clay mug handles and open a world of design ideas for you.
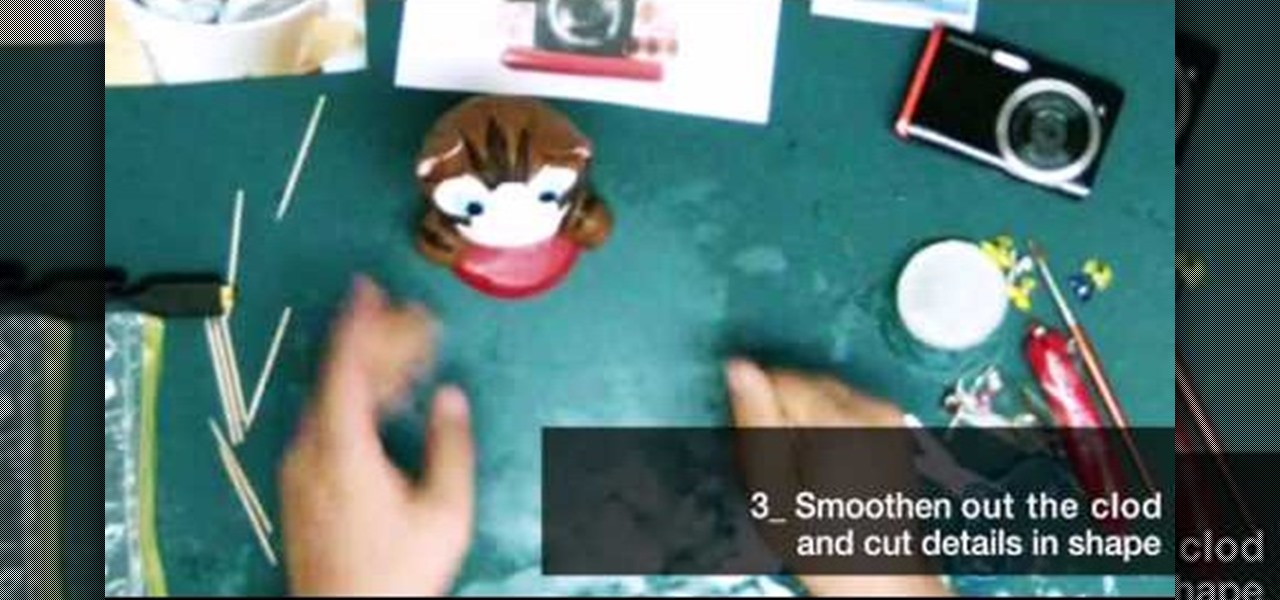
Polymer clay is a favorite material for many crafters because it's so versatile. Those interested in creating miniatures - like small version of Domo Kun or tiny, hamster-sized apple pies - can easily mold the clay into any shape they wish, while jewelers enjoy polymer clay because you can experiment with different colors to produce all types of effects.
Clay pottery is a fun and creative art form that can be done with slabs of clay and not only on a spinning wheel. This free video clip series will show you several tips on how to construct a clay pie pan and open a world of design ideas for you.
Clay pottery is a fun and creative art form that can be done with slabs of clay and not only on a spinning wheel. This free video clip series will show you several tips on how to construct a clay salt cellar and open a world of design ideas for you.
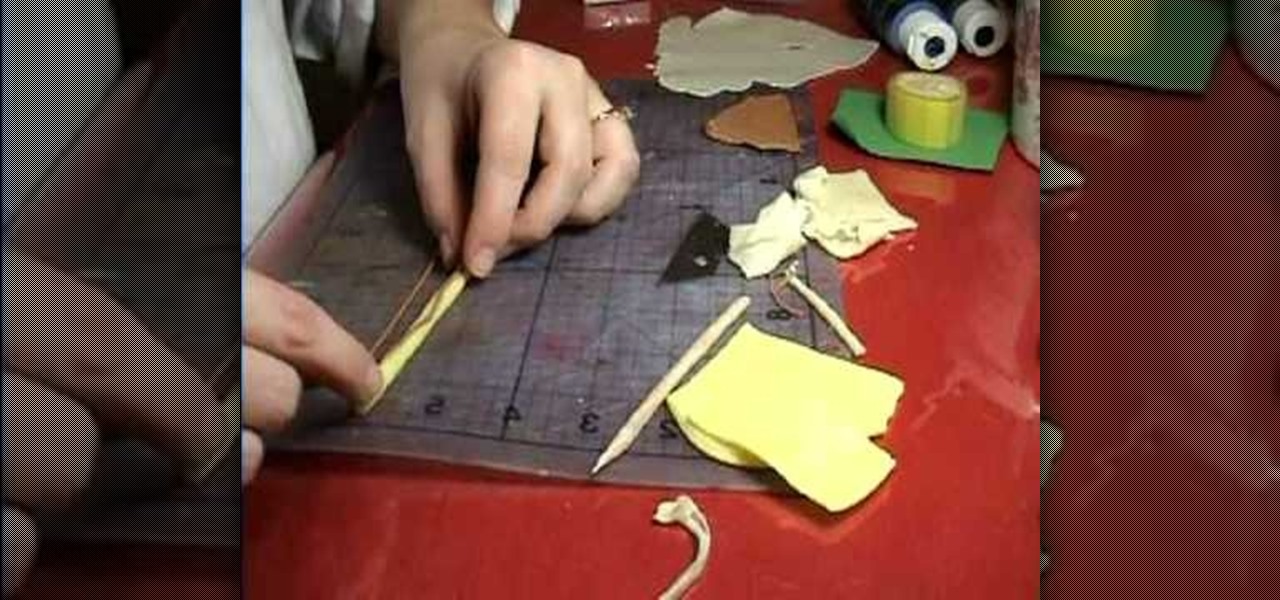
Translucent, yellow and brown clays are needed to make the banana. For the covering mix the translucent and yellow clays. Another translucent mixed with a little yellow is needed for the flesh of the banana. The seeds are made with the brown mixed with translucent rolled out very thin. The rolled light yellow clay needs to be twisted into the shape of a triangle vertical. Take a translucent rolled flat and place the yellow clay and cut little clay and roll it together into a very thin roll. T...
Make your own duck decoy from clay by sculpting and using a mold; learn to sculpt a duck decoy from clay in this free video art lesson.
Working with modeling clay is fun and easy. Learn how to make a modeling clay bowl with expert craft tips in this free art lesson video series.
"Froggy went a-courtin'. He did ride. Mmm-hmm." Learn how to make clay frogs from a professional art instructor in this free crafts video series.
Making pottery pitchers with clay is a fun and creative art project that can be done with a potter's wheel and a few basic tools. Learn how to make a clay pottery pitcher in this free pottery lesson video from a ceramics artist and sculptor.
Clay pottery is a fun and creative art form that can be done with slabs of clay and not only on a spinning wheel. This free video clip series will show you several tips on how to construct vases of all different shapes and open a world of design ideas for you.
Sculpt yourself a holy angel from clay, including fair wings, a gown, and glorious hair; learn how to sculpt an angel in this free video art lesson on sculpture.
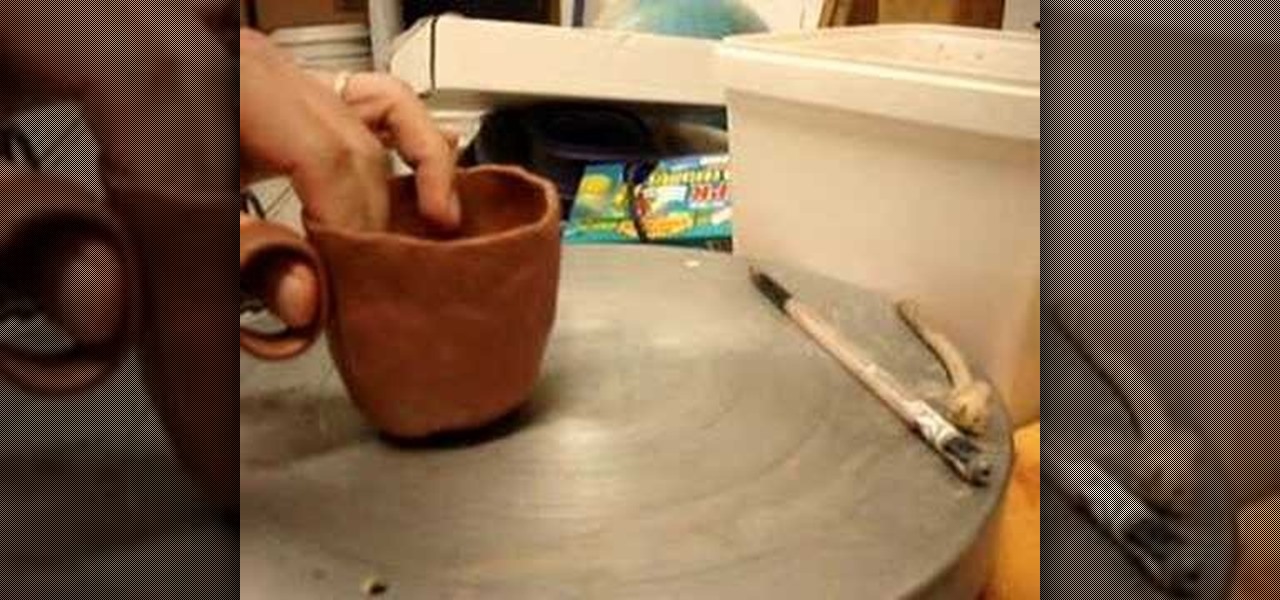
Check out this video to learn the technique for attaching a clay handle to a clay pinch cup by scoring.
Magic Glos is a fun product that you can add to polymer clay or resin products to make your project glossy and shiny. You can even apply Magic Glos to paper projects, though you'll need to seal it to prevent bleeding.
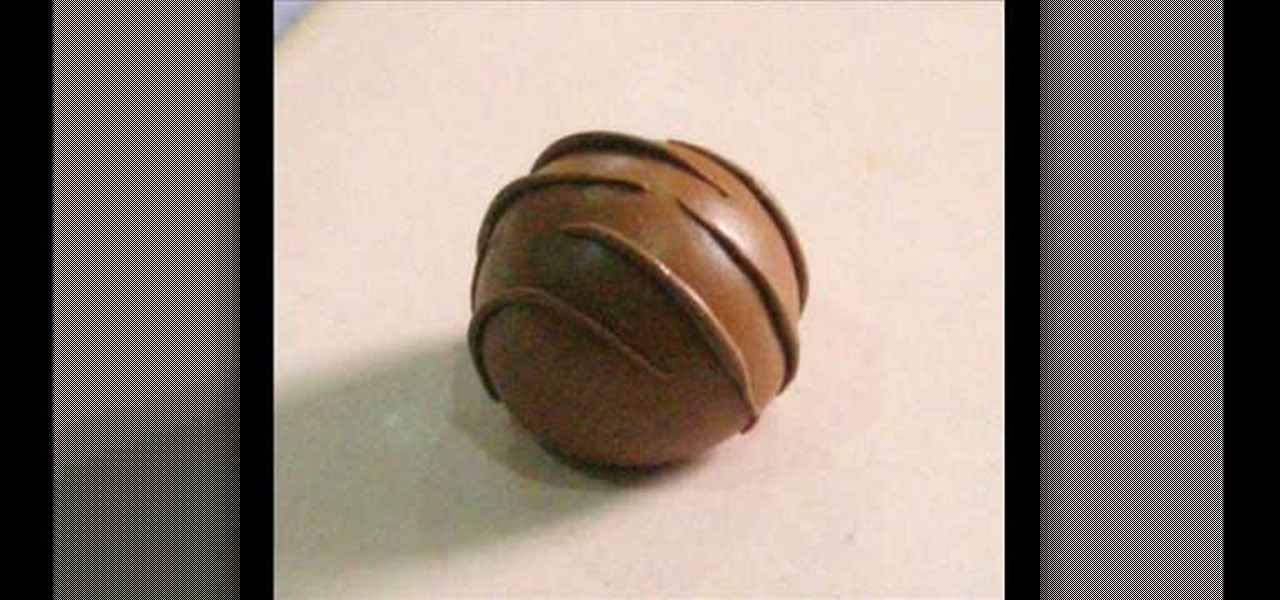
How to make a Polymer Clay Chocolate Bon-Bon (Chocolate Truffle with peanut Butter filling using polymar clay).
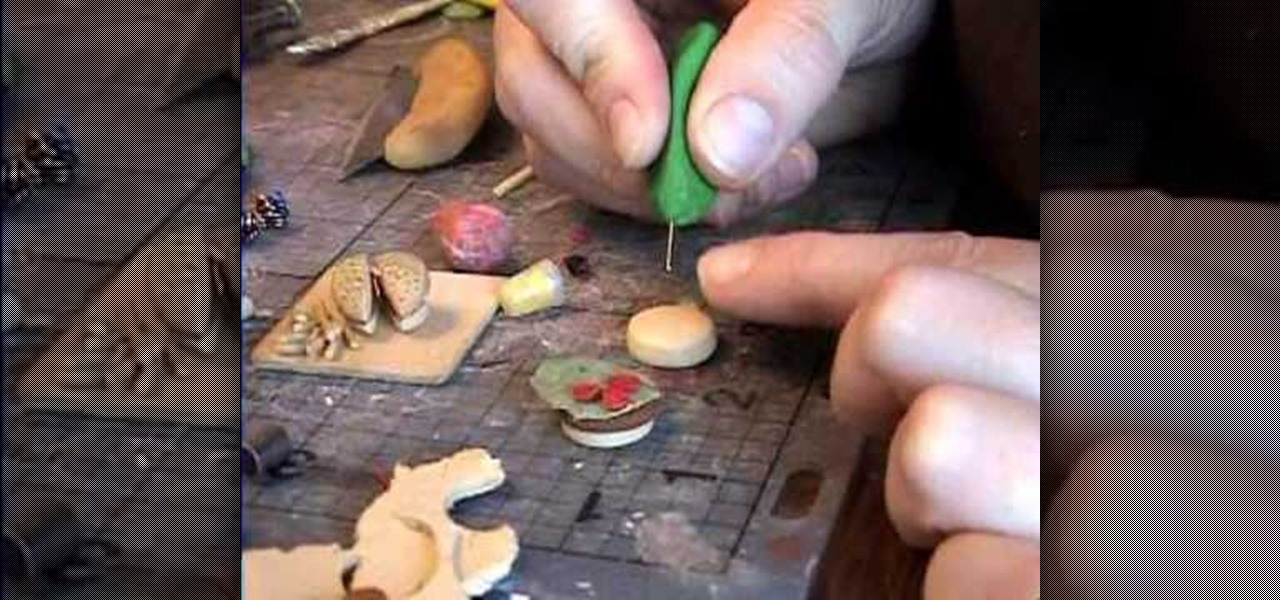
Using multiple layers of clay, garden of imagination shows how to make a hamburger and fries out of polymer clay. This decorative item would then be placed into a miniature dollhouse being displayed as a food item. She rolls a peppercorn on brown clay to give it the texture of meat. She mixes together green and whit clay for lettuce, and uses another piece of clay to ruffle the edges of the lettuce. She uses small round cuts of clay for tomatoes. Using an embroidery needle with a clay handle ...
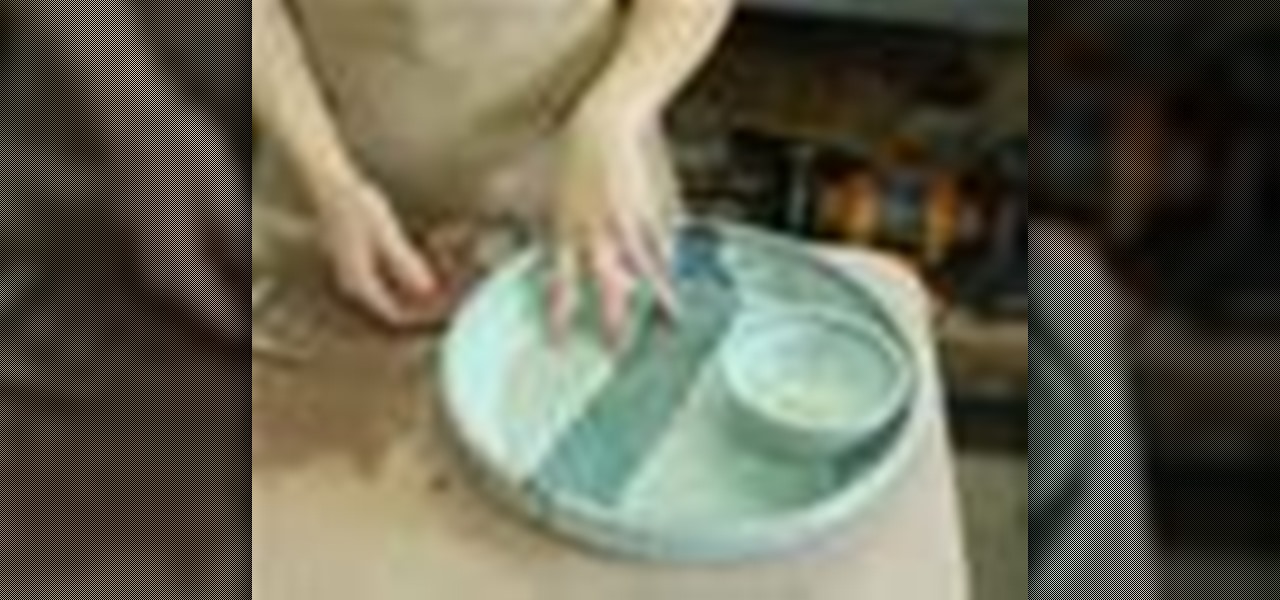
Clay pottery is a fun and creative art form that anyone can do. This free video clip series will show you several tips on how to construct a chip and dip dish and open a world of design ideas for you.
Clay pottery is a fun and creative art form that can be done with slabs of clay and not only on a spinning wheel. This free video clip series will show you several tips on how to construct a chicken baker warmer and open a world of design ideas for you.
Here are some instructions on heat embossing on polymer clay. This video includes tips for embossing both baked and unbaked clay. You will need polymer clay, a rubber stamp, pigment ink, embossing powder and a heat gun. Roll out the clay onto a nice thin sheet of clay and bake the selected piece. Then stamp the baked clay with ink as desired. Sprinkle the embossment powder onto the stamped area, and tap off the excess powder. Next, heat the embossed area with the embossment gun and watch the ...
Garden of Imagination demonstrates how to make realistic looking ice out of polymer clay. To make the polymer clay ice, first take one part pearl white polymer clay and one part translucent polymer clay. Add the clay to a food processor and chop up the two pieces of clay into clay chips. Bake the clay chips in an oven according to the manufacturer's recommendations. Take the clay out of the oven and let it dry. After the clay is dried, it takes the appearance of ice. Store the ice in a bowl u...
The clay dries by air and you don't have to put it into the oven. The clay isn't brittle and doesn't crack like some of the other clays. The clay bends really easily and is very transparent. Consider that this air dry clay shrinks. The moisture is premixed in the clay. The shrinkage is handy for someone making larger projects. You can use pigment inks, powdered pigments and paints on the air dry clay just like you would use with regular polymer clay. You can also use cutters and findings on t...