Picture this: You finally get that awesome angle, the perfect selfie. You can't wait to post it on your Instagram, except there's one problem — it looks a little flat and the colors just seem off. Maybe it's the lights? Or maybe your new smartphone camera isn't as good as you thought? How are your friends getting those beautiful photos they've been posting on social media?
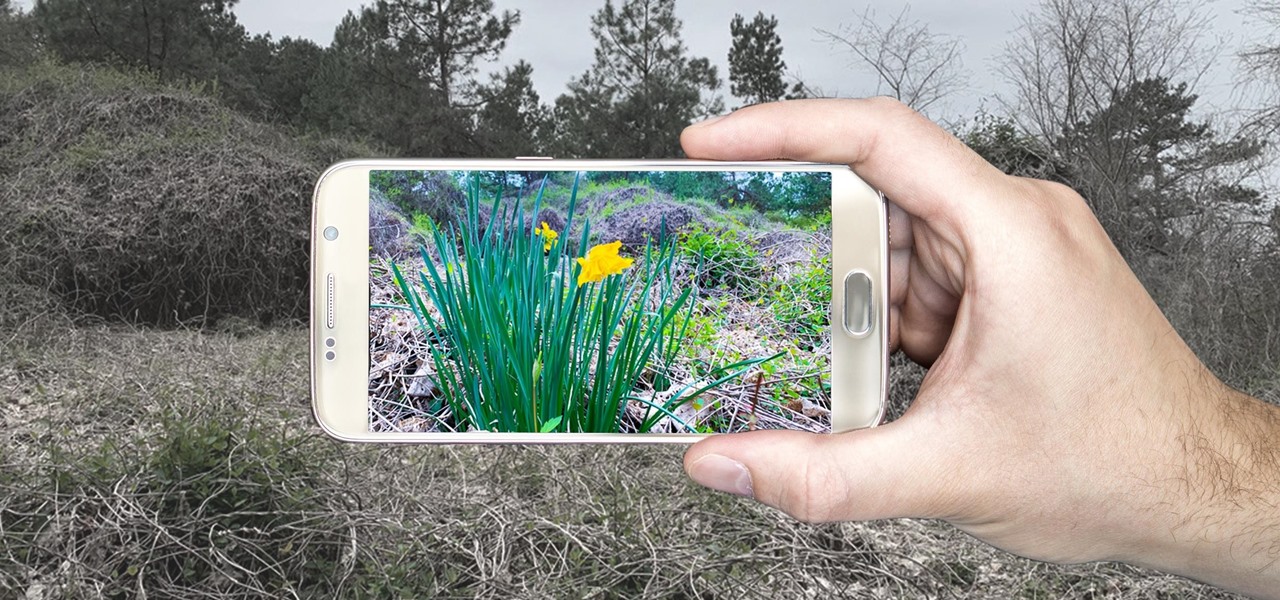
Imagine an Instagram feed filled with a wild array of vivid color. Beautiful right? But when you look at the photos in your iPhone or Android phone's albums, they're all just too dull to pull off that dynamic look. There's no doubt that colorful images are more eye-catching than dull ones, so how do you get your photos to overflow with vibrant color? The answer: Add it in post.
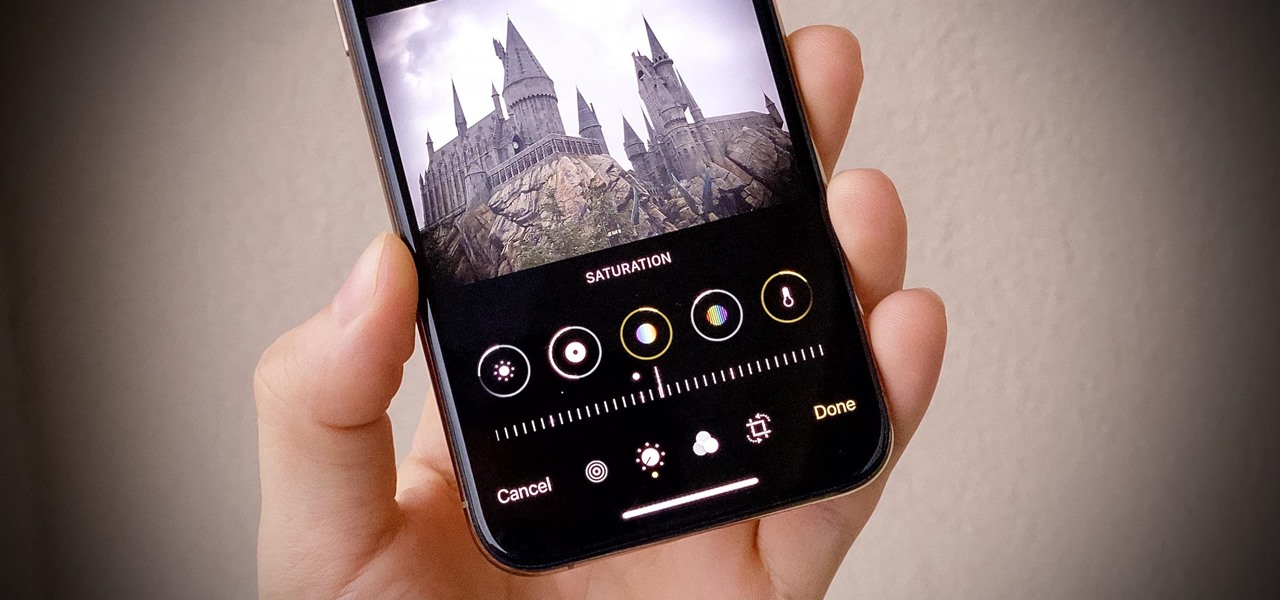
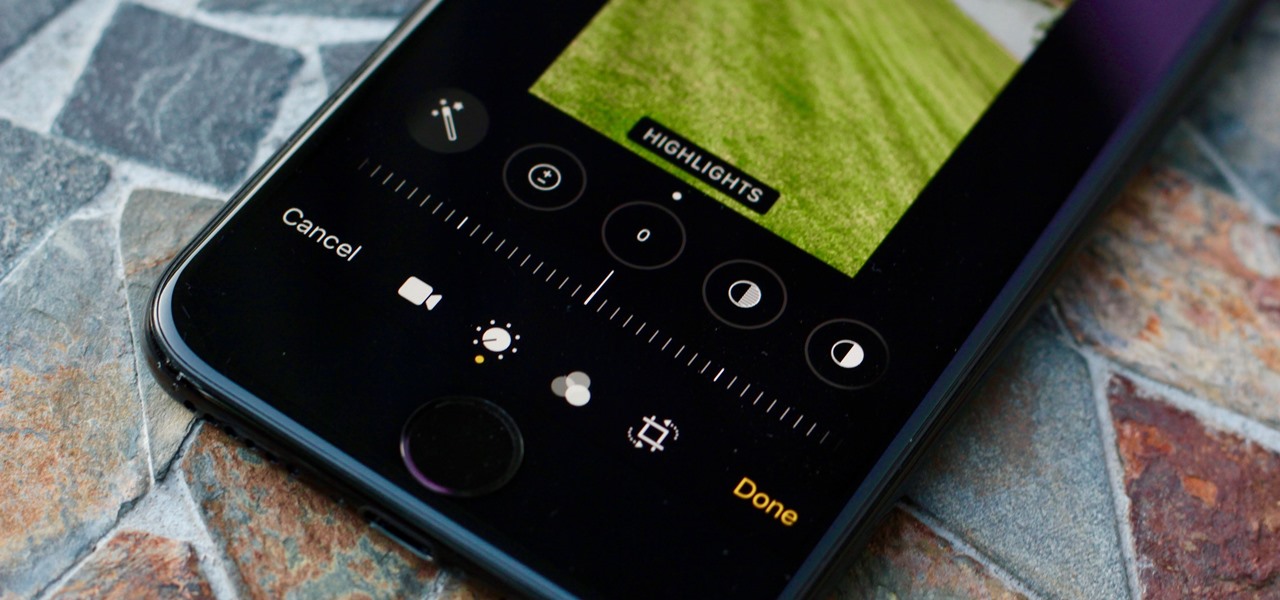
The Photos app on iPhone has long offered basic editing features for quick edits to pictures, but iOS 13 greatly expanded them and gave the same love to videos. One of the best additions offers the ability to turn off photo and video edits without undoing them, so you can preview how your shots look with or without an effect.
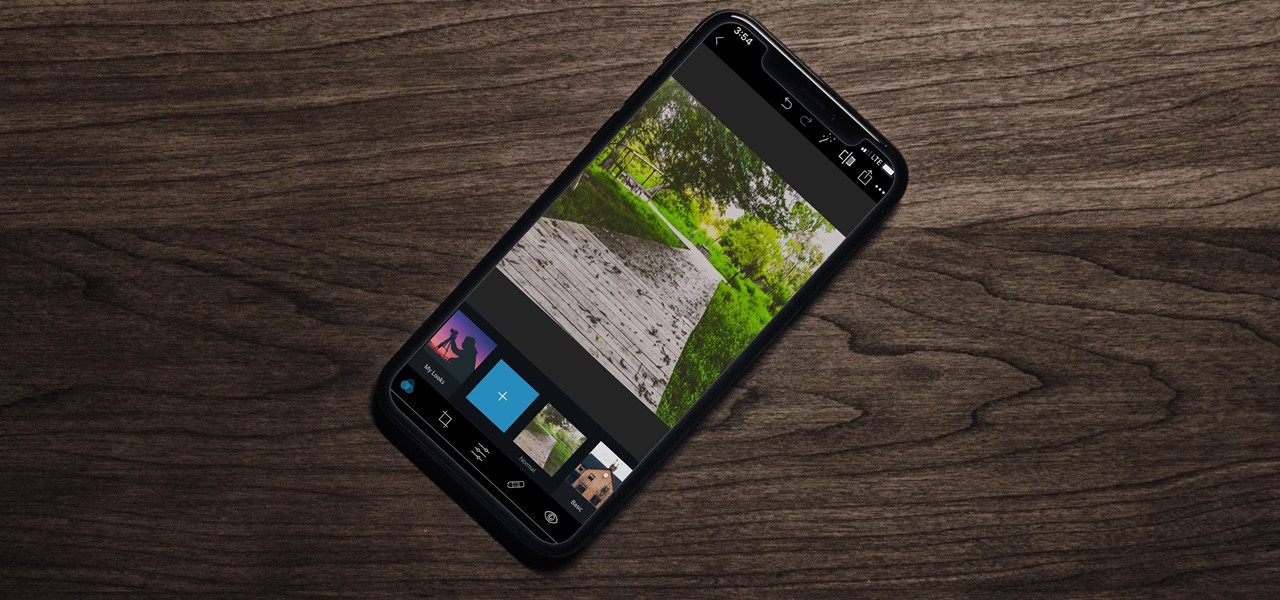
Just like Instagram, Photoshop Express for Android and iOS has its own set of filters you can quickly apply to any photo. It's simple, fast, and more customizable than using Instagram's pre-made filters. The options in Photoshop Express allow you to edit and change your filters to be exactly to your liking. Then, you can even save those edits as your own custom filters.
Starting in iOS 13, Apple introduced a robust suite of video-editing tools to its Photos app. The majority of editing tools were only available for images in iOS 12 and older, but iOS 13 leveled the playing field to allow even a novice to tweak videos like a pro before sharing.

When Apple removed the Home button from iPhone, it introduced a new way to install apps that caused confusion over what to "double click." Like most iOS changes, it didn't take long to get used to double-clicking the Side button. But for some, performing a double-click on the Side button isn't that easy.

One of the worst-kept secrets in the tech world is Apple's plans for consumer-grade AR smartglasses, still unconfirmed publicly and only recently corroborated through a leaked account of an internal employee meeting.
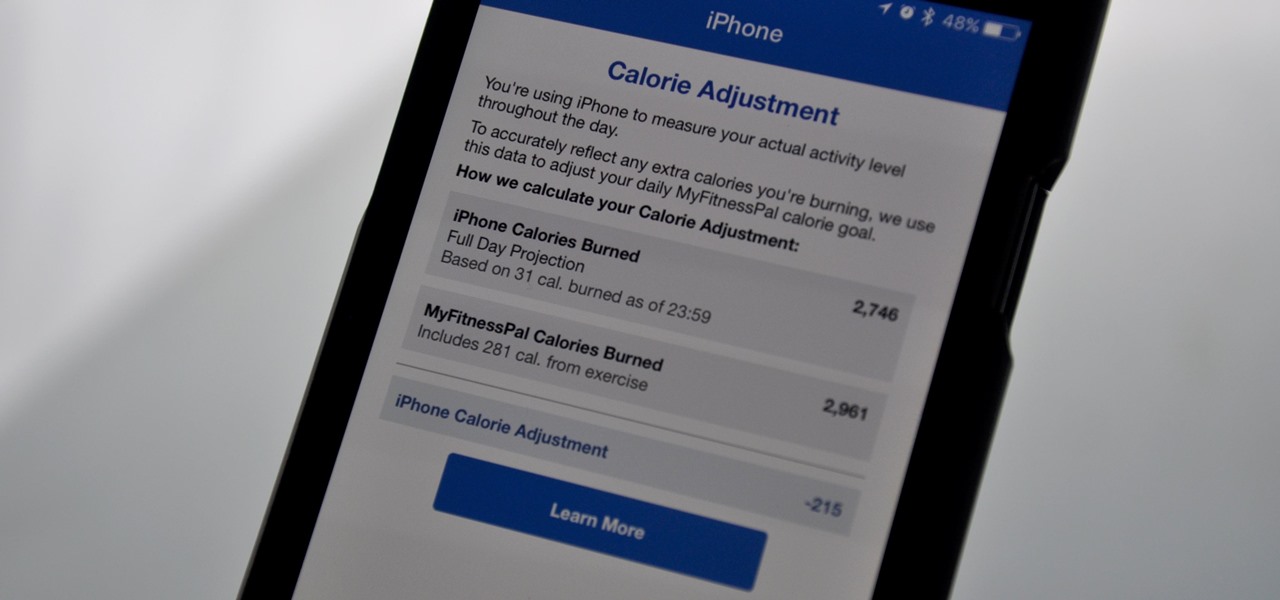
MyFitnessPal adjusts your calorie goal for the day according to your activity level. The more active you tell the app you are, the more calories it tells you to consume — simple, right? Unfortunately, MFP doesn't tell you to consume fewer calories when you don't work out. However, an activity tracker like a FitBit or Apple Watch can help.
Looking for a guide on how to get the most out of the auto commands in Adobe Photoshop CS5? Whether you're new to Adobe's popular raster graphics editor or a seasoned designer looking to better acquaint yourself with the new features and functions of the latest iteration of the application, you're sure to benefit from this free software tutorial. For more information, watch this video guide.
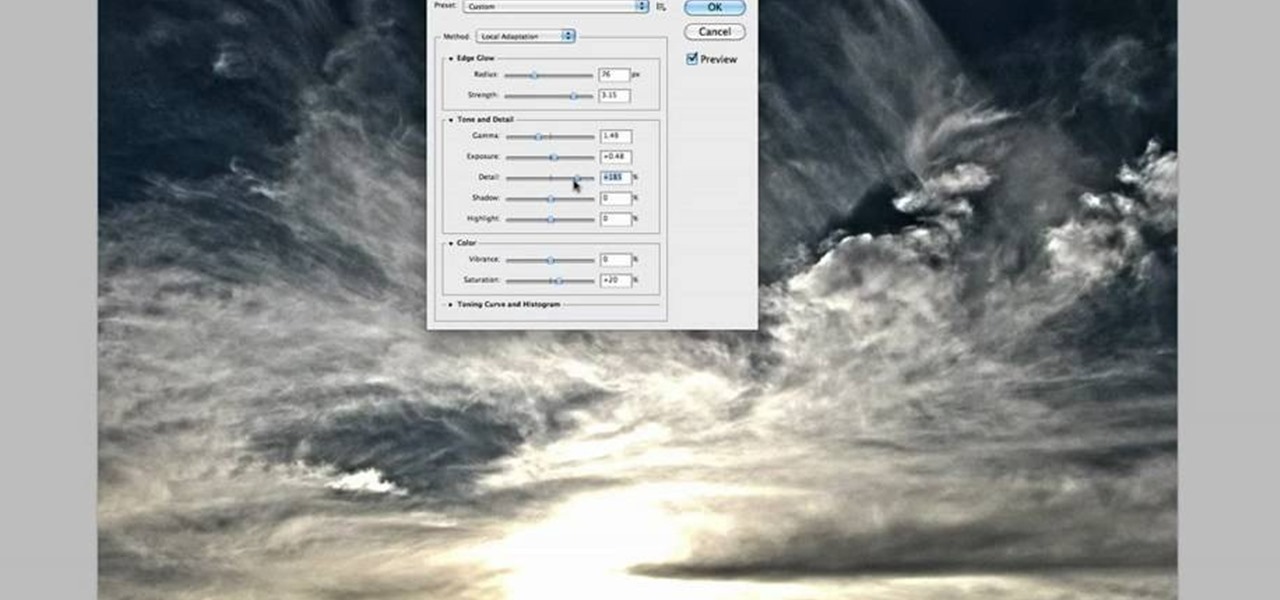
Take full of Photoshop CS5's HDR Toning Adjustment Tool with this free video lesson. Whether you're new to Adobe's Creative Suite or a seasoned graphic design professional after a general overview of Photoshop CS5's most vital new features, you're sure to be well served by this video tutorial from the folks at Brusheezy. In it, you'll learn how to take advantage of Photoshop's new HDR (high dynamic range) Toning Adjustment Tool.
Meet the Adobe Photoshop Lightroom 3 Adjustment Brush! Whether you're new to Adobe's popular photo application or a digital photography professional just looking to better acquaint yourself with Photoshop Lightroom 3, you're sure to be well served by this free video software tutorial. For more information, as well as to get started using Lightroom 3 yourself, take a look!
Photoshop is a place where we can edit the image in different styles. One of the features is adjustment layer of a photo that is also called as filter correction. It is an easy step to color filtering of a photo. Open a picture in a Photoshop, and select add layer option that present at the right bottom of the screen, then a pop up menu appears. Select filters from the options available, then dialogue box appears consisting of sub options filters and colors. then select the main color from fi...
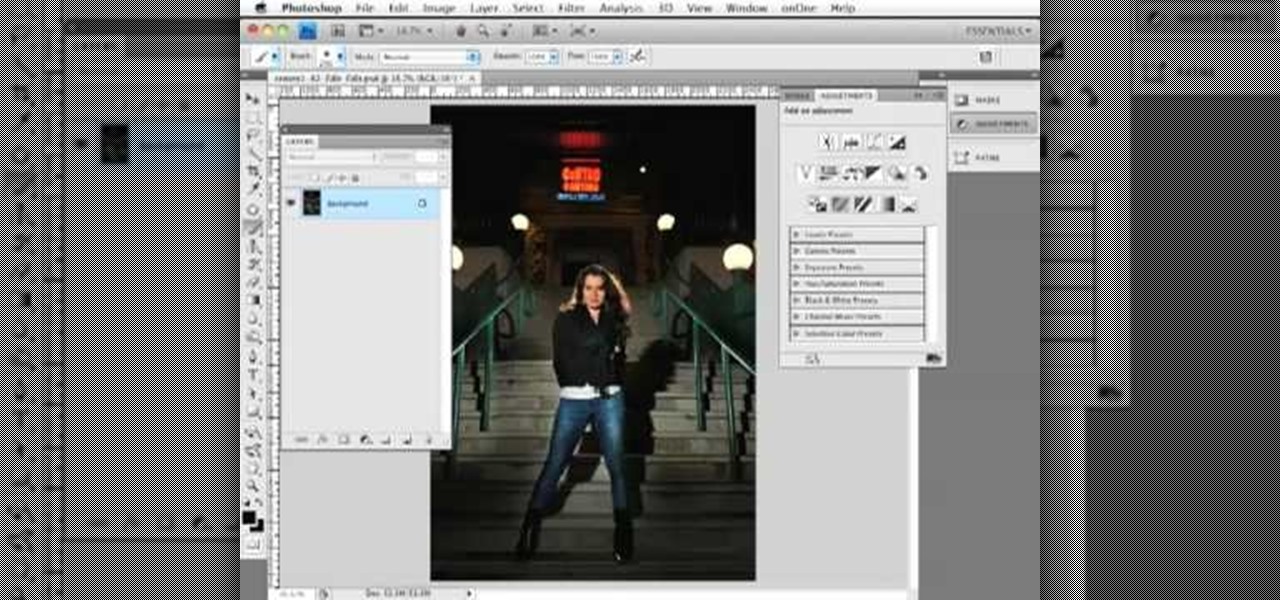
This clip presents a general overview of how to make and work with adjustment and mask layers within most versions of Adobe Photoshop, CS4 & CS5 included. hether you're new to Adobe's popular raster graphics editing software or a seasoned professional just looking to better acquaint yourself with the program and its various features and filters, you're sure to be well served by this video tutorial. For more information, including detailed, step-by-step instructions, watch this free video guide.
Learn how to use the Target Adjustment feature in Adobe Photoshop CS5. Whether you're new to Adobe's popular image editing software or a seasoned graphic design professional just looking to better acquaint yourself with the unique features of Photoshop CS5, you're sure to find something of value in this free video tutorial.
Have a photo that could do with a little touching up? Whether you're new to digital photography or merely unfamiliar with Apple's Aperture 3, you're sure to benefit from this free video software tutorial from Lynda, which presents a thorough, step-by-step overview on how to touch up your digital photographs utilizing Aperture's built-in adjustment brushes.
Sometimes there is a part of the photo that needs a little more emphasis than other bits. In this tutorial, you will learn how to use the photo editing program, Lightroom, to add focus and emphasis to certain parts of your images. Learn how to strategically darken and lighten areas of your photos to highlight whatever you choose. This clip is hosted by a professional and you will get tons of great advice.
Adjusting the rear derailleur on a bike is an important way to fine-tune your bike's shifting performance, but is complicated and can vary in method and effectiveness depending on the brand of derailleur. This video features instructions on how to adjust a low-normal rear derailleur using the adjustment screws.
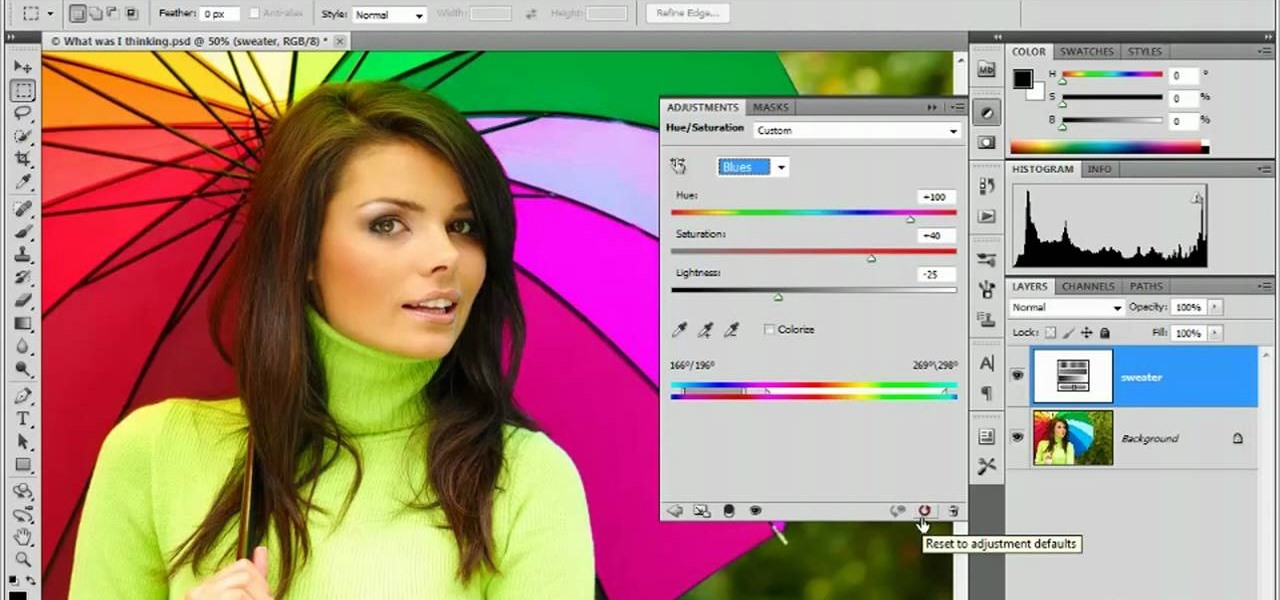
This tutorial shows you how to use the replace color adjustment tool in Photoshop. This is used to change an entire certain group of color.
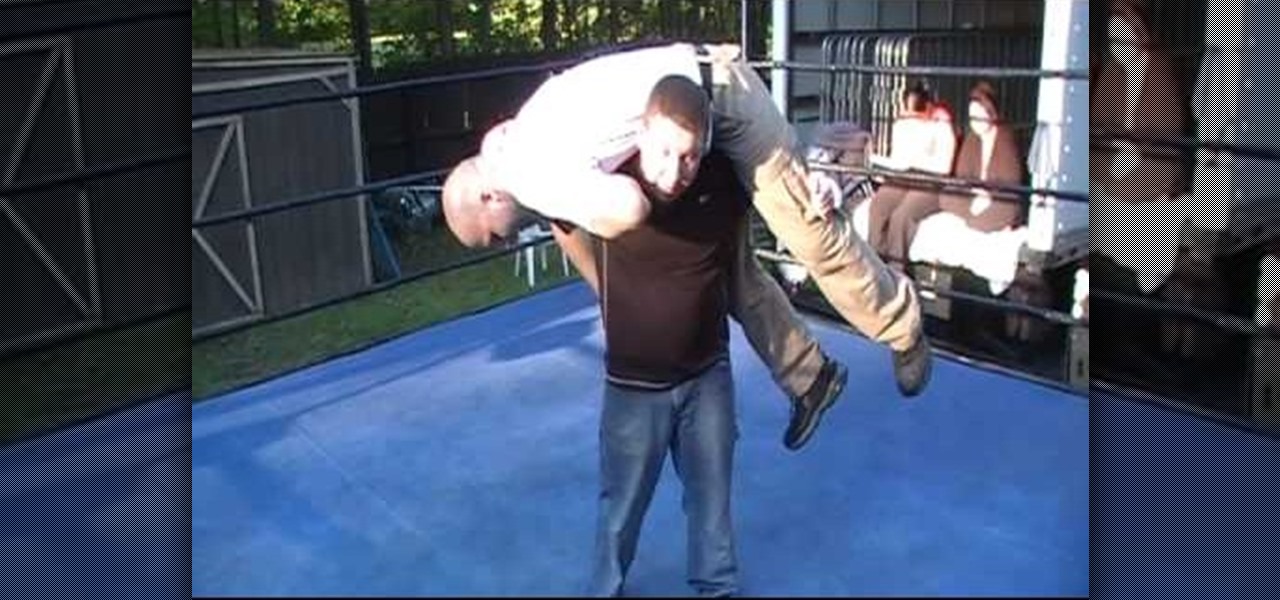
John shows us how to do the "Attitude Adjustment" pro wrestling move. Remember not to do this at home, only under the supervision of professionals! What you do, is start off by kicking them in the stomach, then throw their arm over your shoulder. Reach in under their knee to get a good grip, then carry them over your shoulders. You should have one hand on your shoulder and one on your hip. Then, when the other person gives the signal, you can throw them down to the ground. This will look like...
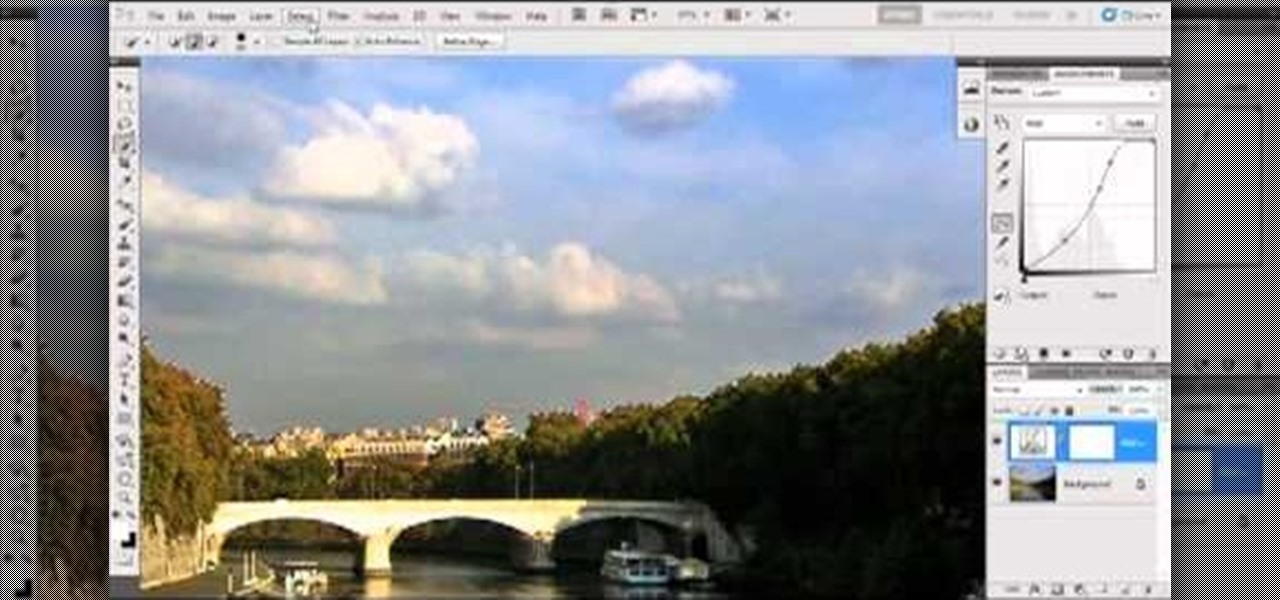
Bring out the colors in your clouds and sky images - or any other picture you want to retouch. This short tutorial shows you how to use the gradient tool in Adobe Photoshop and s-curves to adjust the color and contrast in your image.
This tech tip demonstrates advanced rear derailleur adjustments in order to achieve proper shifting.
Chiropractic adjustments offer many benefits, both long and short term. Find out if you need an adjustment with this free chiropractic video series.
Do you want to turn an ordinary photo into a surrealistic image? You could simply do it by changing its color. In this video tutorial you will learn to use a Photoshop adjustment layer to modify the colors in a photograph. Use a Photoshop adjustment layer to modify colors.
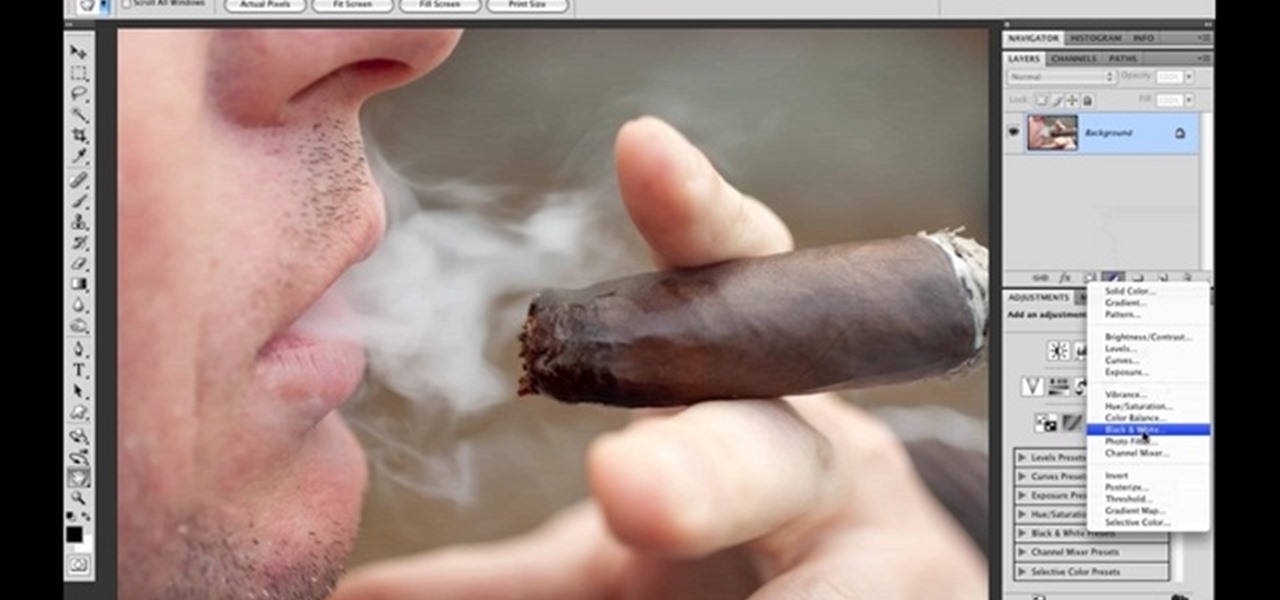
This tutorial will show you how to use the new Black & White adjustment layer found in Adobe Photoshop CS 3. You'll also get some cool tips on keeping or adding color to get a real pop to your pictures! If you watch the full video, the end has a section on creating a distressed edge. Lots to learn in this video! Use black & white adjustment layers in Photoshop.
Is it possible to adjust a photo within InDesign without having to go to Photoshop? In this video tutorial Adam Hay will show us how to adjust Adobe Photoshop files from InDesign and QuarkXPress. Check out the powerful Layer Comps function! Perform remote image adjustment in InDesign.
Here is the movie trailer for "The Adjustment Bureau"
Do NOT go see The Adjustment Bureau this weekend. Instead, watch a guy in pajamas touch baby penises for 90 minutes. Trust us, it's the better deal!
Sometimes your bill may not be correct- your TDSP may record your usage either higher or lower than it really is. In some cases the mis-read may not be noticed right away but sooner or later you'll get a usage adjustment. This video will explain to you what usage adjustments are, and how to understand one should you get one on your Bounce Energy bill.
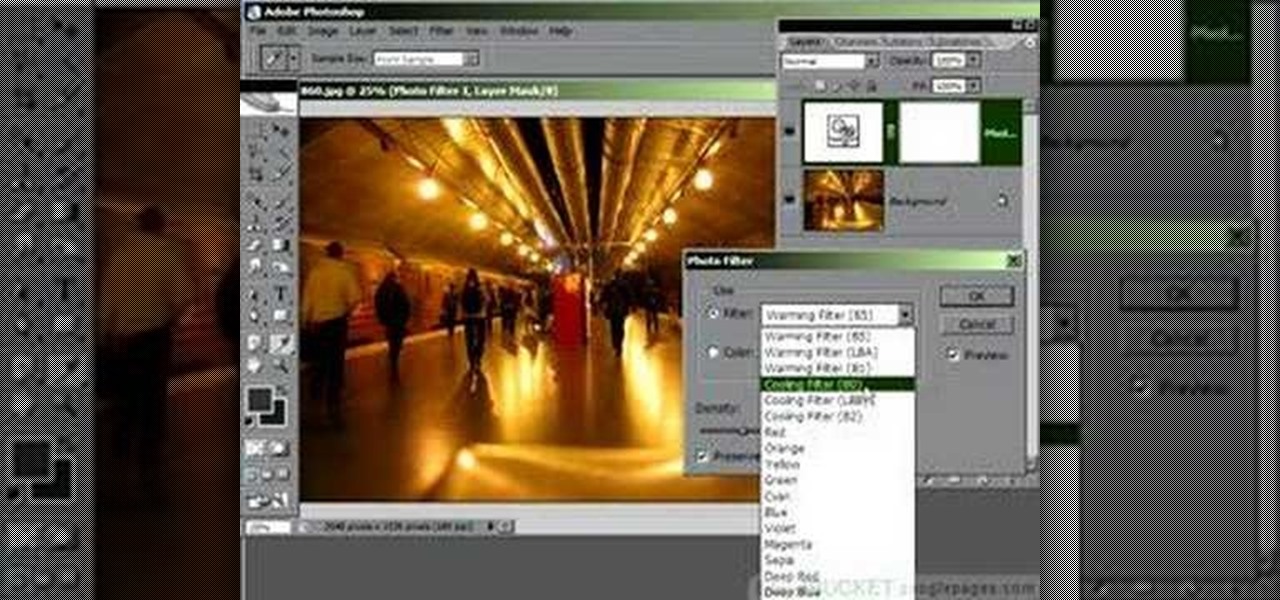
Adjustment layers allow you to make changes to an image while having the original image untouched. In this Photoshop CS2 video tutorial you will learn to use corrective filters. Learn how to create an adjustment layer, and apply different filter effects to it. Make sure to hit "play tutorial" in the top left corner of the video to start the video. There is no sound, so you'll need to watch the pop-up directions. Apply an adjustment layer in Photoshop CS2.
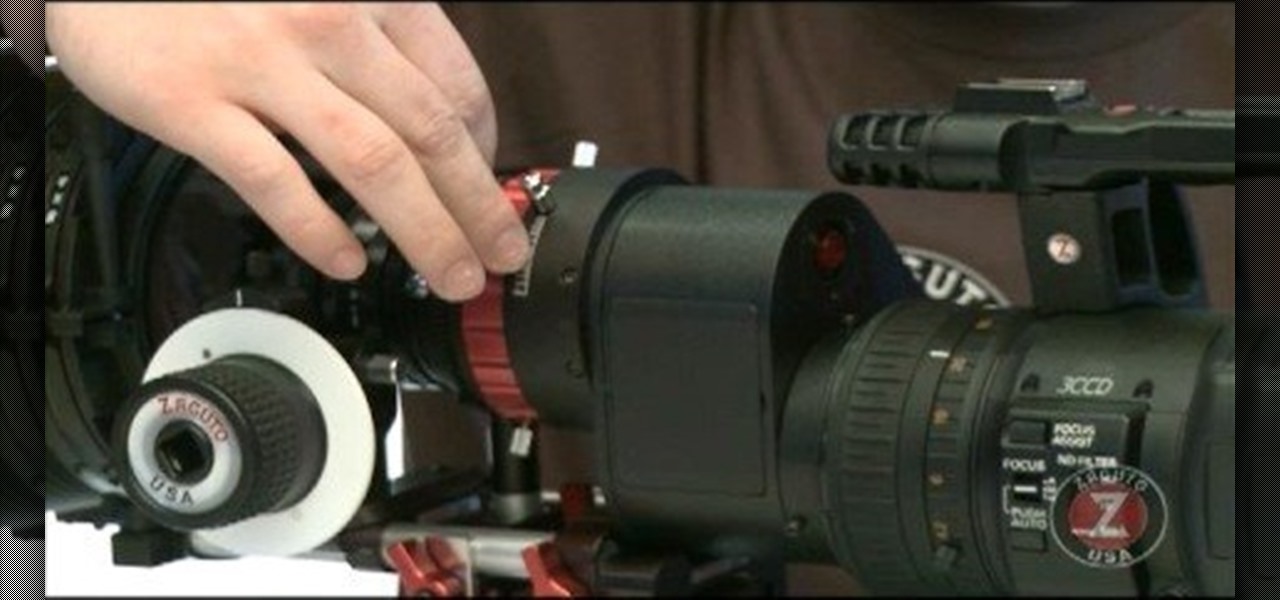
Zacuto Letus35 Elite Backfocus DOF Tutorial
Learn how to create a warm, grungy background in Photoshop. - Open up a brand new document at 1280 x 720.
Photo Focus] contributor Nicole Young shows how to use Photoshop to introduce drama in our pictures. It requires only a few simple steps. First thing done was to add a black and white layer adjustment. This can be done in two ways. First by going down to layers panel and select black and white or if we have Photoshop cs4, we can go down to adjustment panel and click on the black and white option. This adjustment can also be done by clicking auto mode. Now the next thing...
Learn how to create a sepia effect for your images in Photoshop using both adjustment layers and using a duotone image. You will also learn how to add some dirt specks and a dark vignetting around the edges.
Aperture's white balance adjustment helps you improve the quality of colors in your images, correcting for a camera that wasn't properly calibrated for the lighting conditions under which it was used.
Aperture's levels adjustment provides a refined level of control over your tonal corrections.
Aperture's highlights and shadows adjustment tool provides an easy way for you to brighten or reduce the brightness of highlights and shadows without affecting other aspects of your images.
Aperture's color adjustment lets you make selective changes to hues within your image.
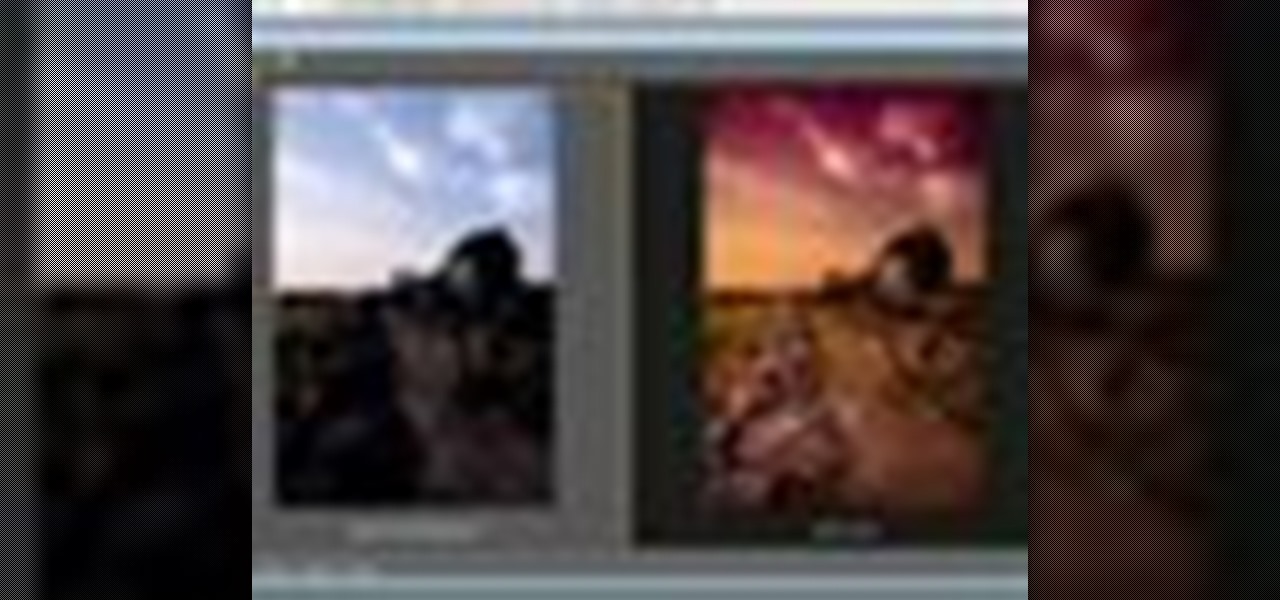
This video tutorial speaks about how to create a dramatic effect to an image using only Camera Raw in the Bridge program of Photoshop. In this example, the picture was first brought into the program and the fill light was turned upwards in order to lighten up the dark foreground. The white balance of the picture was changed to cloudy to add a nice effect and the color temperature was changed to make the picture appear warmer. The various parts of the picture can then be changed individually b...
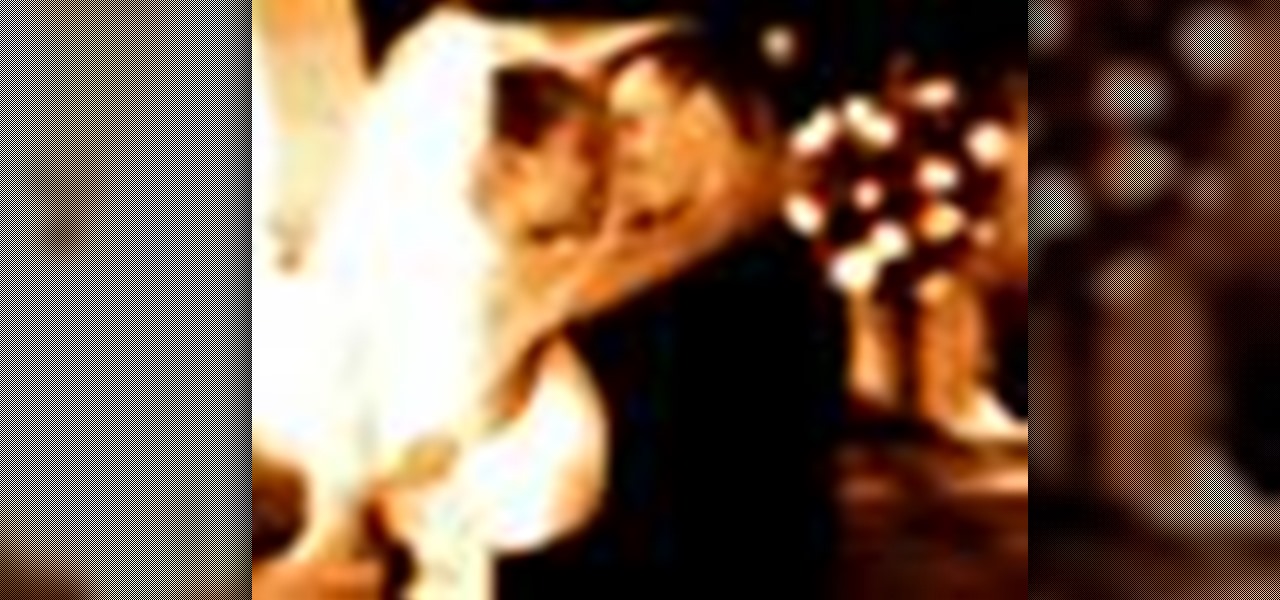
Want to grab some great shots at your friend or family member's wedding? Create a glowing, diffused, soft focus wedding photo effect through the power of Adobe Photoshop CS4. Add a whole lot of "mood" to an image by softening and increasing contrast, that also features a vignette around the focal point of your choosing. The beauty of this technique is that by using adjustment layers you can have full control over the final effect's strength and color. Create the perfect wedding photo and give...
Need to color correct your photos and you're not sure how? In this video, the basics of RGB and CMYK colors are discussed as well as how to use them to color correct everything from everyday snapshots to portrait photographs. By using the eyedropper and the info palette to read the colors in the photos, you can then color correct. Based on the CMYK read out of the color sample targets, you can then adjust the color channels using a curves adjustment to achieve the kind of colors you'd like. A...