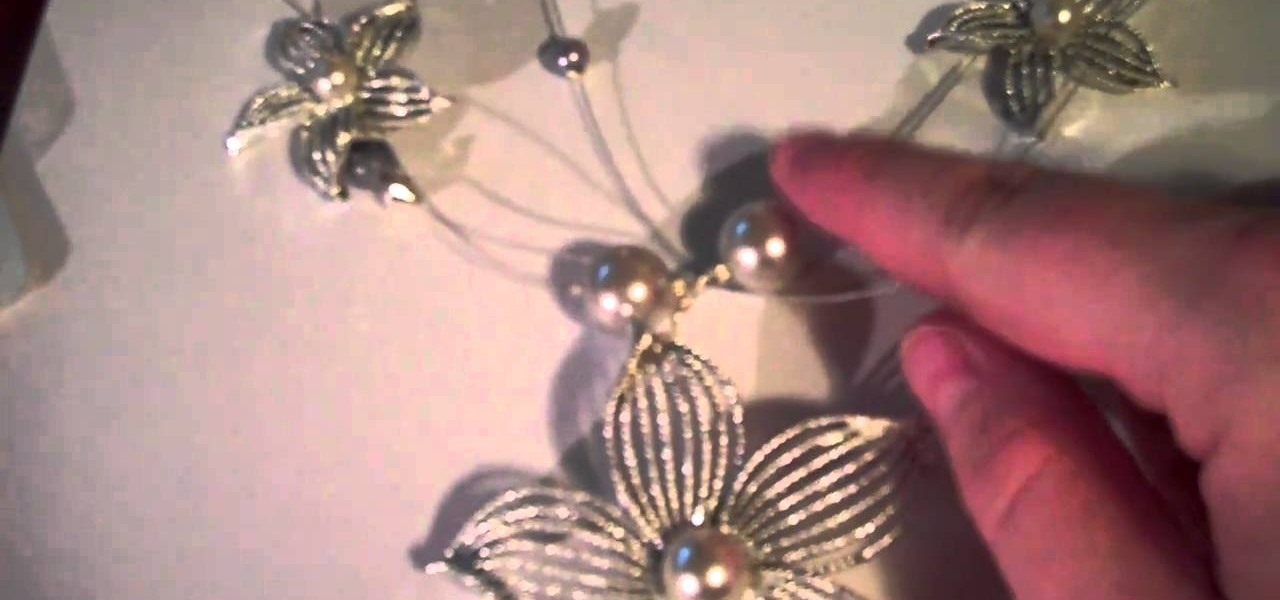
Wire jewelry is one of the most beautiful types out there. With a delicate appearance and ability to bend into gorgeous curvalinear patterns or wrap endlessly around necklace pendants, wire jewelry is also easy to maneuver for beginners.
Learn about wire jewelry, different types of accents for wire jewelry and more with expert wire jewelry making tips and advice in this free online crafting video series.
Learn about basic wire jewelry techniques and tips for making various accents with wire with expert wire jewelry making tips and advice in this free online crafting video series.
How to make gold wire jewelry, right in your home. If you get good enough you may even be able to start a home business. Make gold wire jewelry.
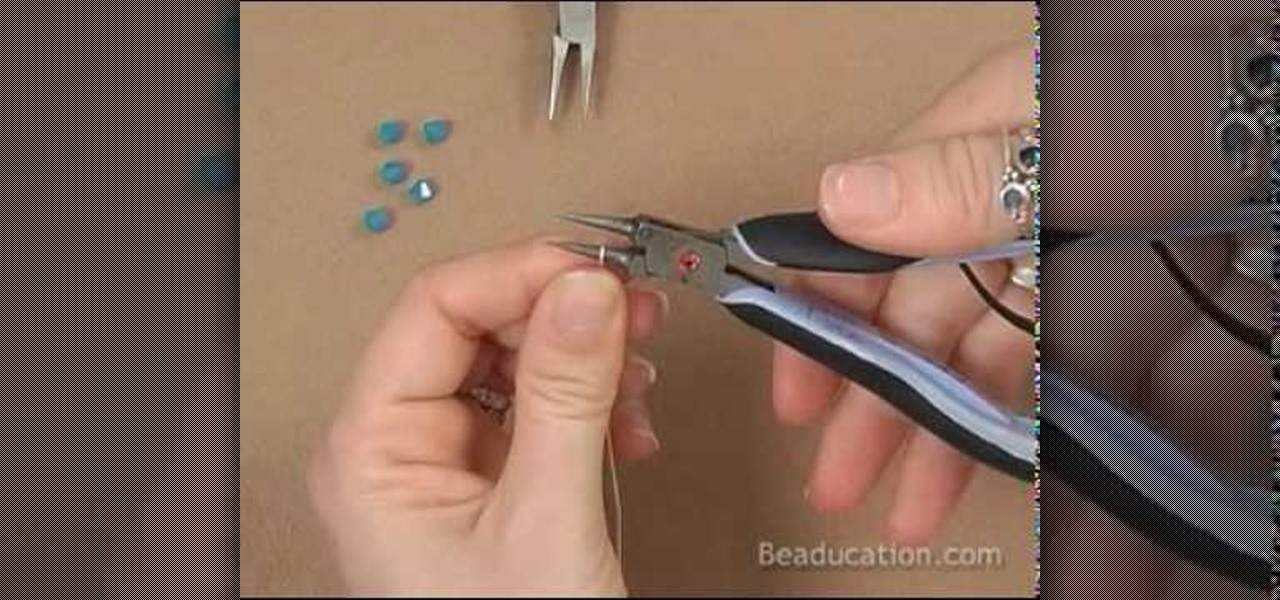
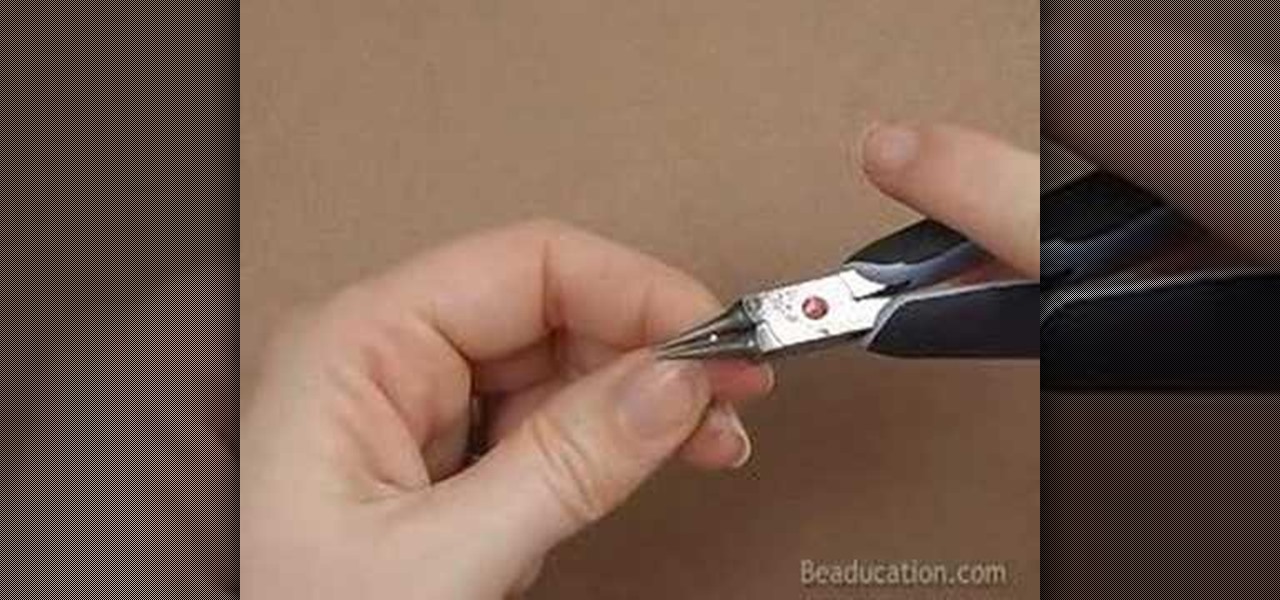
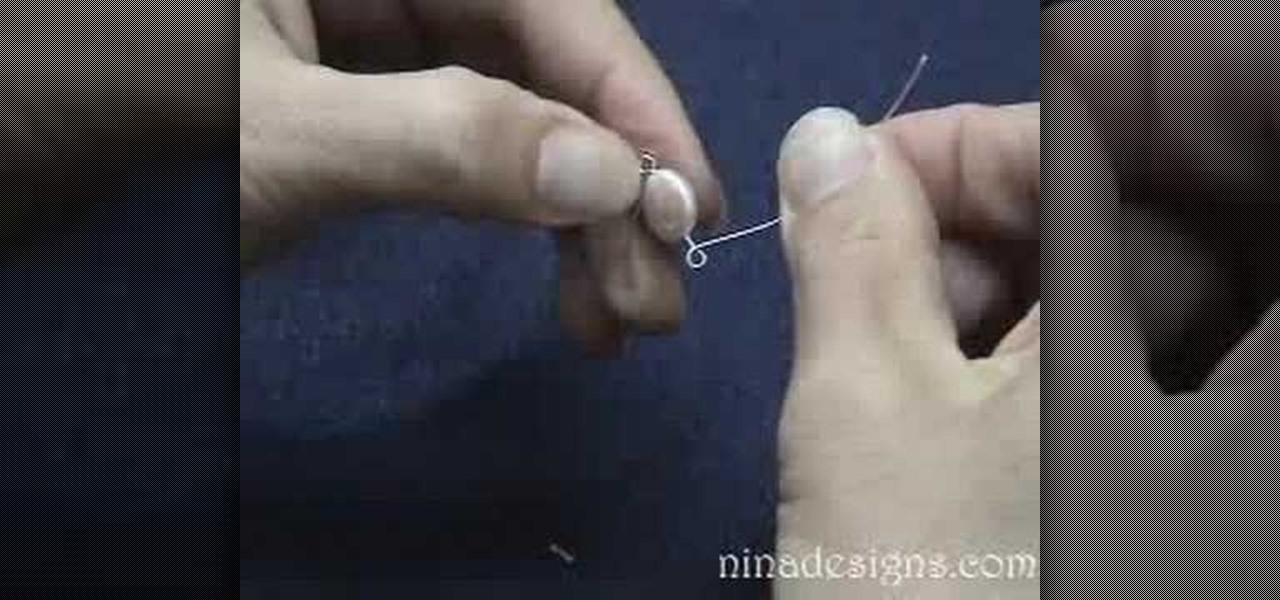
Do you want to learn how to make the perfect loops for your wire projects? Join Lisa Niven Kelly from Beaducation, and learn the basics on making basic loops! Lisa goes over what tools to use, and how to make even consistent loops. Learn how to make basic wire loops for your jewelry making.
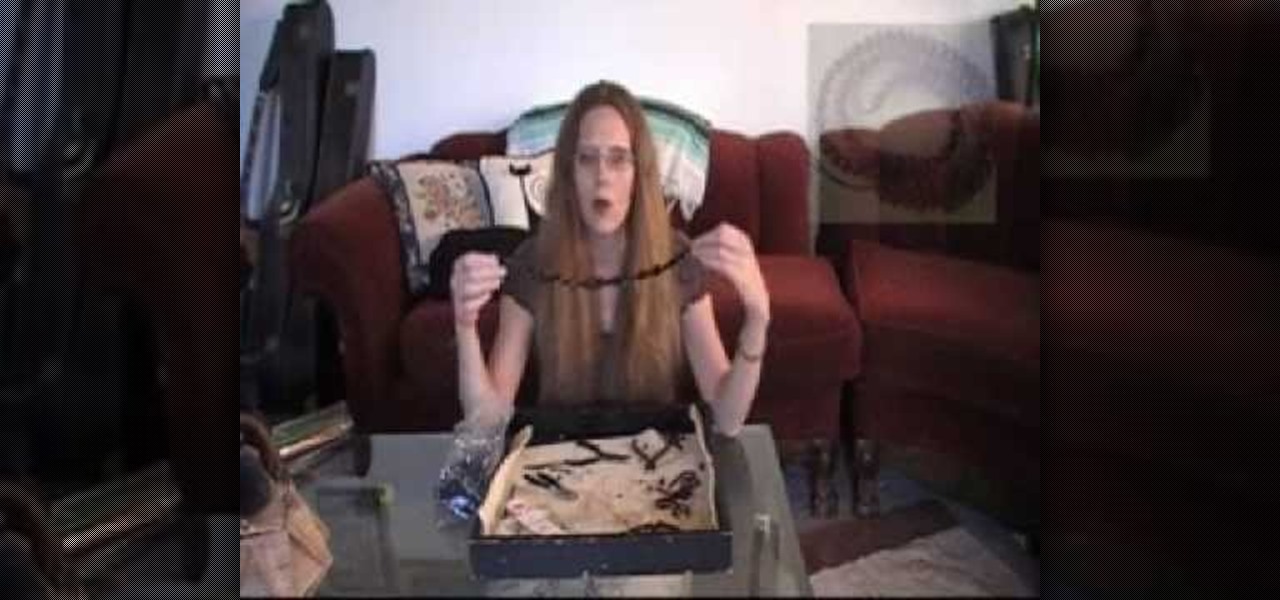
Join Lisa Niven Kelly of beaducation as she gives you a quick overview on coiling wire by hand. Learn tips and tricks to get perfect coils that you can incorporate into all your projects. Watch as Lisa covers the basics of coiling using a few handy tools to help in the process. Learn how to coil wire by hand next time you make your own jewely.

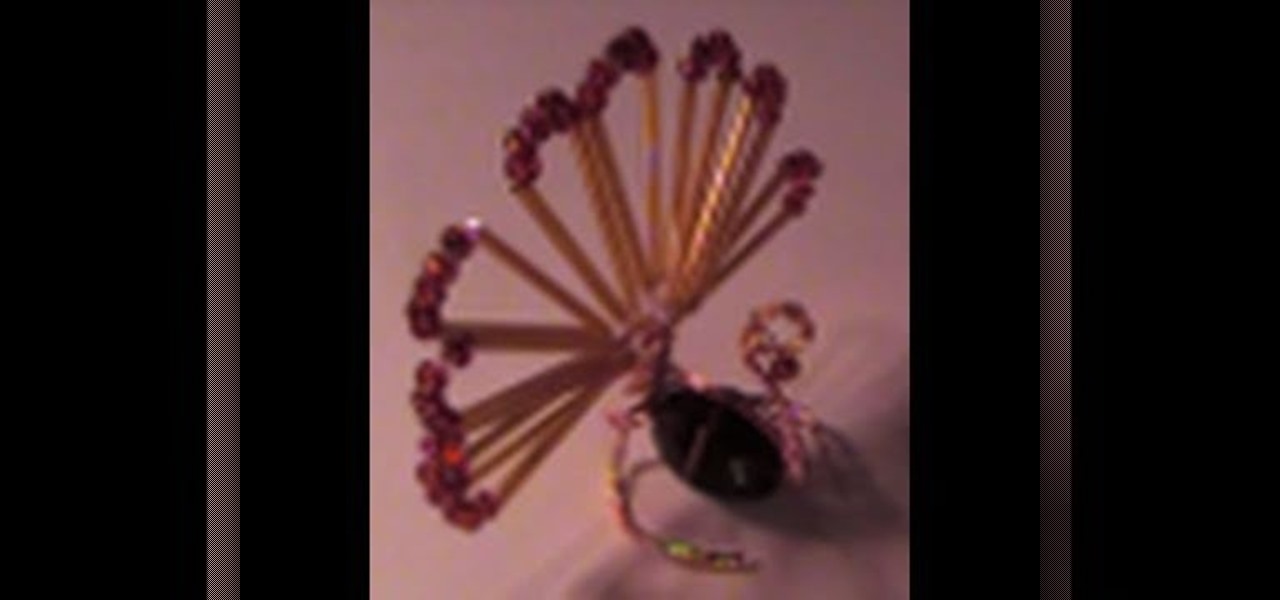
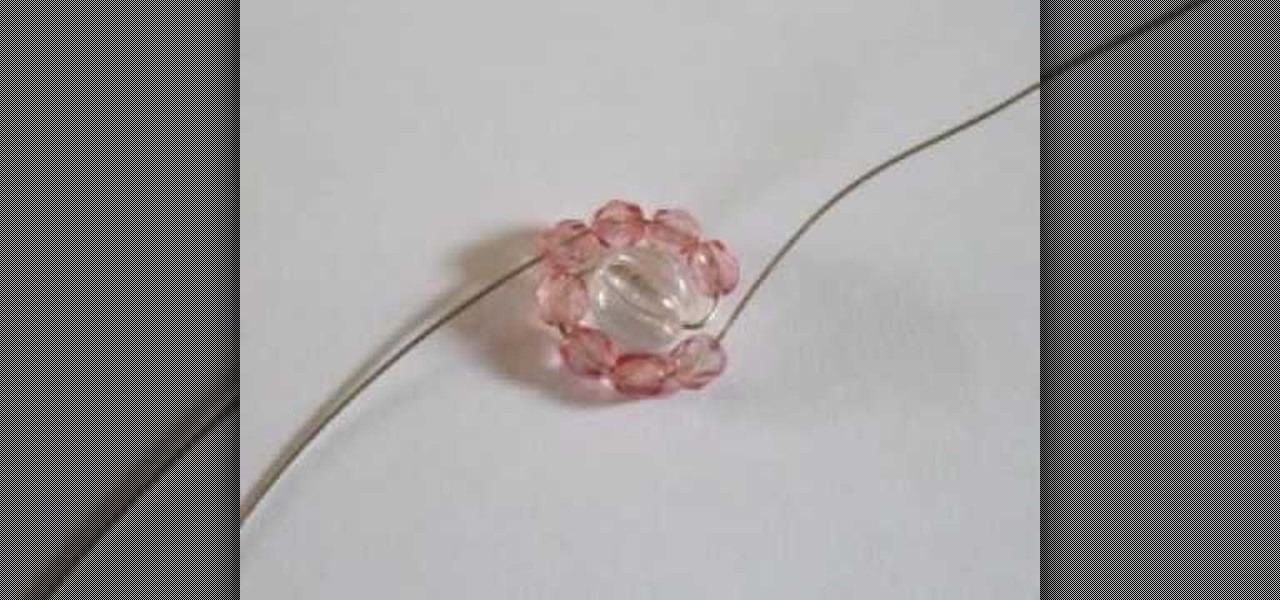
A wire mandala is basically a wire halo of sorts, meant as a geometric configuration which contains the image of a deity. For some, a wire mandala can be used for meditation and stress relief, while for others it is a beautiful religious pendant that can be attached to earring clasps and chains to make necklaces.
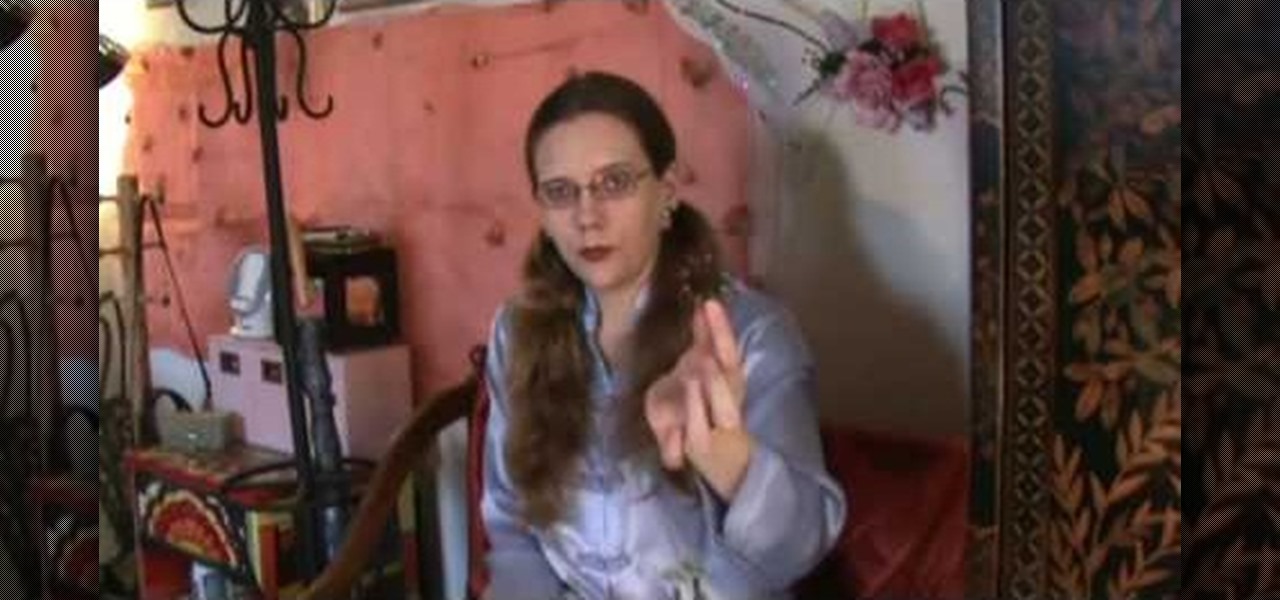
If you want to make the perfect spirals, join Lisa Niven Kelly from beaducation for this quick demo on perfecting the wire spiral. Learn how to make open and closed loop spirals, and the proper tools to use for mastering this technique. Watch as Lisa shows you how to make one of her favorite shapes that she not only incorporates into many of her designs but also showcases all over Beaducation.com! Learn how to make the perfect wire spiral for jewelry.
The basics of Wire jewelry making are extremely easy to learn, and it's easy to get started quickly making your own earrings, bracelets, and necklaces, but excelling into harder wraps and loops is something only seasoned jewelry makers can do.
Wire hearts are cute, friendly jewelry pieces that are as versatile as they are attractive. Composed simply of a bent and twisted piece of wire, they can be shaped into bookmarks, earrings, necklace chains, and bracelets.
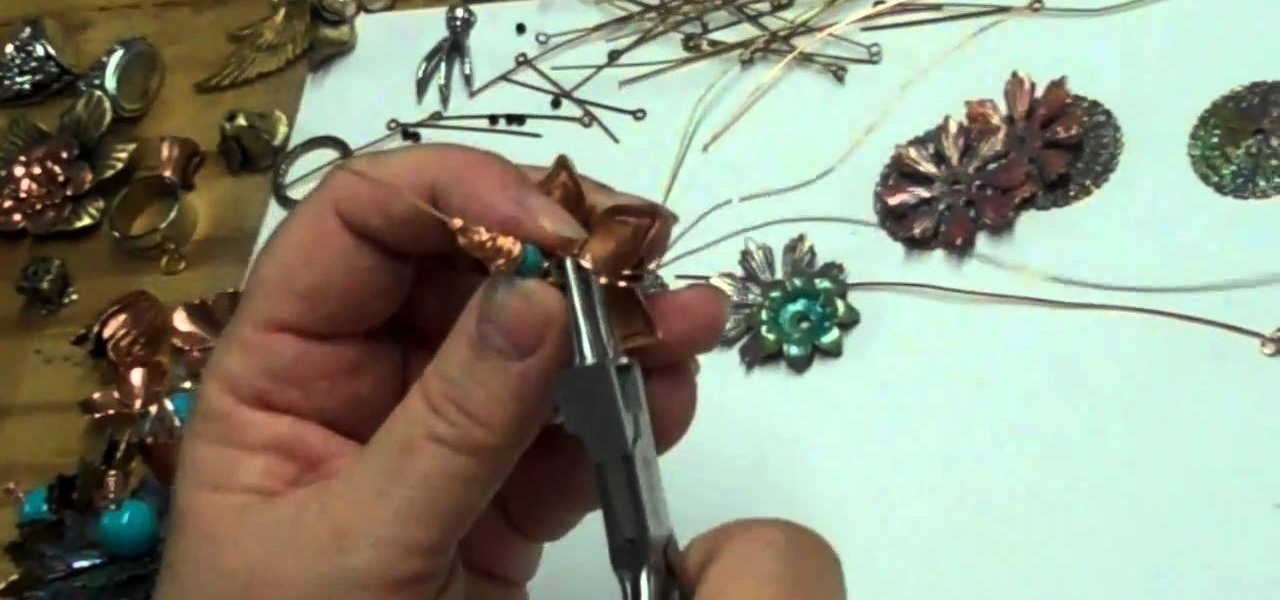
Wire wrapping is like the bread and butter of jewelry making. It doesn't matter if you're into vintage inspired, assemblage necklaces or Steampunk pieces - wire wrapping is essntial for securing everything in place and often times is even used as part of the decor.
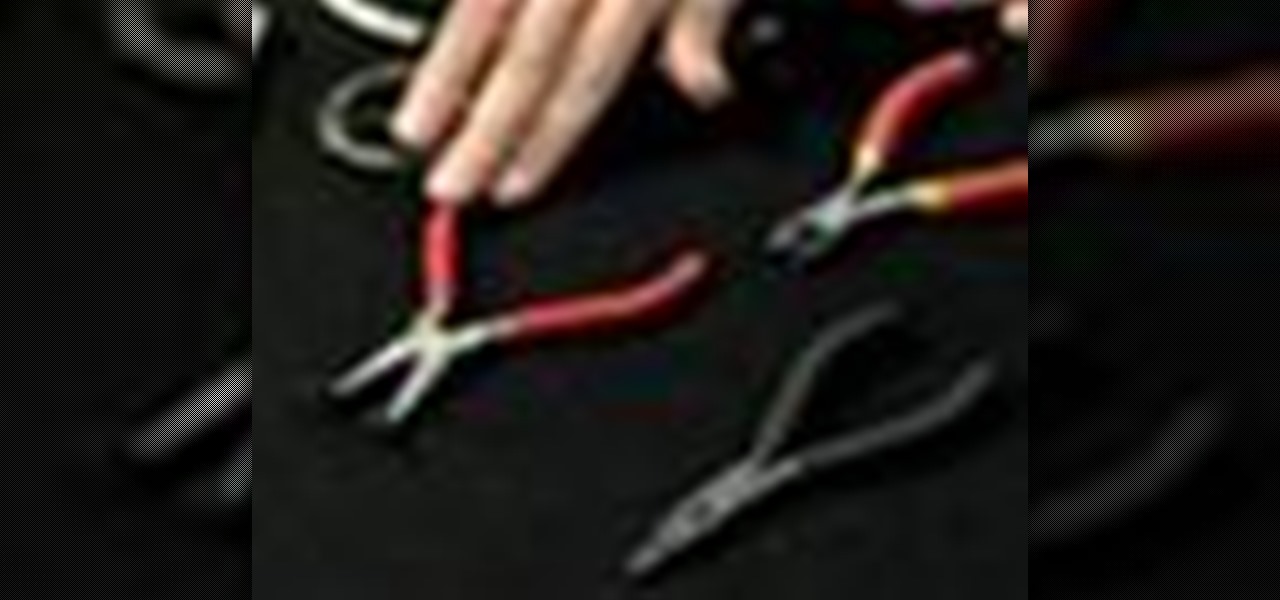
Jewelry wire components are quick to make at home, not to mention cheaper and more customized. To make a wire component for jewelry, you'll need practice wire jewelry, a flush cutter, fine step jaw pliers, nylon jaw pliers, and a jewelery making jig with metal pegs. Learn how to make wire components by watching this video jewelry-making tutorial.
Learning to make jewelry is not complete until you know how to create wire wrapped jewelry. This jewelry how-to video demonstrates how to make a wire wrapped pendant. Watch and gather all the jewelry making tools to create beautiful wire wrapped pieces of jewelry.
Wire spirals are quick to make at home, and can be added onto any jewelry. To make wire spirals, you'll need soft round wire, bent chain nose pliers, round nose pliers, a flush cutter, a spiral maker, and a WigJig Olympus or Delphi. Learn how to make wire spirals by watching this video jewelry-making tutorial.
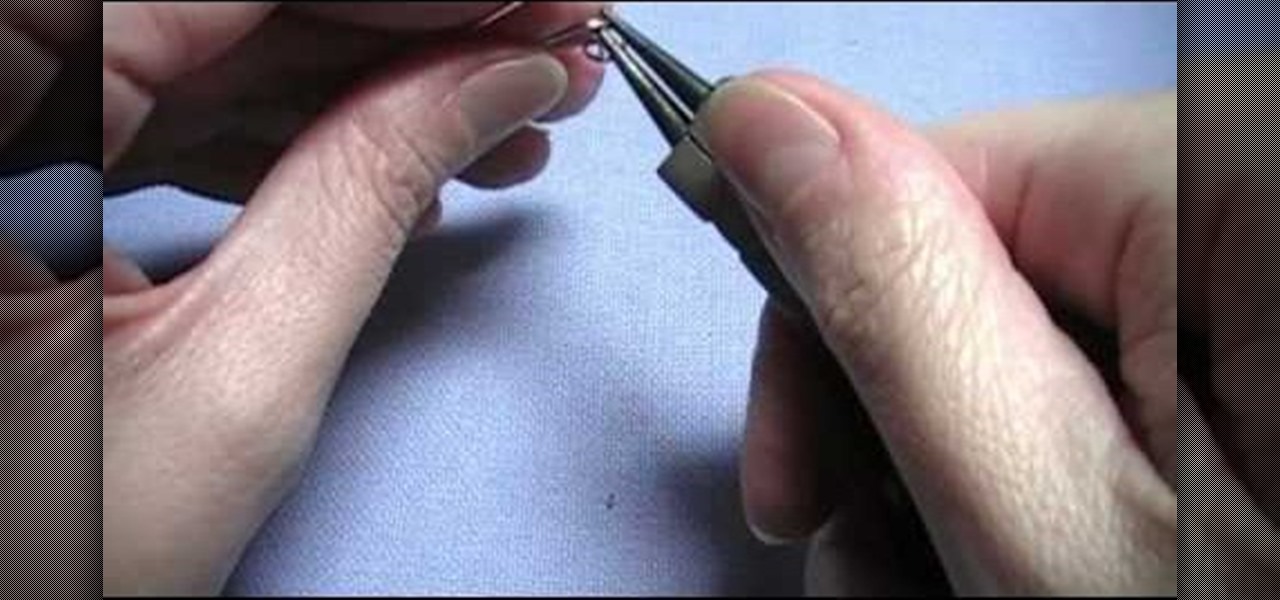
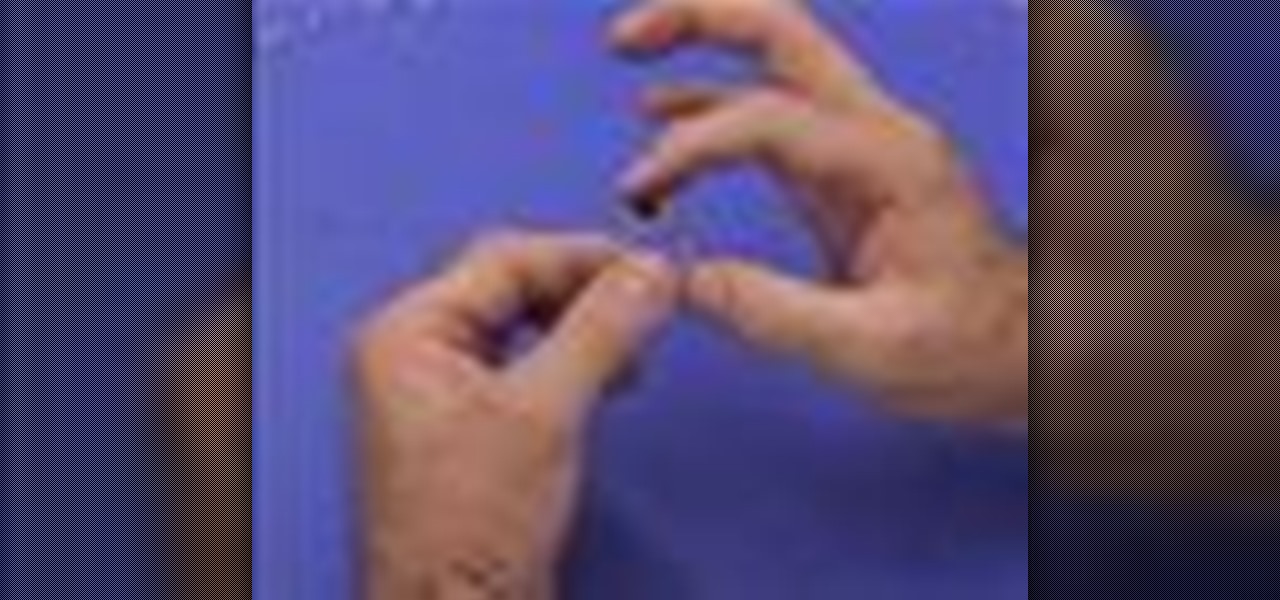
This video shows aspiring jewelry makers how to make a simple wire loop using round nose pliers. This essential and fundamental wire working technique is one of those jewelry making tricks that you must master in order to make almost any kind of handmade jewelry.
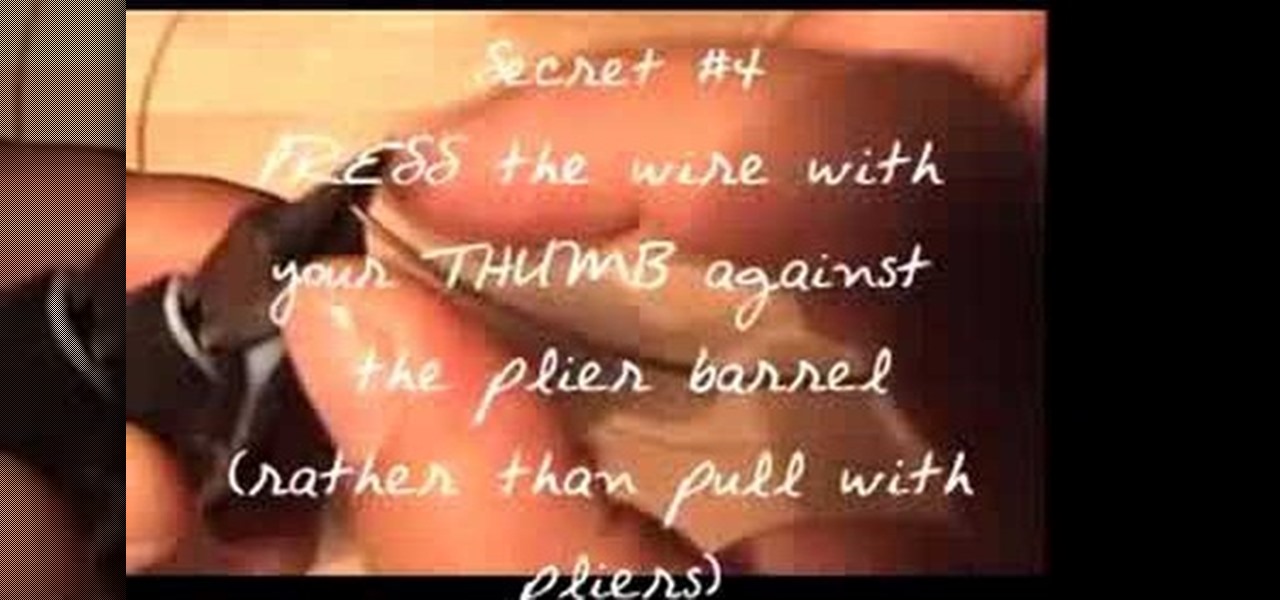
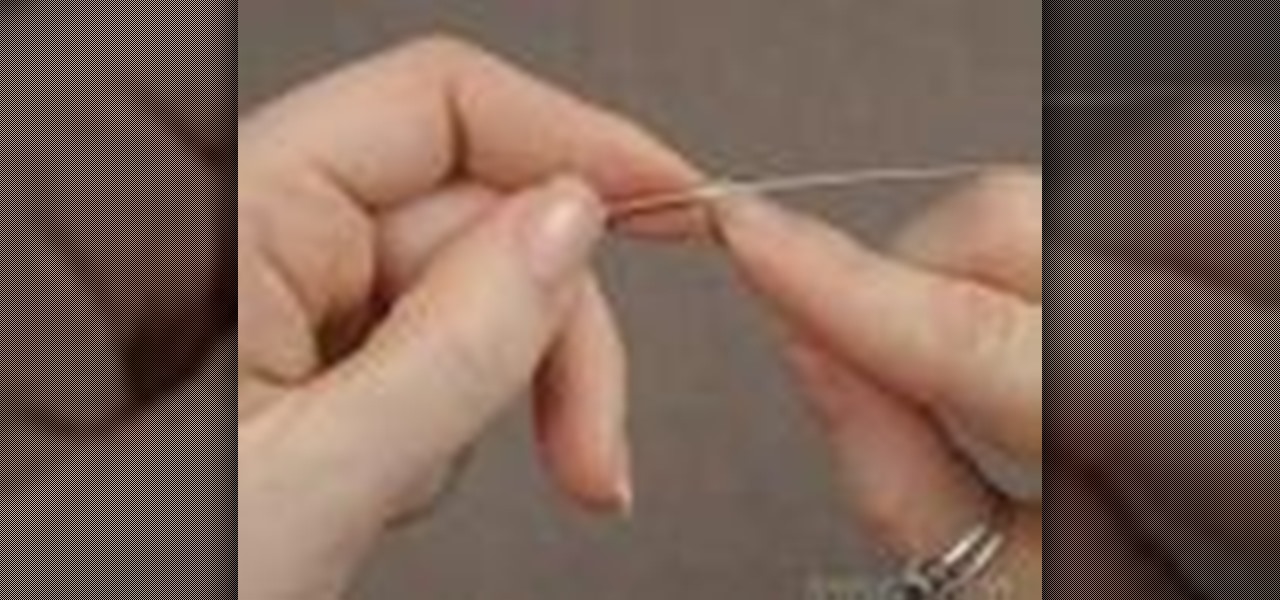
Learn how to straighten wire with this jewelry making video. Use a pair of pliers to straighten a piece of warped wire. When making earrings, bracelets, rings and necklaces, don't throw away the bent pieces of left over wire. They can be salvaged!
You know those trendy little jewelry stores that line Melrose and Robertson Blvd., filled with gorgeous yet offbeat knick knacks boasting sleek '60s contours and not too much bling? Well, you can create a similar "pretty, but not too pretty" piece of jewelry by watching this tutorial.
In this video, we learn how to use French wire when jewelry making. First, you want to take your wire and cut it to the length you need, using wire cutters. After this, you will place a stopper next to the pendant or bead that you are applying inside the necklace. Next, string on the clasp to the wire and then bend the end of the wire to the inside of the stopper, then cut the end of that with wire cutters. When finished, your clasp should be secure at the end of the wire and ready to hook on...
These earrings, bracelets, and necklaces look expensive, but they're actually homemade and totally doable on a budget. With Christmas just a few days away, if you're looking to stay within your budget while giving out beautiful gifts then this may be the perfect craft for you.
Following are the steps to describe how-to make small jewelry with head pins: 1. Materials needed are long head pins, beads, wire, cutting player.
An EZ-Crimp is a very useful tool in jewelry making; with a rounded loop on one end and a flat rectangulr space equipped with a hole on the other, it allows for the attachment of a piece of wire (inserted through the hole) and can be used to close a necklace.
First of all you need to have a piece of silver wire which is about three inches long and twenty-two to twenty-four gauge. Now take pliers and bend the wire into a right angle. Now take round nose pliers and wrap the wire around the tip. At the half way reposition the wire and then complete the loop. Now look at the loop which should be nicely stemmed in the middle. No insert the bead into the wire and grab the bead with thin nose pliers. Bend the wire at the right angle. Now take round nose ...
Jewelry making can be frustrating, especially if you don't know the basics, like straightening wire. Well, this video tip will show you exactly how to straight thick wire to use in jewelry projects. It's the perfect way to make wires look great, and one way involves a piece of wood.
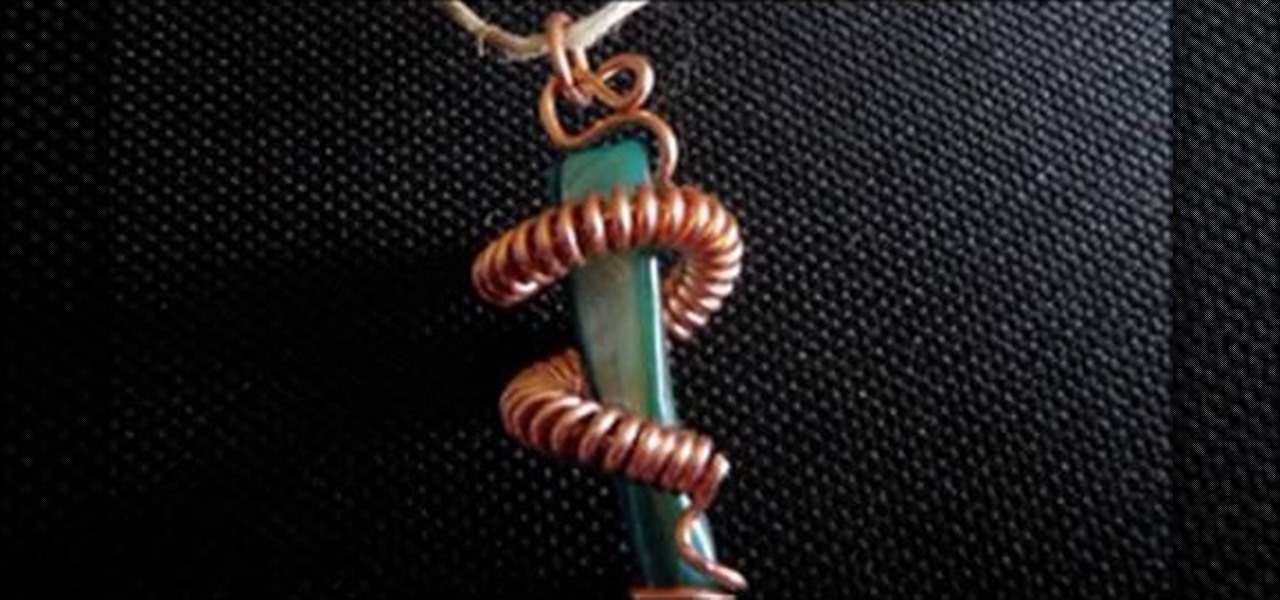
Jewelry takes patience to make. It's meticulous. It's dexterous. And there's a lot to know, like all the wire-wraps. This wire-wrap is the side-drilled double end wire-wrap. Though the name is long, it's process is the opposite, once you master it. This demonstration video will help walk you through the process of this wire-wrap side-drilled stone (double end) technique.
Jewelry making is meticulous and dependent on detailed movements and dexterity. This wire wrap for necklaces and such could take a little practice, but eventually you should be able to replicate this side-drill single-end wire wrap. This demonstration video will help walk you through the process of this wire wrap.
In these videos, our expert will show you how to make wire wrap jewelry. Wire wrap jewelry is an easy to learn, but very professional looking way to make your own jewelry. In these videos you will learn what tools you need to begin making your own jewelry. Our expert will explain what types of wire to get, and the basic tools, such as a mallet and pliers, that you will need to get started. You will also learn how to select gem stones to be included in the different types of jewelry you will b...
The long name of this technique makes the meticulousness and dexterity skills of making jewelry a must. If you aren't perfect in all your techniques, this might stump you, but practice makes perfect. Wire wrapping a center-drilled, single-end stone takes skill. This demonstration video will help walk you through the process of doing a center-drilled single-end wire-wrap.
Wrapping leather is the least of your worries when it comes to the meticulous and dexterous art of making jewelry. IIf you have the basic jewelry making skills down, doing this wire-wrap on leather should be a cinch.. This demonstration video will help walk you through the process of wire-wrapping leather.
Throughout the meticulous and dexterous process of jewelry making, when you get to the end of your bracelet or necklace, there's a feeling of accomplishment and satisfaction. But to seal the deal, you need to crimp. Crimping is a necessary process for the ends of your homemade jewelry. This demonstration video will help walk you through the process of this crimping end beads on soft flex.
There's more than you think to making jewelry. It takes meticulousness and dexterity to be good, but forming an earring hoop makes the whole process seem easy, but don't be fooled. This wire earring hoop is simple, but that's just a little part to jewelry making. This demonstration video will help walk you through the process of forming a wired hoop for earrings.
Though jewelry making can be meticulous and dependent on dexterity, using the right wire makes the whole process easier and faster. Wire necklaces and bracelets are simple when using the soft flexible wire, or soft flex. This demonstration video will help walk you through the process of this threading with soft flex.
This video shows you how to use household electrical wire to make stunning jewelry pieces for you or a friend. Taking the wire from a renovation project, I stripped the wires of their plastic and then started twisting and creating designs. Make cheap jewelry but expensive designer like stuff with your own hands.
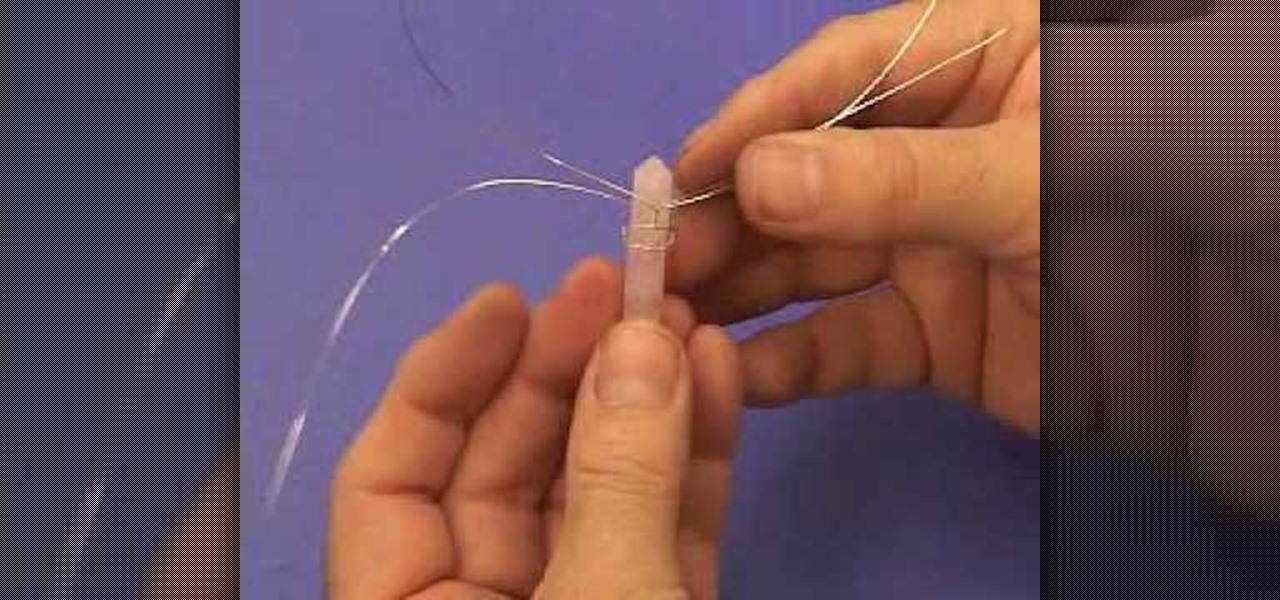
In this tutorial, we learn how to work with memory wire to make jewelry. This is a coil material that remembers its shape and comes in a variety of different sizes. First, decide how thick you want your jewelry piece to be, then cut the excess wire with wire cutters. Next, apply a drop of superglue to one end of the coil followed by a Memory Wire end cap and let dry. Now, string your beads onto the wire. When finished, put a bead stopper onto the wire and apply glue to the very end with anoth...
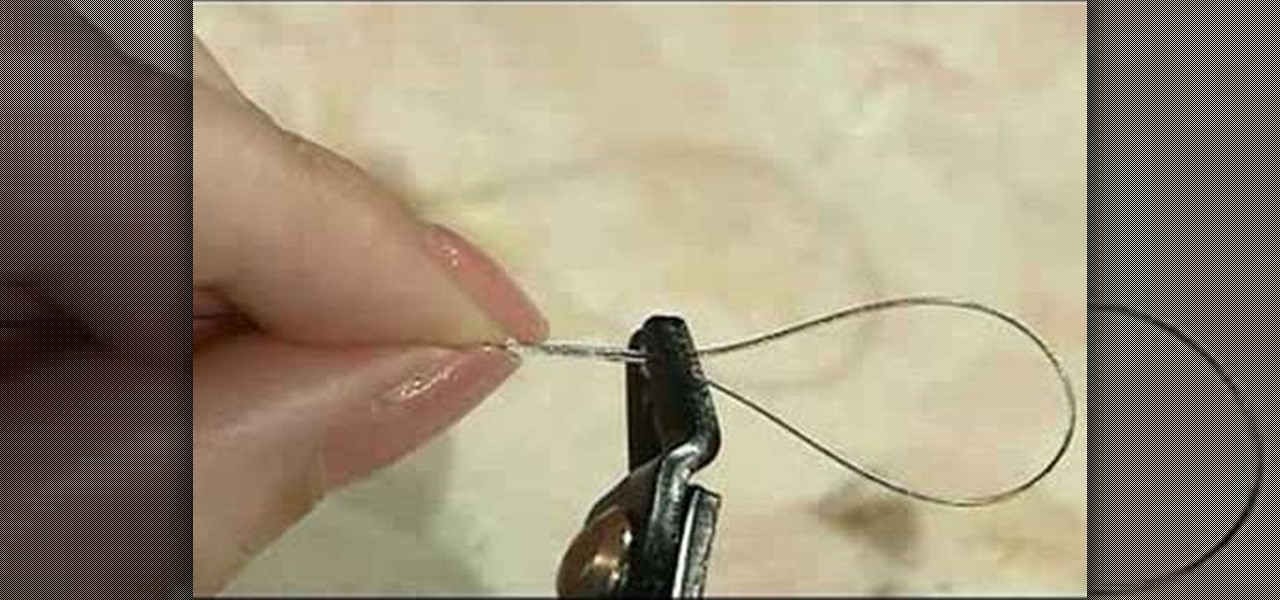
One important part of jewelery making involves properly crimping beads. This jewelry how-to video demonstrates the proper way to crimp beads on a wire. With the crimp bead on the wire place the bead in the first notch of the crimping pliers. Gently squeeze the tube until it is flat and secures the wire.
This is a great project, especially for older or preteen children. You will need flatnose pliers, needlenose pliers, wire cutters, gold bugle beads, seed beads, a large bead for the body and 24 gauge jewelry wire in bronze or copper.
Our expert Debra Windsong will show you how you can make your own jewelry. If you have ever been interested in jewelry making, let our expert show you how to make wire necklaces, chain earrings, bracelets, and even watch bands with simple materials you can find at any craft store. These are great projects for beginner artists, kids, or just people who love jewelry.
Turn a collection of delicate crystal beads into a lovely pair of earrings! All you need are the beads, some jewelry wire and wire cutters. Then, follow the steps in this tutorial to get your own pair of dainty, crafty earrings.
Kathleen Wright shows you tips and techniques on using wire wrapping and beads to make jewelry in this series. The instruction is good but it's a bit difficult to see what she's doing.
Jewelry-making Techniques demonstrates how to finish your jewelry with crimps and covers. To use crimps and covers to finish your jewelry you will need 2mm crimps, 3mm crimp covers, crimping pliers, a clasp and beading wire. First, attach the clasp by stringing the crimp bead and one part of the clasp onto the wire. Take the end of the wire and string it back through the crimp bead to make a loop. Adjust the crimp bead up to the clasp and use the crimping pliers to crimp the bead. Repeat on t...
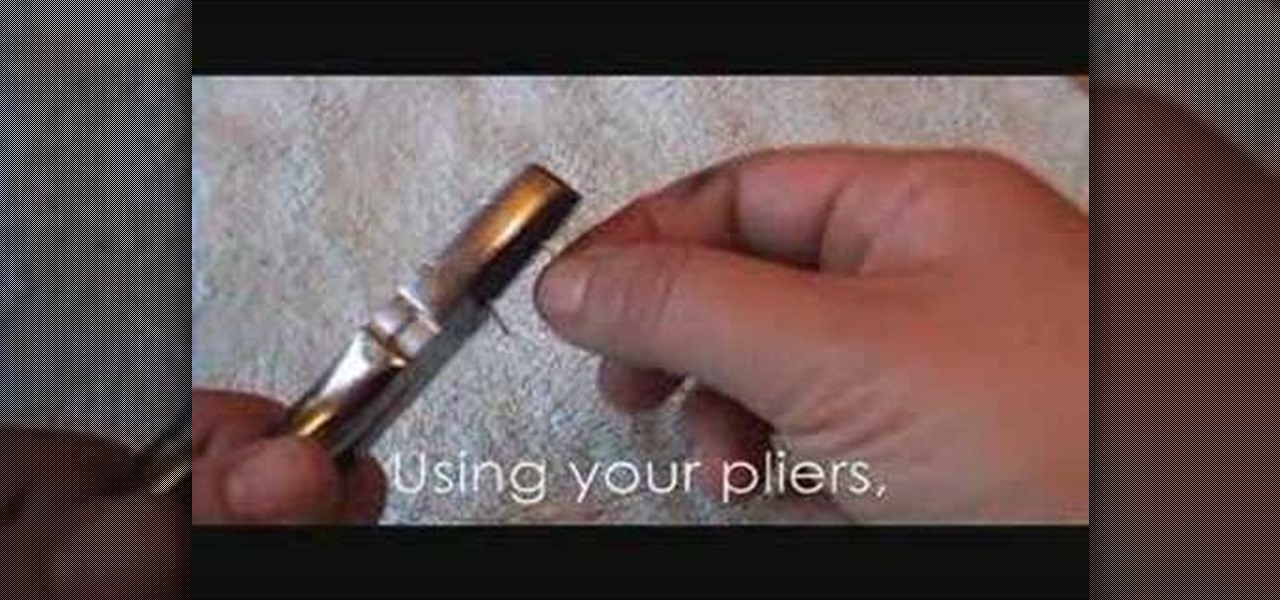
Art Jewelry Magazine associate editor Jill Erickson demonstrates how to use a torch to ball up the end of a piece of sterling silver wire. This wire can now be shaped into an earring or whatever jewelry desired. Learn how to ball up the end of sterling silver wire with a torch by watching this video jewelry-making tutorial.