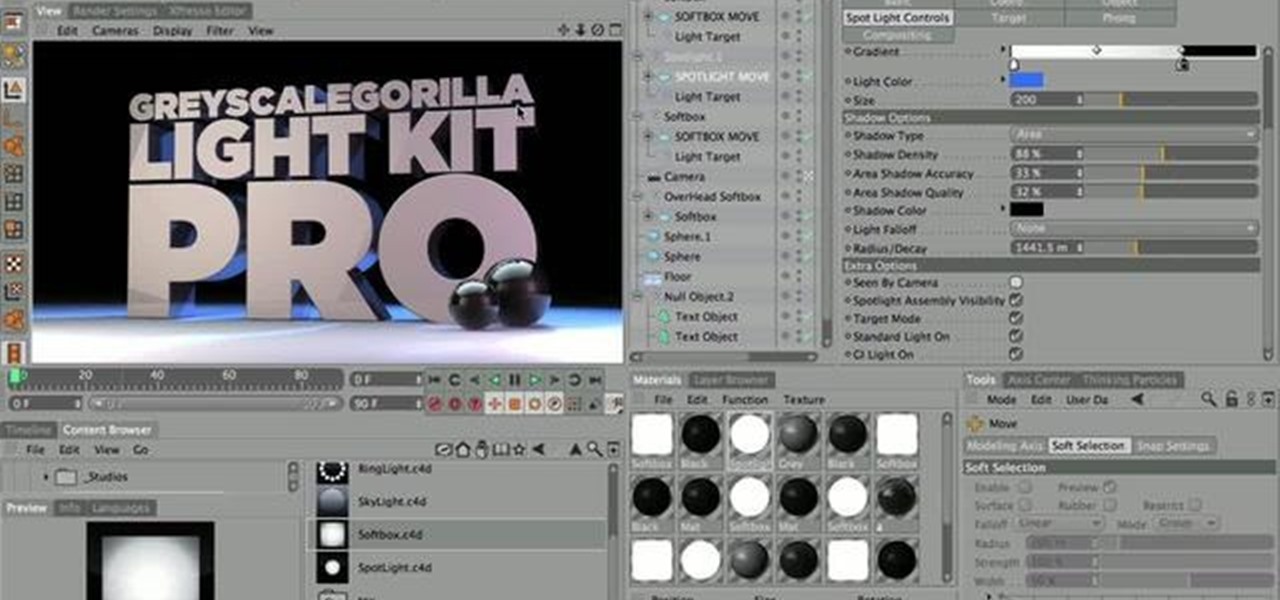
Turn Cinema 4d into your own lighting studio! This tutorial shows you how to use the HDRI Light Kit Pro kit of plugins and addons to create unique lighting effects - add your own softboxes, ring lights and other sources to improve your renders.
Aperture's light tables give you a completely unique way to view and organize your images.
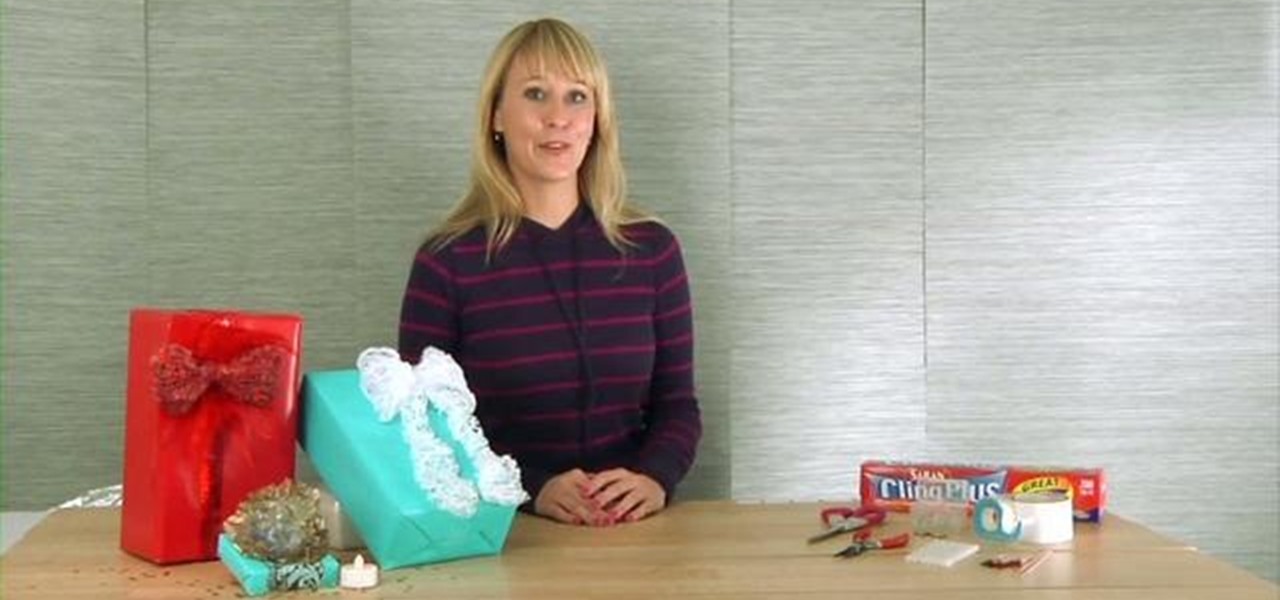
What a unique bow. Your gifts will be beautiful under the Christmas tree. Materials you will need are: plastic wrap, hot glue, LEDs, scissors, pliers duct tape, glue gun and glue, toothpicks and 3 volt batteries. First you take the plastic wrap and cut it about 5 times the size your bow is going to be. Take the end and push it together. Now make one side of the bow, push together, and make the other side of the bow. Keep going back and forth until the plastic wrap is at the end. The left over...
This video tutorial will show you how to apply four styles of lighting. This video teaches you how to apply four styles of lighting, namely Rembrandt, Beauty, Cameo and filling in from the Key Side. You will learn about high contrast lighting schemes, dealing with the amount of contrast used to highlight a person's face, as well as spotlight effects, and how these tend to draw the viewer into the scene. You will be shown how the Rembrandt Lighting setup contains three steps, namely taking a K...
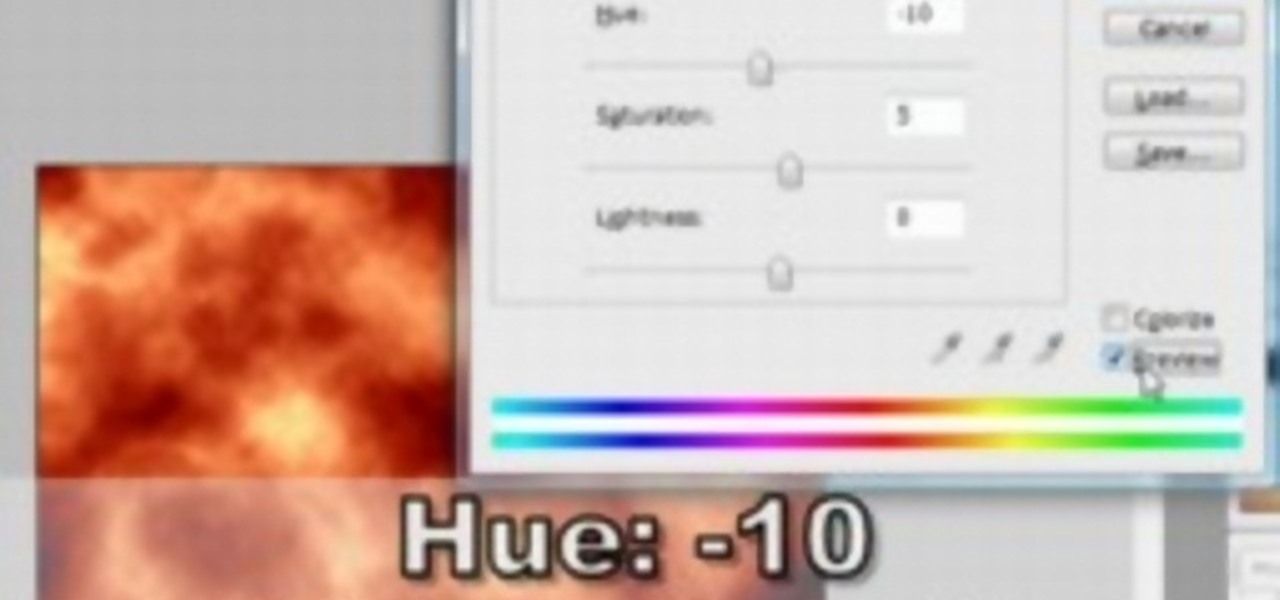
Drawing flames in Photoshop CS couldn't be cooler, and lucky for you it also couldn't be easier! In this tutorial, learn exactly how to create very cool looking fire in Photoshop in less than 5 minutes!
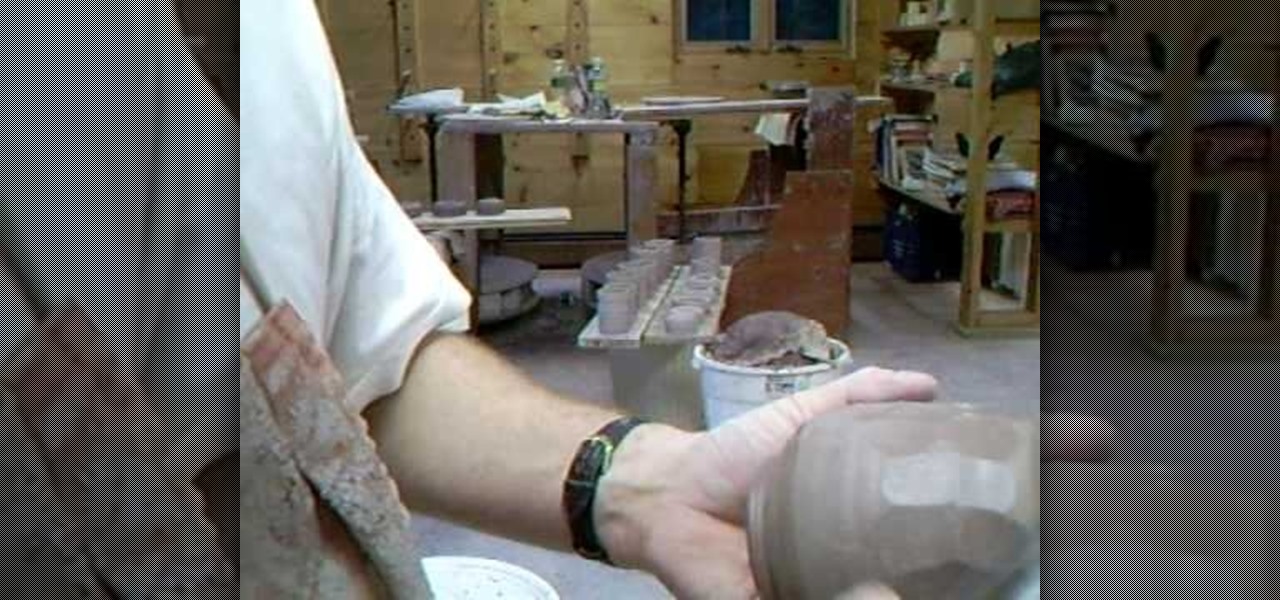
Using a potato peeler on ceramics is fast, simple and gives your piece a unique look. While your pot is still soft, take a potato peeler and "peel" your pot in small sections working around the pot. You don't want to press too light or too firm, it might take some practice. Keep your cuts random to add to the charm.

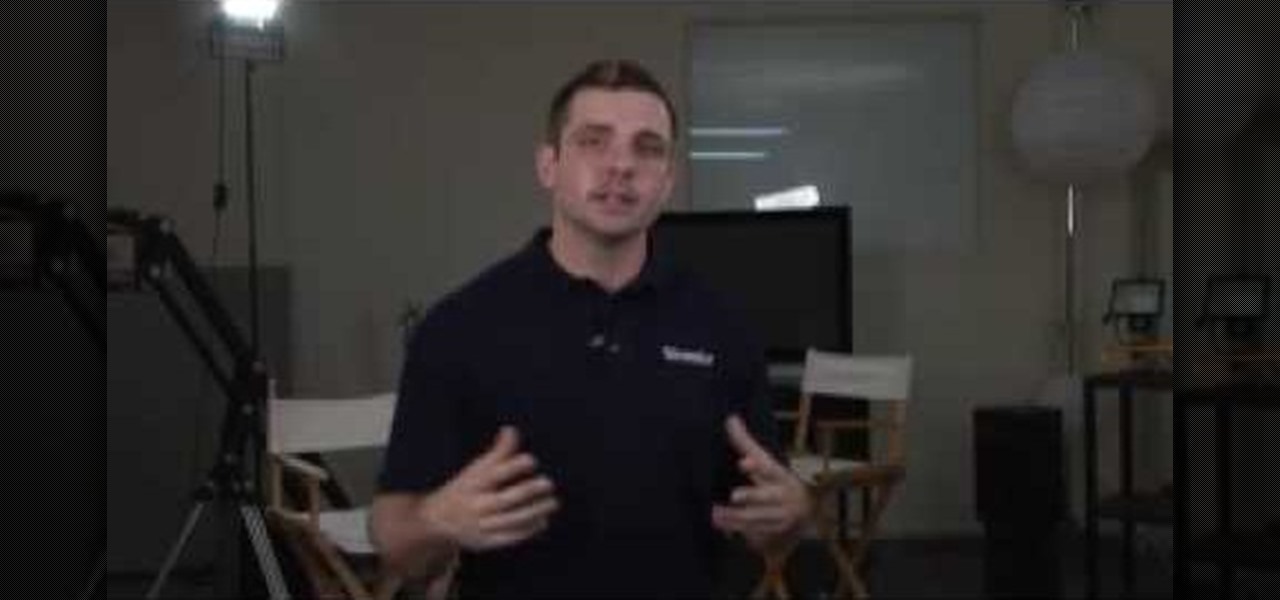
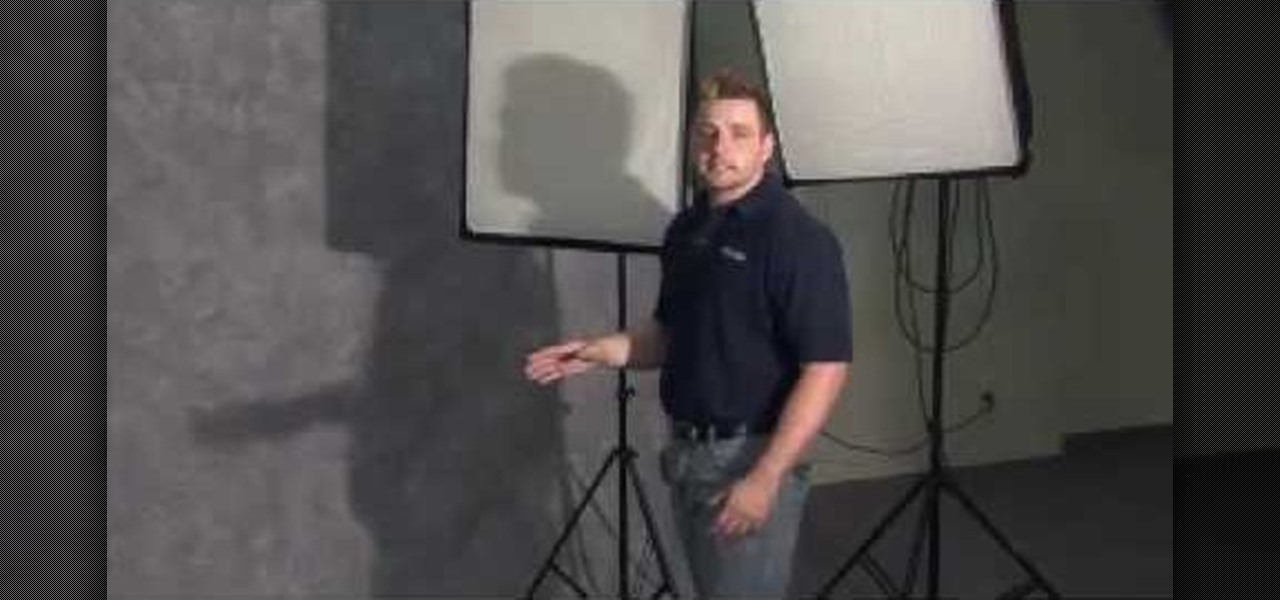
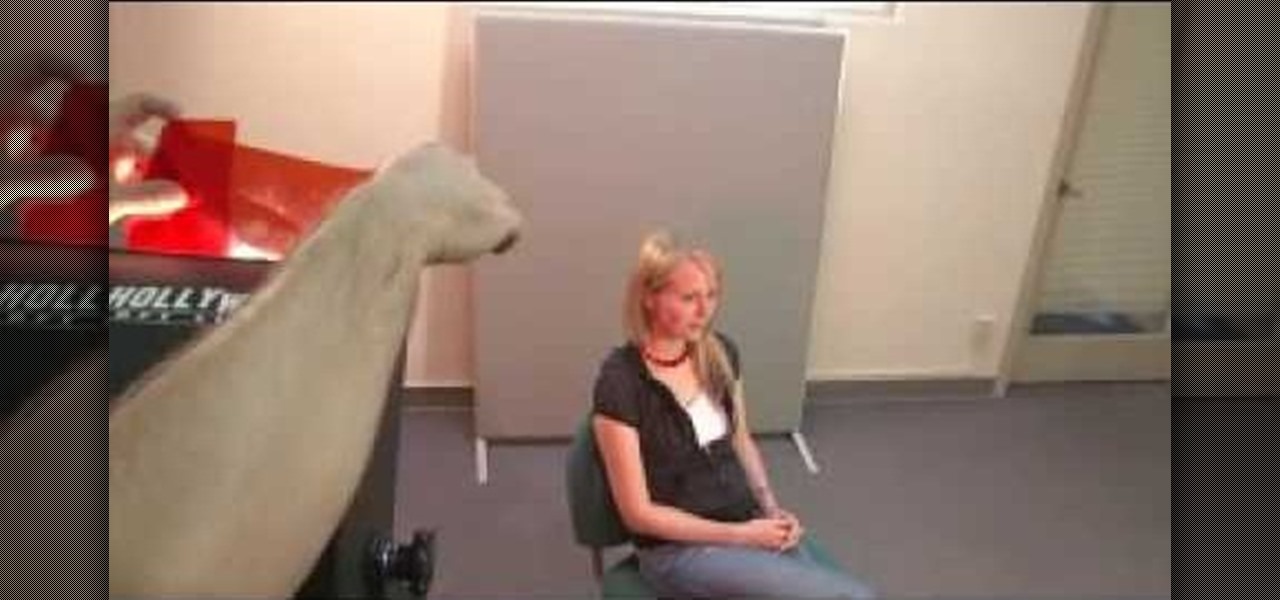
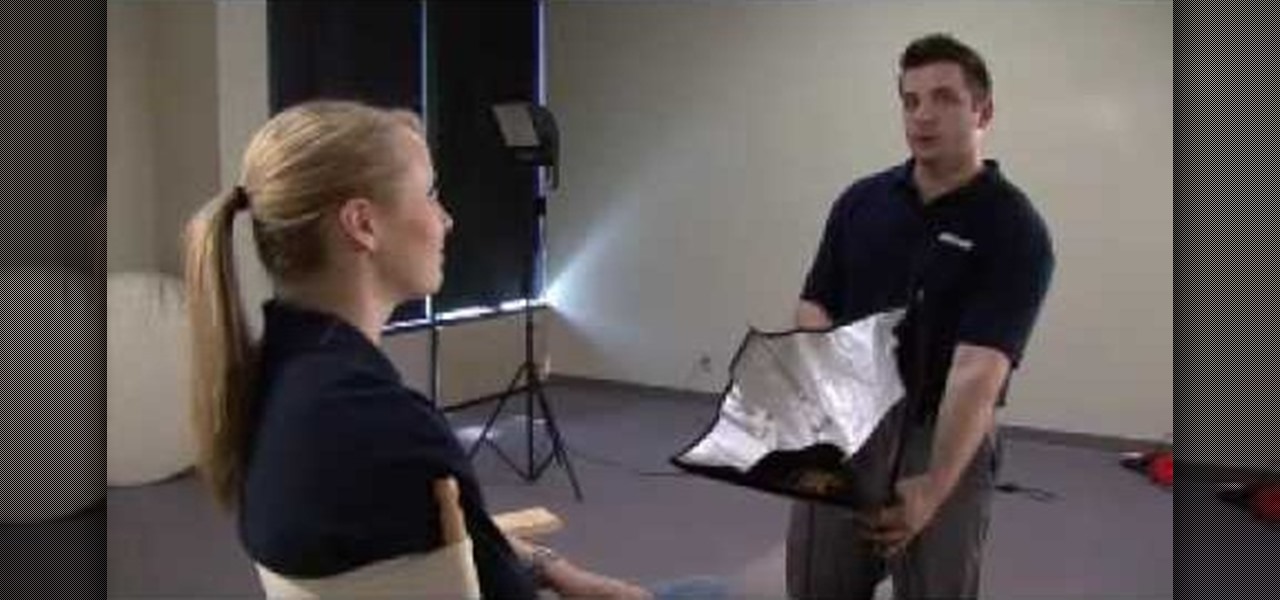
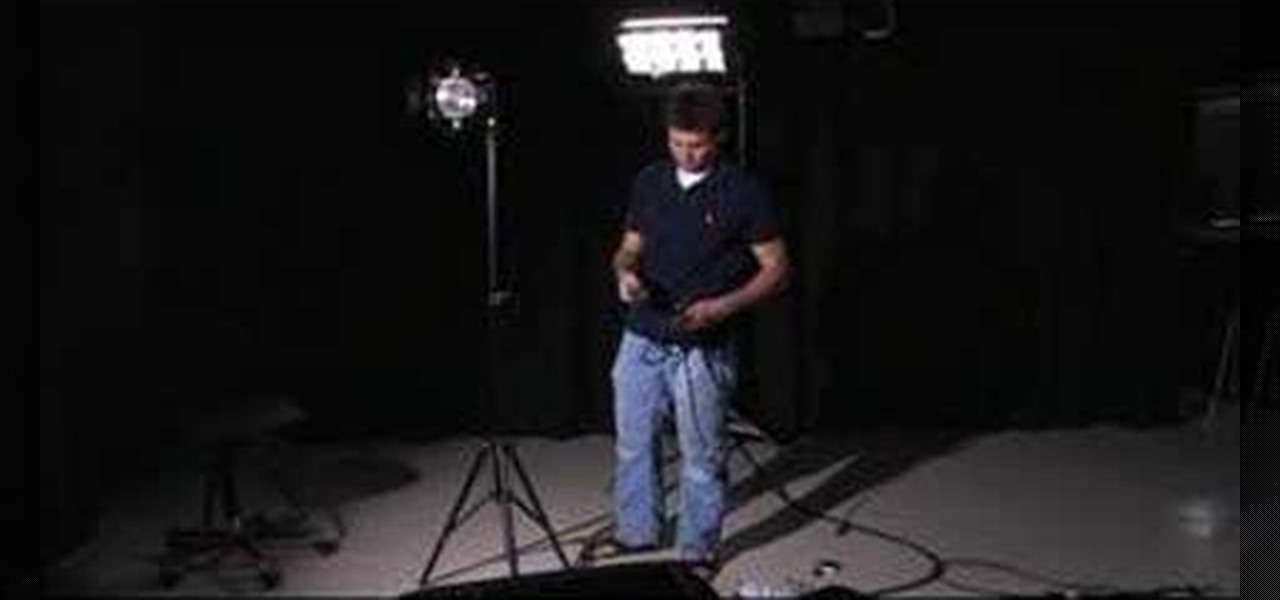
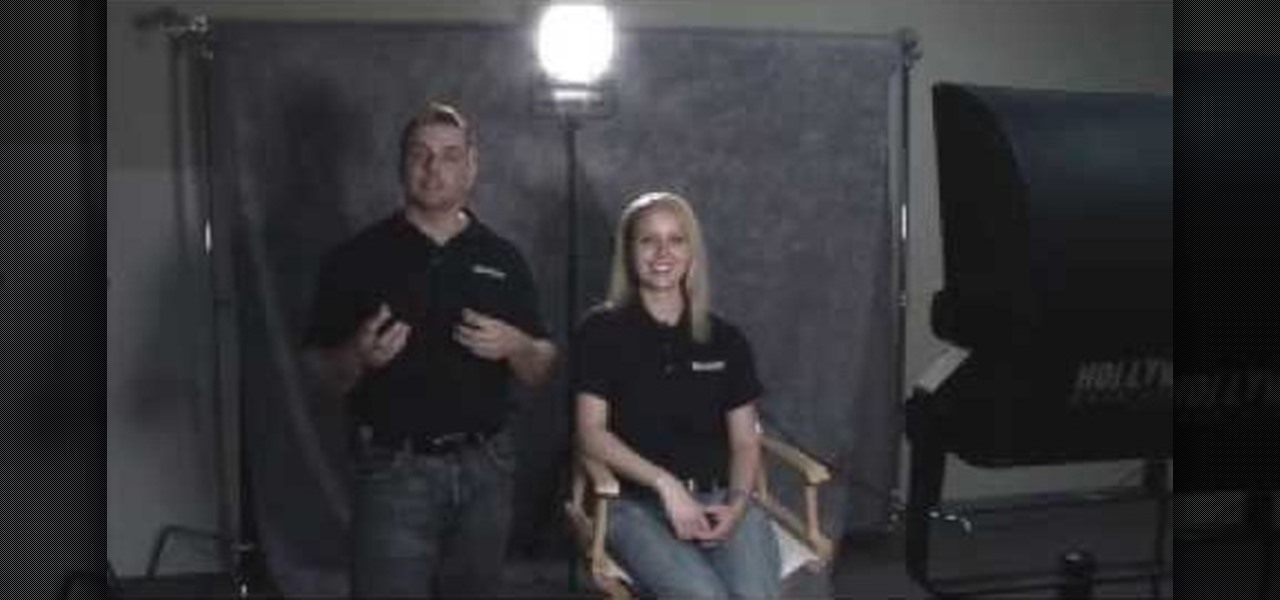
Videomaker Associate Editor Tom Skowronski explains how four basic steps can be used to improve the lighting effects for a video and give it a more professional look.
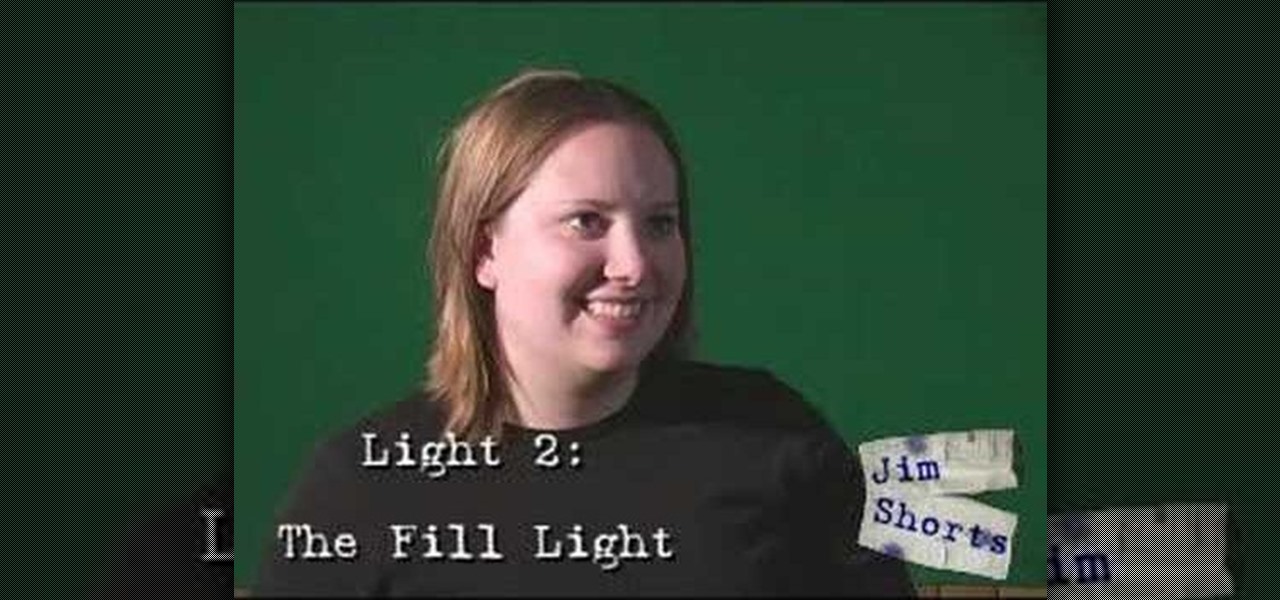
Three point lighting is the key to MAKING videos look professional. Tom Skowronski, the associate editor of Videomaker, guides us through the process of three point lighting. Three point lighting involves the use of three types of light to create a professional appearance when video taping. First, a key light is used to provide bright illumination of the subject. Then, a fill light cleans up the dark areas on the face. Lastly, a backlight fills serves to separate the subject from the background.
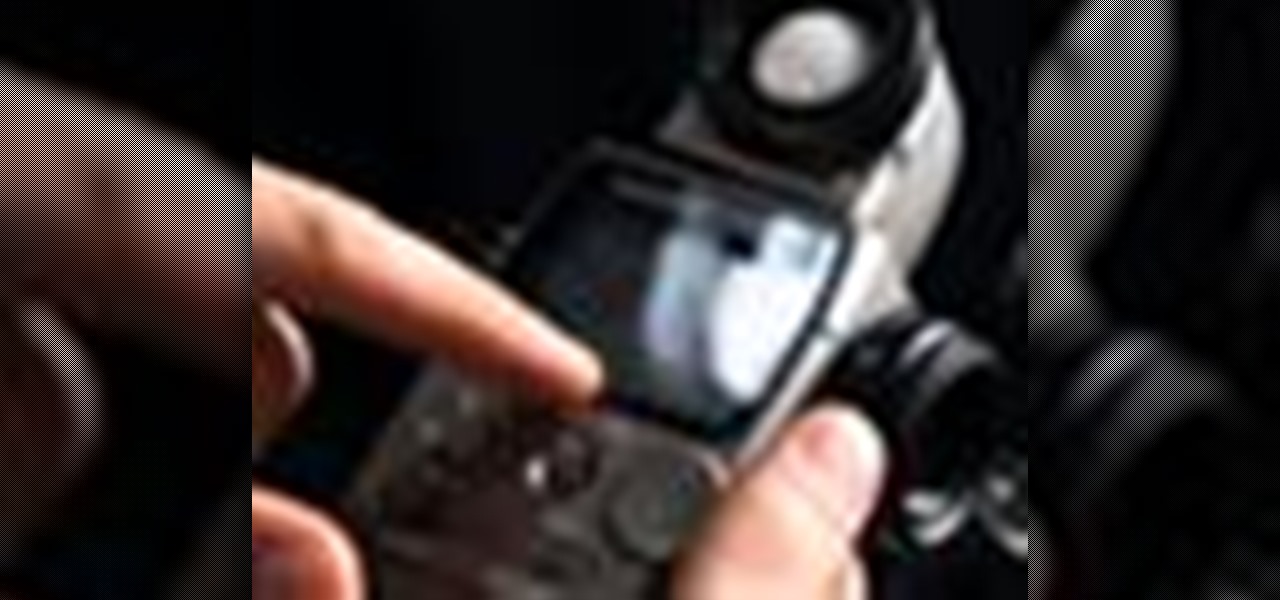
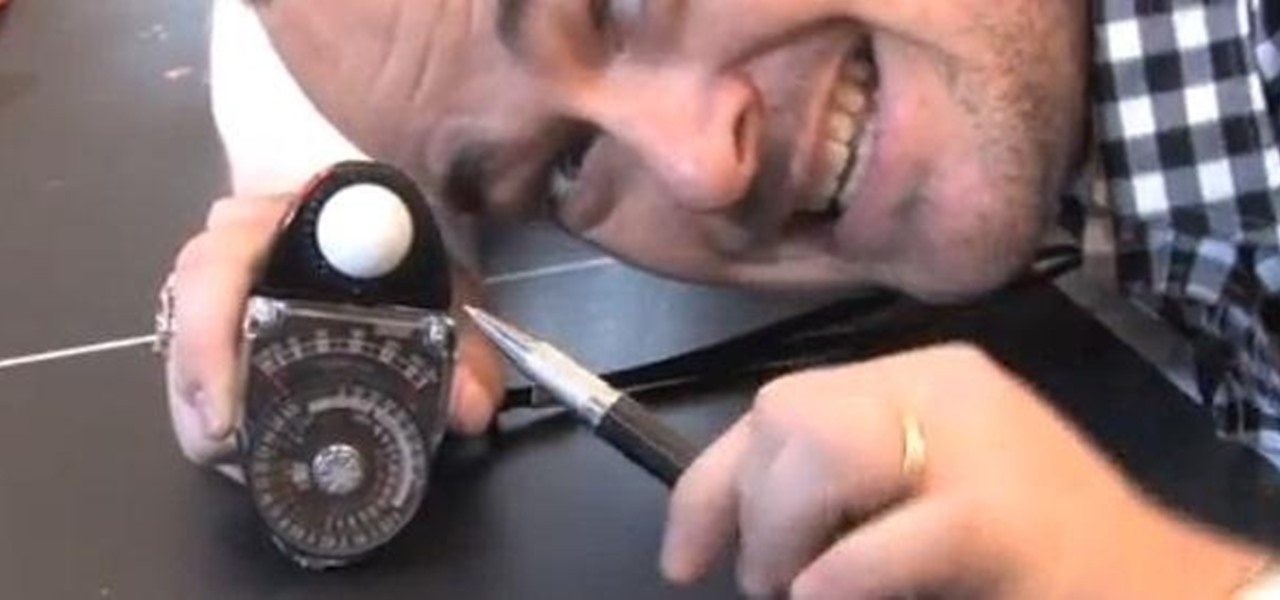
A light meter can prove to be an invaluable tool on any film set, allowing you to quickly and efficiently set lights and know the correct exposure values of those lights. Light meters were initially designed for still photographers and cinematographers can easily calibrate them to a given film stock speed for shooting film. But what about today’s digital cinematographer? I’m glad you asked. In this video tutorial you'll see how you can use a light meter to quickly and efficiently light a scen...
No light no movie. Indy Mogul teaches you how to create your own basic lighting kit for $25. Also covered are lighting basics, including three-point lighting.
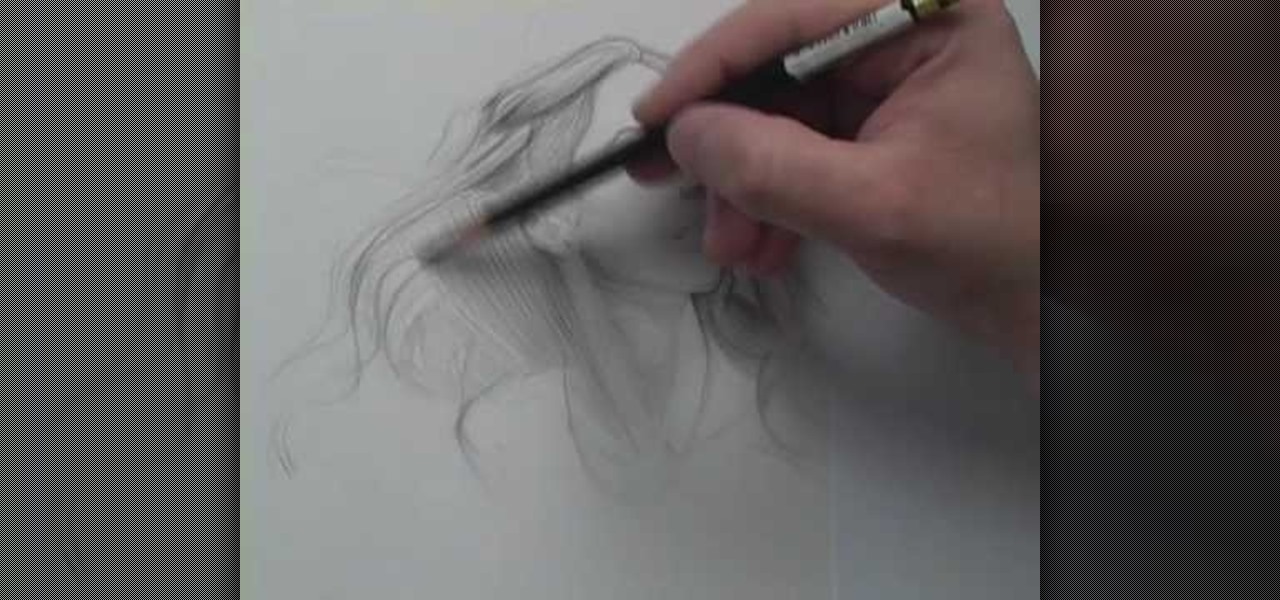
In this tutorial, we learn how to draw wispy hair with Matthew Archambault. When drawing these, you will first start off with a light pencil to make the hair look soft. After this, you will want to make the shapes of the strands look unique, then work from light to dark with the different strands. Use a harder pencil mark when you draw the outline of the hair. Make sure you don't do hard edges at all, everything needs to be soft. make sure you are drawing the hair outwards to make it look lik...
Three point lighting can be used to achieve professional studio results. For this, you will need: a key light, a fill light, and a backlight.
Prevent indoor lighting problems with these great tips. -When a window is behind the object, bring lights closer to object or use a reflector using the light from the window to create a 3 point lighting effect.
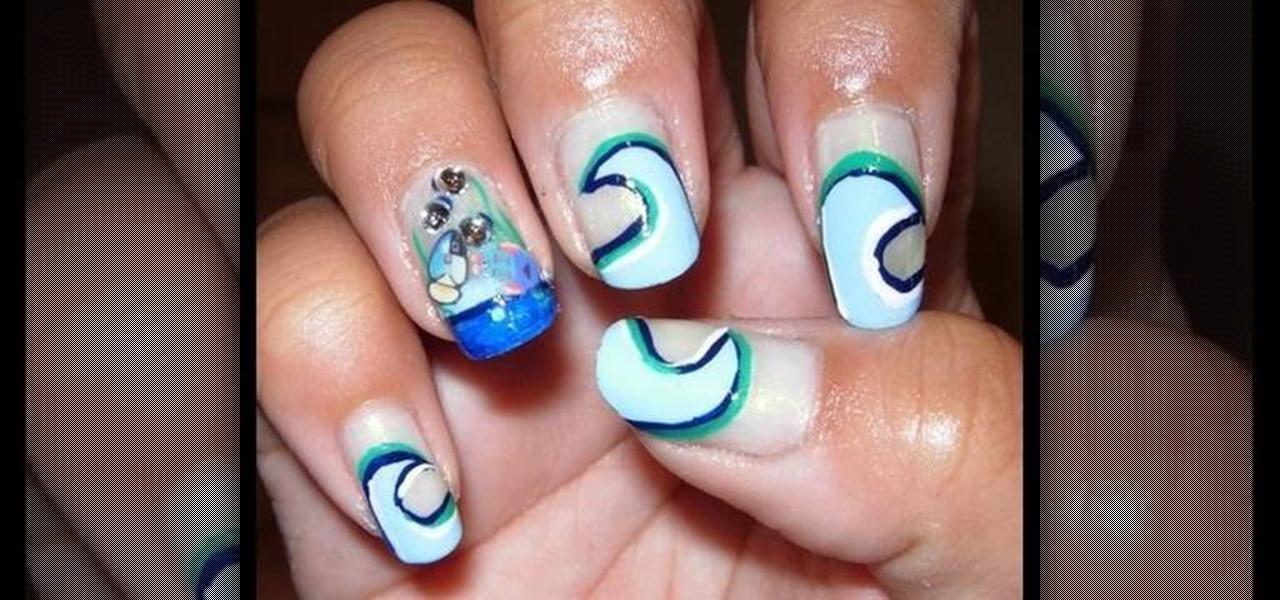
Not that we have anything against painting on an aubergine nail polish for a night out on the town, but why not get a little inventive next time you do your nails by creating unique designs? Become a nail Picasso by checking out this nail tutorial for creating nautical-inspired nails featuring ocean waves, jumping fish, and pretty rhinestone air bubbles.
In this video tutorial, viewers learn how to photograph with infrared. Infrared photography is photography the infrared spectrum of light, rather the visible spectrum of light. The main effect are to turn the sky darker, smooth out skin and turn foliage white. Users will need a camera that is converted into infrared. Then simply take a picture with the infrared camera and all the photos that are created by the camera will be in infrared. This video will benefit those viewers who are intereste...
In this how-to video, you will learn how to design and create four of your own Lego light sabers. All you need is six different pieces as seen in the video for the first design. Now connect them vertically, one at a time. All you need is six different pieces as seen in the video for the second design. Now connect them vertically, one at a time. All you need is seven different pieces as seen in the video for the third design. Now connect them vertically, one at a time. For the last design, you...
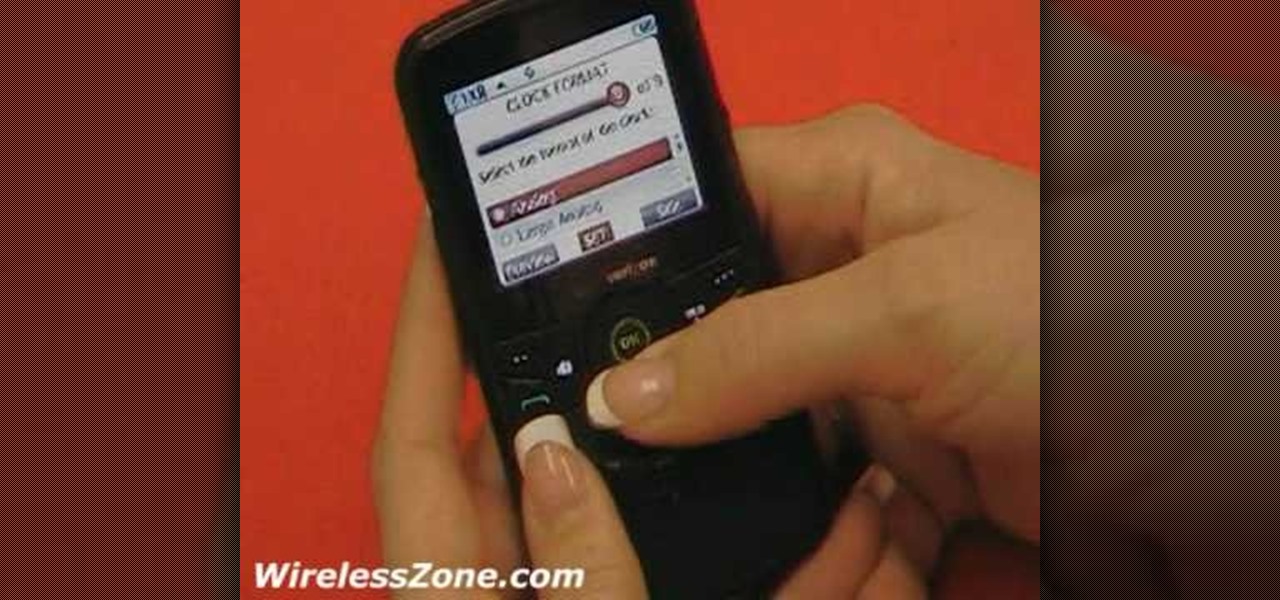
This WirelessZone video gives a first-look and shows how to setup a recently un-boxed Razzle from Verizon Wireless. First the features of the unique Razzle with its flip speaker keyboard combo is highlighted, thereafter a walk-through is given on how to set up the display banner, screen back-light, keypad back-light, wallpaper, themes, menu layout, menu type, clock format, dial tones, and most of the sound settings in great detail. The video also features the default ring-tones on the phone s...
This lighting tutorial video explains the basics of lighting a scene using the 3 point lighting scheme with a Lowell light kit and various essential equipment. Using the back light, the fill and key light, three point lighting will produce a properly lit subject. This video is great for lighting designers and cinematographers alike.
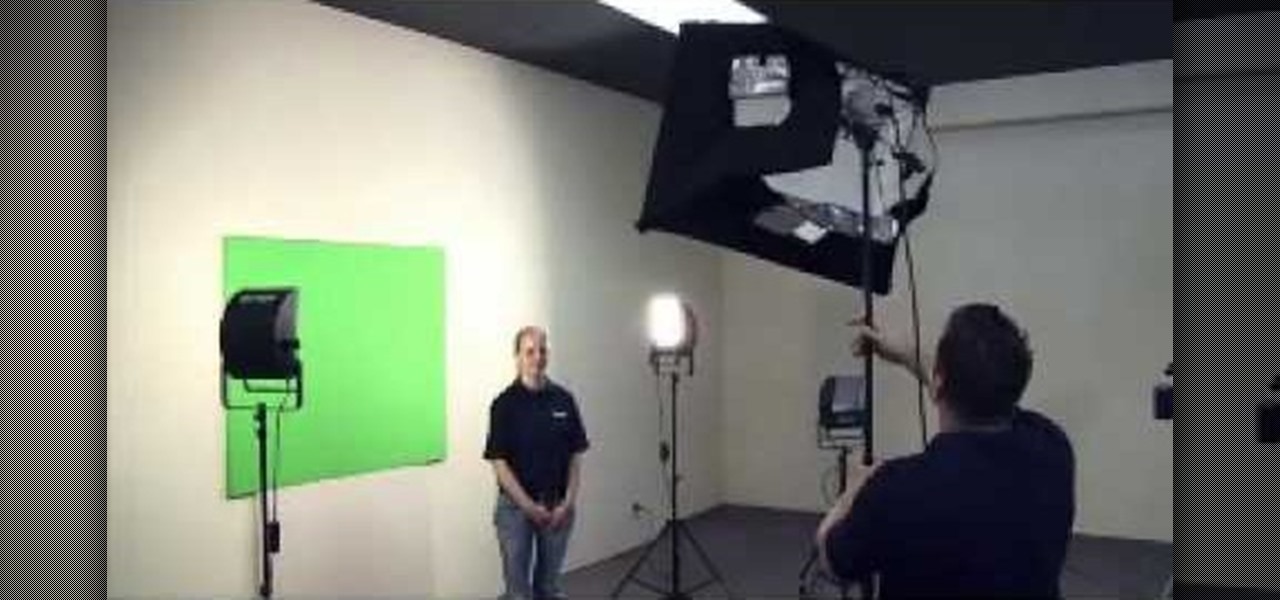
Ever wonder how to create movie magic right in your own home? This video shows you step by step everything you need to know and do to create the green screen effect, from properly setting up your green screen, to lighting it, as well as your subjects for a successful effect. Filled with tips and instructions this is a great video to watch for filmmakers, and special effects artist of all kinds.
Installing security lights outside of your home can make for a great addition, but they also create new problems with regards to maintenance and cleaning. Having lights outside exposes them to all of the elements that mother nature can throw at them. This video will show not only how to install security lights, it will also show the proper measures to take so they will keep working with minimal maintenance and care.
Ring Lights can create a specific lighting that brings out warmer hues from your actors/models, as well as giving you a cool effect for the eyes. If you're not looking to spend a fortune on buying an already made one, you can make one with items from around the house on the cheap, if you have to buy everything you need, you're looking to spend around $100 which is much cheaper than buying one brand new! Check out this video for a full tutorial on how to build your very own Ring Light!
In this video from FiveSprockets we learn how to light an interior space while filming on a budget. For this you need two Chinese lanterns which he found for $2.95 each. You need 2 light bulbs which he found for $3.95 each. Make sure you get extra ones. Then get a couple of pan lights. They are day light and mood light. They were $7 and $5. You also need a multi colored gel pack which is $6.00. He uses C-stands to hold the lights up but he suggests coming up with other ways if you don't have ...
Three point lighting is the standard used to illuminate a subject for amateur film, video, and even theater application.
Does your video look flat? By using Three Point Lighting, you will be able to give your flat video more dimension. In this tutorial, Israel Hyman demonstrates the effects of the key light, the fill light, and the back light. This is a long standing lighting technique that you definitely should know if you plan on shooting any type of video.
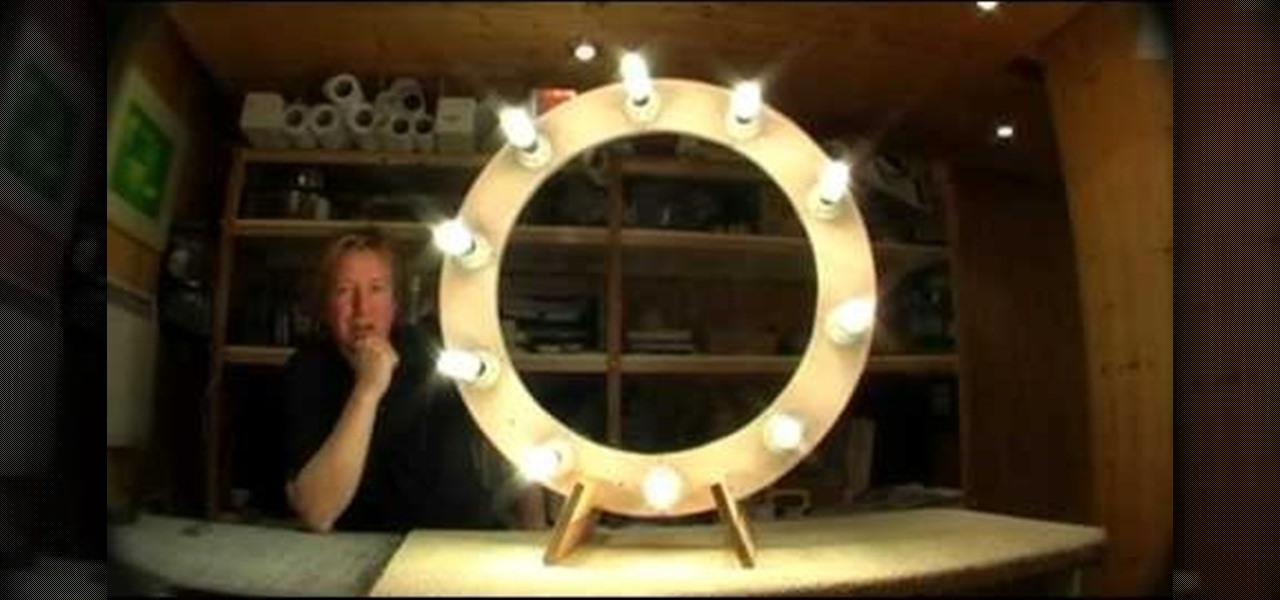
Lighting is everything when it comes to creating a good solid video/film. You will see a great example of a ringlight made of 12 lightbulbs arranged in a perfect circle with a cut-out to allow your camera to be in the middle to capture the best light. You will get an idea of just what materials you will need to create your own ring light.
Interviewing lighting basic training tutorial provides easy to follow instruction in this step by step video. Set up the interview area to allow the best camera angles. Place your lights in key, fill, and backlight positions. Use back lighting spillover to fill subject area without camera spillover. Check your setup with the subjects and make any necessary adjustments to your camera or lighting angles. Place your crew and your ready for your interview. This scenario using key, fill, and back-...
This video shows you how to light a bottle with long exposure in photography. The end result is to have a picture of a bottle with glowing edges with a black background. For starters you set your SLR camera settings to a 30 second manual shutter speed and a f5. 6 set aperture. Put the camera on a tripod for steadiness and set up your subject. For the subject, on a table, place your bottle in front of your chosen drop cloth. It is best to choose a color similar to the bottle. Then you use a li...
Take Zer0 covers the topic of lighting, again, because lighting is and always will be an expansive area. We begin by describing the reasons why proper lighting will help to accentuate a scene. And lastly is a visual demonstration of how one common lighting technique can be applied.
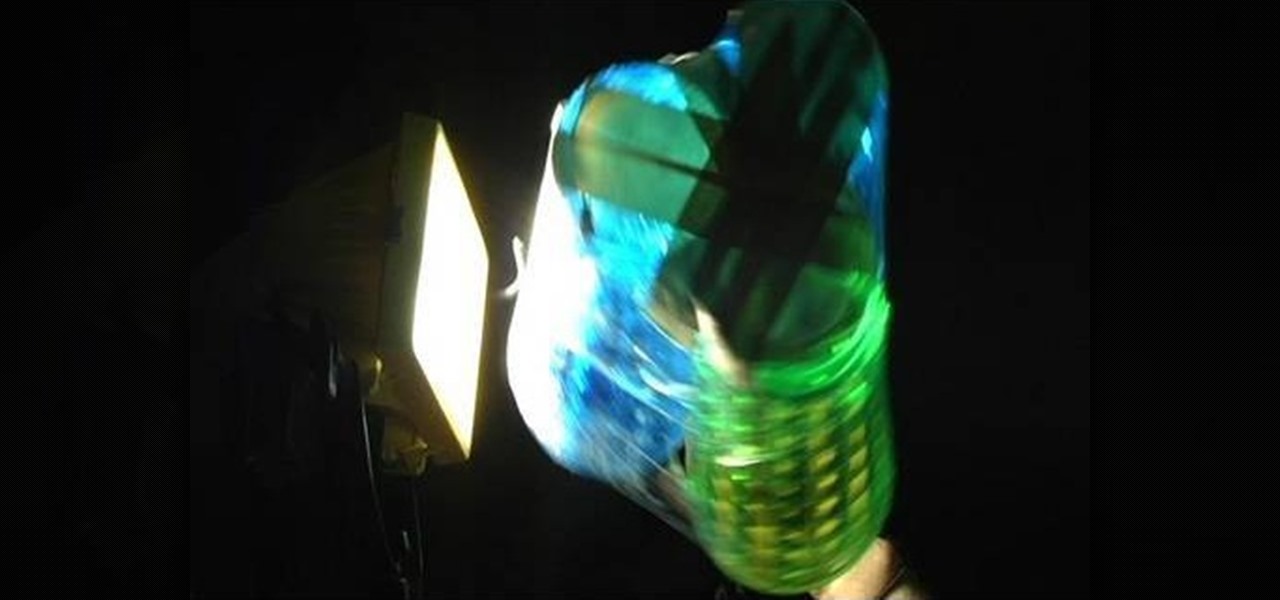
This is a creative idea for a great light effect for any video project. If you're a cinematographer and are open to knew and creative ideas (and cheap!), then this colorful, moving lighting effect is perfect for your film. You'll need three plastic cups, a 5/16-inch metal rod about 2-feet long, gaffers tape, packaging tape, drill and a light. You can get the plastic cups from the dollar store, which won't cost you more than three bucks! They need to be translucent and have the colors you want...
Lets keep this short: you can't control the sun, so it's best to adhere to (or slightly manipulate) it. The perk about natural, outdoor light is that it's free, and lights pretty well.
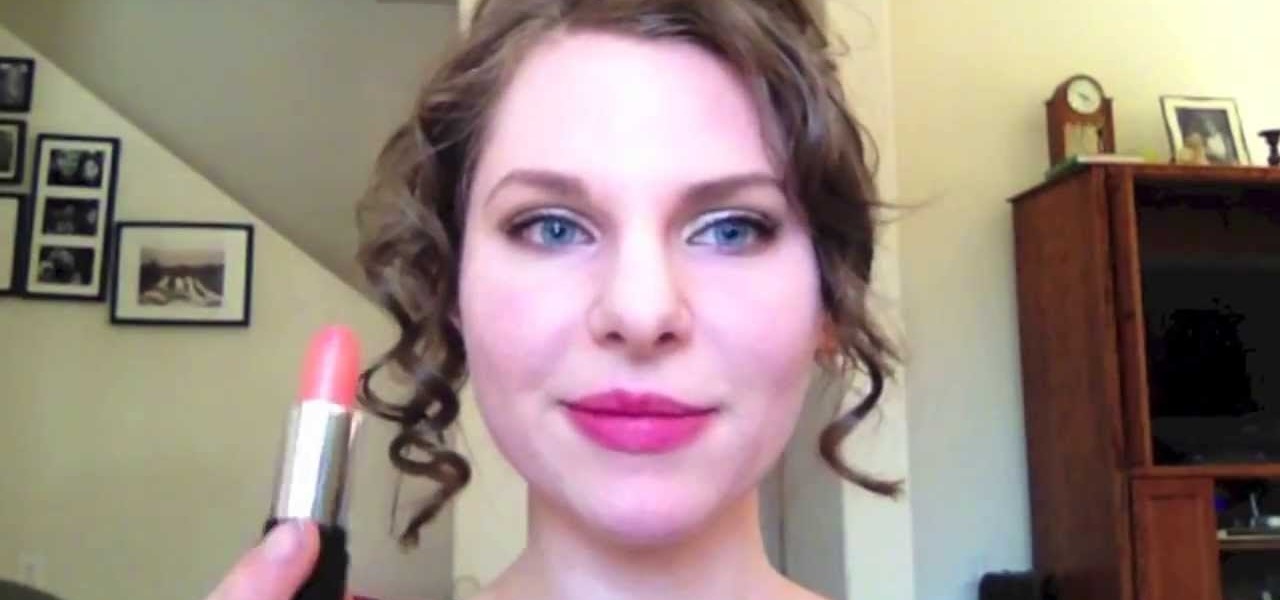
I often love to create a custom blend of lipsticks because it results in a one of a kind color that no one else has. This video in no exception! I take a light and delicate pink and blend it with a deep, berry pink that has just a hint of red for a unique lip color that is vibrant for summer.
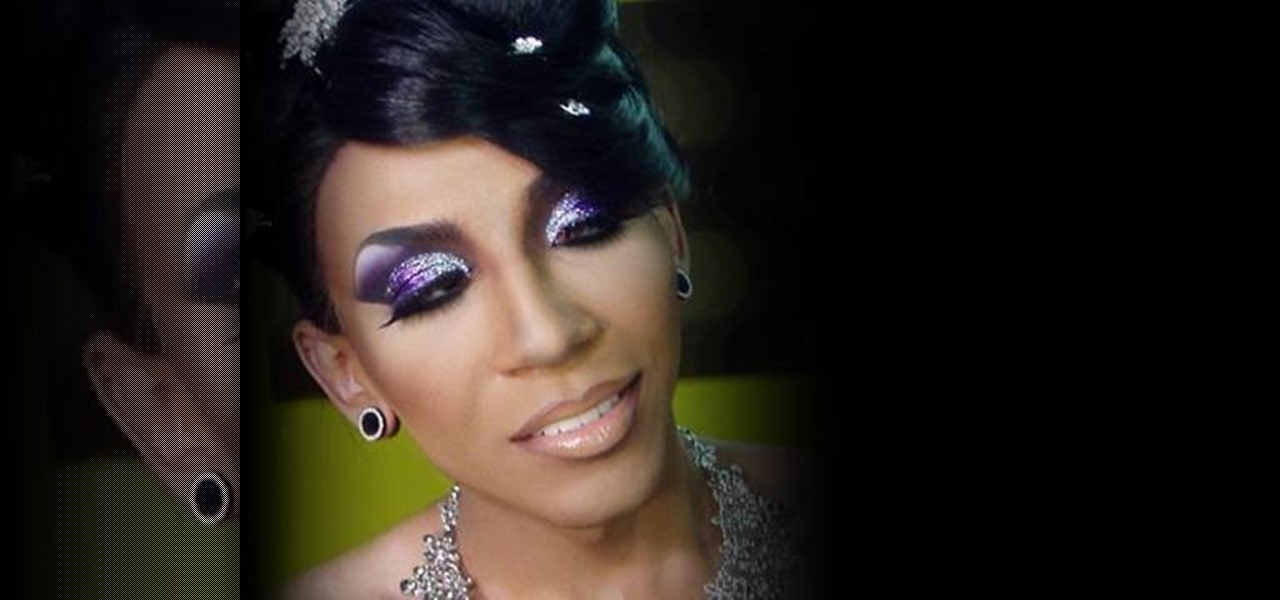
In this video, we learn how to create a fabulous purple pageant drag look. First, you will need to paint a white cream shadow underneath the eyebrow. Next, paint a dark purple cream on the crease of the eye and use a brush to fan it out onto the entire eyelid up to the white shadow. Next, paint a purple eyeshadow all of the brow and use a Q-Tip to clean up and mistakes along the way. Next, you will continue to add colors until they are filled in and bright. Now, you will need to have a silver...
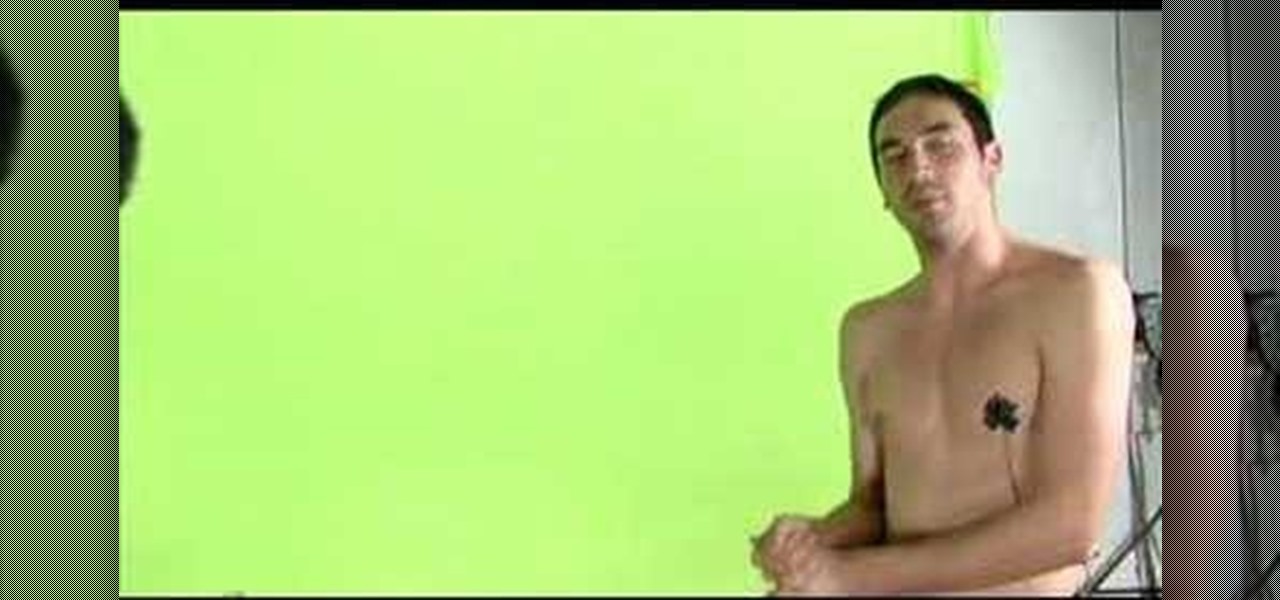
Matt, the Shirtless Apprentice, advises viewers on the proper procedure for lighting a green screen. The successfully implemented chroma key technique can significantly raise the production value of any video podcast. He gives specific advice on how to separate the light that falls on the subject from the light on the greenscreen, a traditionally tricky technique.
In this how-to video, you will learn how to light your web show. This is important as it will make your web show look more professional. Proper lighting allows you to see your face, eyes, and the colors of your shirt. If there is not enough light, you cannot see yourself as well. You will also look dark and grainy. Too much light will cause your face to look too hot. Backlit lighting will cause your face to be too dark because the light is in the background. This is why background lighting is...
Know a little bit about film lighting, but can't quite grasp the concept of using light meters to measure light for proper exposure? You can't rely on your video camera to accurately capture what you see, so you need light meters to properly and accurately capture what you have created on set.
Learn how to make an adjustable light stand. This adjustable telescoping light stand is cheap if you have all of the materials already, like a painter's pole, a metal table leg, scrap wood and some screws. This light stand is a good choice for film shoots on a low-budget. Who needs expensive light stands anyways?
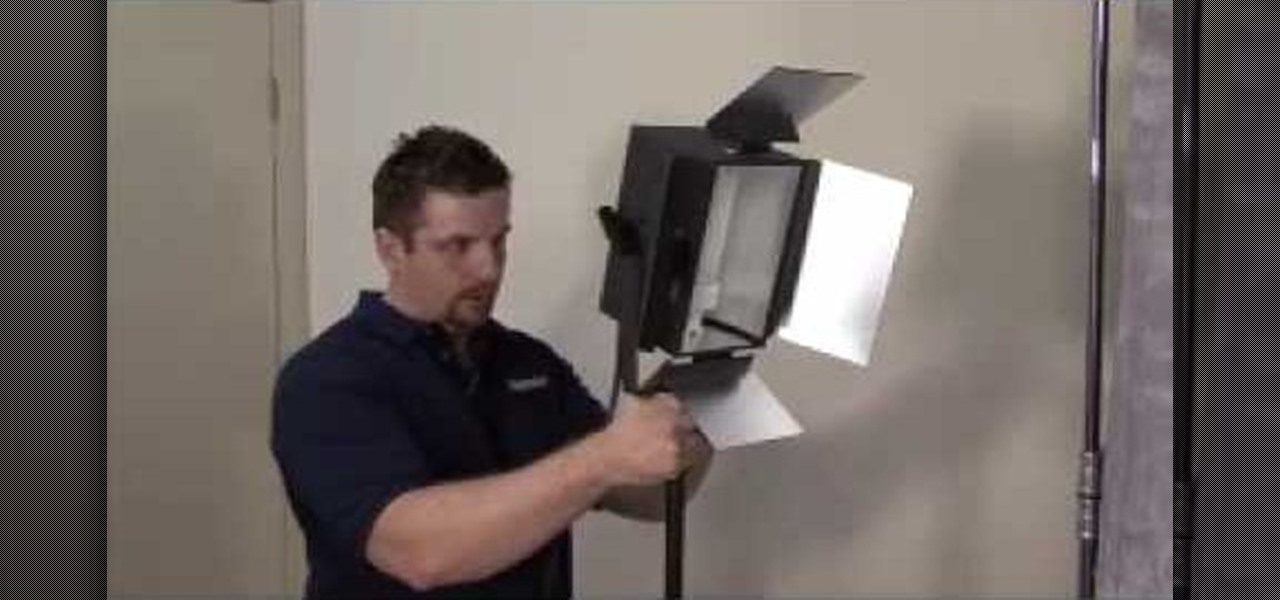
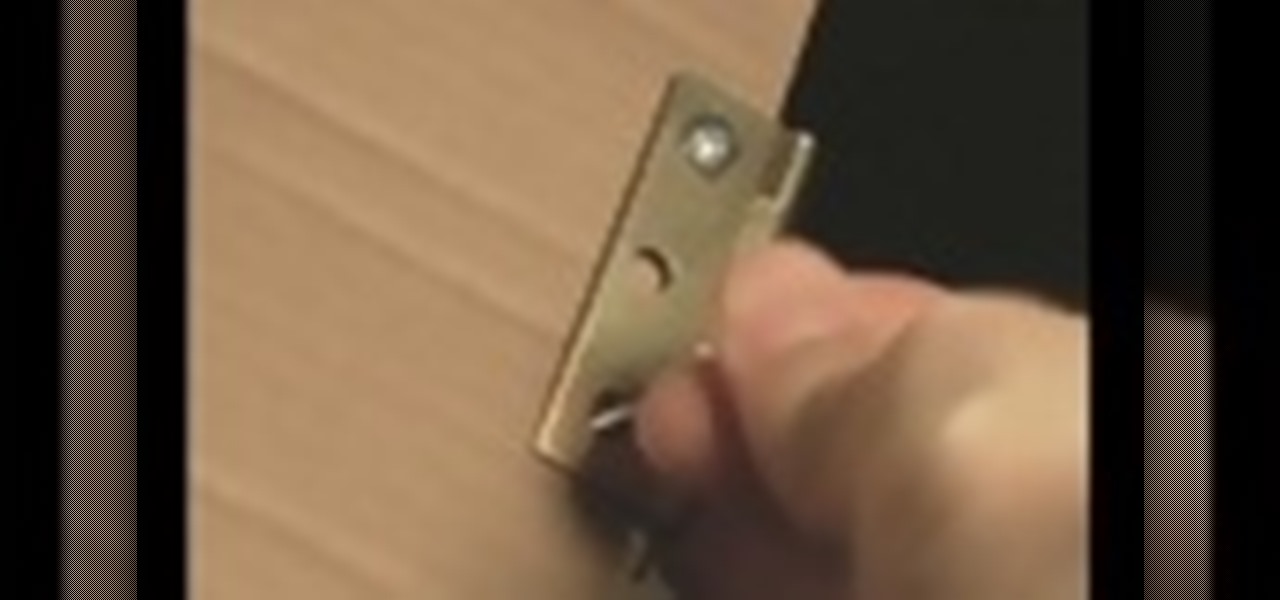
Check out this instructional lighting video that explains how to make cheap barn doors for your lights. For this project, you will need a total of 4 hinges, 12 nuts and bults, a screwdriver, cardboard, scissors, and a lighting fixture. This is a simple guerrilla filmmaking tutorial on how to design your own barn doors. A great addition to any low-budget filmmaker's lighting kit.
Lighting a movie can be dramatically expensive and complex, but for the DIY filmmaker on a budget this can be a major handicap. In this video you'll learn how to create a serviceable lighting setup for your filming using only $25 worth of shop lights and 200w bulbs.
This video tutorial belongs to the Film & Theater category which is going to show you how to build a light diffuser to improve your film lighting. Joe Richardson explains how to do this. You will need four pieces of pine wood 1" x 2" x 8 feet long, framing nails, duct tape and light cloth material. Cut the wood at the edges at a 45 degree angle and lay them out on ground to make the frame and hammer in the framing nails. Now spread the cloth over the frame and start stapling it. Pull the clot...
In this tutorial, we learn how to draw a face using charcoal. Start out using a light touch with your pencil to draw the outline of the pencil. After this, use the darker touch of a charcoal brush to draw in the details of the eyes. Draw the eyeline and the creases in the eye, then draw in the nostrils and the middle of the mouth. Draw in shading around the neck and chin to make a difference between the two. Use a light touch of the brush to create shading throughout the entire face, not usin...