In this video, we learn how to make zebra and tiger prints with Ranger's alcohol inks. First, you will need some alcohol ink in black, gloss paper, a stamp, and felt. Now, take your felt and cut it into small strips. Make lines like a zebra or tiger would have. Next, push these strips onto the stamp bottom, arranging them to look like a zebra. After these are stuck on securely, trim off any edges and make some pointed. After this, you will squirt the black ink onto the bottom of the stamp on ...
In order to make ghosted images with white ink and distressed ink, you will need the following: a heat gun, Adirondack ink pads, distress ink pads, blending tools, stickles, stamps, card stock, stamp press, a stamp press, scissors, glue dots, adhesives, brads, paper trimmer, and nonstick craft sheet.
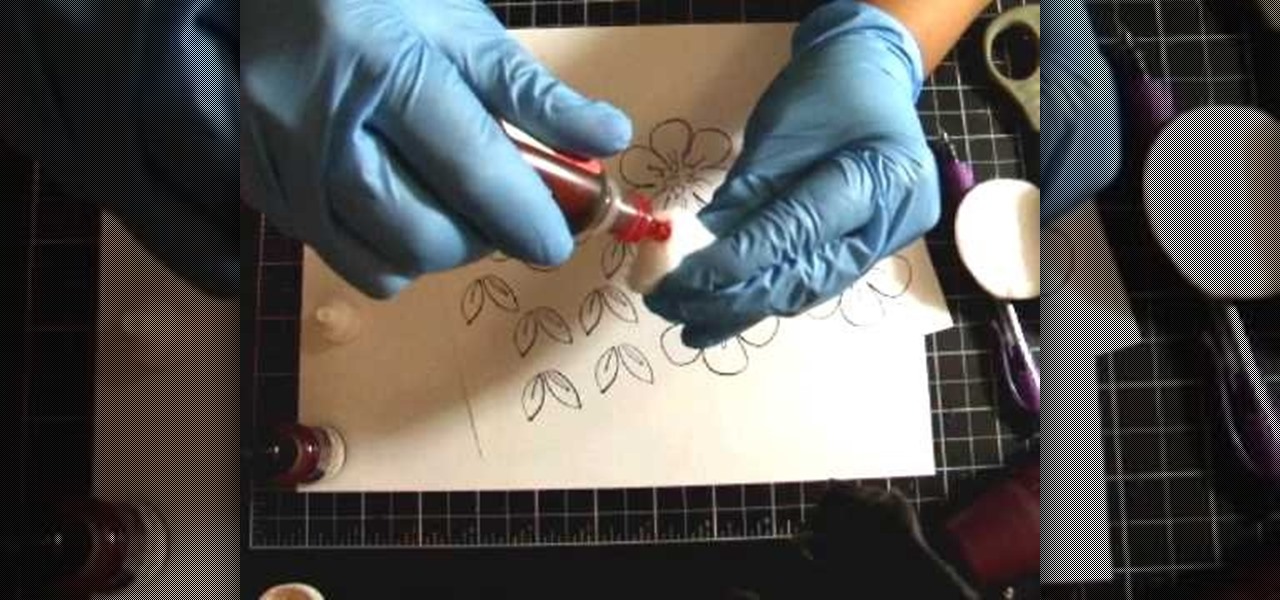
In this tutorial, we learn how to create a marble effect for paper design. You will need: rubbing alcohol, ink, stamps, and a cotton ball to get this effect. To start, you will Need to first dip the cotton ball in some rubbing alcohol and then add it to the ink. Dab this onto the paper all over. From here, you will color your stamps with dye ink and stamp it over the paper where you made the marbled effect. When finished, you will have a cute image over the marble design and then you can add ...
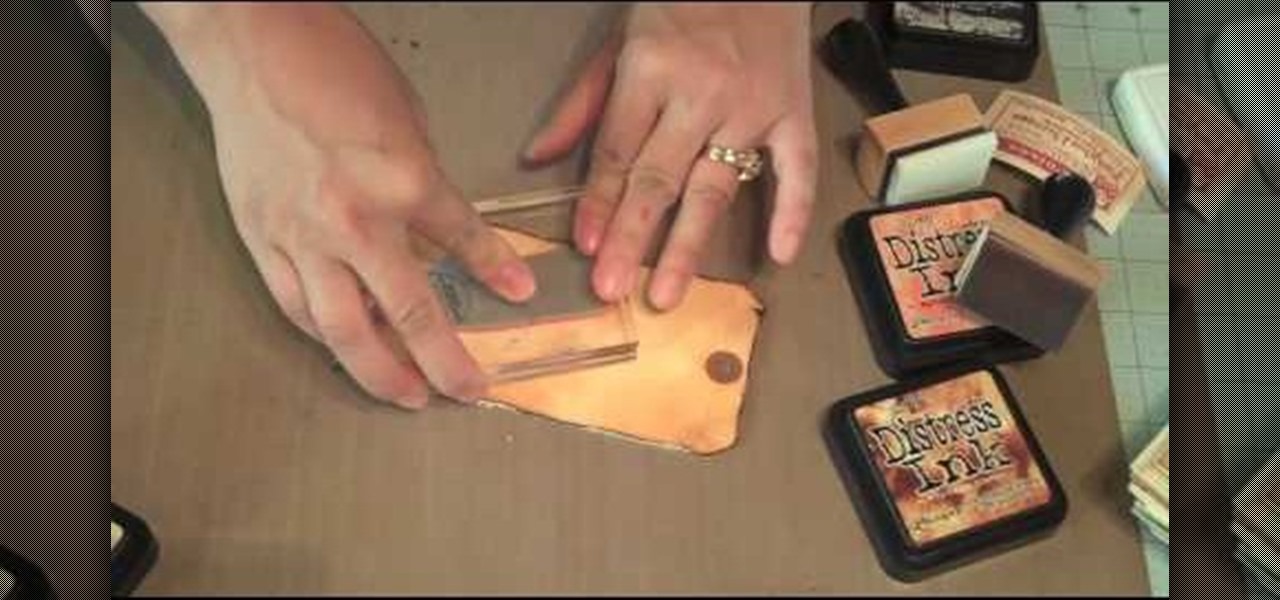
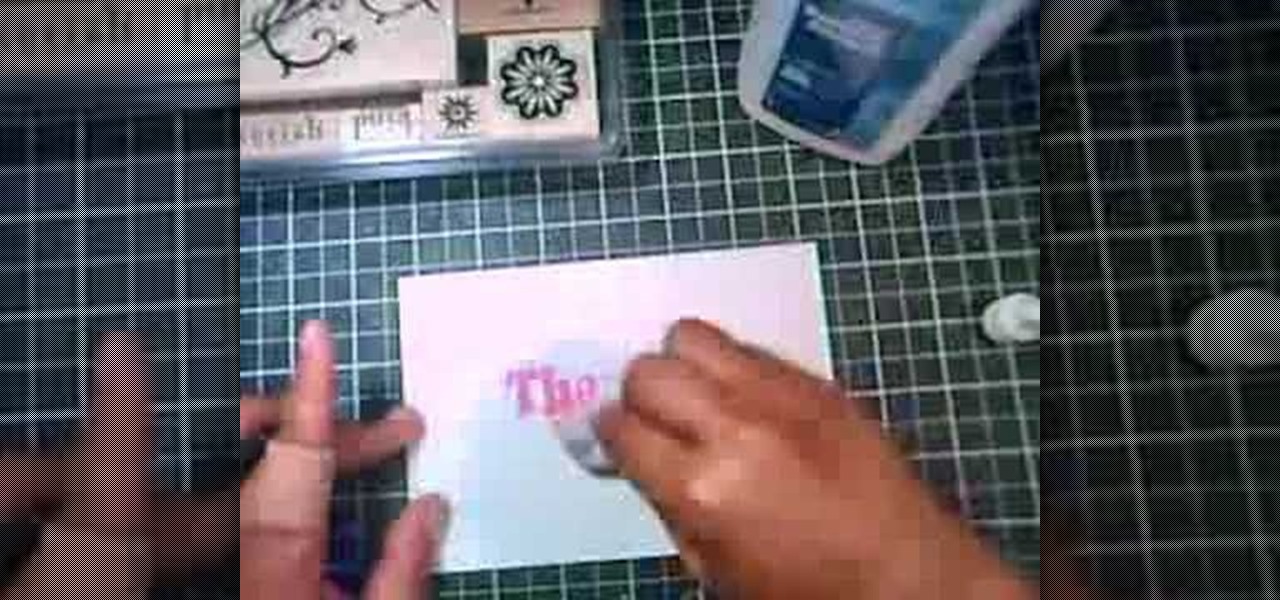
This video illustrate us how to make a Tim Holtz inspired tag with distress inks and water. Here are the following steps:
This stamping tutorial teaches how to ink craft stamps with markers. Learn how to use marker ink to color stamps instead of traditional stamp ink.
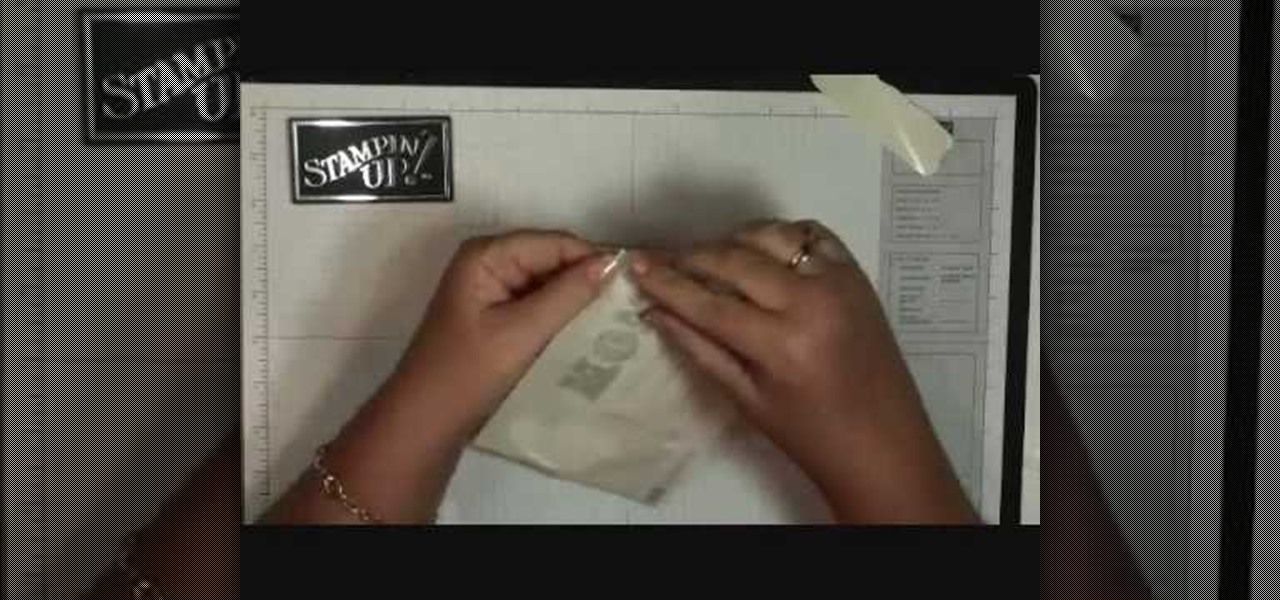
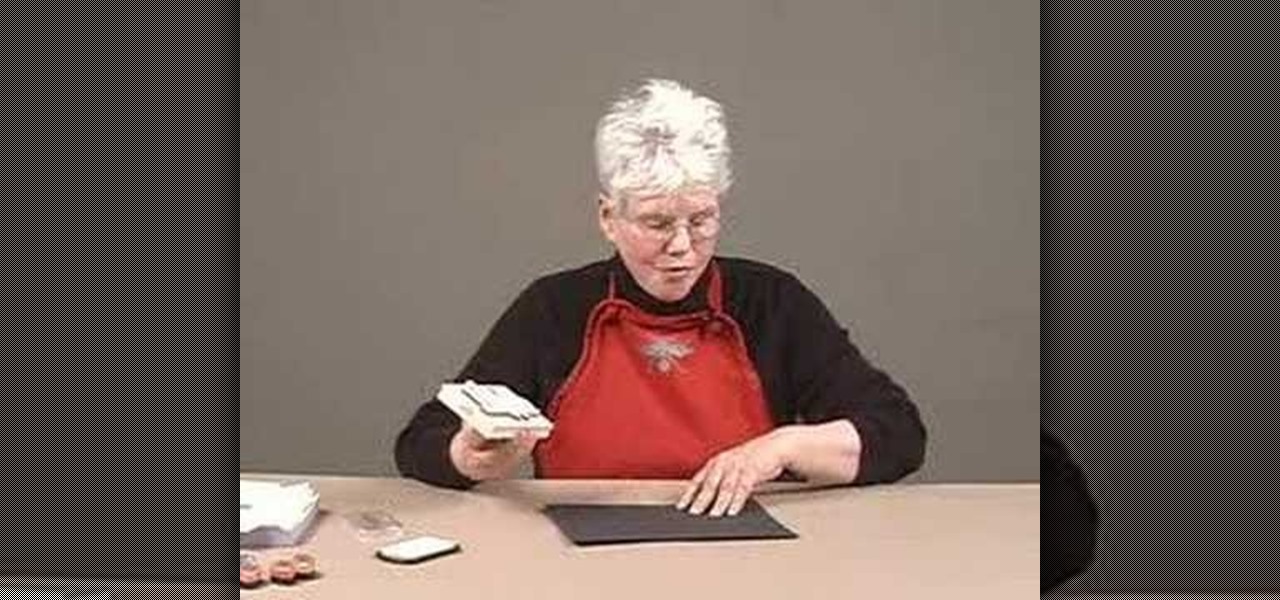
Dawn5377, teaches you how to use the clear mount stamps. These come in sizes from A to I. They are high cut so you don't get ink on your fingers when using them. The stamps come in a DVD case for easy storage, which also comes with instructions on usage. Remove the sticky part of the image, place it on the back of the rubber stamp. Place image face down on the clear block of equal size. Ink the rubber stamp and just stamp on a piece of paper. You clean the rubber stamp with spray mist and scr...

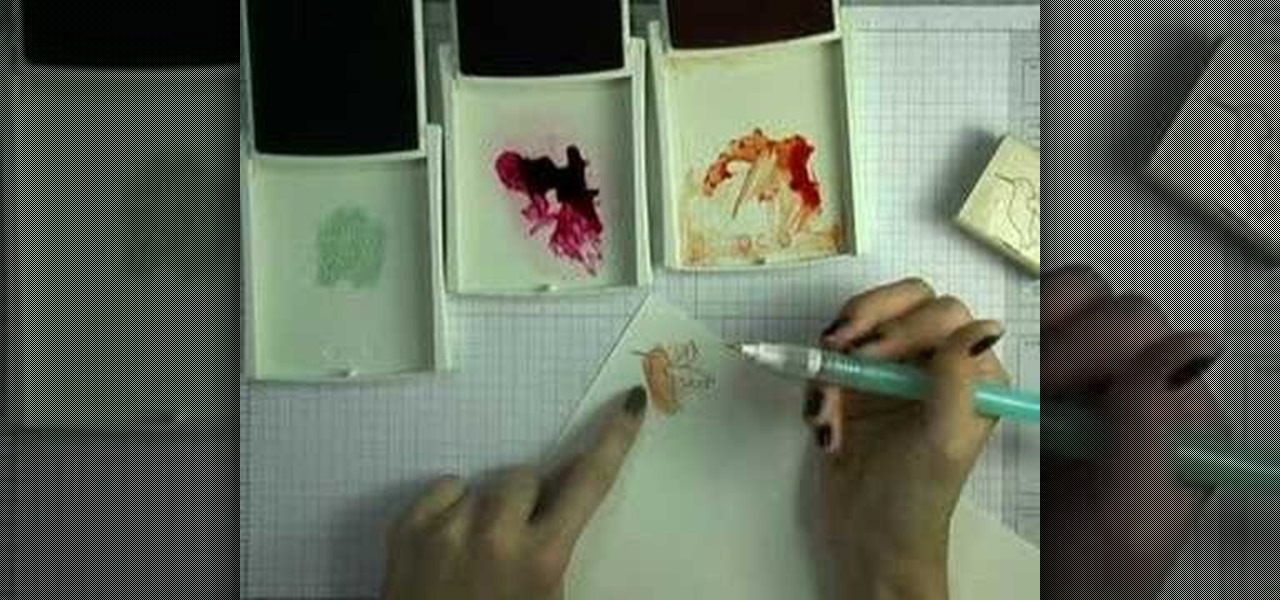
This how-to video demonstrates the right skills for stamping with a watercolor technique. You will need non-running inks to stamp the initial image, a specialty brush pen, and watercolor paper. This watercolor effect is pretty, and can add some different texture to your stamped images. Watch this video tutorial and learn how to make a watercolor look with stamps.
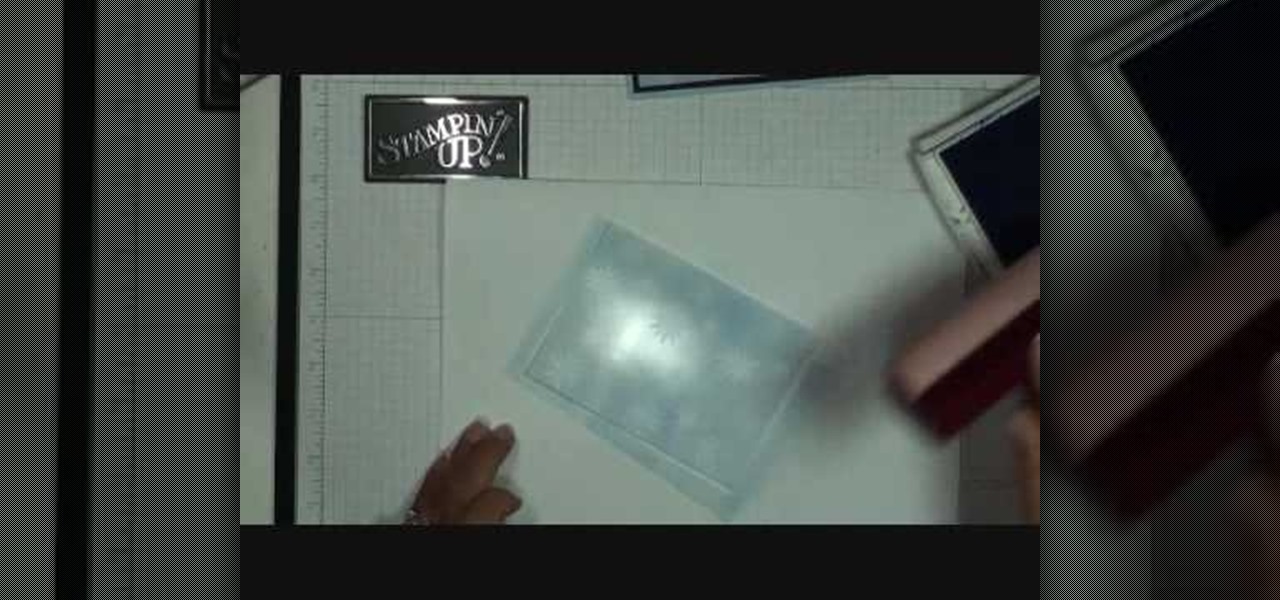
Our host Dawn teaches how to use the Versa Mark resist technique when stamping a card. Dawn teaches the technique on a Christmas card to create a snowflake background. The basic idea behind this technique is that the Versa Ink is clear and will resist any other ink you put down, so you can stamp a pattern and then go over with a flat coat of regular ink, and you will be left with a white pattern where you made the Versa Ink stamps. To complete this specific craft, you will need a Versa Mark i...
Patti Behan shows us how to make this beautiful giraffe prints to create an amazing card. You will need:
This video illustrate us how to make a vase out of three stamps. Here are the following steps: Step 1; First of all take all the requirements that is paper, stamps, stamp pad, color pencil extra.
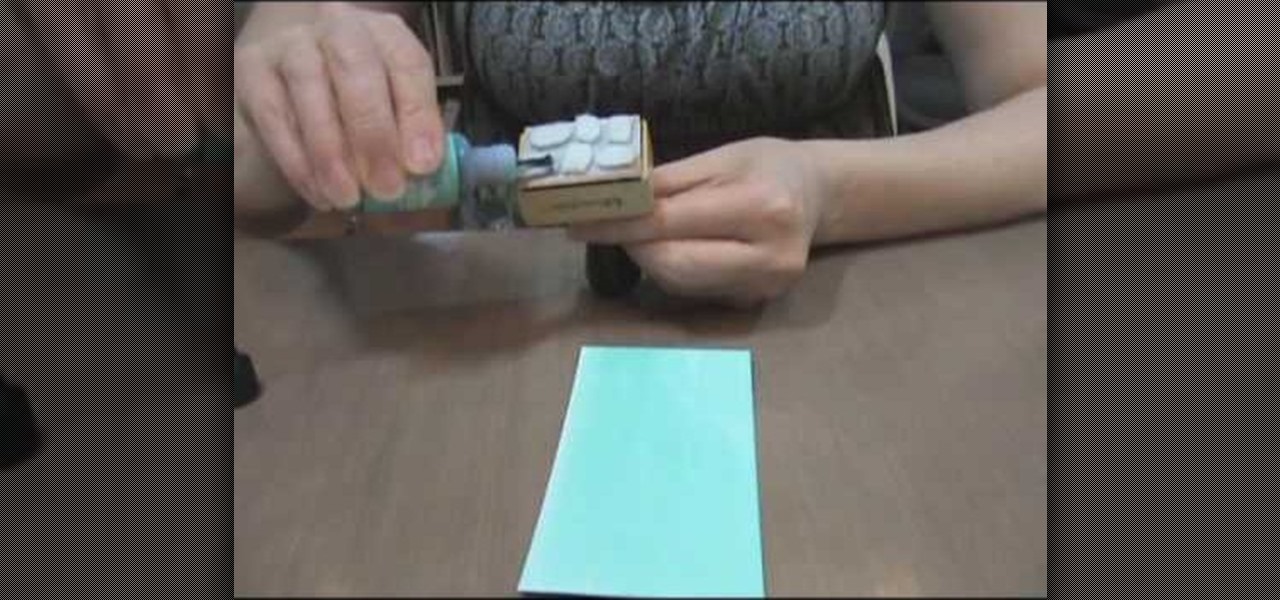
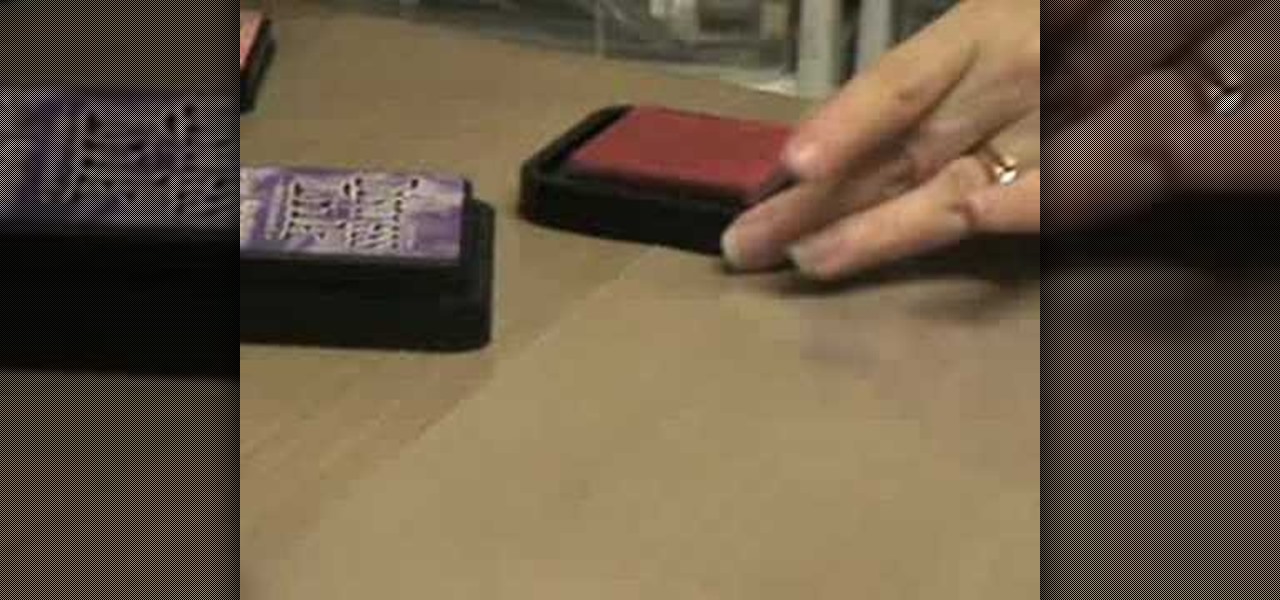
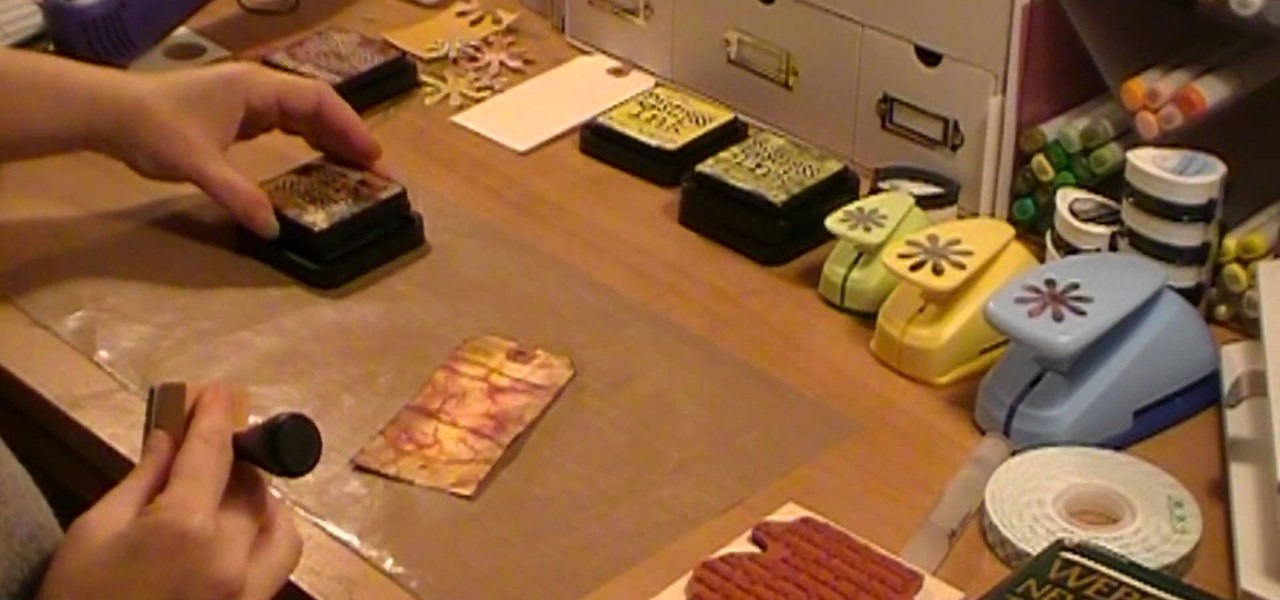
First of all you have to arrange for materials like ink blending tool, ink blending foam, some tags to be used as practice surface and a distress ink pad. The tutor advises that you must not use a blending tool like a stamp and never make a lot of impressions using it on any surface. Instead of stamping the ink on the surface like a stamp you have to be careful while using it. Use a blending tool in such a way that the whole ink goes slowly onto the tag. Start by working the blending tool on ...
Sue from Paper Source demonstrates rubber stamping techniques. Rubber stamps are a versatile tool for decorating card, scrapbooks, or any paper design project. Watch this video crafting tutorial and learn how to use rubber stamps and ink.
In this tutorial, we learn how to add texture to stamped images using rubbing alcohol. First, stamp on your image with a regular stamp to a piece of paper. After you do this, you will take a cotton ball and dip it into ink, then dab this on the images. From here, you will dip that into rubbing alcohol and then dab on top of the images as well. Allow this to dry and if you don't have time, blow dry it evenly. Then, use embossed ink to raise the images up from the page. When finished, you will ...
This how-to video stamping tutorial demonstrates two methods of heat embossing using a heat gun or heating tool, stamping powder, a rubber stamp, Versamark watermark ink and a pigment ink. Heat embossing is a great technique to multi-task rubber stamps and create some texture in card-making or scrapbooking projects. Learn how to do two different methods of heat embossing with an embossing tool by watching this how-to video.
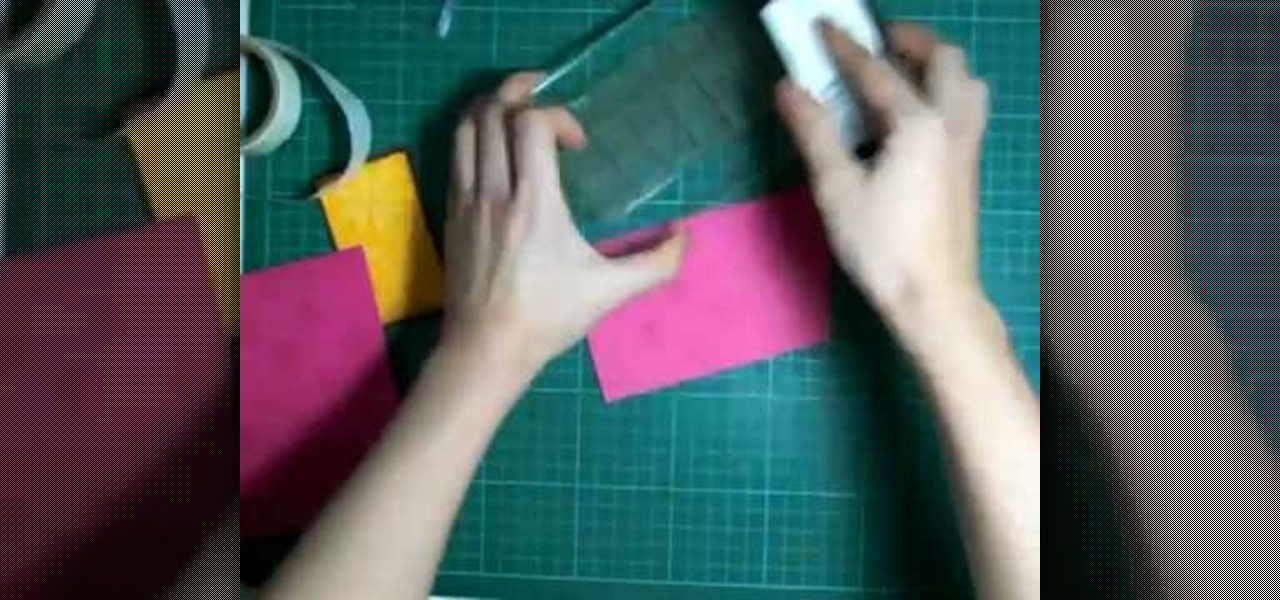
In order to make a pocket card out of an envelope, you will need the following: a used envelope, printed paper, adhesive, card stock, paper cutter, cuddle bug, an ink pad, stamps, markers, and crystals.
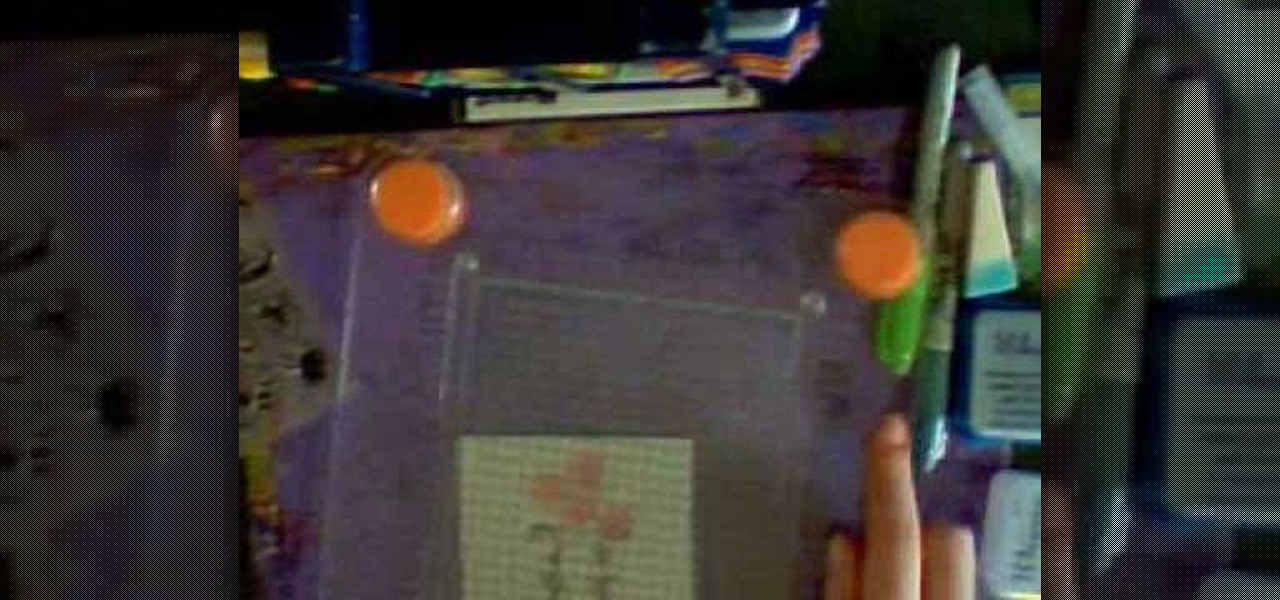
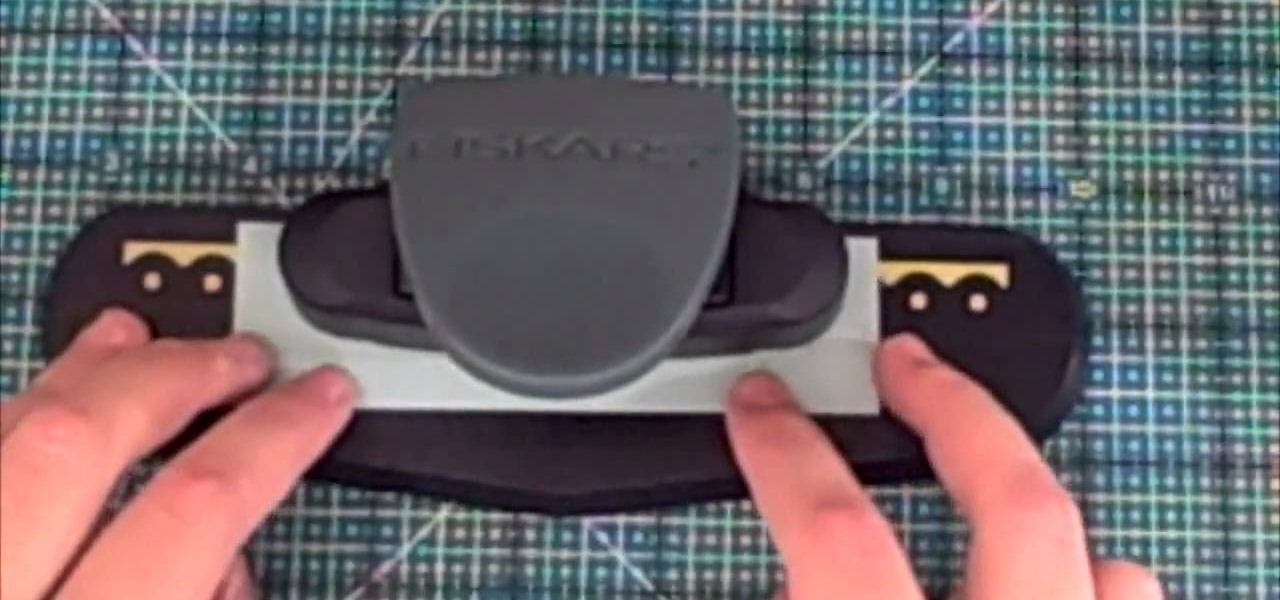
This video is part of the lawn fawn card series and it explains the making of a card using border punches and a stamp.The materials required are a set card-polka dot basics from paper tray ink.This card has a variety of dots on it. Remove the big open circle polka dot and lay it on the aqrualic and place it on a plastic bock with grids on them.Using a color box cover the stamps with ink.Now place the block over the card so that the grid lines with its length and press on it.The polka dots wil...
A cool way to accessorize your scrapbook is with distressed ink. In this tutorial, learn how to take beautiful inks from the folks at Stampin UP and distress them for a very cool effect.
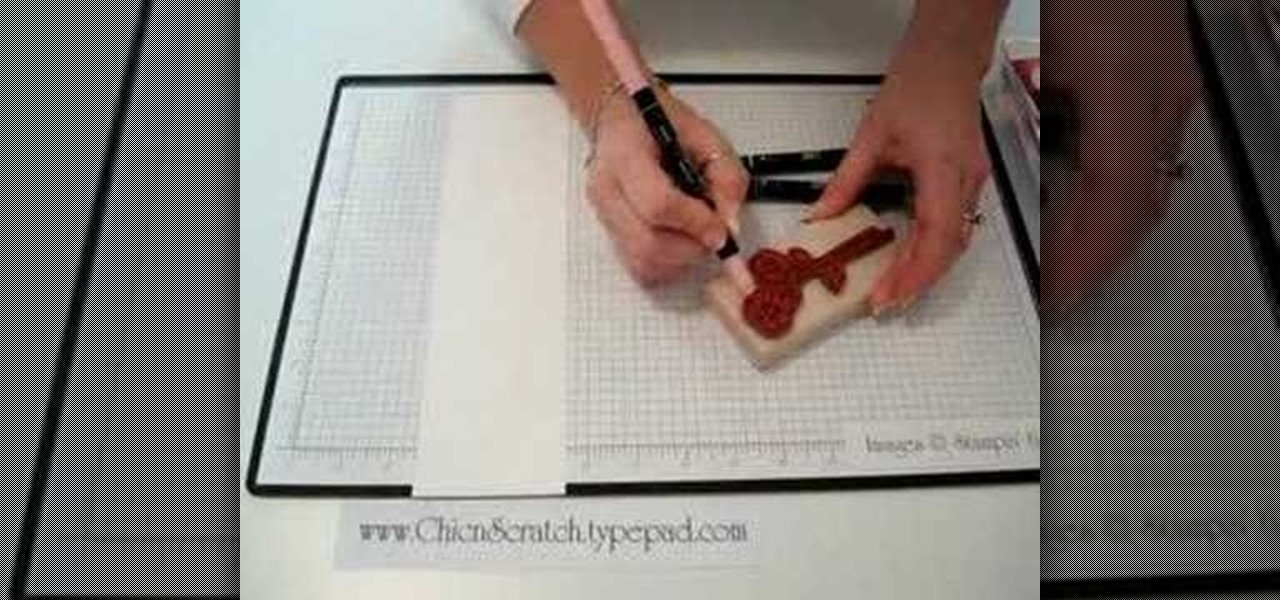
Terri Sproul shows how to use a really cool technique to make an embellishment for a card. You first need to find a roll of aluminum that is self adhesive. Work on the back of the aluminum, the side with the adhesive. Use a stamp to lay out your design on the back, by stamping the image on the back. Then you must trace the outside of the image. Use alcohol inks to add color to the aluminum. Then she cuts the image out with her scissors. Then she uses a glue dot to place the piece on a card sh...
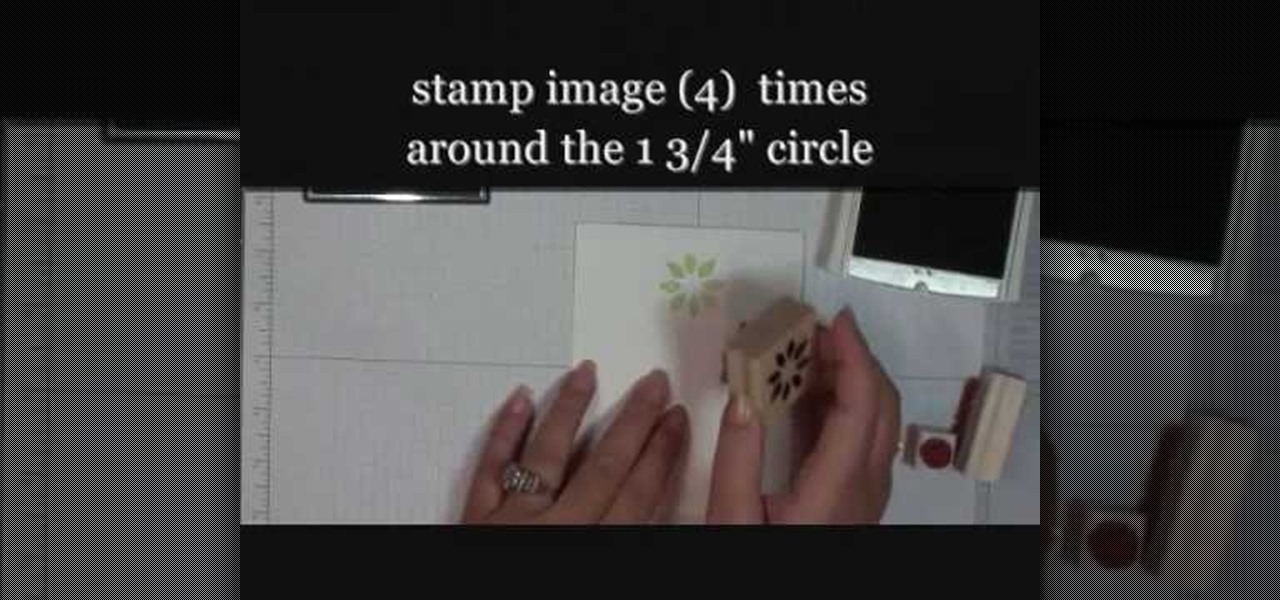
Learn how to make a "Berry Christmas" wreath card with Stampin' Up! Making a wreath card is very easy and simple to make. Use whisper white paper cut at 4 1/4" x 11" and cut a whisper white 1 3/4" circle punch which will be used as the base for the wreath. Place the circle in the center of the card. Use the Berry Christmas stamp set from the Holiday Mini. With the Certainly Celery ink pad, stamp image 4 times around the circle. Then, remove the circle. Fill in the circle space with more image...
Here are some instructions on heat embossing on polymer clay. This video includes tips for embossing both baked and unbaked clay. You will need polymer clay, a rubber stamp, pigment ink, embossing powder and a heat gun. Roll out the clay onto a nice thin sheet of clay and bake the selected piece. Then stamp the baked clay with ink as desired. Sprinkle the embossment powder onto the stamped area, and tap off the excess powder. Next, heat the embossed area with the embossment gun and watch the ...
This artsy crafty video tutorial will show you how to make glittered window-style cards. The "glittered window" technique to card-making is basically just adding glitter to shipping tape.
Make a Christmas Gift Card Holder Materials
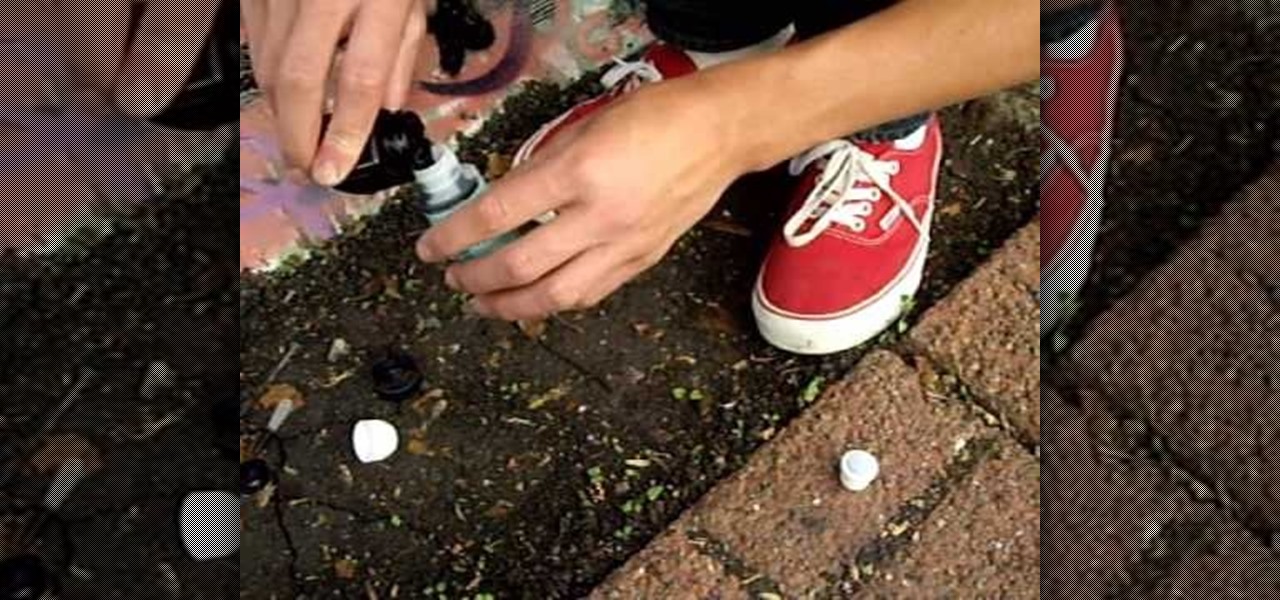
In this tutorial, we learn how to make a graffiti mop from a repurposed cleaner bottle. First, you will take stamp cleaner in a small bottle that you can pick up from any craft store and a bottle of Pilot ink (1 oz). Next, empty the stamp cleaner from the bottle and then pour the ink into that bottle using a dropper. After this, place the top back onto the bottle and shake it for several seconds. When done, take the cap off and you will be able to write on a wall now using this bottle's soft ...
This video demonstrates how to emboss a button and then use it as an emblishment on a card. Start by covering your stamp with clear VersaMark Ink. Holding your button with pliers, carefully press your button onto the stamp. Next, take your embossing powder and sprinkle it on to the button. Then apply heat to the button. You are now ready to make your card. Ink your bird stamp using chestnut chalk ink. Place it at the bottom of your card stock. Using a blender pen, color in the bird and any ac...
This video tutorial is going to show you how to bleach paper to make the color pop. First take a piece of black paper, apply a bit of bleach and see what color it turns. Because, different cards change color differently. Next you will need a stamp, embossing ink and black embossing powder. Apply embossing ink on the stamp, stamp the black paper and put black embossing powder on the paper and dust it off. You then need to heat the paper. Bleach out the portions that you want color. Follow the ...
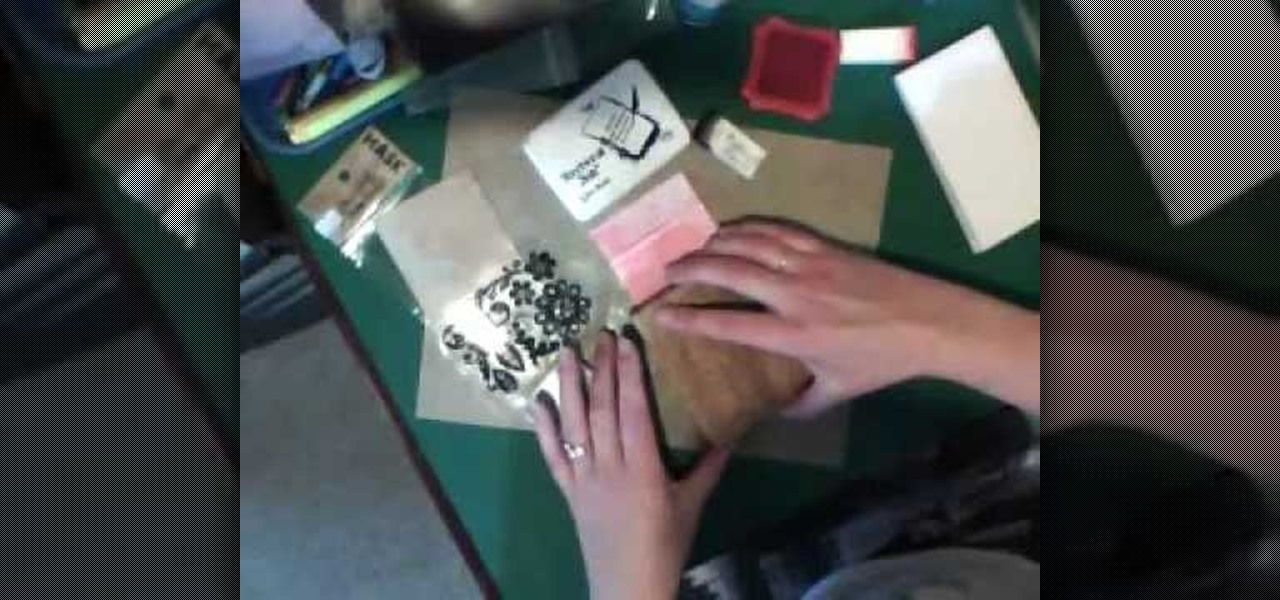
In this Arts & Crafts video tutorial you will learn how to use clear stamps & make a card. You will need acrylic stamps for this project. The products used in the video are from papertrayink.com. The stamps are clear and have a sticky back with which you can attach them to an acrylic base to make the stamp block. Then ink the stamp and stamp it on the paper. Since, it is clear, you can ass and align it properly on the paper. The other cool thing about acrylic stamps is that you can take more ...
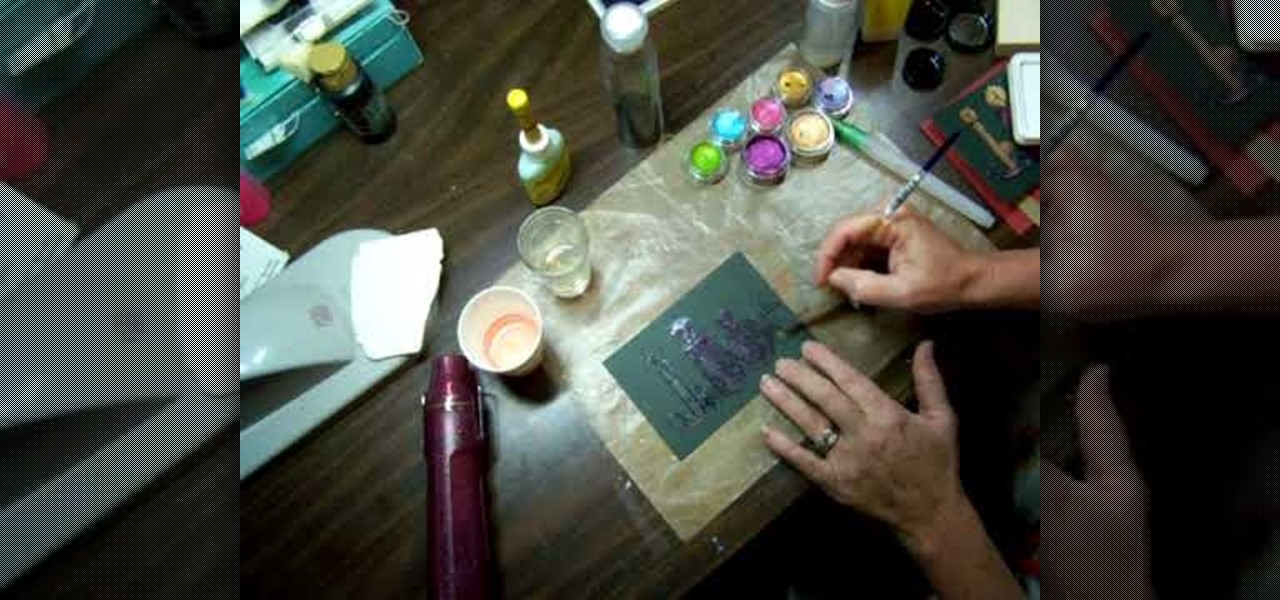
In order to create a watercolor effect with Stampin' Up markers, you will need the following: Stampin' Up markers, Stampin' Up pastels, stamps, color spritzer tool, a water resistant ink, cotton swabs, a blow dryer, aqua painter brush, and watercolor paper.
In this tutorial, we learn how to heat emboss a stamped image for a handmade card. First, use the stamp to grab ink and then lay it down on a piece of card stock. After this, cover it in ink and start to add heat to it. You will see the image start to change color when you do this. It will turn to a metallic sort of color when you add the heat to it. Once you have added heat to the entire thing, you will be finished with the embossed stamp effect! Do this for any type of stamp you want and ha...
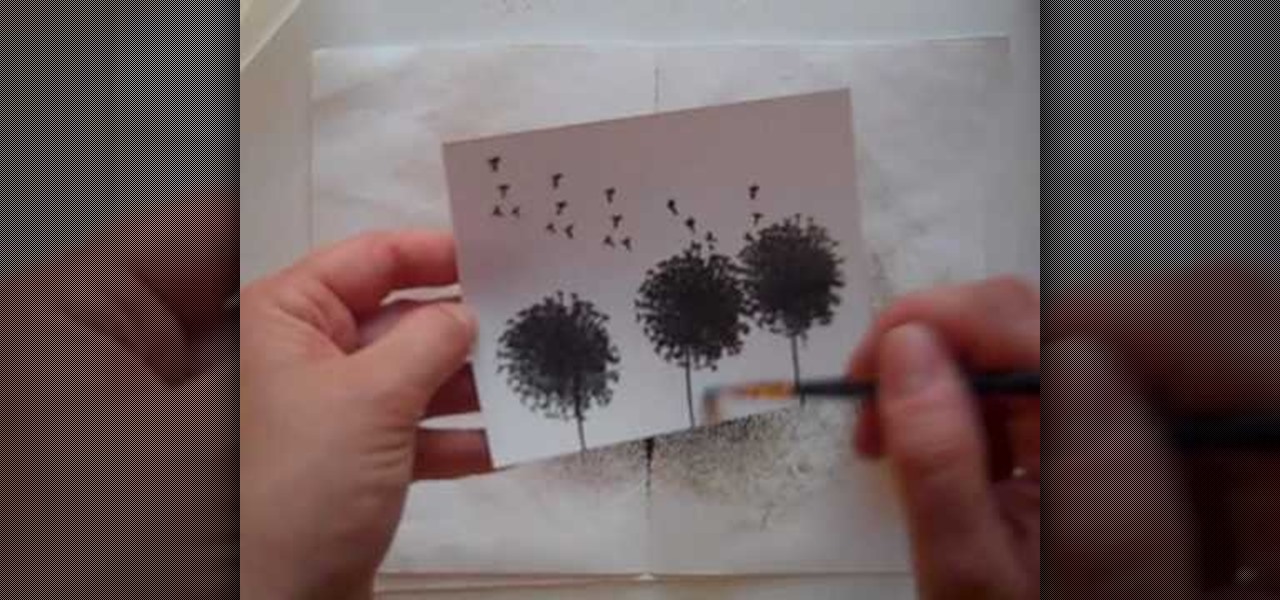
Anyone interested in scrapbooking can learn how to do the Brayer technique with ink refills for cards with this video tutorial. You will need a piece of glossy cardstock as well as stamps. Make sure to keep your fingers off the paper to avoid smudging. You will need the dandelion stamp to stamp the cardstock. Add a stem stamp to your flowers followed by the dandelion fluff along the top of your paper. Then, emboss your stamps with black embossing powder making sure to use a separate piece of ...
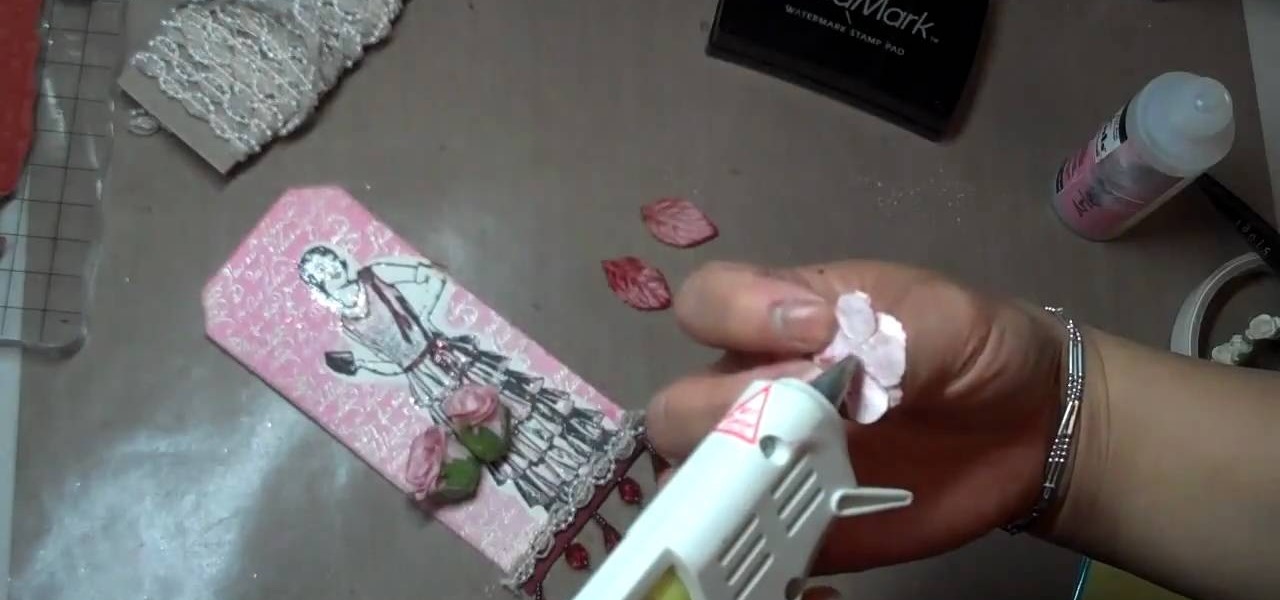
Mybutterflykisses12 shows viewers how to make a vintage lady tag! First, You will need a stampof a vintage lady and some cardstock. Dab your stamp with black ink and stamp it onto card stock that is shaped like a tag. Next, you can stamp on vanilla script above the figure. Next, apply clear embossing powder to the tag and then heat this with a heating gun so it can set. Next, place an opaque stamped image of the same woman over the original on the tag. Cover the stamped image before you apply...
In this Arts & Crafts video tutorial you will learn how to stamp & heat emboss on a card. First you rub in a powder on the paper on which you are going to emboss, because embossing powder is really sticky. Then you select the stamp that you want to emboss and apply sticky transparent ink on the stamp. Make sure you do a through job of this. This will make the embossing powder stick to it. Now stamp the card and press it evenly to ensure that the impression is complete. Then pour embossing pow...
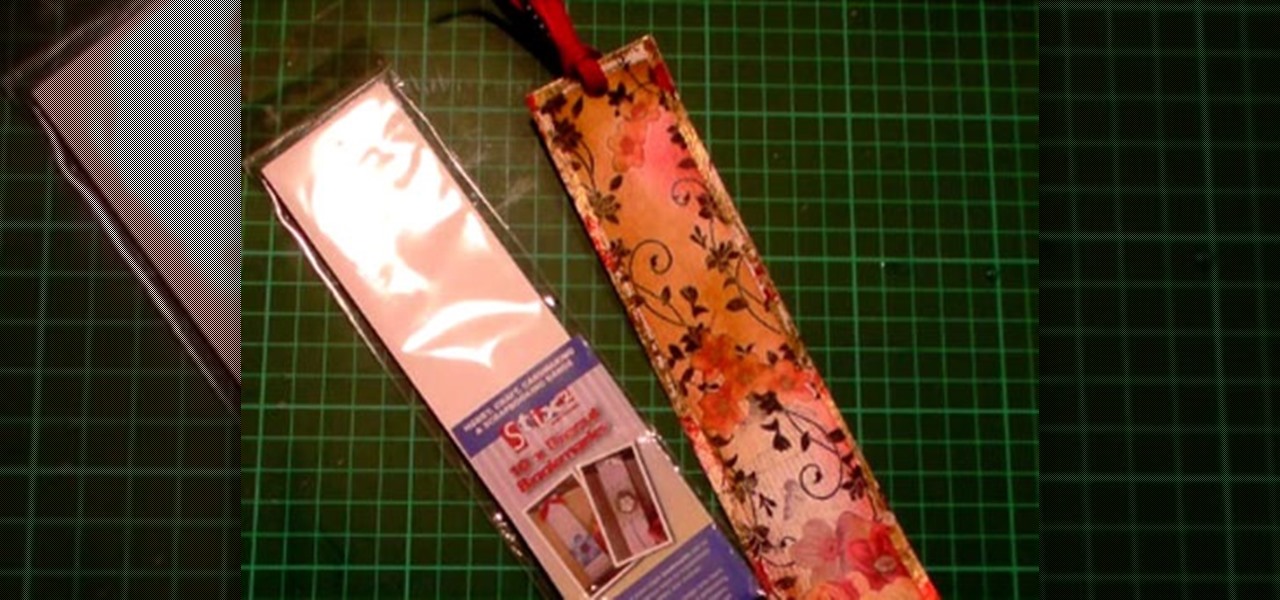
This tutorial shows you how to create something to give as a gift or keep for yourself that can be used and cherished as a handmade keepsake. I show you how I stamp and foil the bookmark, then ink it to give it a real distressed and vintage feel, finishing off with ribbon. Step 1: Items Used
Instead of a tutorial this is really a card idea for what to do with large stamps/images/rub ons/stickers etc.. and a really quick & easy option. Step 1: Items Used
Paper embossing stamps a design into the paper, but doesn't allot for any color. Ink and chalk can both be applied to an embossed design for color and to bring out the shape of the embossing. Ink can add vibrant color, while chalk adds a soft finish to the embossed design. Watch this video tutorial and learn how to use ink and chalk on embossed paper.
This video shows how to utilize 2 step stamps. Learn how to create a layered technique that adds dimension and a professional touch to stamping projects.
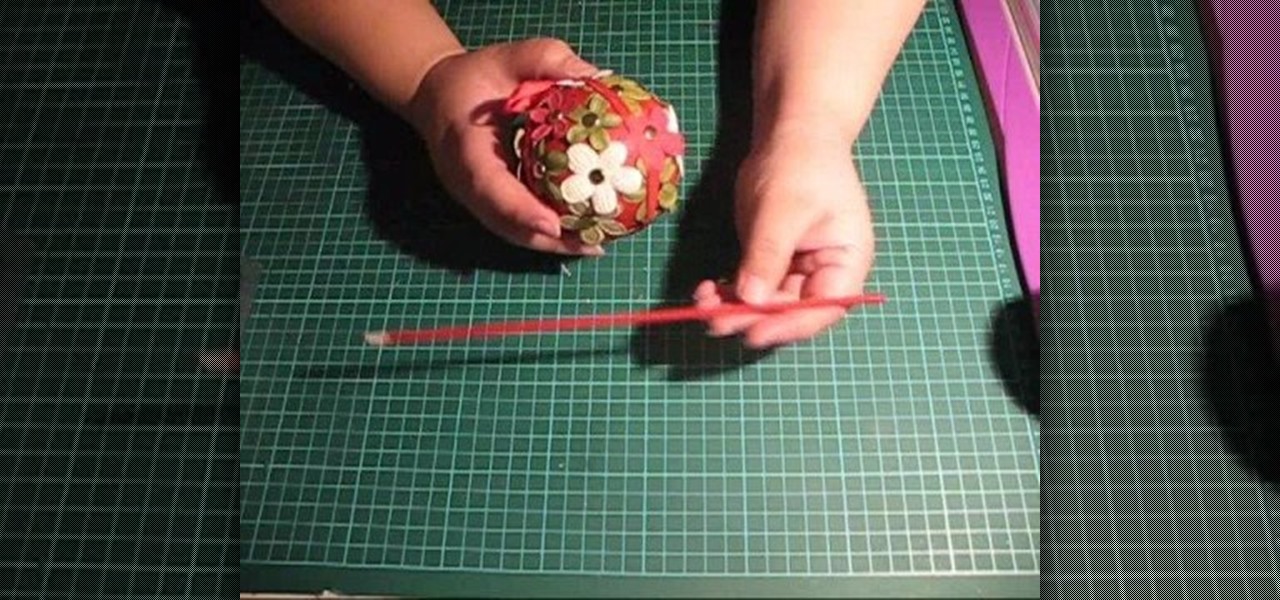
Today you will learn how to make two different Christmas ornaments that you can hang from your Christmas tree. You will need decorative stamps, decorative hole punch, rubber stamp ink pad, styrofoam bowls, fake flowers, acrylic paint, ribbon and clips for hanging. This is a fun project for the holidays that you can do with family and friends. Handmade Christmas ornaments are always better than store bought ornaments.
In order to make a Cuttlebug Smoosh Card, you will need the following materials: card stock (at least 3 different prints or colors), a ruler, distress tool, double sided tape or glue, distress ink, watermark stamp pad, decorative accessories, and scissors.
This video describes how to use distress ink. First we have to take a paper that we want to work on. Next take the distress ink colors. Spread the lighter colors first on the paper. Take the first color and spread it on throughout the paper. Next take the vintage photo and work on the edges with it. Next take the spiced marmalade ink and spread it on the edges again. Next take the paper and apply the paper edges directly to black soot ink pad. Next wait for sometime until it dry. Next take th...
In order to make a Cricut Sunflower card, you will need the following: card stock, Walk in My Garden Cartridge, ribbon, decorative paper, chalk, scissors, 2-sided tape, an ink stamp pad, adhesive, and pop dots.
In this Arts & Crafts video tutorial you will learn how to make a stamped notepad cover. Put the note pad on the edge of a bigger sheet of paper, draw the outline and cut the paper along the lines. The paper should be longer than the notepad. Put the note pad on top of the paper aligned with one end and fold the other end of the paper. Remove the paper and crease it properly along the scoring lines. Depending on the theme you want for the cover, apply the required ink with sponge on the paper...