If eyes are the windows to your soul then eyebrows are the gatekeepers. Keep your peepers' bodyguards in tip top shape by spic and spanning them with a perfect shape and filling them in with brow powder.
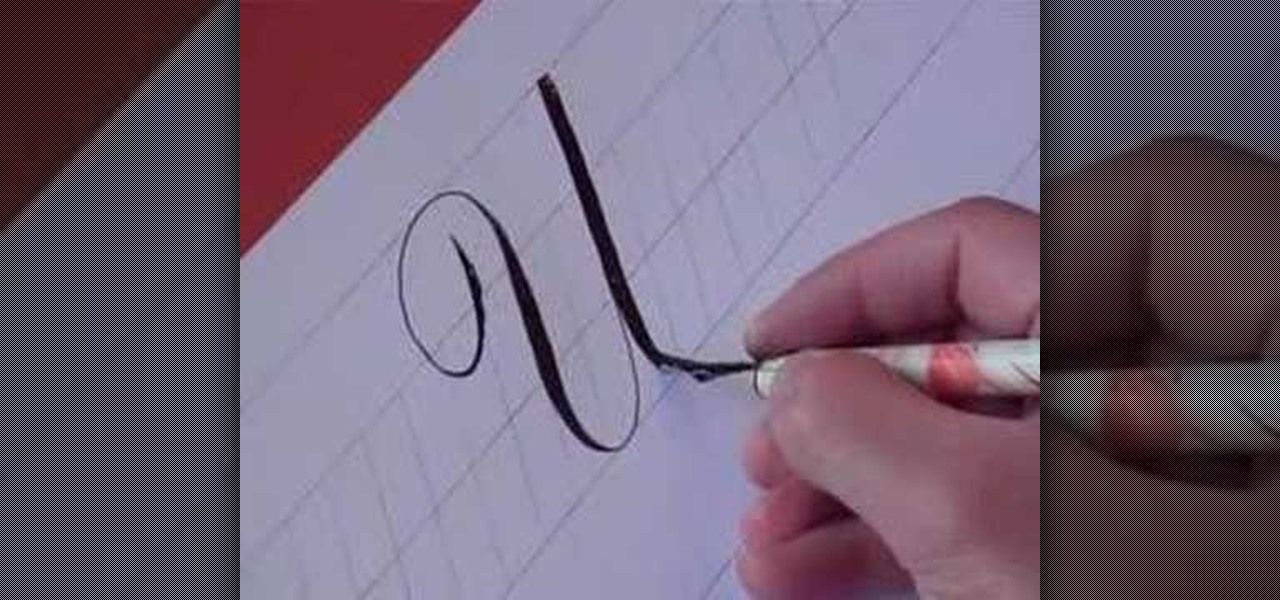
In this video, you will learn how to write the letter U in calligraphy copperplate. Capital U: Take the calligraphy pen with black ink and scaled calligraphy paper. Make a narrow, looped curve to start the "U". After the loop, make a broad brush stroke down. Narrow the brush on the up stroke and broaden again on the down stroke. Narrow the brush on the final upstroke.
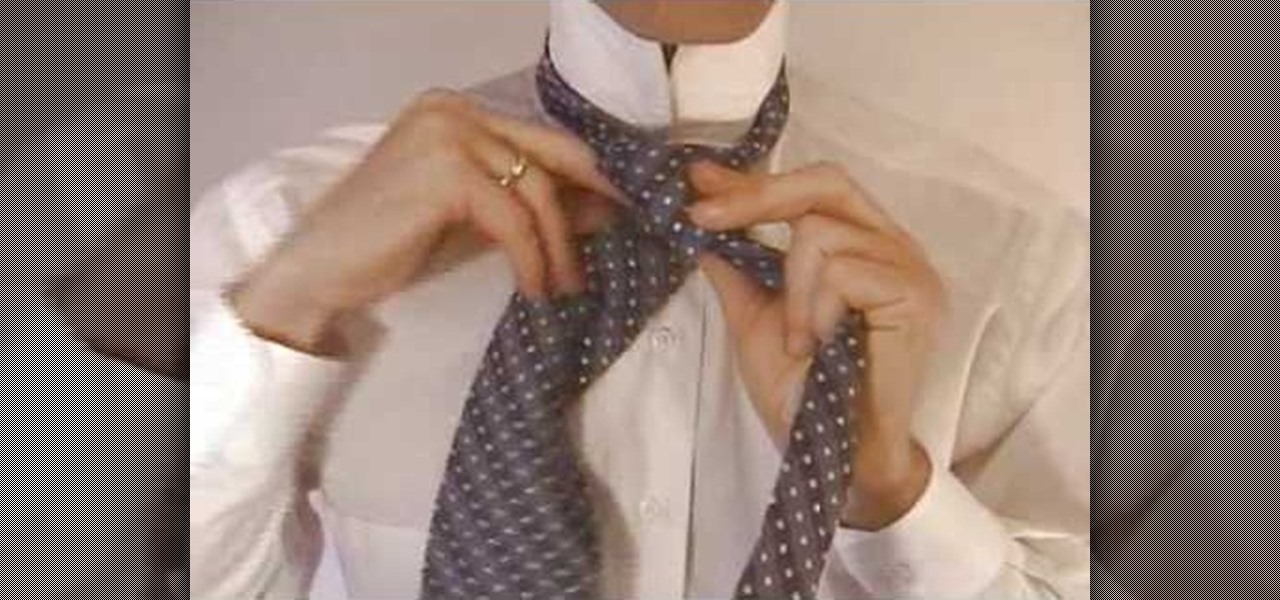
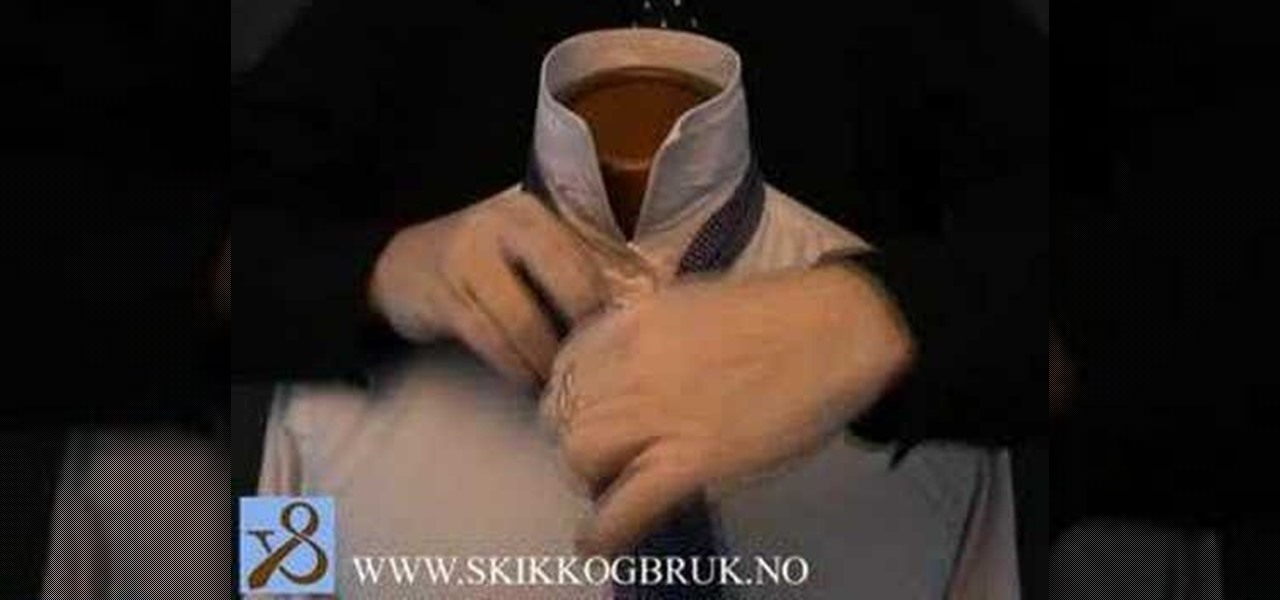
This video shows expert instructors tying a tie in the full Windsor knot. First you cross the wide end of the tie over the narrow end. After that you put the wide end up through the loop (behind the narrow end) and then you pull it through the tie. Next you cross the wide end behind the narrow end of the tie and then pull it back over the loop. Then you cross the wide end in front of the narrow end, go up the loop around your neck, and then down through the loop in the tie. You have now tied ...
This video demonstrates how to tie a double Windsor knot, which is the neatest and most uniform looking tie knot. This knot can be tied in a few steps. First flip the shirt collar up and drape the tie around the neck as shown. Make sure to adjust the tie length so that the narrow end is just above the navel ring. Cross the wide end over the narrow end, pull the wide end back up the loop you just made, wrap the wide end behind the narrow end and back through the neck loop as shown. Pull both e...

Linda shows us how to easily tie a tie for a woman. To tie a tie: Start with the wide end of your necktie on the right. make sure that it is longer than the one with narrow end. Then cross the wide end over the narrow end. Turn the wide end back underneath the narrow end. Do steps 2 and 3 thrice. Then, pull the wide end up and through the loop around your neck. Hold the front of the knot loosely with your index finger and bring the wide end down through the front loop. Lastly, remove your fin...
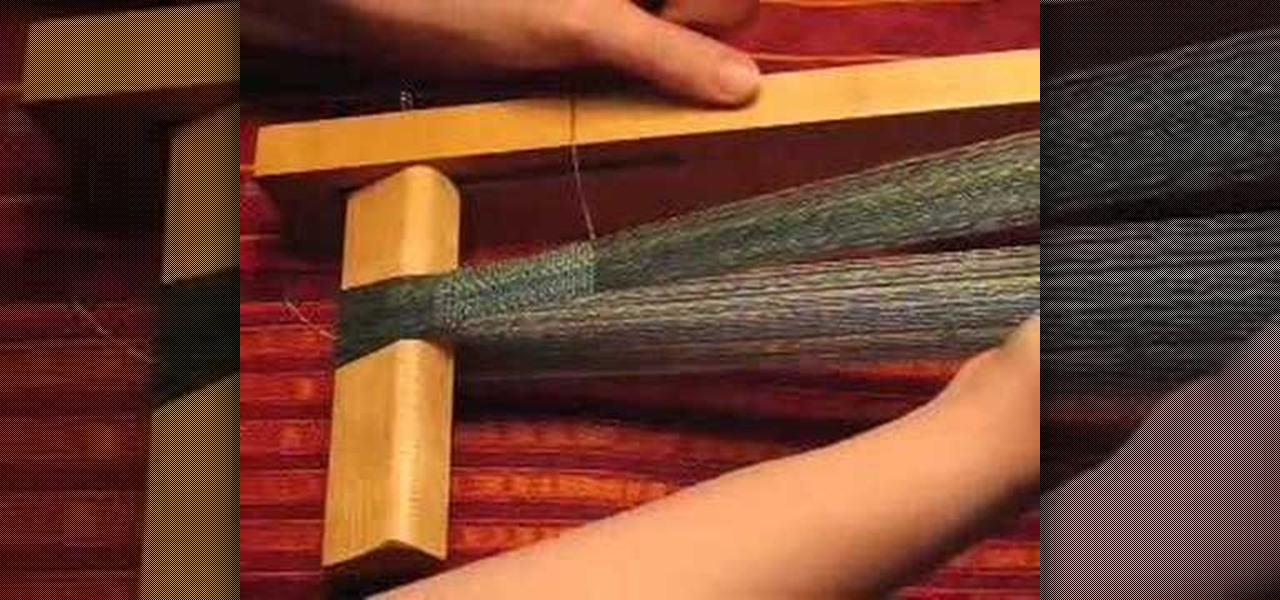
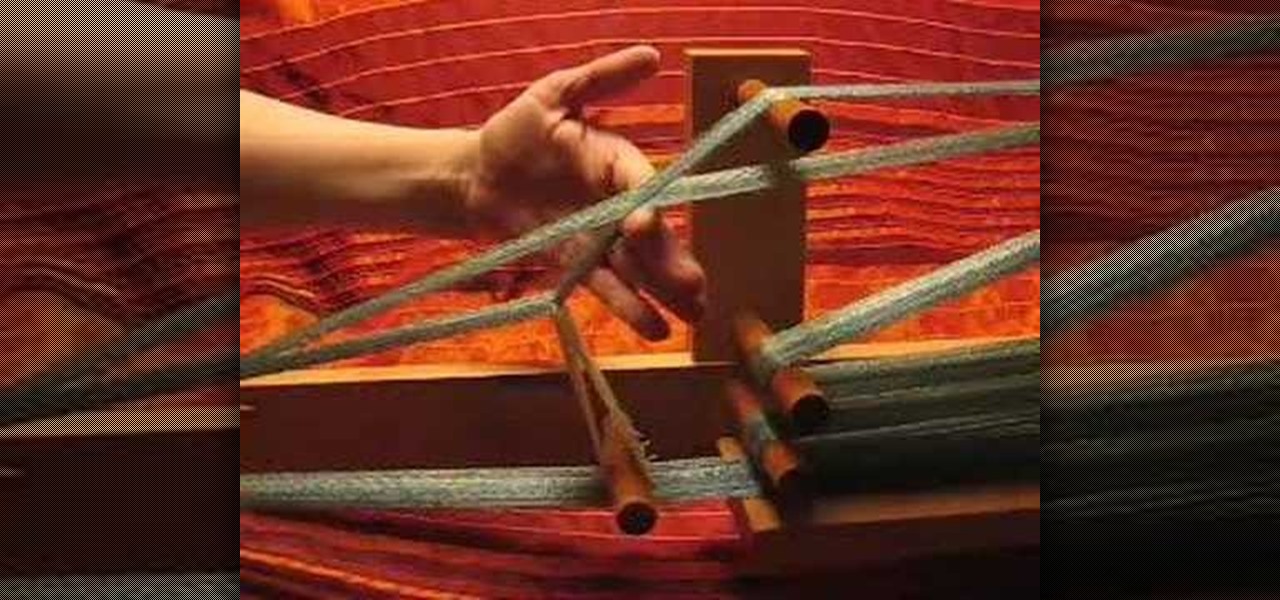
So you're weaving a narrow band. How do you keep the edges nice and straight? Here's a technique that combines weft insertion, beat, and selvedge control. It's useful for inkle weaving, tabletweaving, rigid heddle weaving, backstrap weaving... or even weaving small bands on a big loom. Try it!

The "Plattsburgh" knot is named after the small town in up-state New York where Thomas Fink, inventor of the knot and co-author of the book "The 85 ways to tie a tie", is born. In contrast to its narrow close relative the "St. Andrew", the "Plattsburgh" produces a symmetric knot characterized by a broad cone with a narrow opening.
Simon Leach shows us how to turn a narrow footed bowl.
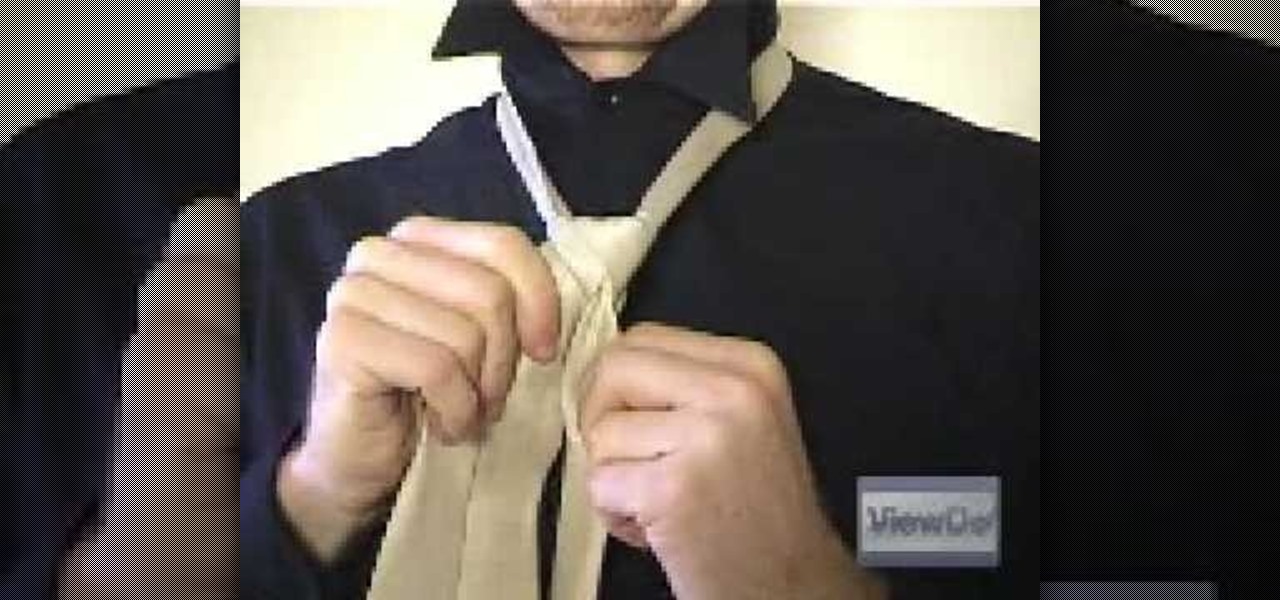
In this tutorial, we learn how to tie a necktie on someone else. First, pop the collar and drape the tie around the neck with the wide end on your right. Then, tug the wide end down, so it hangs 12 inches below the narrow end. After this, cross the wide end over the narrow end, and bring it up through the neck loop and down the front. Swing the wide end to the right, pass it under the narrow end, then cross it back over the right. After this, push it up through the neck hole. Now, tuck it thr...
In this video, we learn how to tie a tie in ten easy steps. First, you will need to put the tie on and put the wide end in your right hand and the thin end in your left hand. After this, place the wide end over the top of the narrow, then put the wide end back over top the narrow end. Next, put the wide end through the loop made with the tie and your neck. After this, put the wide side through the front loop of the knot and pull the wide end down tightly. After this, hold the knot and pull th...
In this video tutorial, viewers learn how to tie a four-in-hand knot for a tie. Begin by putting the tie around your neck with the wide end on your right and narrow end on your left. Bring the wide end over the narrow end ad wrap it around. Wrap it around once more and bring it up through the loop at the neck. Now slide the wide end through the loop underneath it. Then hold the knot and pull the narrow end to tighten the tie. This video will benefit those viewers who are preparing for a forma...
In this video, we learn how to do triceps presses for big arms. If you want big arms, you need to work on triceps more than biceps. You will take a barbell and leave your elbows motionless. You will lay down and push up with the barbell, holding it with a narrow grip. Make sure the elbows are in the same place as the hands. Another variation of this is to push the elbows forward 45 degrees so the bar comes down to the chin. Make sure your elbow stay in and your hands are narrow. If the elbows...
This is an espresso tutorial shot on the Canon 5D Mark II.
Here they are used to find anime episodes and movies, but you can use advanced Google commands to perform more dynamic searches on Youtube. Learn how to narrow or expand your searches and search for multiple items simultaneously.
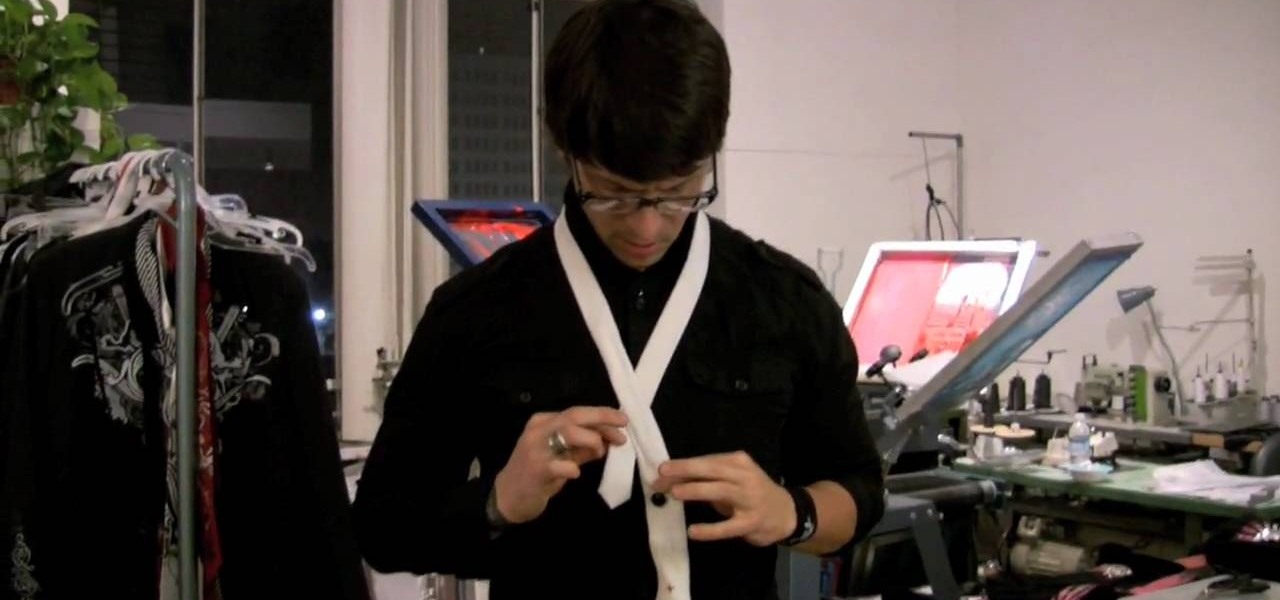
Windsor knots are among the most well-known type of knot. They look wonderful and they just seem to radiate talent and professionalism. However, the process is painless and takes only minutes to learn. You should watch this if you want to learn how to make Windsor knot. 1. Drape the tie over your shoulders (the same way that you would an Honors cords at a graduation) with the wide end hanging down roughly a foot over your right shoulder. 2. Take the wide end of the tie and cross it over the n...
In this video tutorial, viewers learn how to tie a necktie. Begin by placing the tie around your neck, with the wider end 2 times lower than the narrow end. Then cross the wider end over and under the narrow end. Now bring the wide end through the V gap between the neck and . Wrap it once more over and under. This time, create a small loop. Bring the tie through the V gap and through the loop. Finish by tighten and adjusting the tie. This video will benefit those viewers who are attending a s...
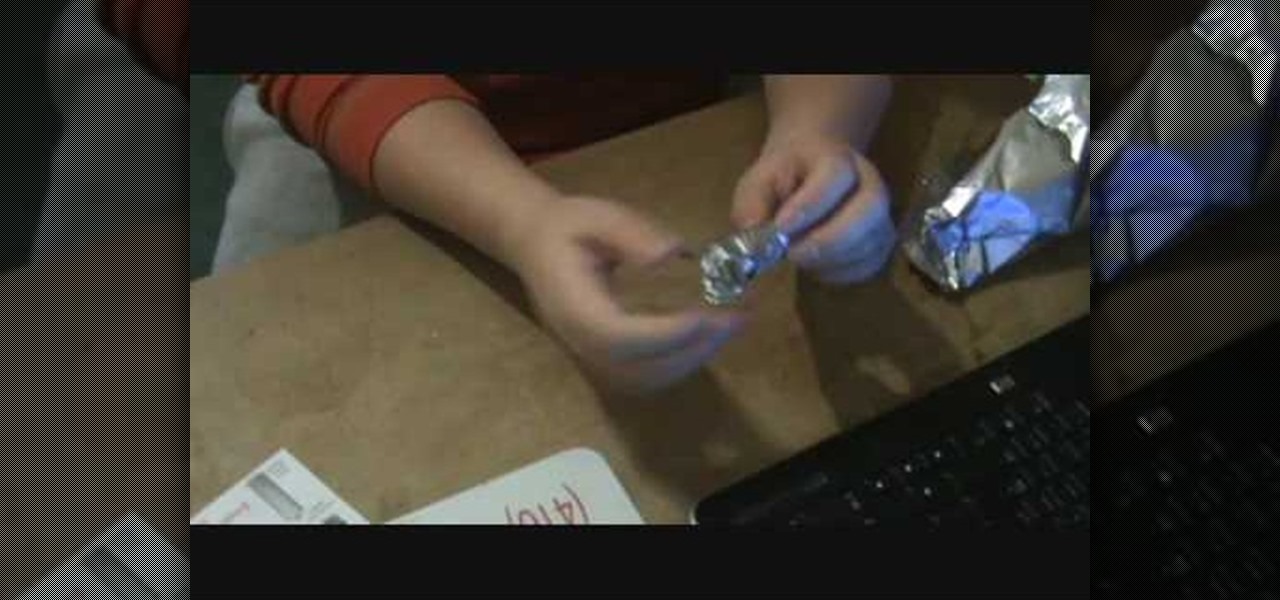
This video teaches the secret of making a tinfoil bullet for a paper gun that shoots far. An excellent summary is given below. First start by rolling the tinfoil leaving one side wide and the other side narrow. After rolling it up tear a little piece from the narrow end of the tinfoil. Open it up, insert your finger inside and adjust till it becomes cone shaped. Now put that in your gun and shoot, it will go far as expected. Add some weight if you want to make it go longer. Follow the above t...
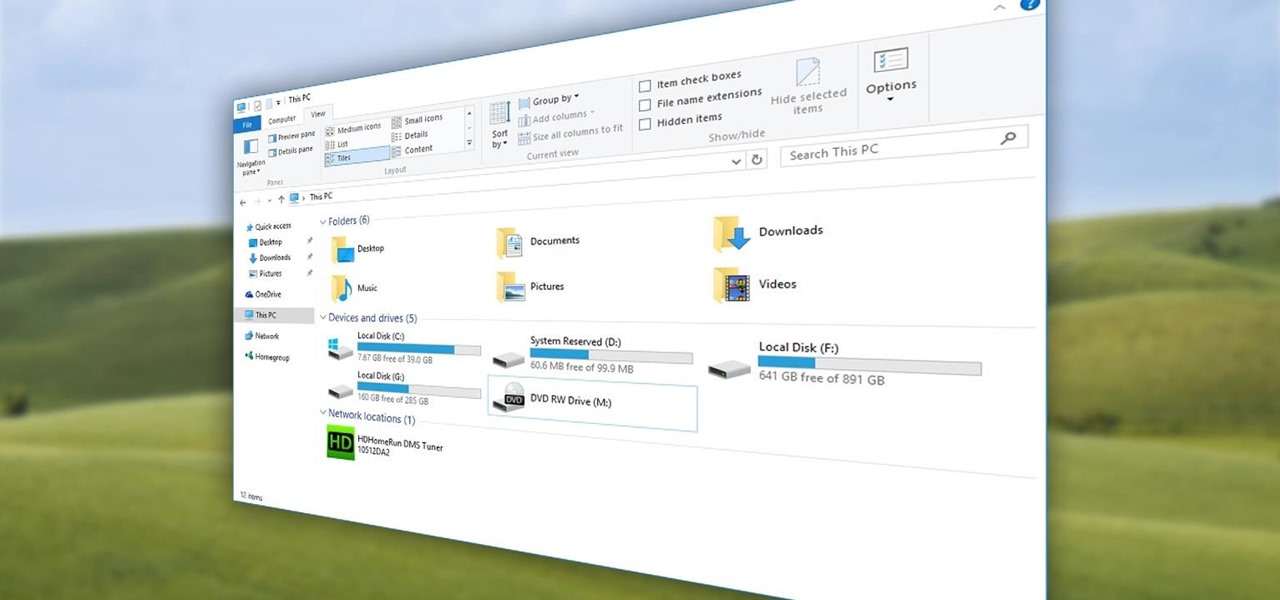
Quite a few things have changed with Windows 10, but one of the more central features that has received a makeover is the old Windows Explorer program, which has been renamed to File Explorer in this version.
Welcome back, my hacker noviates! In a recent post, I introduced you to Shodan, the world's most dangerous search engine. Shodan crawls the globe from IP to IP address, attempting to pull the banners of each web-enabled device and server it finds.
In this video tutorial, viewers learn how to dress to flatter their body shape. The female body has three key physical inflection points. These points are: the chest, waist and hips. There are four basic body types. These body types are: apple, pear, hourglass and banana. The apple shape has a full face, broader shoulders, fuller breasts, undefined waist, narrow hips, flat rear ends ans shapely legs. The pear shape has slender neck, narrow shoulders, narrow back, small or medium bust, defined...
Add an old-fashioned touch to this year’s Christmas tree by decorating it with popcorn-and-cranberry garlands.
The riding style demonstrated in this how-to video is very common to take, is legal, and encouraged. If the road is too narrow or there is too much traffic, it might be safer to ride single file to make room for other vehicles. Watch this video cycling tutorial and learn how to ride in a group of bicycles.
This intro to inkle weaving focusses on the the inkle loom. The weaving area is one one end, in between the weaver and the heddles. For centuries, inkle weavers have used looms similar to this to produce narrow tapes, ribbons and bands. Inkle looms are thought to have their origins in Britain.
This tutorial gives you a basic overview of how to build a Parabolic WiFi Booster that will increase you router's range as well as narrow the signal path for added security.
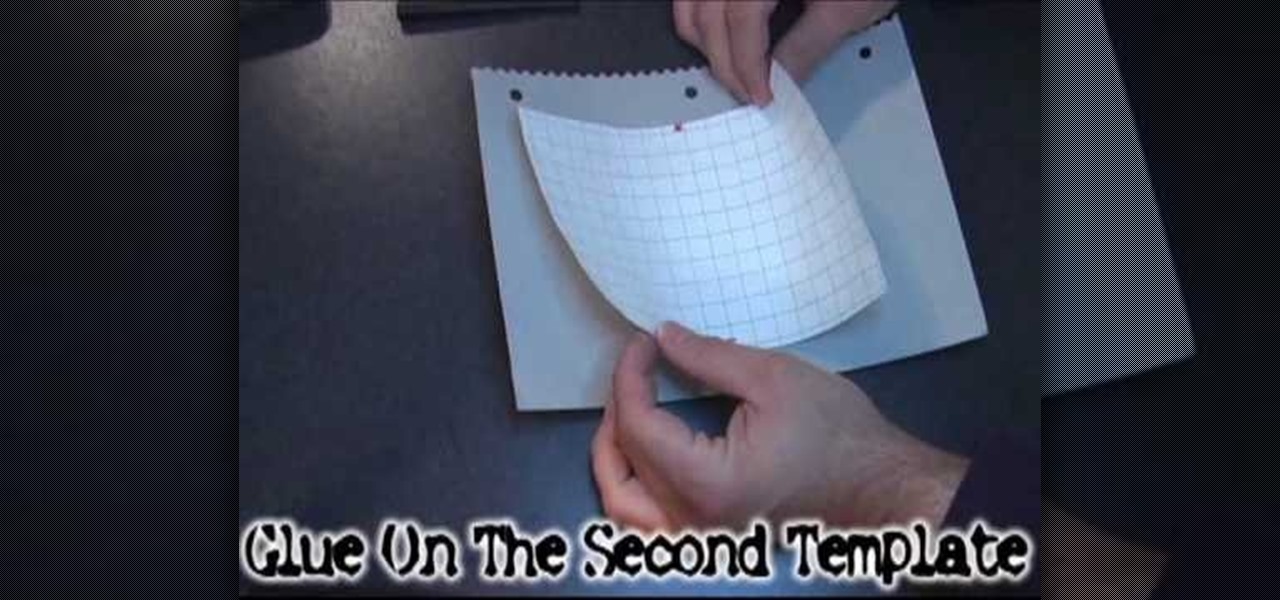
Not enough storage space? No problem! In this tutorial, learn how to recycle an old cereal box into a very cool magazine holder. This video will take you step by step and soon you will be on your way to being both more organized and more eco-friendly!
Okay, so just saying we're going to recreate the bra from Lady Gaga's music video for "Telephone" is a little too, er, general, given that the Queen of Shock wears a bunch of different outfits - and various forms of negligee - in the video.
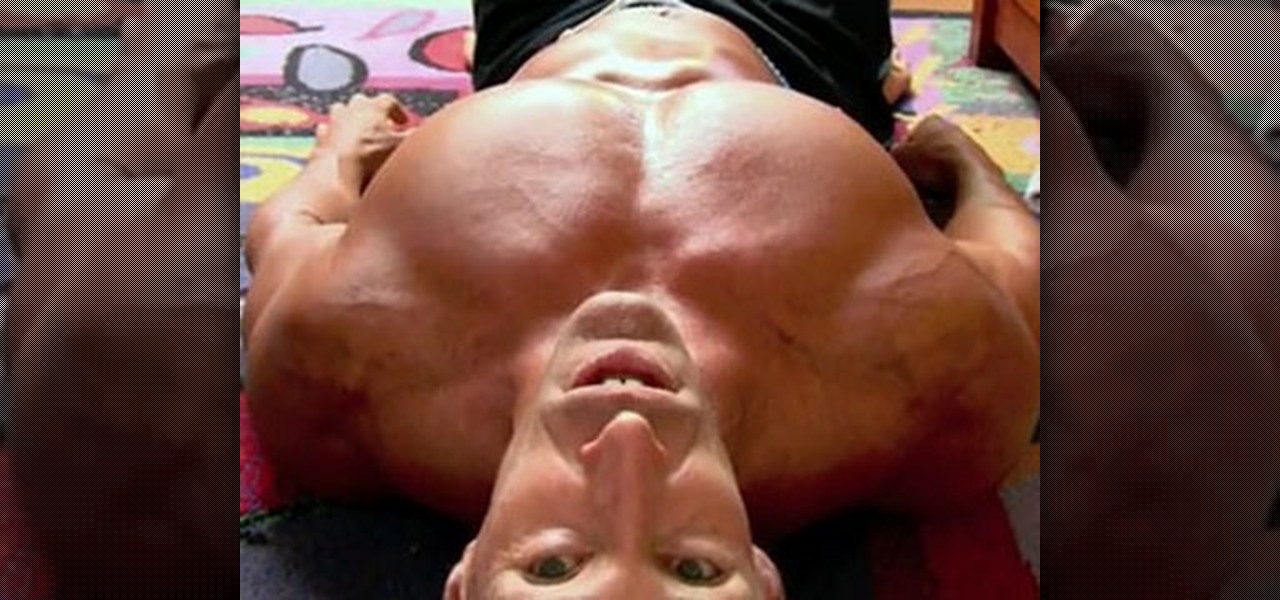
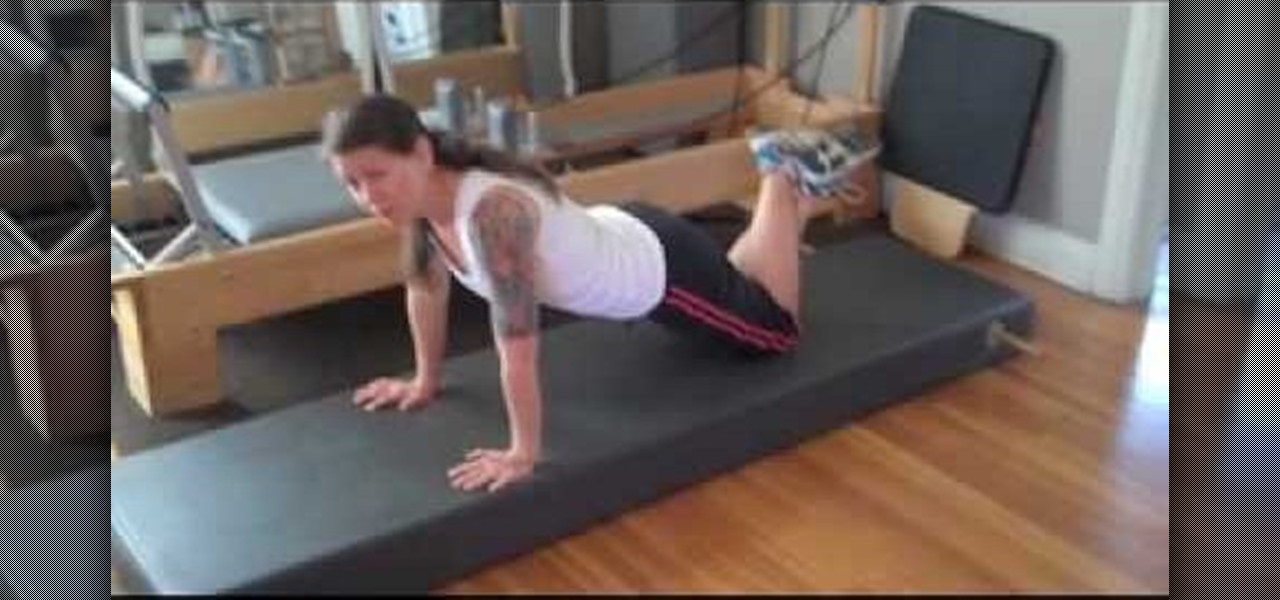
In this video tutorial, viewers learn how to get perky pecs and get rid of "side boobs". This video lists several exercises for viewers to do. Users will need a pair of dumbbells for some of these exercises. The exercises in this are: chest fly, dumbbell press and a variation of push-ups (narrow, wide, knees). Do 3 sets of 10 repetitions for each of these exercises. This video also provides 2 isometric exercises. The first exercises to press the hands together. The second exercises is the sid...
First of all you have to draw the two big eyes and a curved line supporting them. Now draw and darken the two eyeballs. Draw the top portion of the head and make some curves of hair at the top. Draw the round cheeks on both sides. Now you have to draw the round beak and the mouth as shown. Then draw the narrow neck and then draw two lines around it. Draw two nostrils over the beak and then also draw the two eyebrows. Now color the drawing as shown. Fill in black color in the face and neck. Le...
This is a video guide for measuring your foot and calf size correctly. This is important in order to properly fit shoes. It's a video intended for athletes and individuals sensitive to their foot and leg health. This is brought to you by a retailer that fits wide or narrow feet with proper shoes. You'll need a wall and a measurement guide. Measure for both feet and sometimes you have two different sized feet.
Build a track dolly for about £80. This is great for getting professional dolly shots when making your own films.
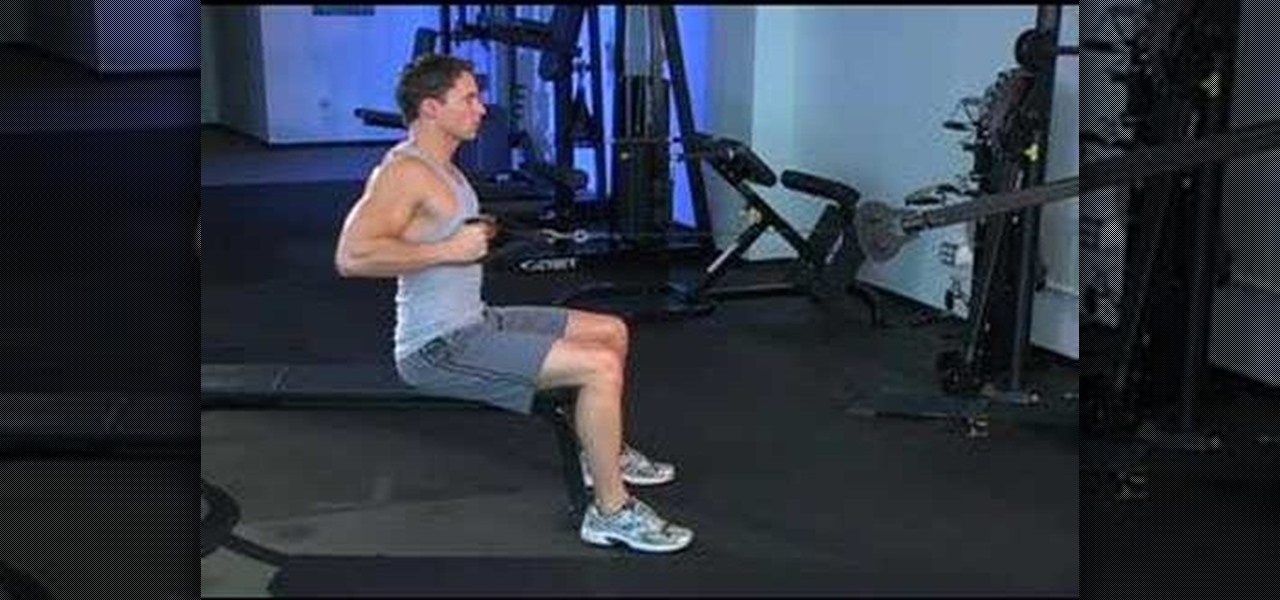
Learn how to do narrow grip seated rows. Presented by Real Jock Gay Fitness Health & Life. Benefits
Pixel Perfect is the "perfect" show to help you with your Photoshop skills. Be amazed and learn as master digital artist Bert Monroy takes a stylus and a digital pad and treats it as Monet and Picasso do with oil and canvas. Learn the tips and tricks you need to whip those digital pictures into shape with Adobe Photoshop and Illustrator. In this episode, Ben shows you how to apply light sources to 3D projects in Photoshop.
Shopping for a new phone is an entire ordeal. Even when you've narrowed it down to a few choices, comparing the finalists can be difficult, because specs and prices are scattered around on various different manufacturer websites, and if you're trying to do this on your current phone, most of these websites aren't optimized for mobile viewing.
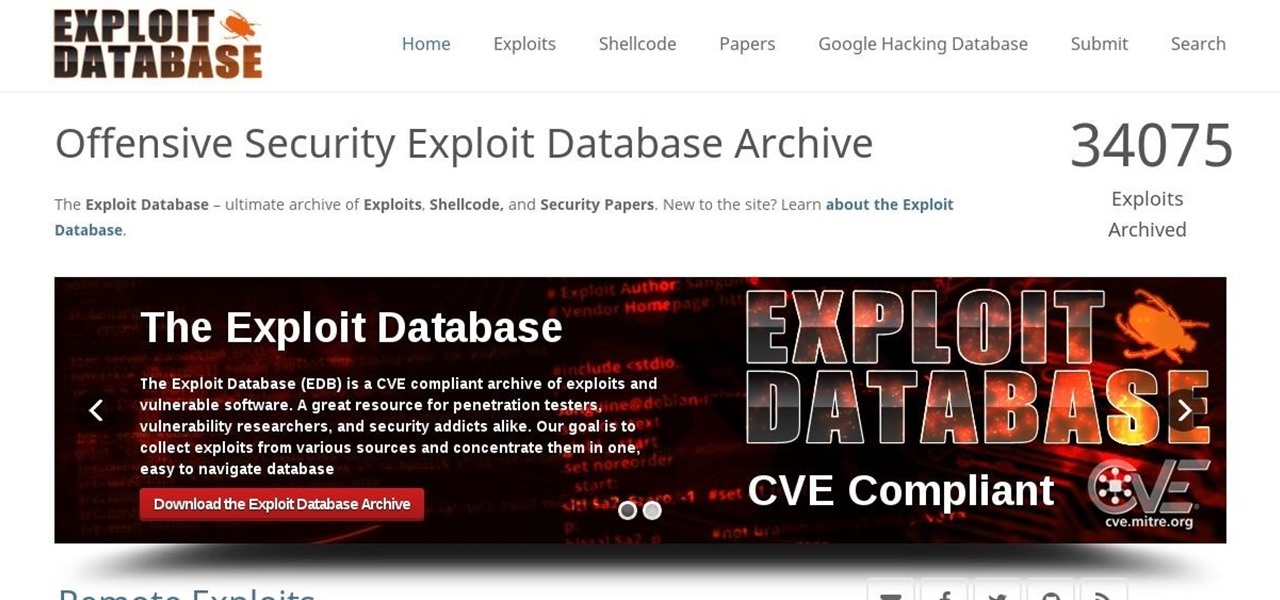
Hello everyone! Hope everyone having good day!! I wanted to share an easy way to locate an appropriate exploit from the EDB, get it compiled, and run it all from inside the terminal.
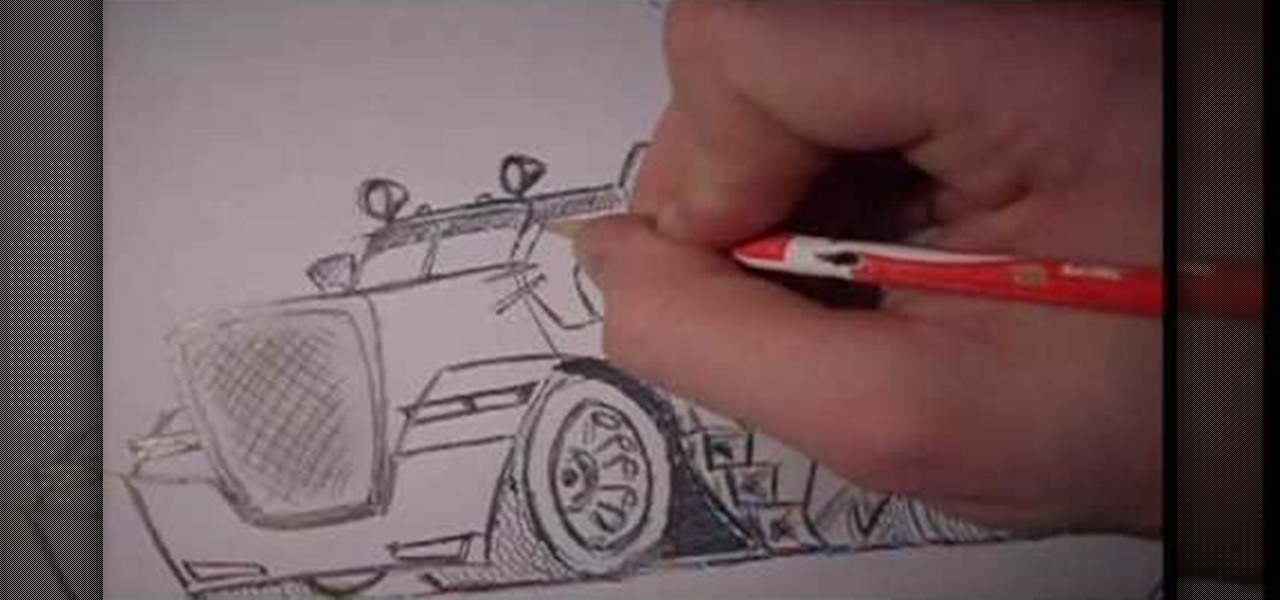
This video demonstrates how to draw a caricature of a truck. Begin with a rectangular shape that is slightly bigger at the top and has rounded corners. This will be the grill. Create an inside border. Below the grill, draw a front bumper. At the top corner of the grill draw a rectangle that is divided into two halves and shade the top section of each half. This is the windshield. Draw hatch marks in the center section of the grill. Above either side of the bumper add narrow divided rectangles...
Cross processing is a Photoshop version of slide processing. The result would be you get all these weird color shifts. For reasons best known to people who run the fashion magazines, this look became very popular in the 1990s. Start by adding in a curves layer. Add a new adjustment layer for curves. If you've never used curves before it is recommended that you take a curves tutorial first as for this effect we will need to adjust individual color channels. It is not difficult but if you don't...
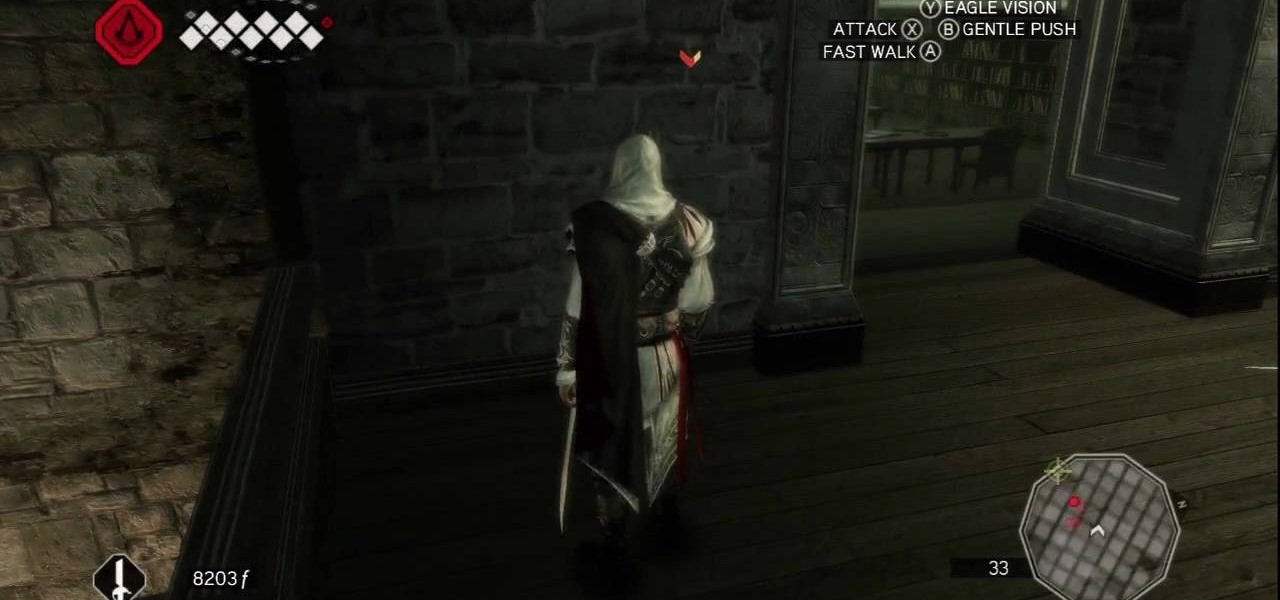
Torre Grossa's Secret: The entrance is on ground level, and it's not hard to find. Look for a vaguely-narrow arched hallway just off the street and look for the entrance on the wall to the right.
Welcome back, hacker novitiates! In the next few hacks, we will be breaking into Windows servers. In this installment, we will learn to add ourselves as a user to a Windows 2003 server. Of course, when we have added ourselves as a user, we can come back any time and simply log into our account without having to hack into the system and risk detection.
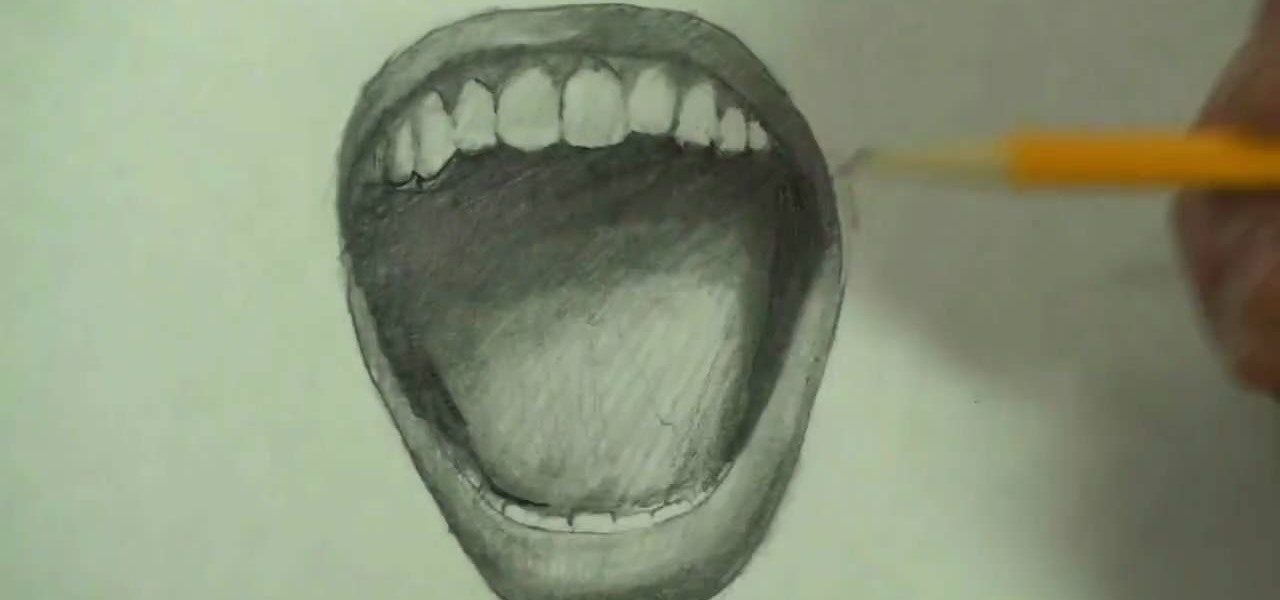
Watch this tutorial to learn how to draw a screaming angry mouth. Make sure to pause the video after each step and look at the screen every few seconds while you are drawing.
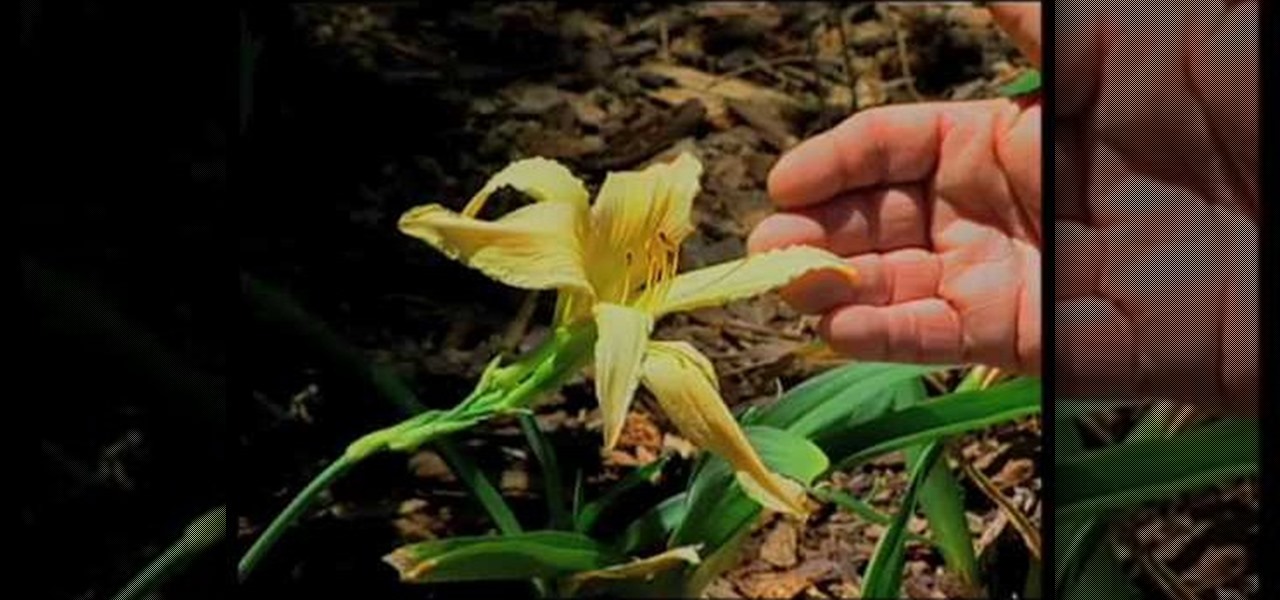
There are many different types of daylilies, and this video shows the different varieties and how to care for them. First they show a variety called Double Cutie and explain that you need to take off the wilted blossoms to get more blooms the following year. If the leaves are striped, it means there is an iron deficiency in the soil, and there are products you can get for that. There is a variety of daylily that is almost white, called Tuscawilla Tranquility. There are no daylilies that are p...