How To Make Anything demonstrates how to make fake boogers with rubber cement. Find rubber cement in the school supply aisle of any store. First, open the rubber cement and brush it onto a small non-stick surface. Allow the rubber cement to dry. You can blow on it to dry it. Rub off the almost-dried rubber cement from the surface and onto your finger. The rubber cement balls will retain some of its sticky properties to resemble a booger. Remember, don't eat the fake boogers but you can use th...
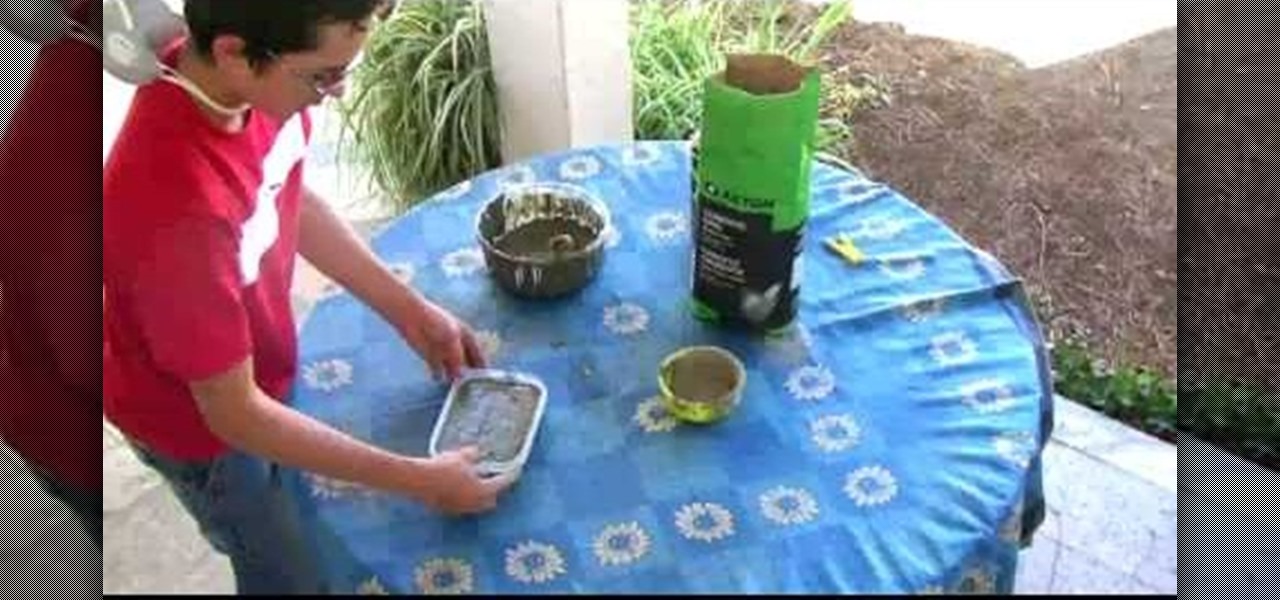
In this Home & Garden video tutorial you will learn how to make a concrete obstacle. Materials required are cement, 1 big receptacle, 1 small plastic receptacle, a cup for measuring, a spatula, 1 mold, WD40, paper towels and protection mask. Wear the mask, spray WD40 on the small receptacle and the mold, and wipe off with paper towel. Pour two cups of cement in the big receptacle, add one cup of water and mix slowly with the spatula. You can add more cement, water and make it to a watery cons...
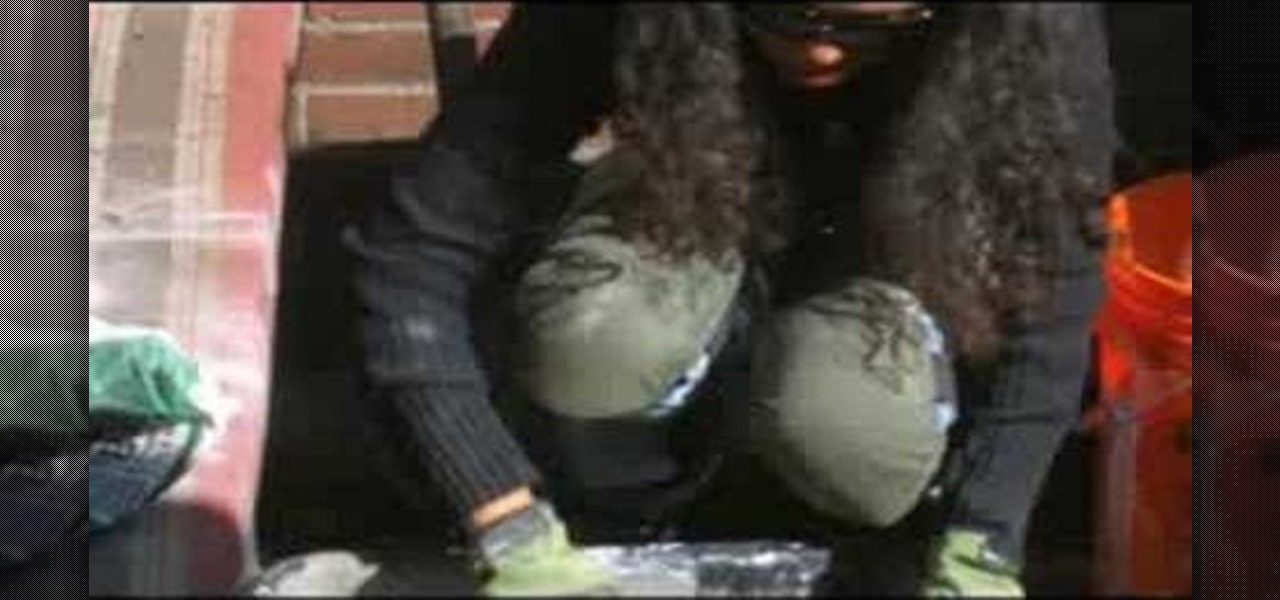
To cement the stones around your pond, start by mixing up half of an 80 pound bag of Quick Crete. Pour the 40 pounds of concrete into a metal container, add water and mix it together. Add just enough water so that it is not too runny. Put down a base of cement around the pond where you will lay the stones. Lay the stones in the cement, then put some cement in between the stones, and smooth it out.
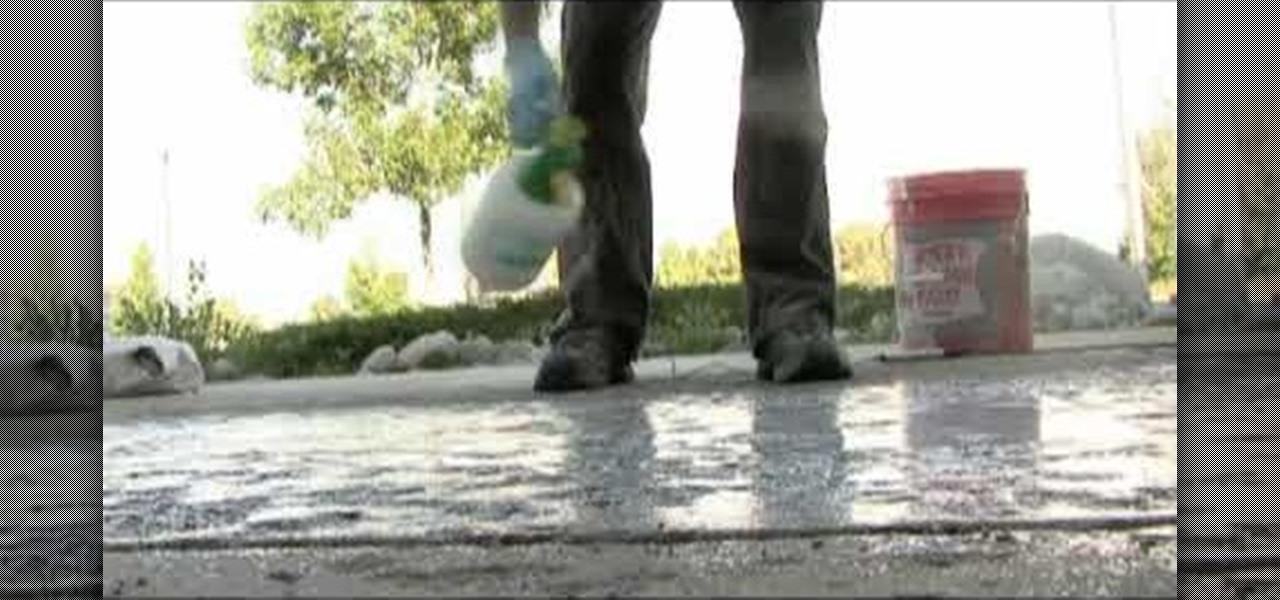
This video illustrates us how to repair spalled concrete. Here are the following steps:Step 1: First of all take cement and sand'Step 2: Mix it in the ratio 1:3 that is cement one part and sand three partsStep 3: Now add water and mix the mixture well.Step 4 : Now apply this mixture for filling the spalled concrete.Step 5: Polyurea can also be used to fill the crackStep 6: Let the repair work done dry.Step 7: After around 28 days apply a water proof primer on the repaired work to prevent furt...
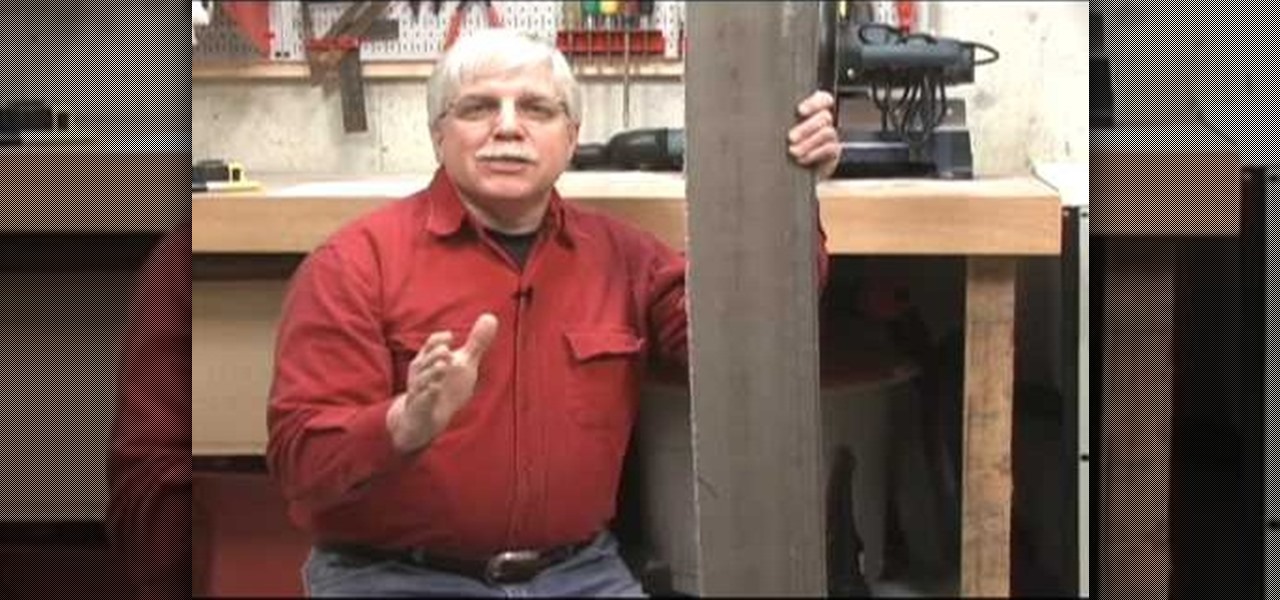
Tim Carter, of Ask the Builder, demonstrates a simple way to cut cement backer board using an inexpensive carbide-tipped tool, much like cutting drywall. This is a great home repair project tip for your house.
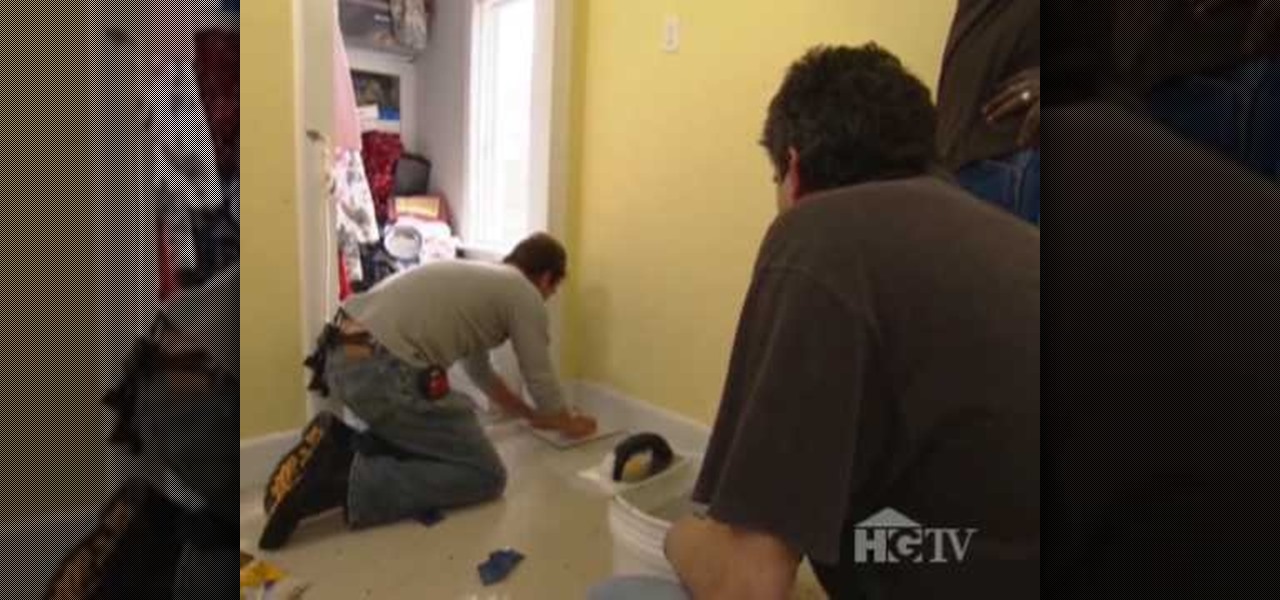
If you want to change the look of a bathroom, giving yourself a brand new tile floor is a quick and fun way to go about it. It's also easy — that is, provided you can assemble all the necessary tools and materials: You'll need grout, cement board, cement board screws and tile as well as a wet tile saw, a mastic trowl, a grout trowl, a tape measurer, spacers, a hammer, a matte knife, a jigsaw, a cordless drill, a tile scraper, a bucket and a mixer. For complete, step-by-step instructions on re...

Whether you want to pave your patio or give someone cement shoes, here's how to mix concrete like an expert. Learn how to mix concrete by hand with this instructional video.
No one should be intimidated by jackhammer. This Home & Garden how to video demonstrates how to operate and use a jackhammer to break up cement or stone. Once you get all the tips and tricks for using a jack hammer you will be able to remodel any part of your home.
Tim Carter of AsktheBuilder.com demonstrates how to get a leak free fit for plumbing when using PVC pipe and fittings with primer and PVC cement.
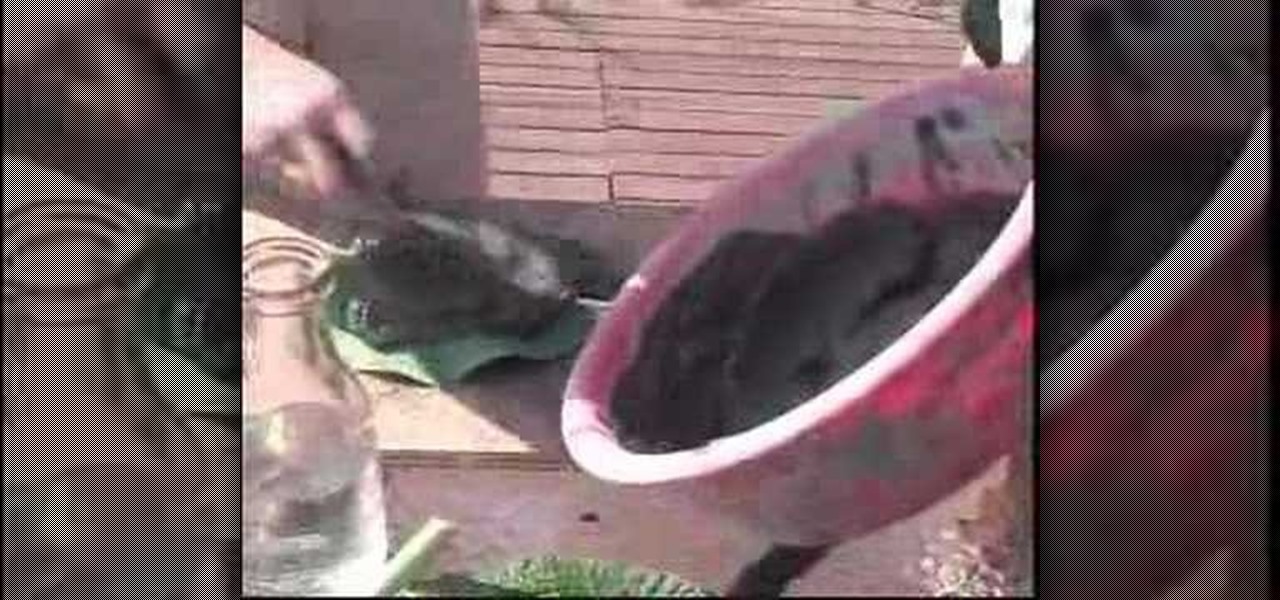
Making your own garden art is easy. We have a way to preserve your best garden leaves in cement.
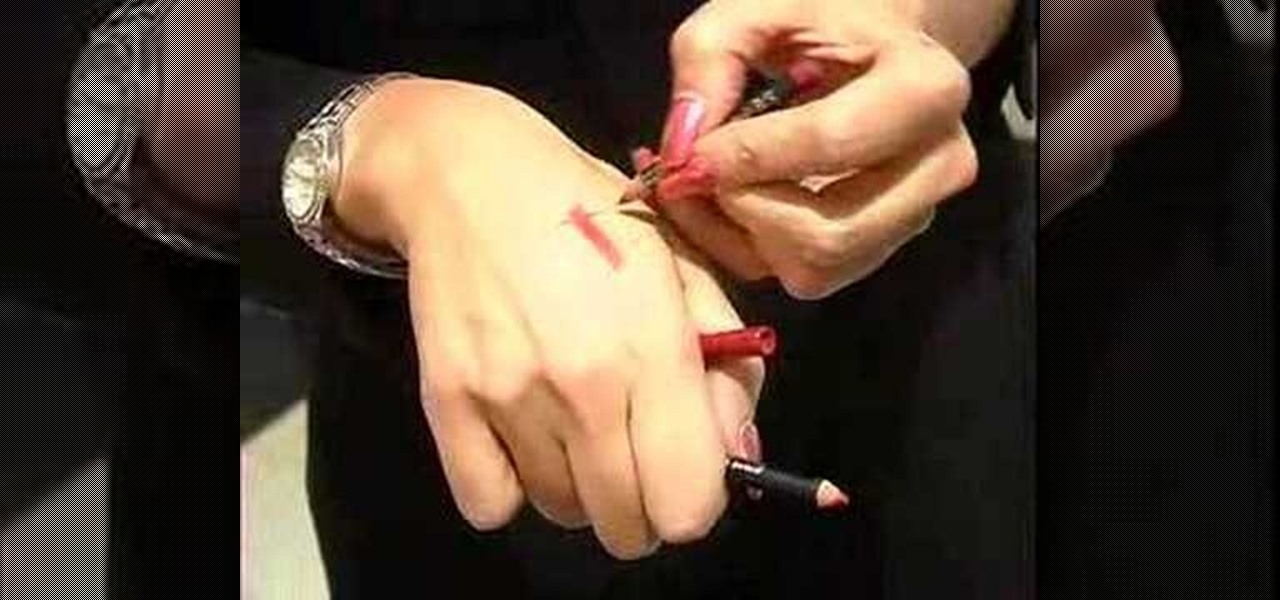
We're experiencing a Lipstick Renaissance. Rich, defined lips ruled the fall runways, cementing the return to old school glamour and the ladylike lipstick that comes with it. Here, Sephora Pro Beauty Team member Vanessa Dunn helps you sort through the new crop of creamies. Learn a trick for finding your undertone, instantly!
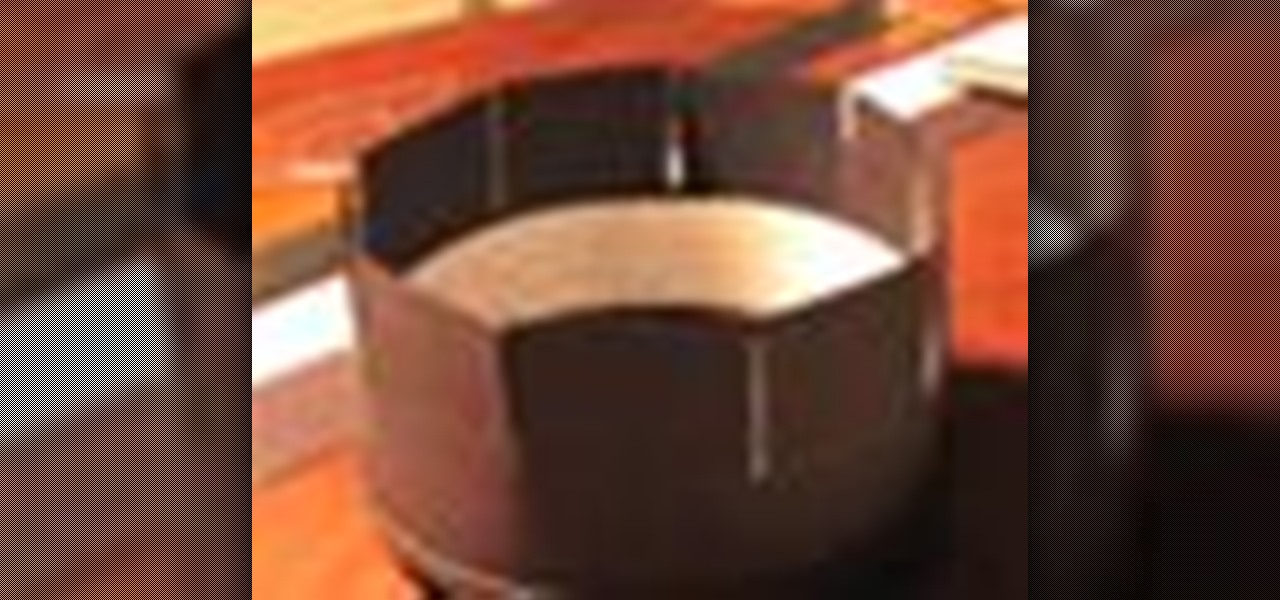
For a fun novelty project, try making a zoetrope at home. * A plastic coffee can lid
The Concrete Jungle guide to making concrete moulds and ornaments as a hobby or business is presented here. This is a short excerpt of a longer film. Mixing the concrete is presented. It is important to get the correct consistency to make the ornament successfully. Other features include the ingredients used and the filling of the latex mould and removing the mould. The mixing ratio for the cement is 4 parts gravel (6-10mm), 2 parts coarse sand, 1 part cement and water. The consistency should...
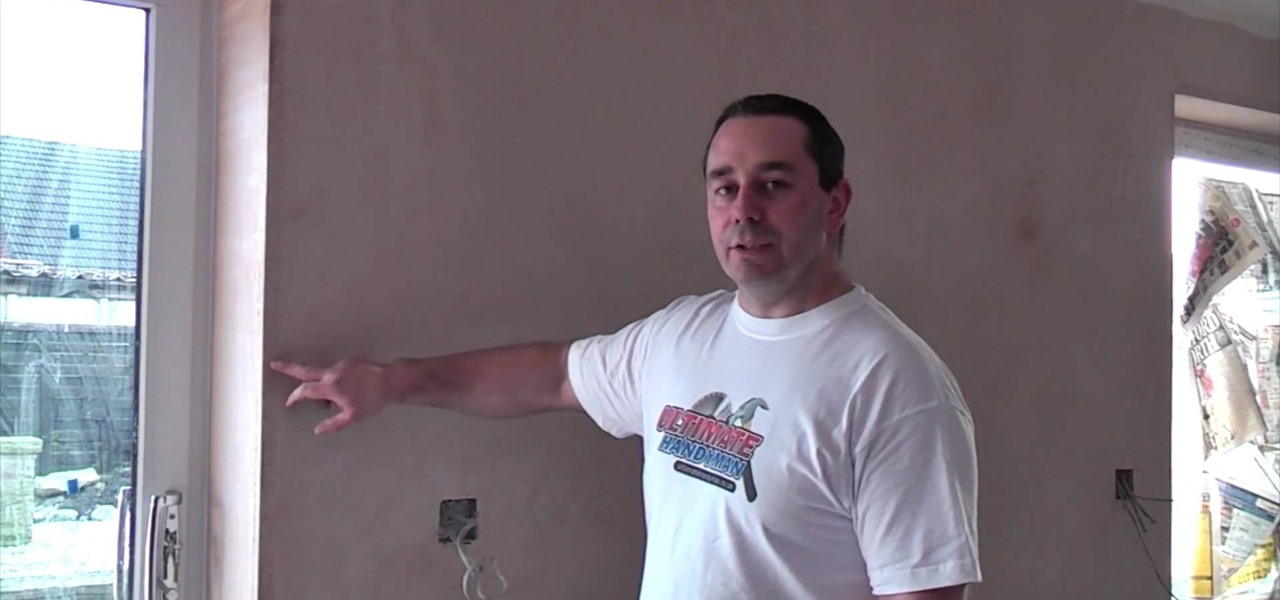
This video illustrate us how to paint new plaster. Here are the following steps: step 1: First of all take white cement, oil bound paint, fevicol and paint brush.
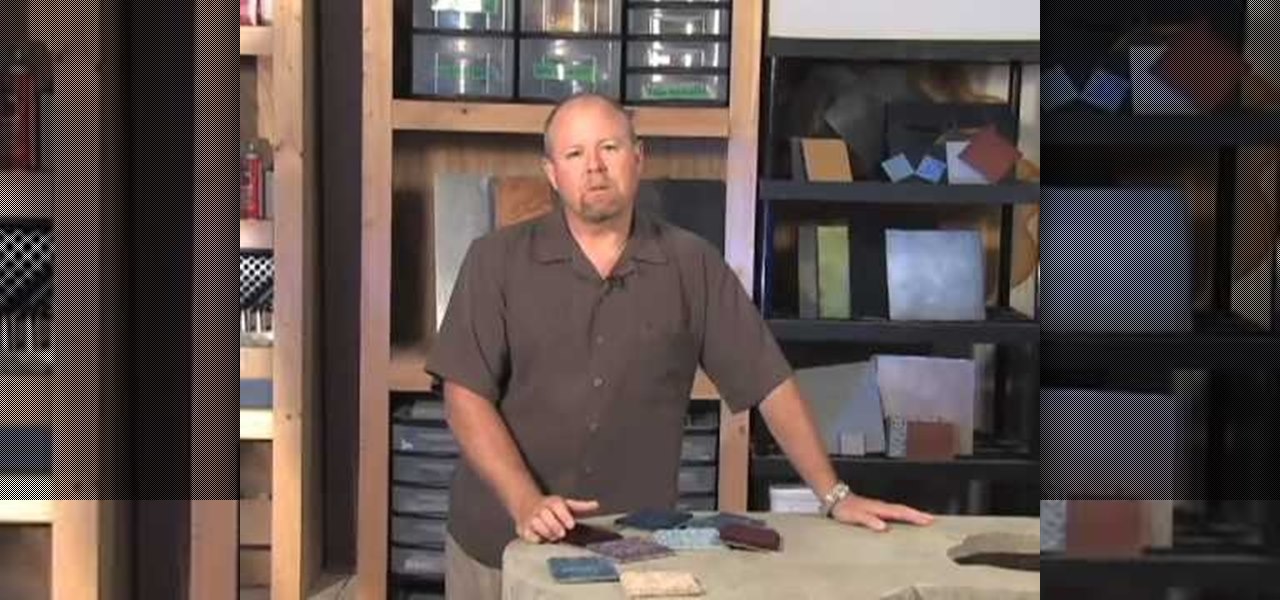
Bob Harris of decorative concrete institute explains how you can remove your tiled or carpeted flooring for a concrete substitute. He suggests when your removing carpeting that it can be very heavy and advises you to hire someone who can lift and carry it out, or rent a dumpster for easy take away. He states that after the carpet is removed you'll need to remove the adhesive from the floor. You can do this by stripping or grinding, and at other times the use of harsh chemicals may be needed. ...
This video shows you how easy it is to cut and make holes in cement backer board. The first thing you want to have is safety glasses to protect your eyes. To make a punch out hole you have to draw an outline of the hole with a pencil or pen. Use a drill to make several holes inside your outline. A jigsaw will cut out your punch hole. Push the punch hole out. Make a straight cut by marking the front of the board with a pen and a straight edge and use the scoring knife along the straight edge t...
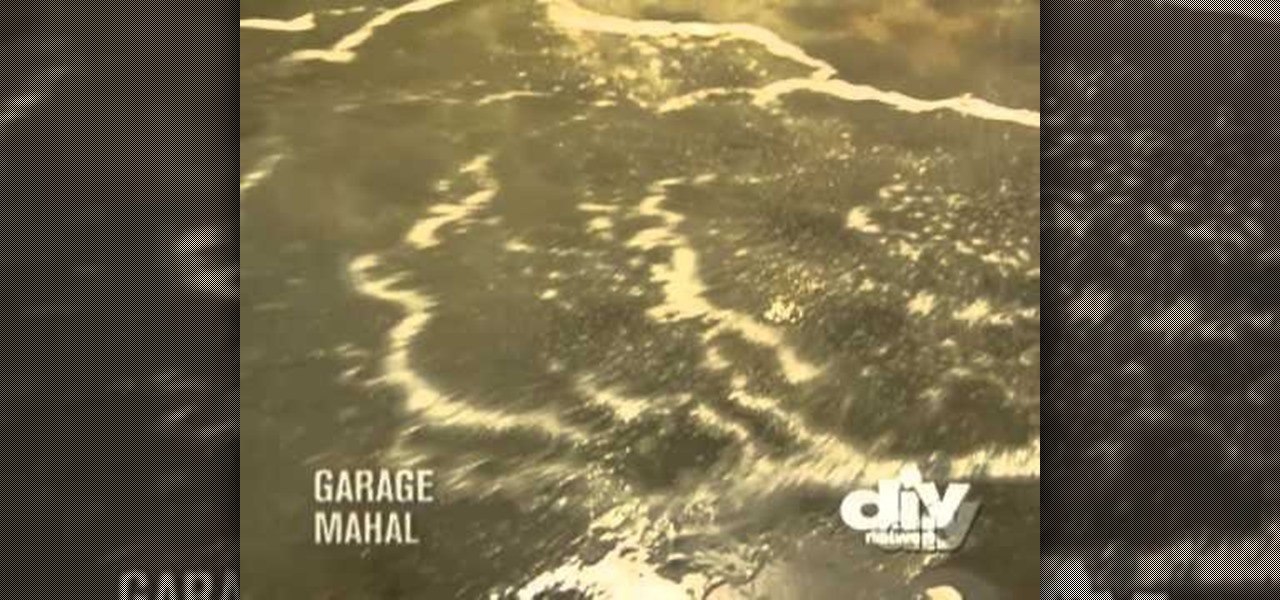
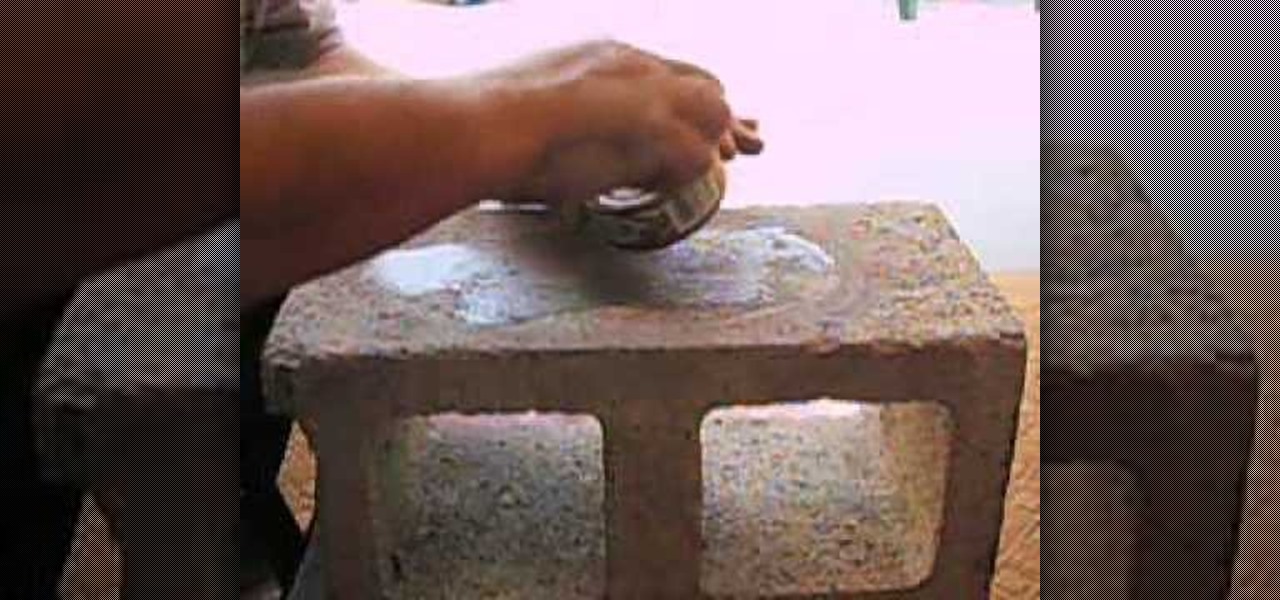
If you're tired of the cement-and-motor-oil coloring you're currently rocking on the floor of your garage, you've come to the right place. This video will show you how to prepare the concrete floor in a garage for staining by etching and degreasing it, ensuring that it is clean and ready to hold the stain.
The rocket stove, invented by Dr. Larry Winiarski, was developed to require much less cooking fuel than a traditional stove. The rocket stove also emits less dangerously, as most of the energy burned turns into heat. To build this rocket stove, you will need sheet metal or a 5 litre metal can, clay, water, sawdust, a wooden mold, a clay brick, vermiculite or perlite, and cement. Learn how to build a rocket stove by watching this video tutorial.
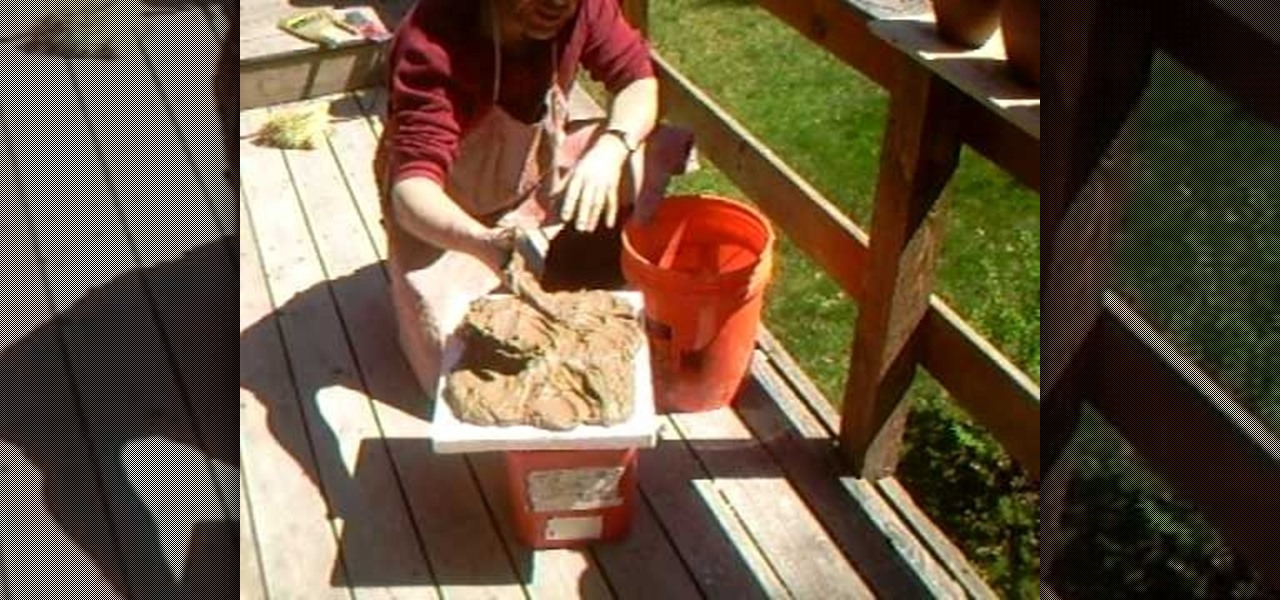
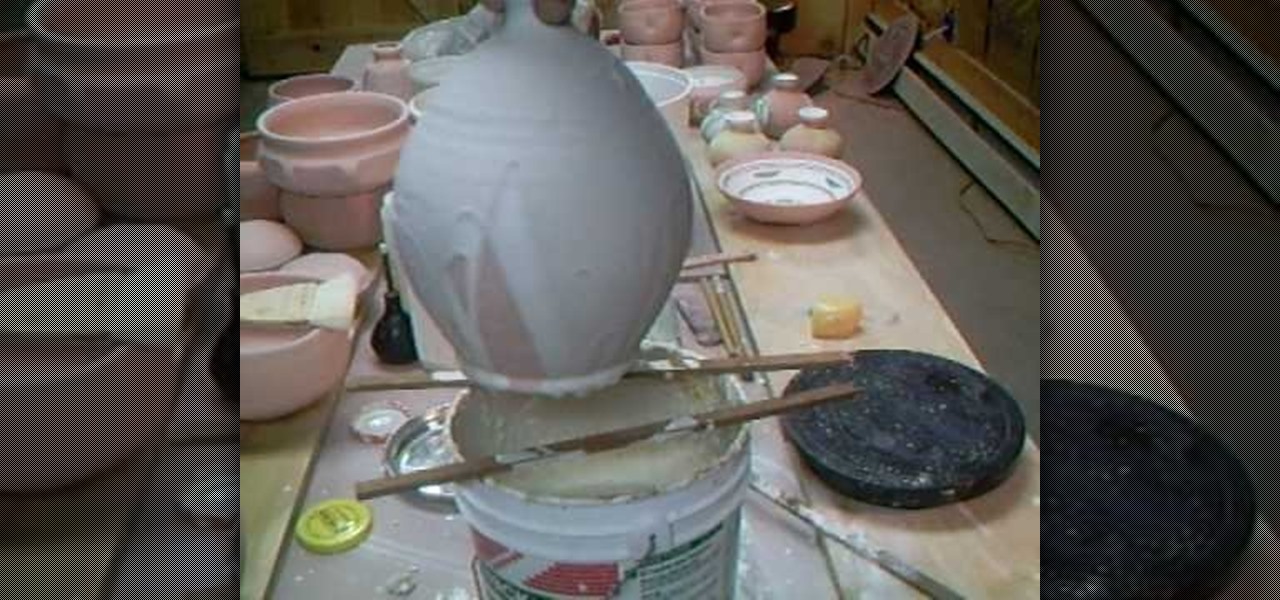
Simon Leach's series of high-quality pottery videos marches on. In this installment he teaches us how to dry some high-quality clay that he has just acquired from a cement works, and also how to decorate some hanging clay wall pots he made in a previous installment.
Instead of hiring a professional plumber, get free advice from one in this video presented by Fine Home Building. Follow a professional plumber as he shows you how to replace a kitchen sink trap. You'll learn how to layout, cut, and cement PVC pipe.
Transform those outdated fridge magnets into new ones. Inspired by an Instructables.com project: http://www.instructables.com/id/Reusing-old-calendar-magnets/
Dr Kreepy, Halloween craftsmen, shows a cheap and easy way to make full and partial skulls from Plaster of Paris! For this project, you will need a plastic skull, cheese cloth, a paintbrush, melting latex, anchoring cement, and Plaster of Paris. Watch this video special effects tutorial and learn how to build a latex skull mold to make plaster skulls or skull fragements.
Watch this instructional cosmetics video to apply makeup for a Jennifer Lopez look. Products used in this video are a Leow-Cornell 3/8'' brush, 1/2'' Maxine's mop brushes, MAC 219 brush, Sephora 29 blending brush, Ardelle 134 falsies, DUO lash adhesive, and an eyelash curler. For the eyes use Urban Decay primer potion, MAC "fresh cement" shadestick, Revlon colorstay liquid eyeliner, Revlon colorstay pencil eyeliner, and a MAC "wheat" brow finisher.
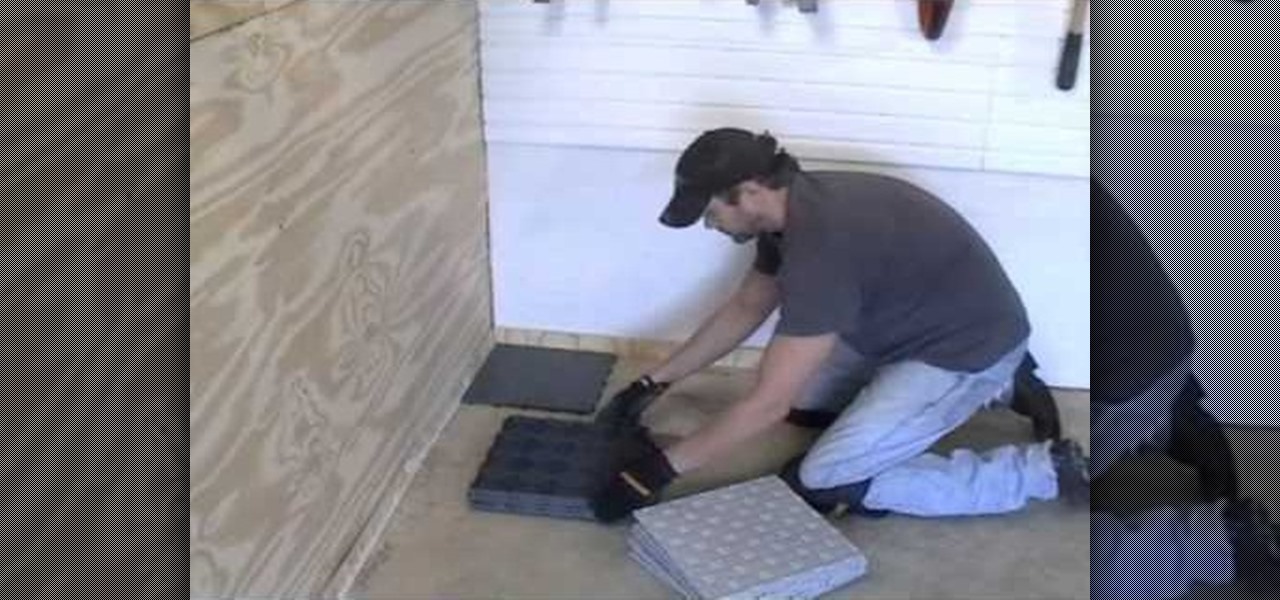
Make an old drab garage floor look new with snap-together tile. In this how to video Matt Weber installs cool snap-together tile for garage flooring. You don't have to bother with the messiness of mixing cement, grout, or cutting dangerous tiles. Watch and learn how easy it is to snap tile into place.
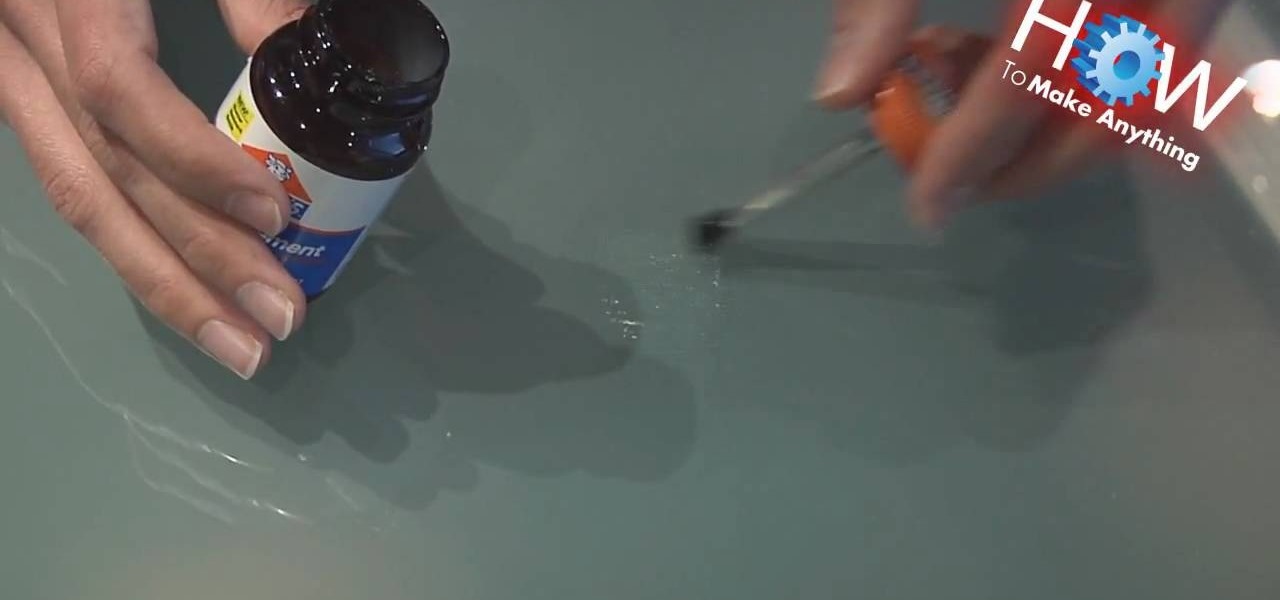
In this tutorial, we learn how to replace bathtub caulk. First, fill your bathtub halfway full with water, then grab your caulk and caulking removal tool. After you have done these steps, apply your caulk remover. Next, scrape it with the remover tool. After this, use bleach and a toothbrush to remove any excess. Now, use rubbing alcohol on a towel to clean the edges of the bathtub. After this, apply mold resistant caulk, then smooth it evenly. Next, wipe the excess caulk with a clean washrag...
The phenakistoscope is a predecessor of the flip book, but don’t worry: it’s easier to make than pronounce.
Remodeling your home can be a daunting task when you don't have the right tools. This Home & Garden how to video demonstrates the proper operation and use of the grinder for cutting cement backerboard. Once you have mastered the art of using this appliance, cutting tile and remodeling your home will be a cinch.
J. Falk of TrailGear demonstrates how to open a can without using any tools, such as can openers, knifes or sharp objects.
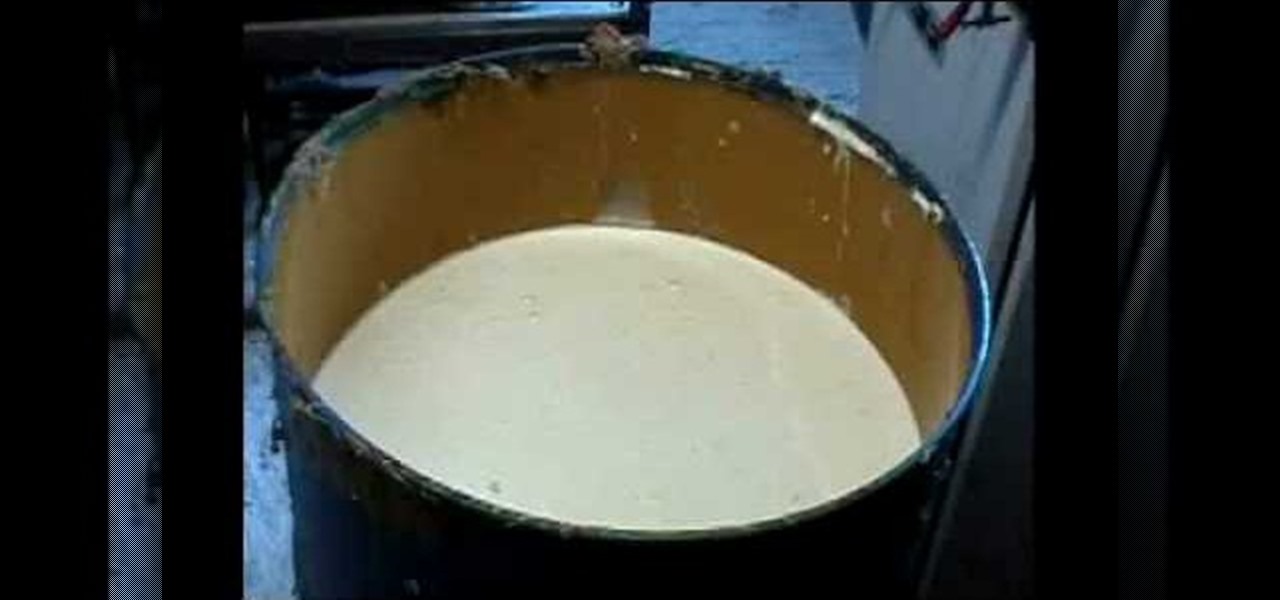
How to mix joint compound: Uncle Knackers demonstrates the perfect way to mix plaster / cornice cement / joint compound for plasterboard / drywall without making a great big mess and along the way creating a beautiful creamy mix. Speaking of creamy, he also shares with us one of his award winning recipes.
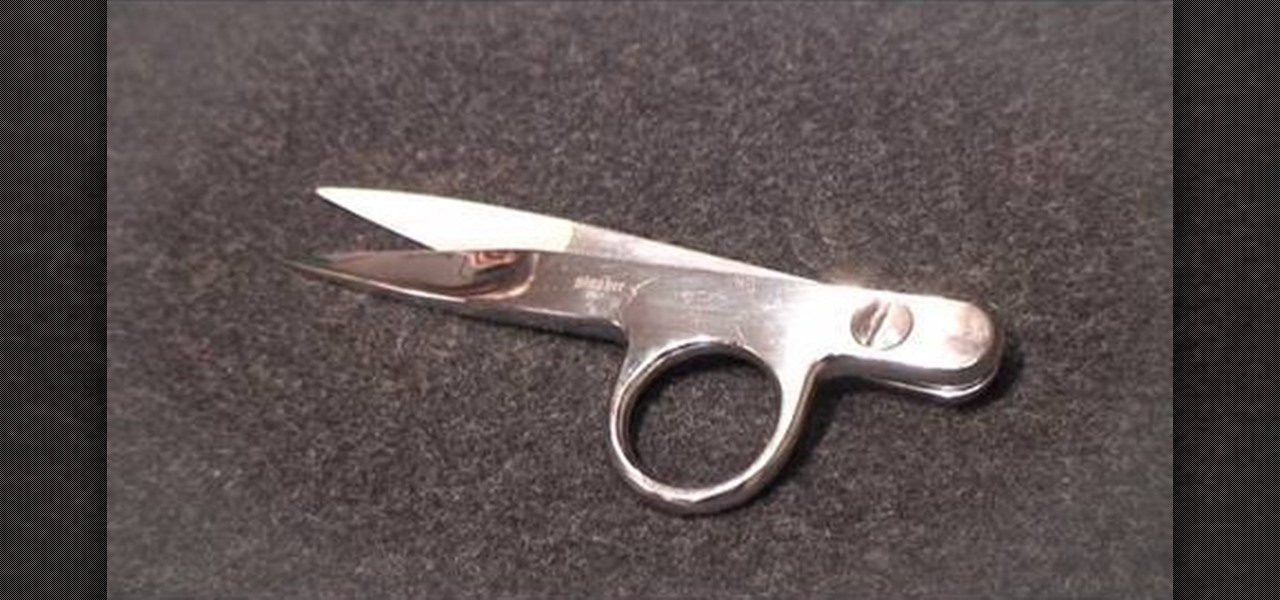
Thread banger, Kenneth King shows you how to save your good fabric scissors by using thread snips, a simple but important tool you must always have in your sewing workshop. Thread snips are small pairs of scissors that are specifically used for trimming off any excess thread in your material. Kenneth explains that using fabric scissors to trim these excess threads eventually causes them to wear dull spots. Always keep your thread snips handy and do all your thread trimming at the machine.
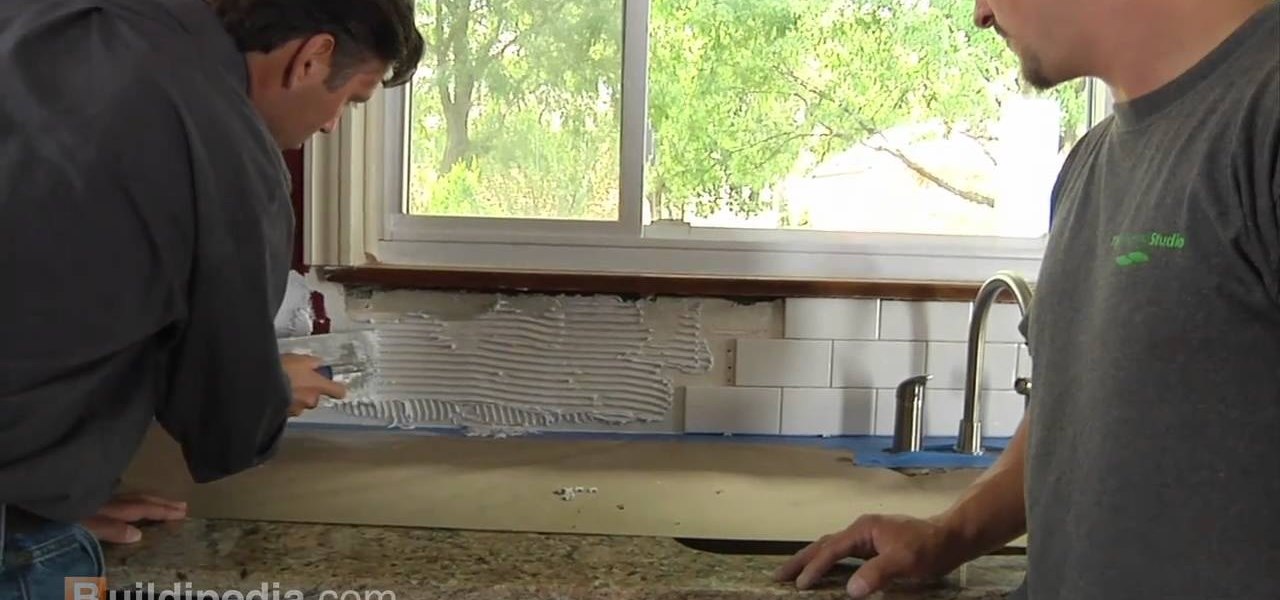
Installing a ceramic tile backsplash in your kitchen or bathroom can not only add a great new look, it can help prevent your walls from crumbling due to excess exposure to water. This simple little vid from buildipedia will walk you through the process.
In this video, we learn how to make a vertical striped bracelet cuff out of beads. Start with a long piece of string and string on your beads until you have a length that fits well around your wrist. After this, tie the ends together and cut the tails off the excess string on the short side. now, start to thread through new beads around the entire bracelet. At the end of every few rows, tie it to keep it tight at the end. When you are finished, tie the string and make a knot, then cut off any...
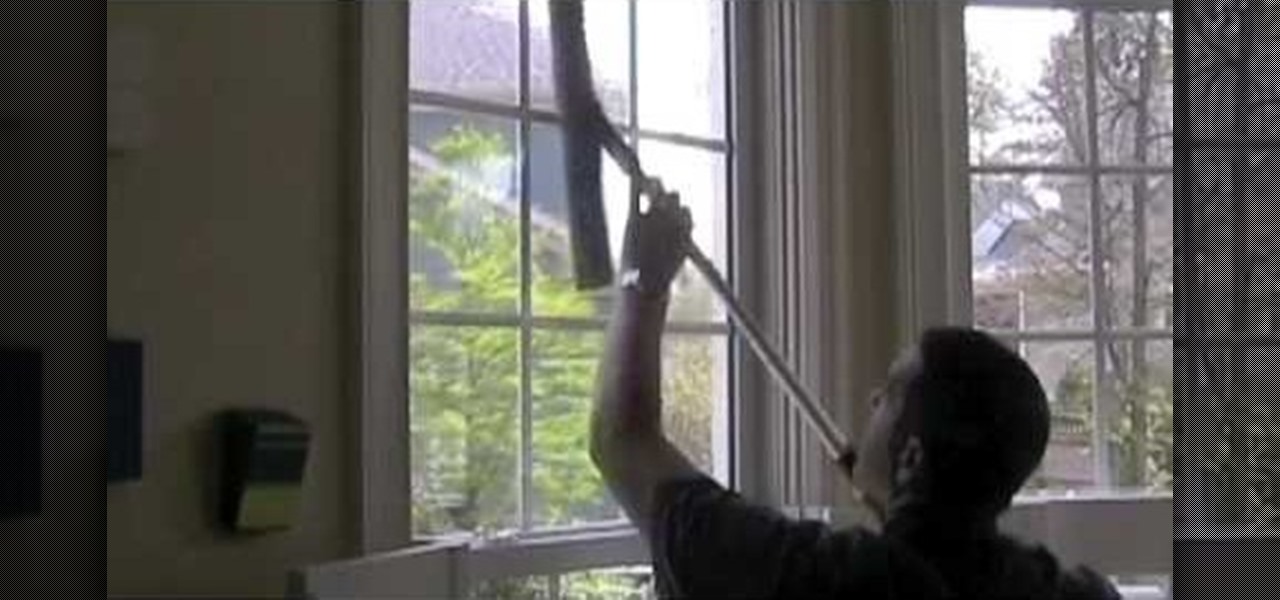
In this video, David teaches us how to clean the inside of windows easily and quickly. You don't need fancy tools, all you need is a terry cloth towel, a squeegee and dish washing detergent. First, put a little bit of the soap into a bucket and wash down the windows. Next, take a squeegee and wipe horizontally making clean lines. The excess water should drip down and you will catch it with your next squeegee wipe. If you have extra wetness on the edges, grab an old t-shirt and wipe the sides ...
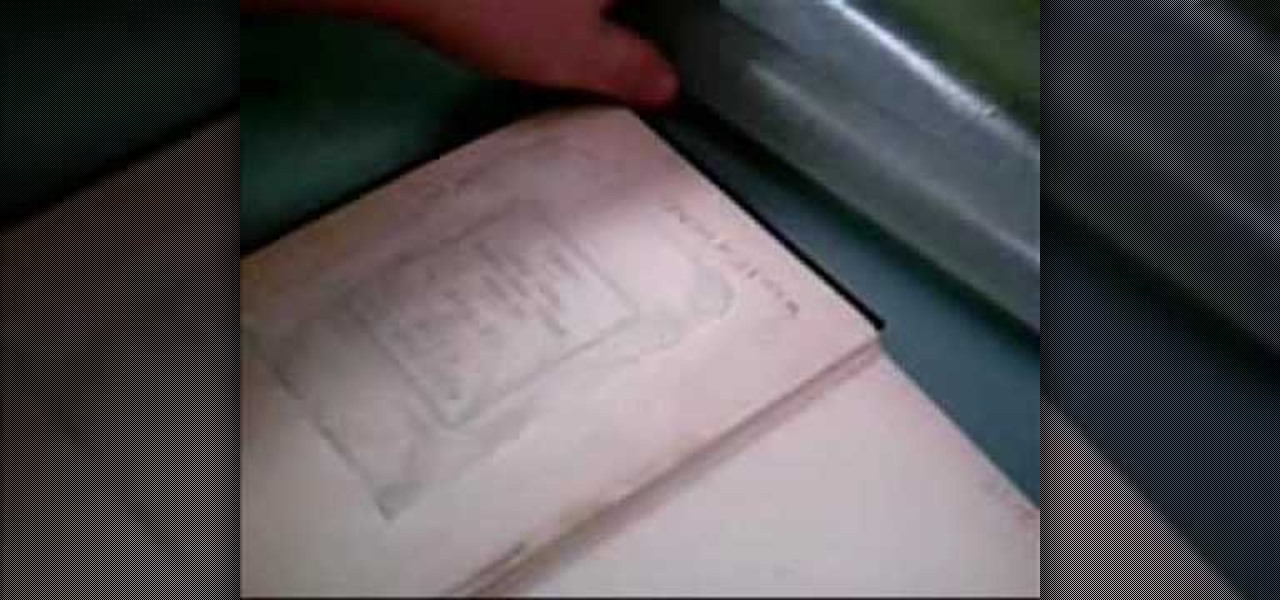
To remove a bookplate, you will need paper towels, wax paper, distilled water, water colored paper, a weight, and a blunt knife. Cut the paper towel slightly larger than the bookplate itself with scissors. Wet the paper towel and blot it dry with another piece so it is damp. Fit the paper towel over the bookplate, put the wax paper on top of it, and let it sit under the weight for twenty to thirty minutes. Once the paper towel has soaked into the bookplate, gently peel the bookplate off with ...
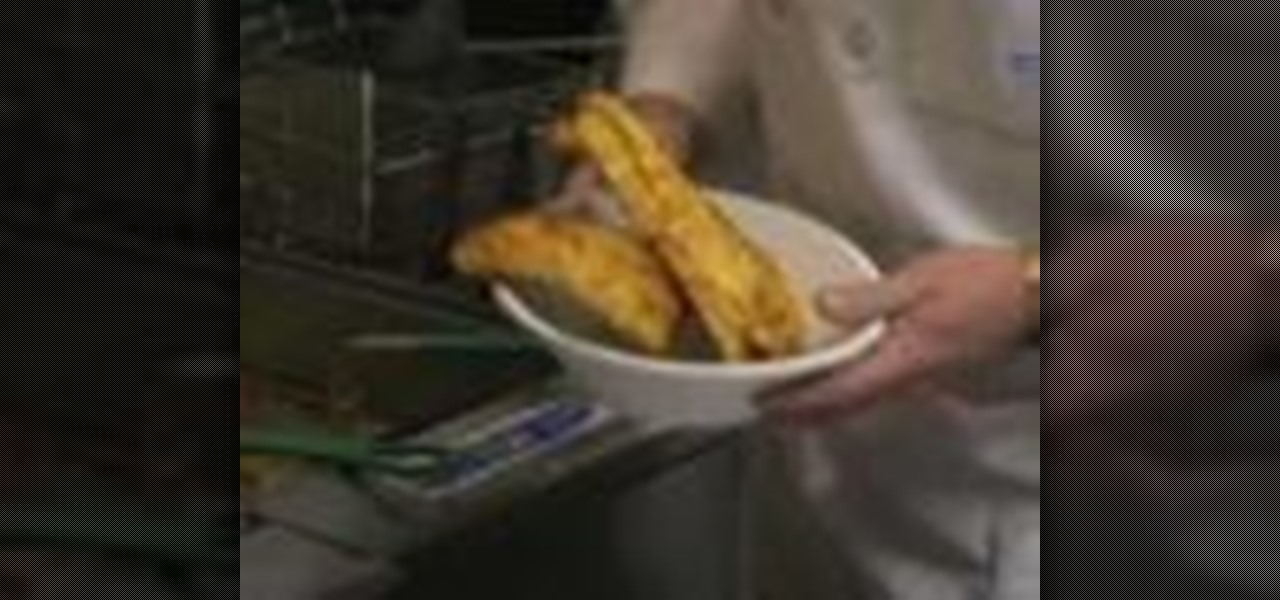
Fish & chips is the most popular fish meal in the country, & you can make it yourself instead of paying a fortune at your local fish eatery. The special ingredient for these fish and chips… beer.
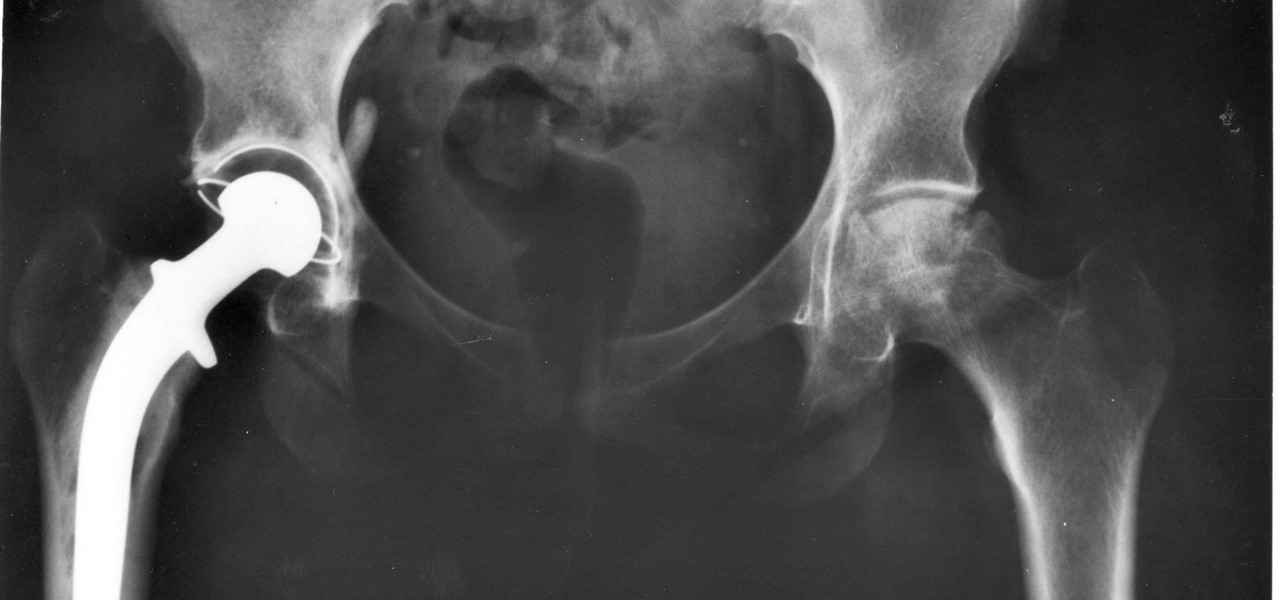
For about a million Americans each year, a joint replacement brings relief from pain and restored mobility. But, 5–10% of those people have to endure another surgery within seven years, and most of those are due to an infection in their new joint. If doctors could treat infections more effectively, patients could avoid a second surgery, more pain, and another rehabilitation.
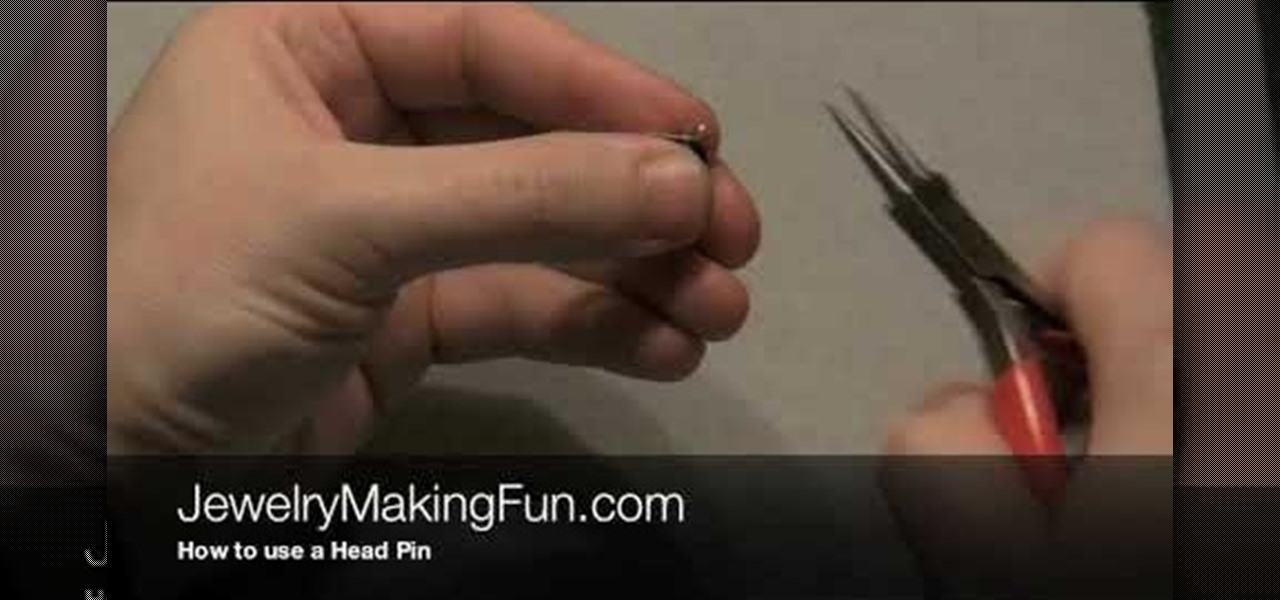
In this video, we learn how to use a head pin while making earrings. Start off by grabbing a 1" long headpin and feed a bead through it until it reaches the other end of the pin. Now, decide how you want to close the loop. The first way to close it is to make a single loop by using pliers and making a 45 degree bend. Cut off any excess wire with wire cutters. The next way to do this is to wind the excess wire around the base until it comes to the bottom of the bead. This is visually appealing...
In order to glaze a lamp base, you will need the following: glaze, warm water, a sponge, copper carbonate, paintbrush, and sticks.
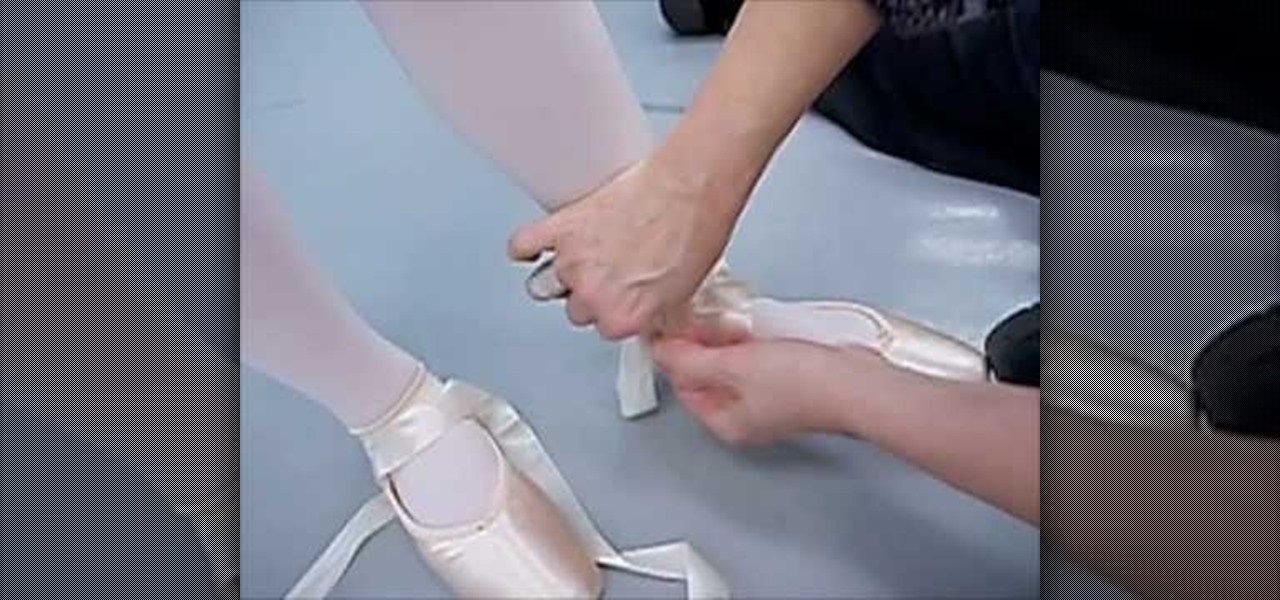
In this video tutorial, viewers learn how to tie pointe shoes in ballet. Begin by putting on the shoe and tie the small lace. Then cut off most of the excess of the small lace (about 1 1/2 inches) and tuck it inside the shoe. Now wrap the inside ribbon of the shoe one time around the ankle and tuck it back. Do the same with the other ribbon, except do it the opposite way and then tie the ribbon together. Now cut off the excess ribbon and tuck it in. This video will benefit those viewers who a...
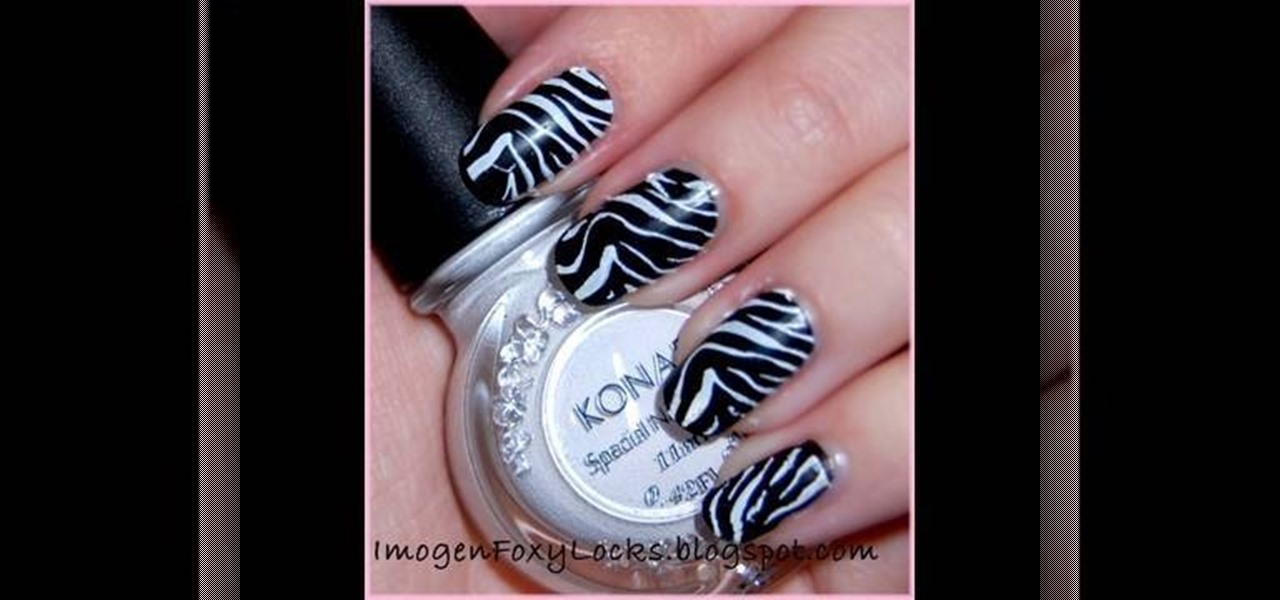
In this tutorial, we learn how to do a Konad zebra nail design in 5 minutes. You will need: Konad white nail polish, stamper, zebra stamp, and scraper plate. First, place white nail polish onto the zebra stamp until it's all over the stencil. Then, use the scraper to remove the excess nail polish. Now, stamp the stamper onto the stencil and then stamp it onto your nail. You can clean up the excess white nail polish with nail polish remover on top of a Q-Tip. Before you begin this, you will wa...