

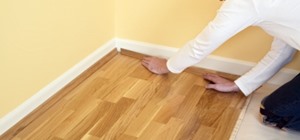
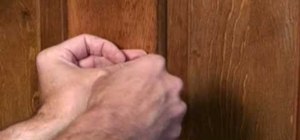
If you have hardwood floors in your house, take a look at your baseboards. Right in front of the baseboards there is usually a smaller, curved molding about ¾" tall. How does this short molding look? Is it painted over, chipped and/or just beat up in general? If so, you can easily replace this molding and make a huge difference in the overall appearance of your room. And, it is fairly easy to do.
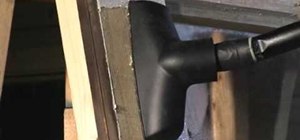
What does this molding actually do? In addition to adding an aesthetic dimension to your baseboards, it actually serves a practical purpose. It protects your baseboards from being chipped and dented by vacuum cleaners, furniture and other things that move around at floor level. Which is why after a few years this molding tends to get a little beaten up.
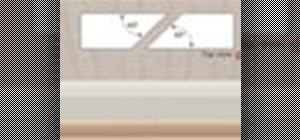
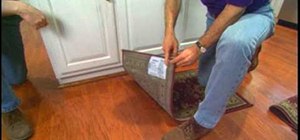
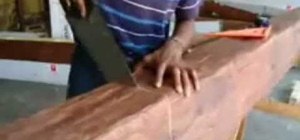
Typically this base molding comes in 2 shapes, quarter round or shoe molding. When you shop for materials for this project, it is usually best to replace your existing molding with the same shape. Otherwise you may end up having to do a little work on your baseboard or floor to finish previously unexposed areas.
Another consideration is the type of wood. You can usually get pine or oak in both shapes. We recommend that you match your flooring material and that you put a clear or stained finish on the molding as opposed to painting it to match the baseboard. When paint gets chipped off, it can be a lot more conspicuous. For complete, step-by-step instructions for this DIY project, watch this friendly and straightforward video tutorial.
Install shoe molding
 Click through to watch this video on easy2diy.com
Just updated your iPhone? You'll find new emoji, enhanced security, podcast transcripts, Apple Cash virtual numbers, and other useful features. There are even new additions hidden within Safari. Find out what's new and changed on your iPhone with the iOS 17.4 update.


Be the First to Comment
Share Your Thoughts