

I show you how to install this hammock for camping that I bought from Decathlon. You have to find the perfect location and perfect trees that fits with the shorter ropes that you get with the hammock. I show you how to do the knot and how to find the perfect location.
This is the cheapest hammock I found on decathlon it cost me less than 10€. My recommendation is to buy longer ropes, the ones that came with the hammock are useless.
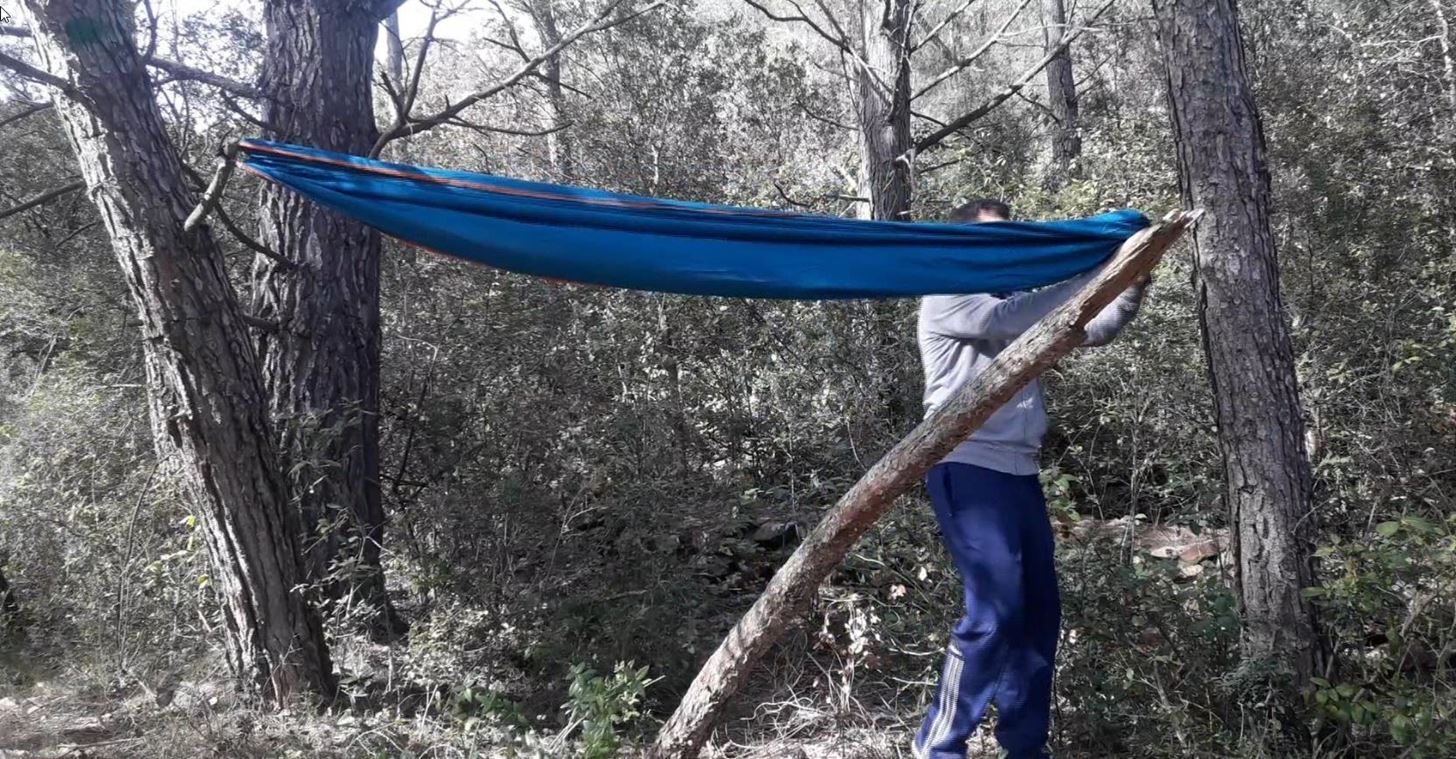
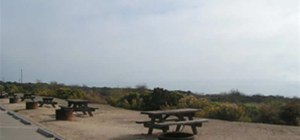
Step 1: Find Two Suitable Trees
Use the hammock to measure the distance between the two trees
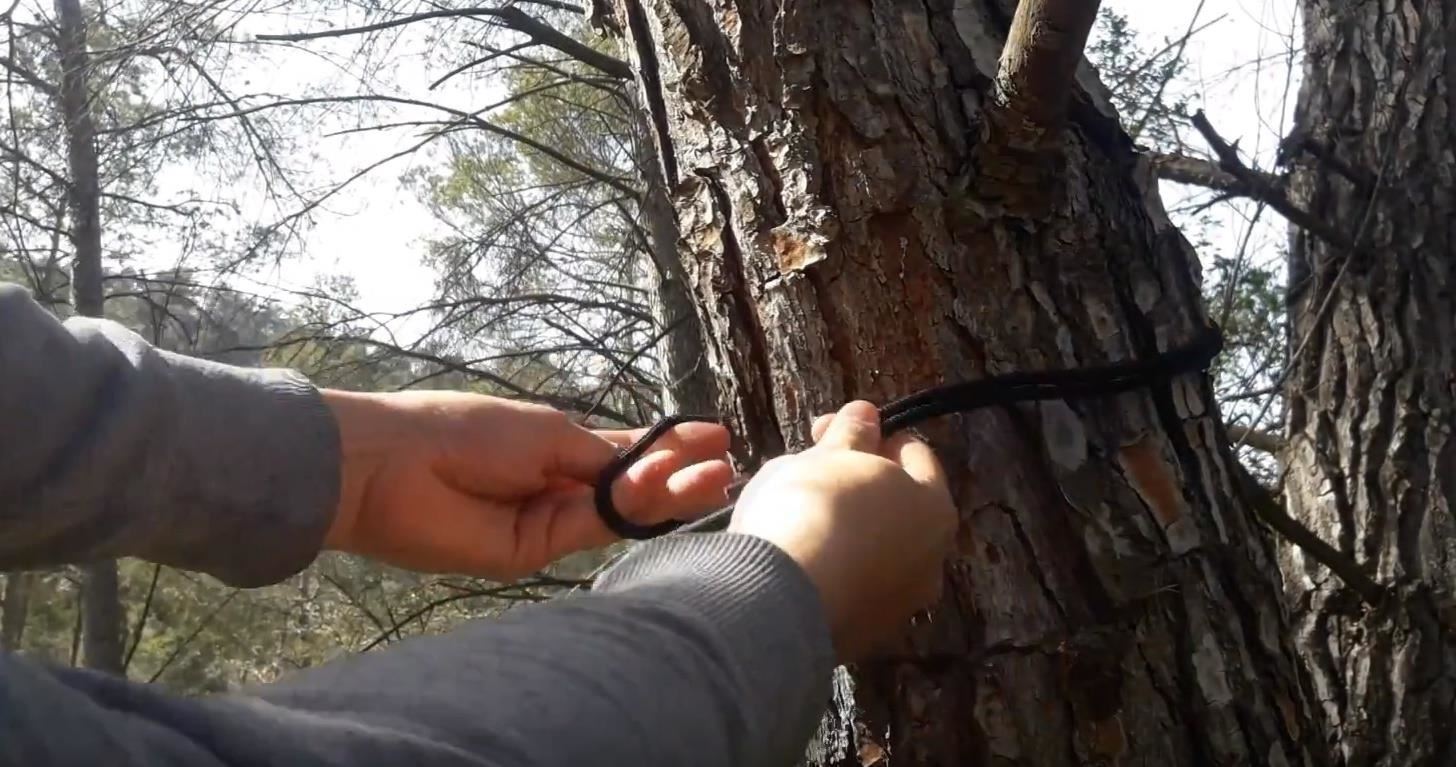
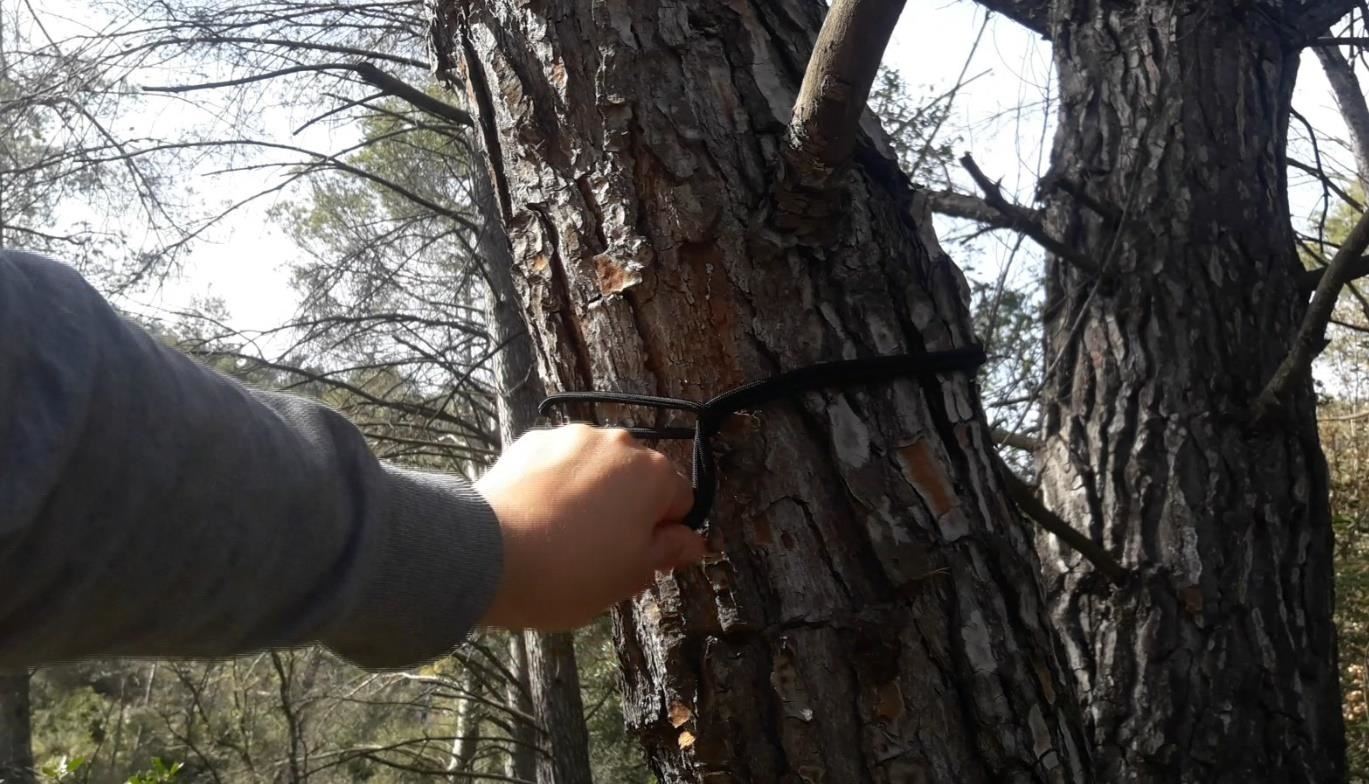
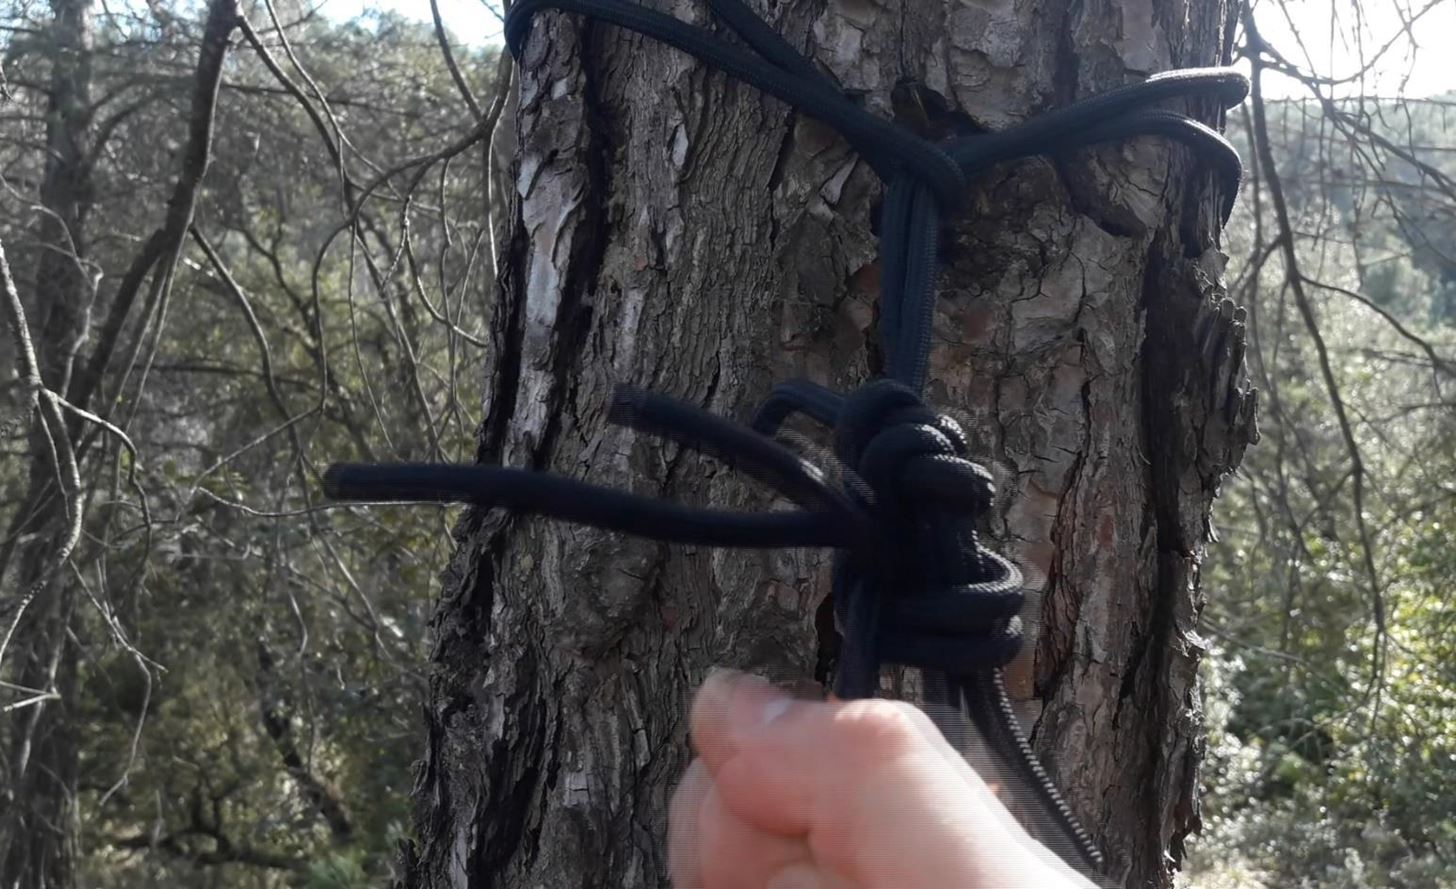
Step 2: Make a Knot Around the Tree
Grab each end of the rope and fold for the middle. Pass the rope around the tree. Pass the two end of the rope among the rope and pull.
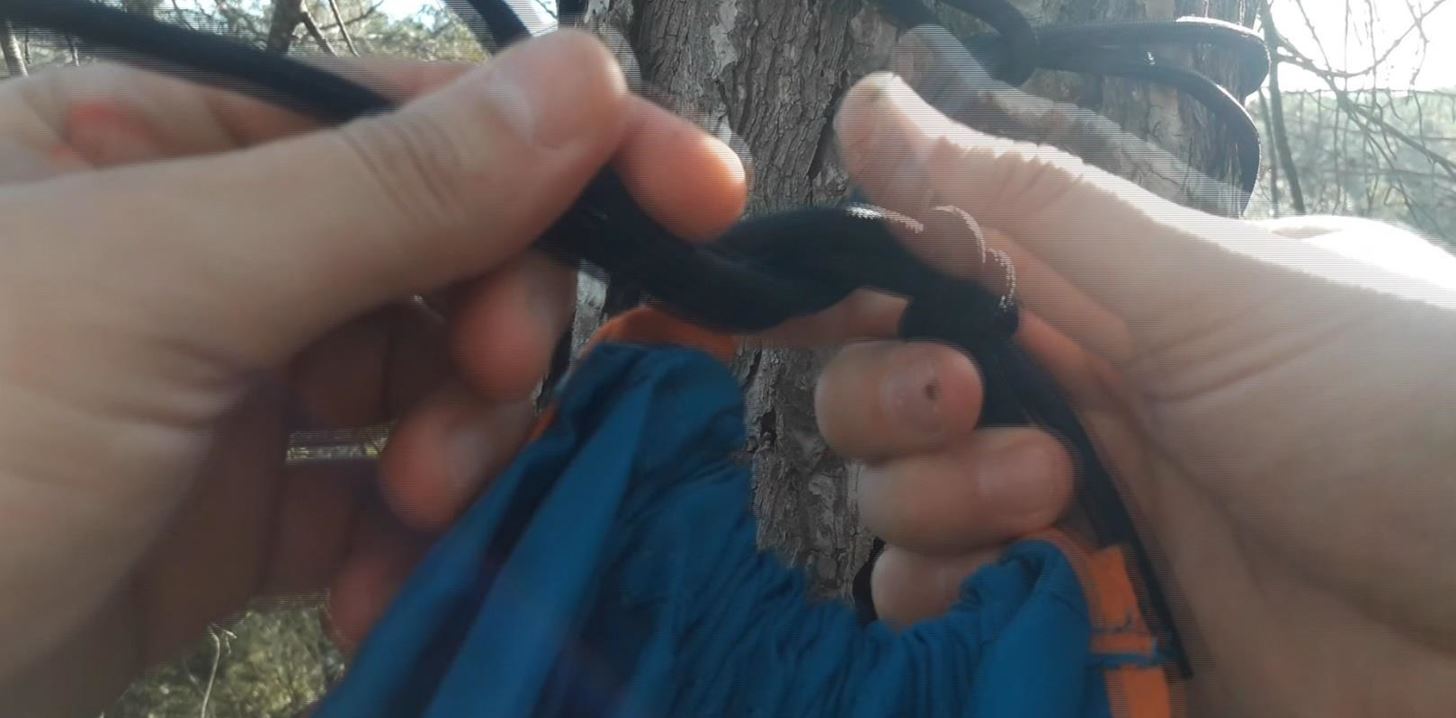
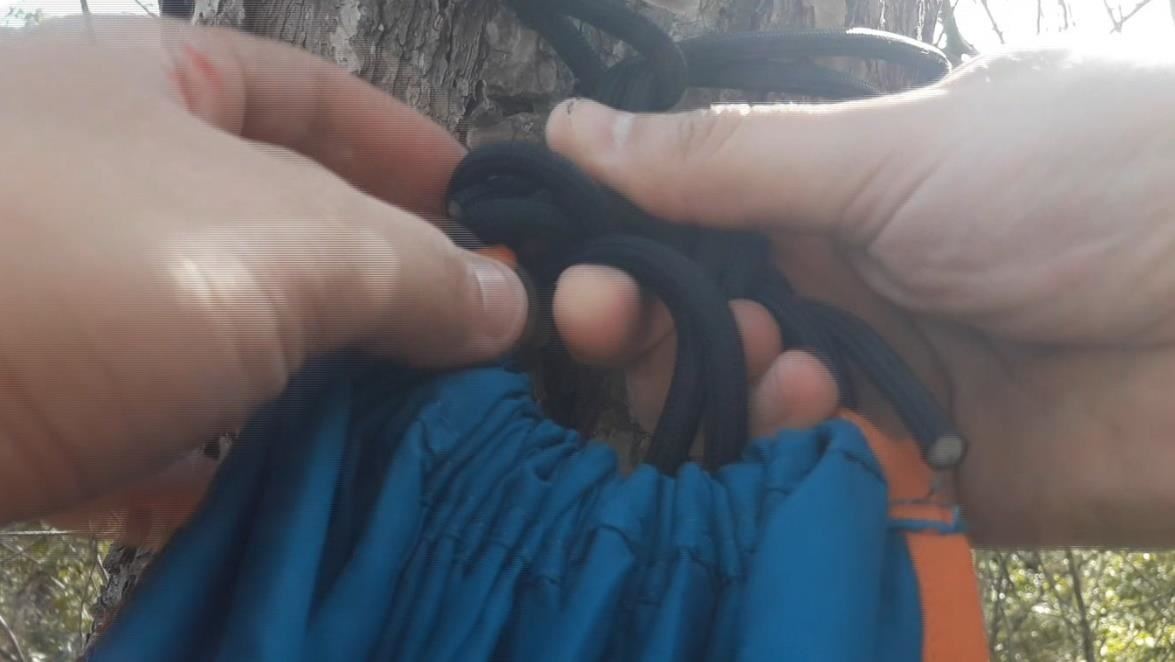
Step 3: Make a Knot to the Hammock End
?Insert the rope on the tree among the rope on the end of the hammock from the bottom.
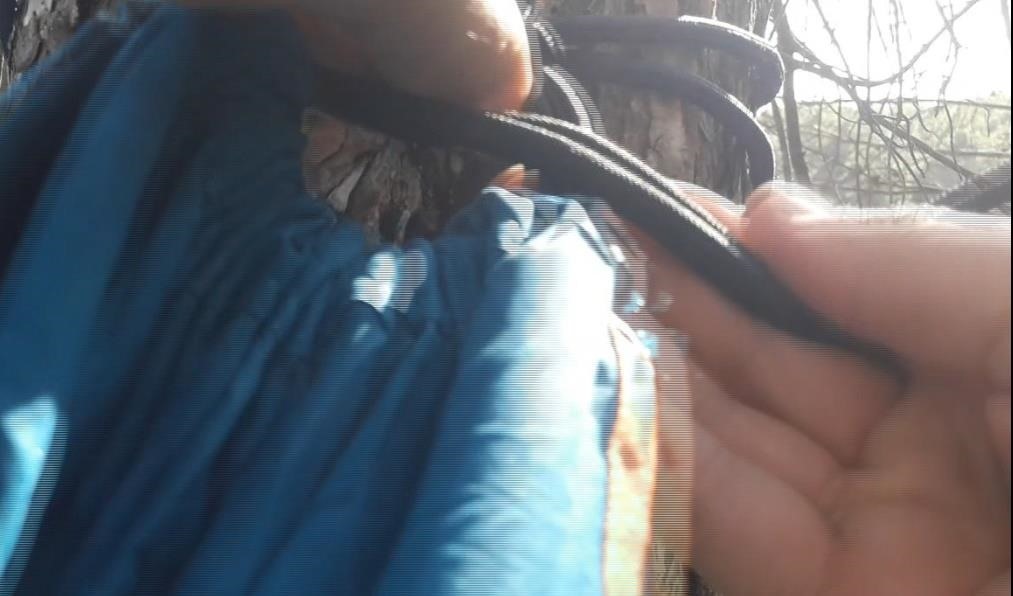
Insert the tree rope around the hammock rope on the left site and insert it again from the bottom.
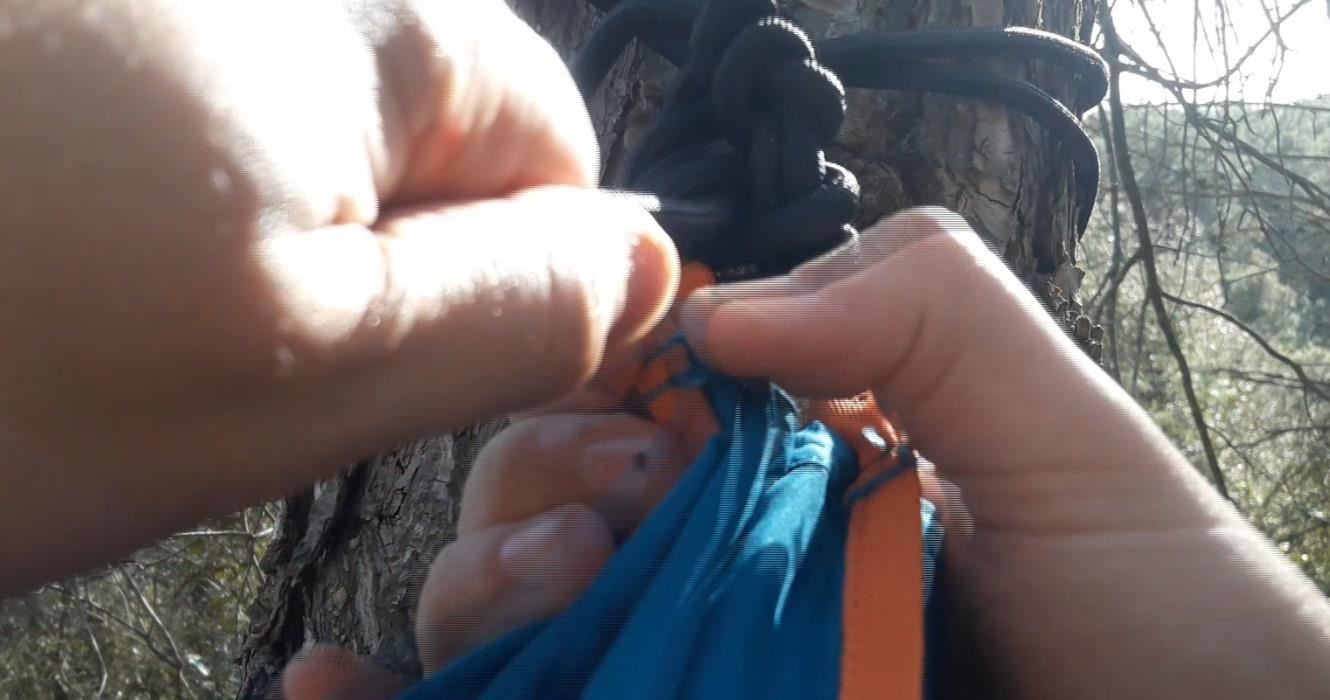
Put to the right the tree rope and around the hammock rope.
Pull tightly.
Step 4:
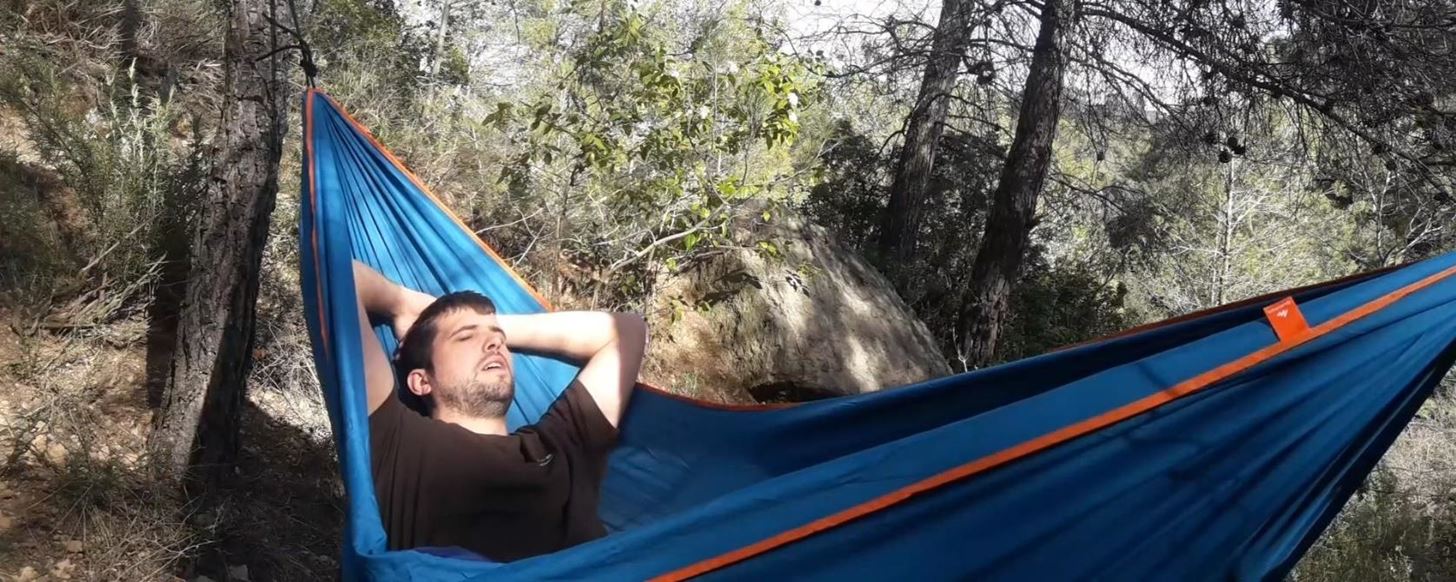
Step 5: Enjoy the Hammock
?Test the hammock carefully to test that it do not fall down. After, this you can have a comfortable nap.


1 Response
At first, I thought it's hard to find distance of the two trees to tie the hammock. Really informative, will took note and watch video anew in our camping trip this summer. :-)
Share Your Thoughts