

Learn how to make a DTV antenna & a steadicam.
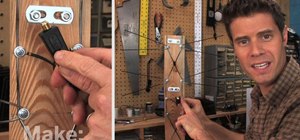
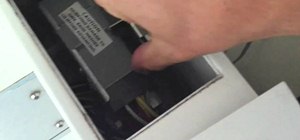
Digital converter box? Check! Great reception? Not so much. John Park shows how to take a fistful of wire coat hangers and make a TV antenna that gives great digital reception. While he's at it, he also makes a video camera stabilizer using metal piping and counterbalance weight; great for at-home moviemaking.
Download the PDFs for these projects.
cachefly.oreilly.com/make/television/04/DTV_Antenna_FINAL.pdf
Just updated your iPhone? You'll find new emoji, enhanced security, podcast transcripts, Apple Cash virtual numbers, and other useful features. There are even new additions hidden within Safari. Find out what's new and changed on your iPhone with the iOS 17.4 update.


5 Comments
it works
I'm building one... I just got amplified rabbit ears (three of them!) for 25 cents (ALL for 25 cents!) at a yard sale because they were analog. The best one, being far from pittsburgh in the Ohio Valley, only picked up digital channel 2 KDKA in an open window. Better picture than cable downstairs; no joke! I want more channels, and I have everything here.
can someone make me one
contact me please we1dis@hotmail.com
can I use copper wire instead of coathangers
Share Your Thoughts