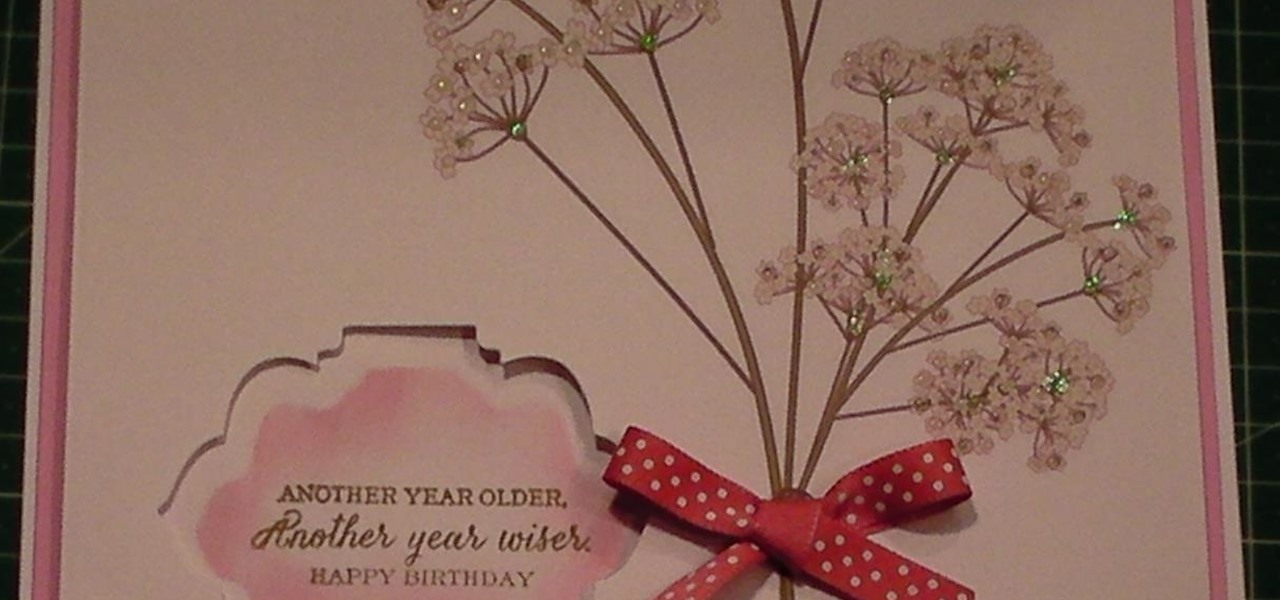

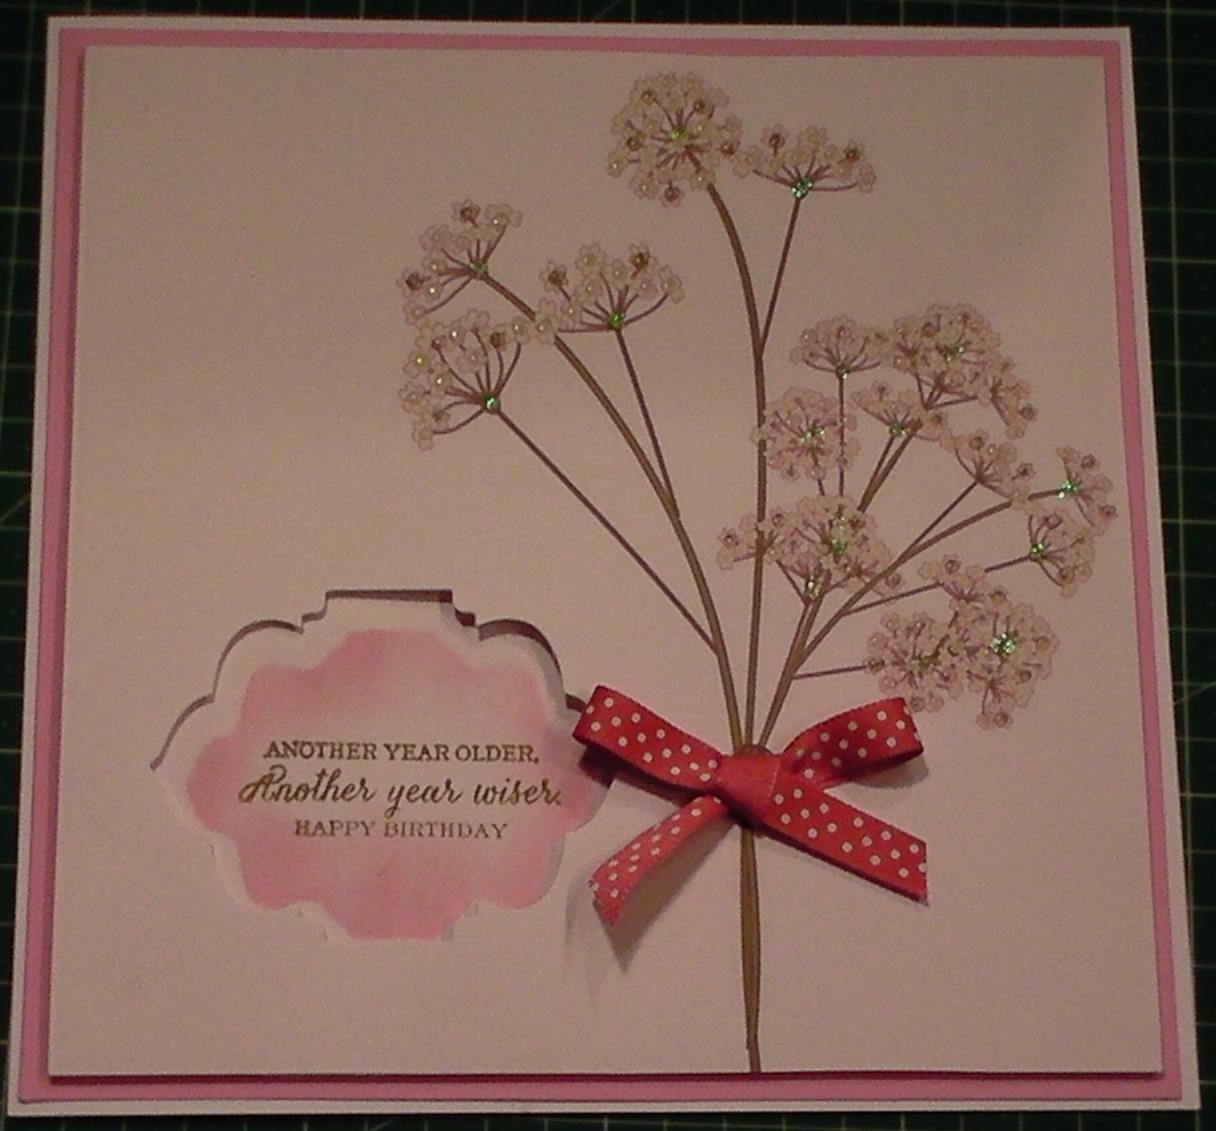
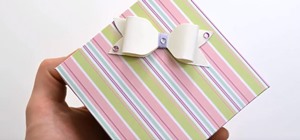
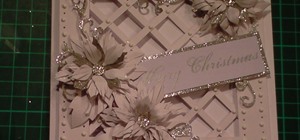
Instead of a tutorial this is really a card idea for what to do with large stamps/images/rub ons/stickers etc.. and a really quick & easy option.
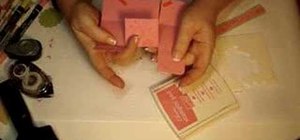
Step 1: Items Used
Stix2Anything 8x8 blank white card
1 layer DCWV pink card
1 matt & layer in white card with die cut aperture labels20 and with large old stamped image
Ranger distress pens to colour image
Stix2Anything Glitter
1 stamped sentiment on scrap white card
Ink for stamped image in Ranger Spun Sugar
Polka dot pink bow
Step 2: Now Watch the Tutorial
Just updated your iPhone? You'll find new emoji, enhanced security, podcast transcripts, Apple Cash virtual numbers, and other useful features. There are even new additions hidden within Safari. Find out what's new and changed on your iPhone with the iOS 17.4 update.


Be the First to Comment
Share Your Thoughts