

If you loved The Da Vinci Code by Dan Brown, then listen up— there's been a new discovery found hidden within Leonardo da Vinci's most famous painting— the Mona Lisa.
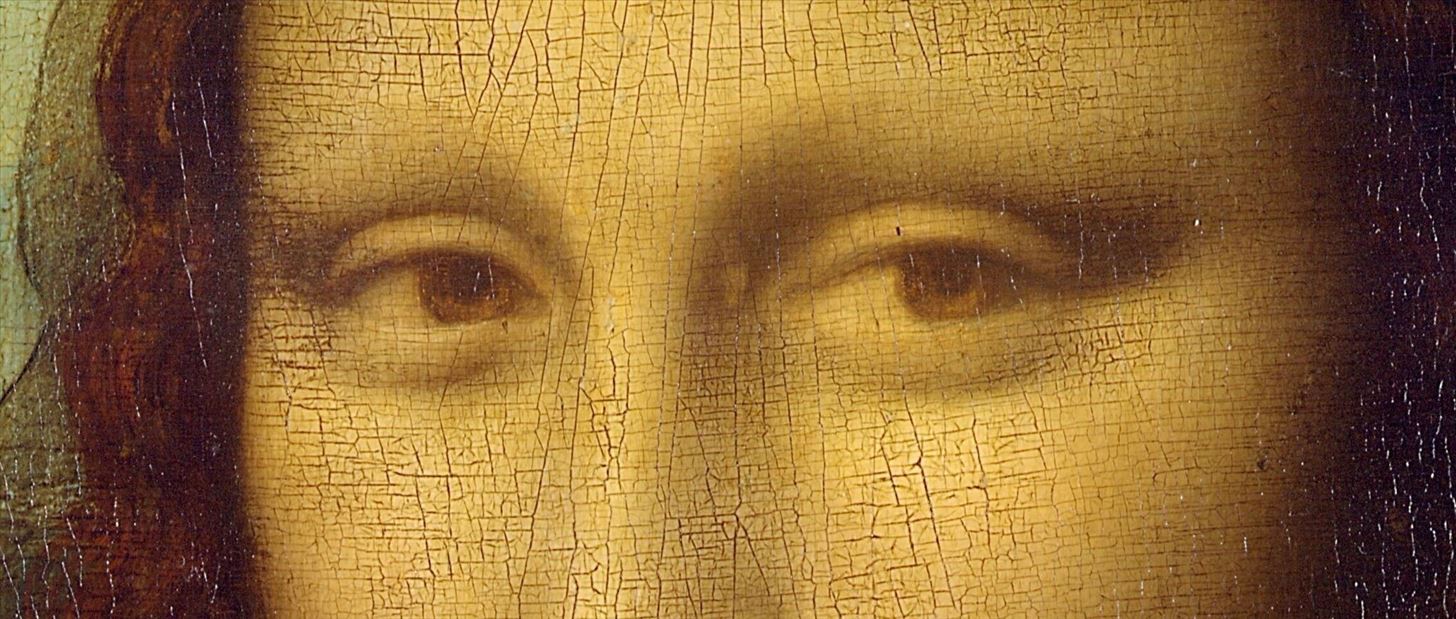
An Italian researcher named Silvano Vinceti sparked a new controversy over the world's most famous painting when he claimed that tiny letters were painted into the eyes of the Mona Lisa, which could finally help reveal the true identity of the model.
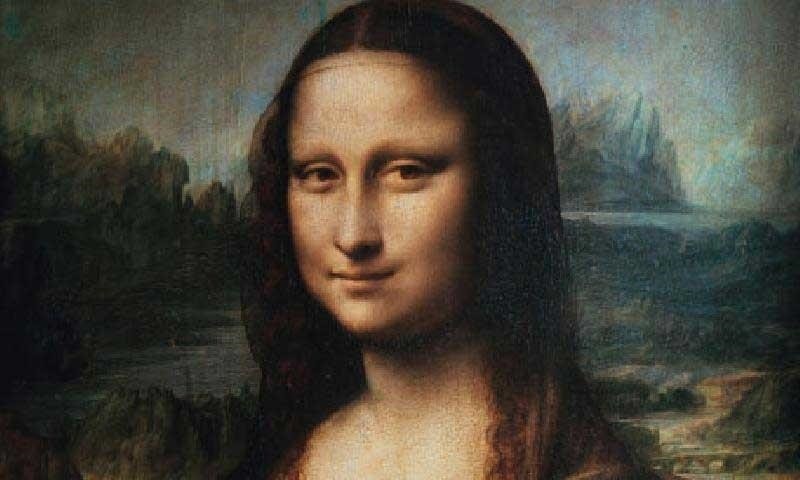
In a Guardian interview with Vinceti, the chairman of the Italian national committee for cultural heritage, Vinceti said that "LV" (Leonardo's initials) is painted in black on top of green-brown of her right pupil. More importantly, the letter "B" or "S," maybe even the initials "CE," were found in the left pupil, which is a possible clue to who the model was.
Other clues to identifying the woman in the portrait include the numbers "149," with a fourth number erased, on the back of the painting, which could be a year, as well as "72" or "L2" being seen in the right-hand arch of the bridge in the background. To find out more of what this means, see the full interview.
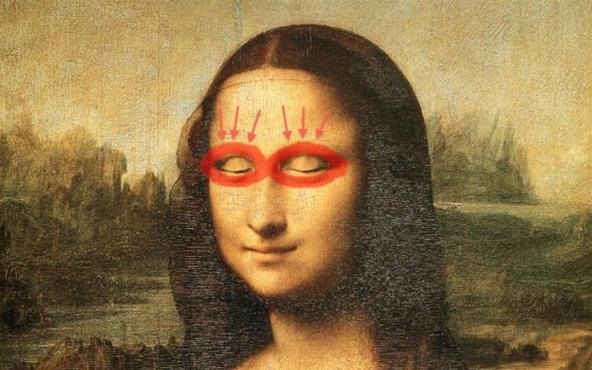
In light of all this, I figured a Mona Lisa tutorial was in order—one involving her eyes. A how-to on hiding text inside the eyes would be appropriate, but that's easy enough to do, so in this Adobe Photoshop tutorial, you'll see how to make the Mona Lisa blink her eyes!
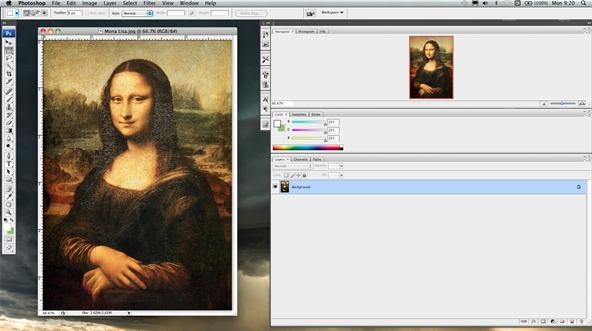
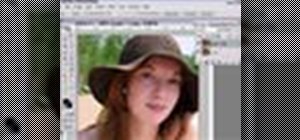
Step 1: Find a Mona Lisa
Do a Google Image Search for a picture of the Mona Lisa painting by Leonardo Da Vinci.
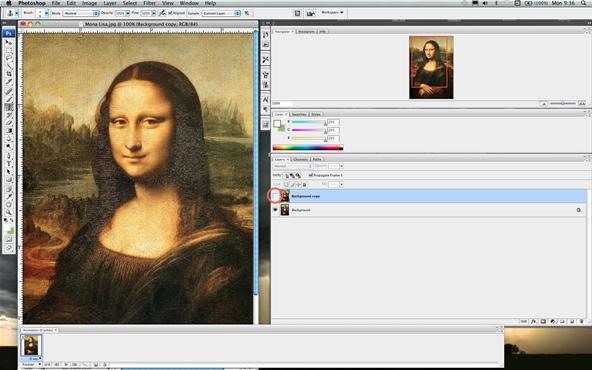
Step 2: Open in Photoshop
Open up your image of Mona Lisa in Photoshop.
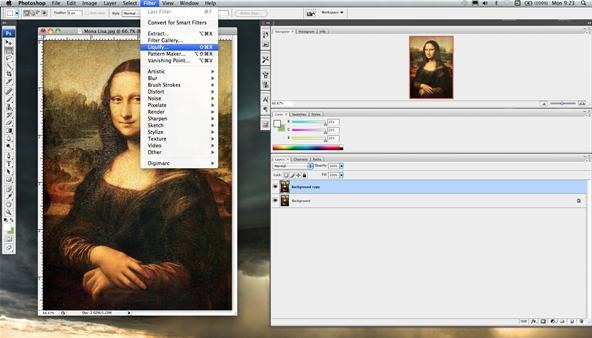
Step 3: Duplicate the Background Layer
Simply drag the Background layer to the Duplicate the Background icon. Alternately, you can right-click the Background layer and select Duplicate Layer and press OK.

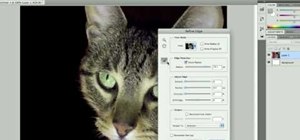
Step 4: Liquidify the Background Copy
Select the Background Copy layer, the select Filter < Liquidify. Alternately, you can use the shortcut (Shift + Ctrl + X).
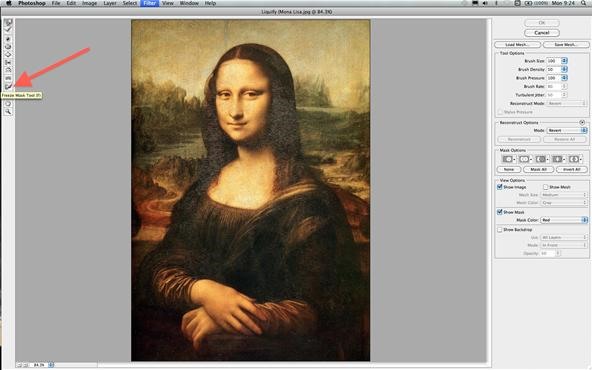
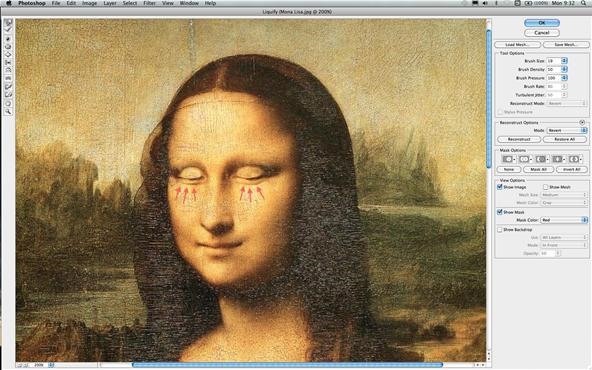
Step 5: Select the Freeze Mask Tool
The Liquidify window should fill up your entire screen. Find the Freeze Mask Tool (F) and select it.
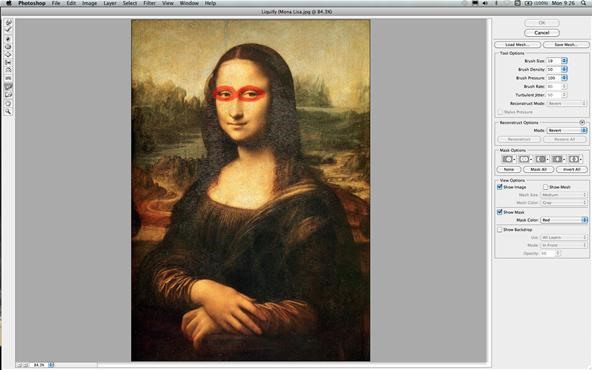
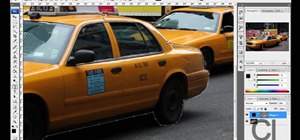
Step 6: Freeze Mask Tool Around the Eyes
Carefully use the Freeze Mask Tool to go around the eyes. Try and leave a very small gap in-between the eyebrows and eyes (for the Warp Tool later).
If you mess up, use the Thaw Mask Tool (D) to correct your mistakes.
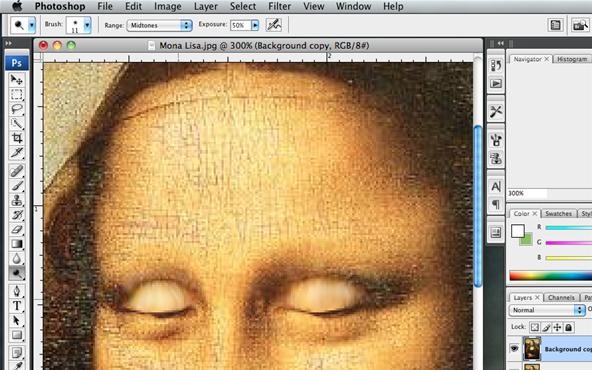
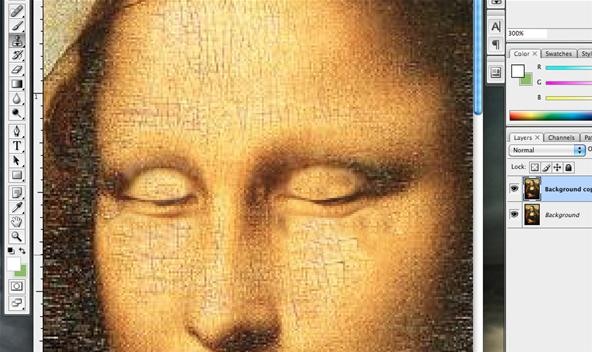
Step 7: Forward Warp the Eyelids
Now select the Forward Warp Tool (W).

Gently push down the eyes as shown.
You can also do one eye only for a winking effect. Otherwise, this article covers blinking of both eyes.
When finished, select OK to save and exit the Liquidify filter.
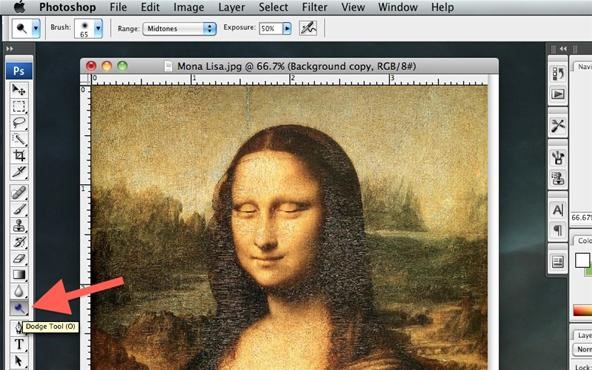
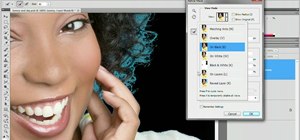
Step 8: Finishing Touches with Dodge Tool
Select the Dodge Tool (O) for any finishing touches you may need.
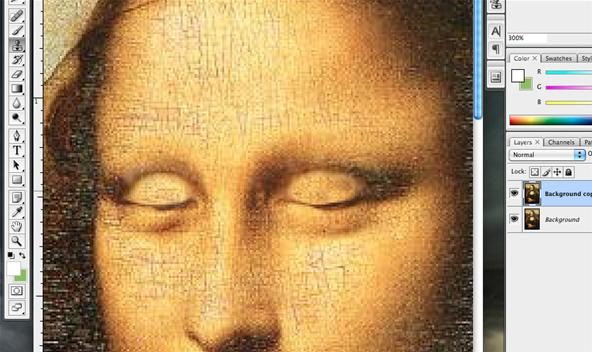
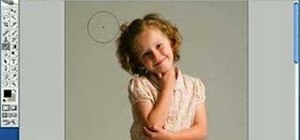
Step 9: Replicate the Rough Paint
To make it more realistic, use the Clone Stamp Tool (S).

Select an appropriate area of the painting by holding the Option key, then click on your desired spot that you want to clone, more likely the cheeks or forehead. Then go at it.
Step 10: Work on the Bags
Now those bags under the eyes need to be adjusted. Select Filter < Liquidify again. Use the Forward Warp Tool (W) to raise the bags up.
Step 11: Match the Paint
Use the Clone Stamp Tool (S) again to match the rough paint effect under the eyes.
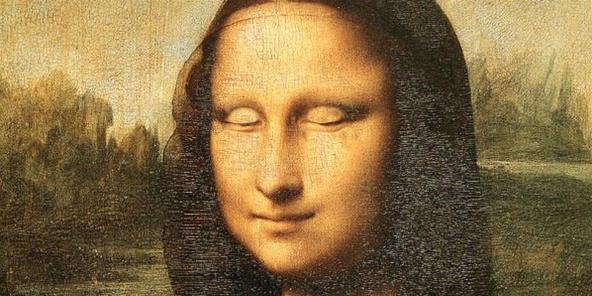
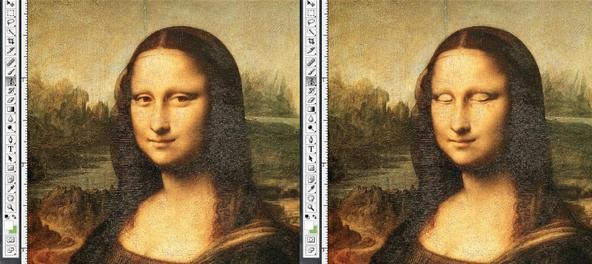
Step 12: Finished... Kind Of
Here are the two versions of your Mona Lisa. Left is the original, right is the closed eyes version. (Yours will probably look better... I rushed.)
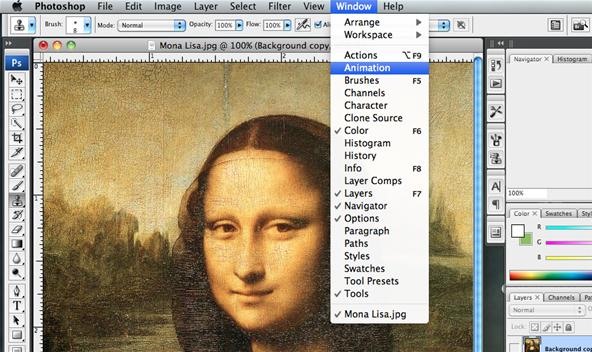
Step 13: Animate Her
Select Window < Animation to start making the GIF of the Mona Lisa blinking.
Step 14: Start Your First Image
Make sure the Visibility for the Background Copy is deselected. You want the animation to start with her eyes open, as usual.
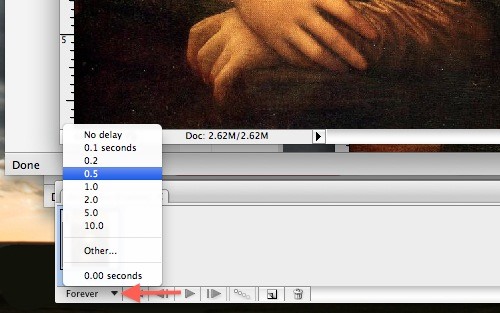
Step 15: Adjust Frame Time
Click on the little black upside-down triangle to set the Delay Time. Set it to 0.5 seconds.
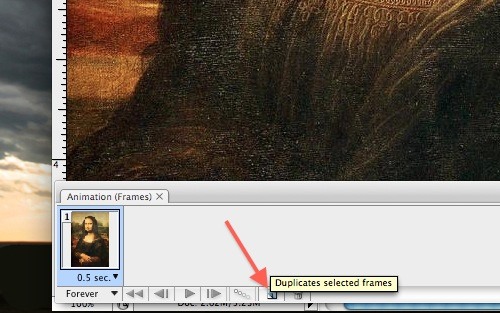
Step 16: Duplicate the First Frame
Click on the Duplicates Selected Frames icon in the bottom Animation (Frames) window. A duplicate frame (Frame 2) should appear next to the first one in the sequence.
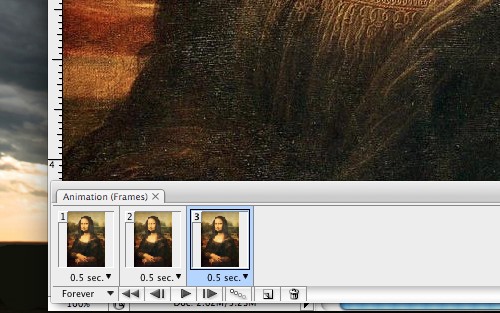
Step 17: Blink the Second Frame
Make sure the second frame you just created is selected. Then, reselect the Visibility of the Background Copy layer. Next, duplicate that frame and make sure the Visibility for the Background Copy layer is deselected (again) in the third and final frame. You should now have three frames total.
Step 18: Save as a GIF
Now, go to File < Save for Web & Devices...
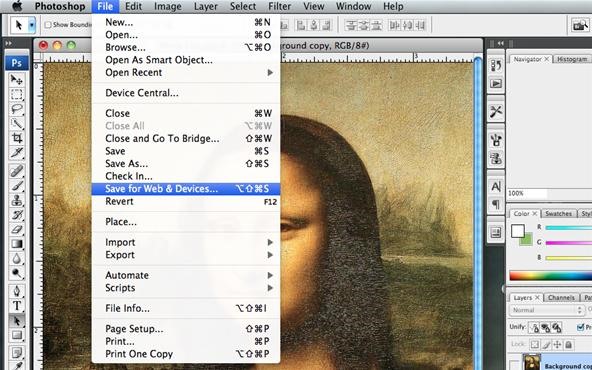
Step 19: Select GIF
Make sure that GIF is selected as your image output.
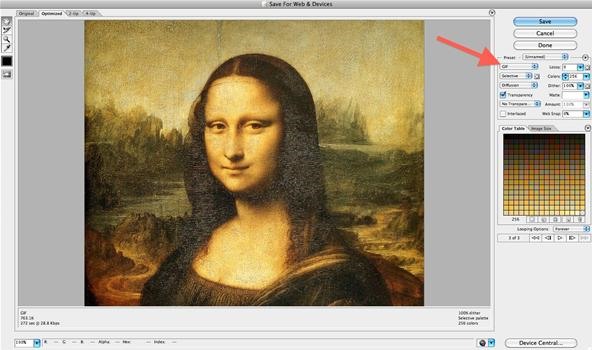
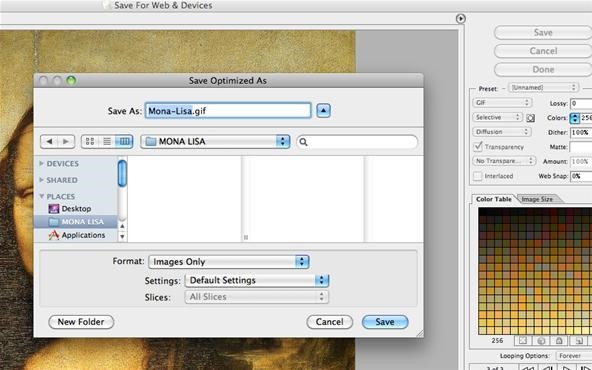
Step 20: Save Your GIF Animation of the Mona Lisa
Now all that's left is Saving. Press Save and name your file and select your folder to save it in.
Step 21: DONE!
That's it. You're done. If you want to view your GIF animation, just drag the file into your open web browser to see it in action!
If you want, try adding some hidden text inside the eyes, for hidden messages that you can send to your friends! Just like Leonardo da Vinci did!
Just updated your iPhone? You'll find new emoji, enhanced security, podcast transcripts, Apple Cash virtual numbers, and other useful features. There are even new additions hidden within Safari. Find out what's new and changed on your iPhone with the iOS 17.4 update.


Be the First to Comment
Share Your Thoughts