

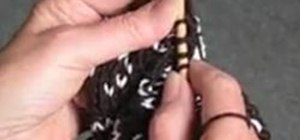
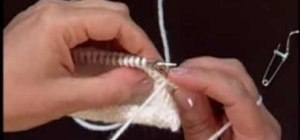
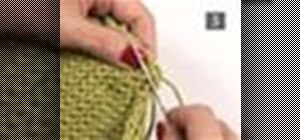
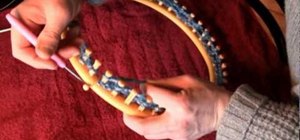
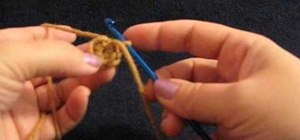
The two basic stitches in knitting are the Knit Stitch and the Purl Stitch. Once you know how to do both of them you can put them together to make RIBBING. RIBBING is usually, but not always, used at the bottom of a garment, as well as at the cuffs and at the neck. It's also a good stitch to use when you want both sides of the fabric to look the same like for a scarf or a blanket. RIBBING is usually K2 P2 (knit 2 stitches, purl 2 stitches) but it could be K1 K1 (knit 1 stitch, purl 1 stitch) or any even numbers. It could also be uneven numbers such as K2 P3 (knit 2 stitches, purl 3 stitches. or any variation. For practice I would suggest that it's best to start with an even number and do K2 P2 since that is what most patterns call for.
- Knit 2 stitches
- Bring the yarn to the front of your work
- Purl 2 stitches
- Take the yarn to the back of your work
- Knit 2 stitches
- Bring the yarn to the front again
- Purl 2 stitches
- Take the yarn to the back again
- Continue this pattern till you reach the end of the row, ending with Purl 2
- Turn the work around.
- The first 2 stitches should be knit.
- Do the same pattern, K2,P2 for as many rows or inches as you need.
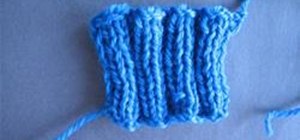
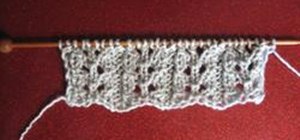
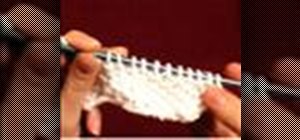
 THIS IS WHAT YOUR RIBBING SHOULD LOOK LIKE
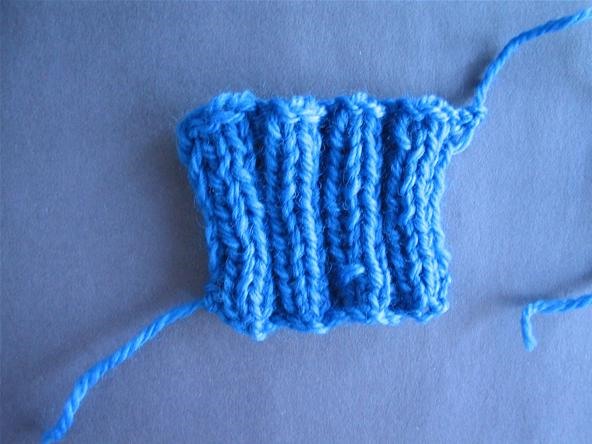
Just updated your iPhone? You'll find new emoji, enhanced security, podcast transcripts, Apple Cash virtual numbers, and other useful features. There are even new additions hidden within Safari. Find out what's new and changed on your iPhone with the iOS 17.4 update.


Be the First to Comment
Share Your Thoughts