

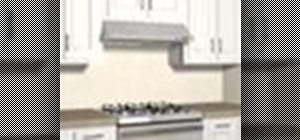
Wall studs are both critical for maintaining the structure of your home and supporting items of weight and function on the interior walls (e.g. cabinets, shelves, plasma TVs, etc.). With wall studs playing such a critical role, consistently being able to find them is important. The problem with finding them is that drywall and wallboard isn't exactly see-through.
Commercial stud finders are available at any hardware store, but for how often the average do-it-yourself home owner requires the use of one is not worth the investment.
Warnings
- Read and understand all instructions specific to the wall fixture being installed.
- Failure to follow manufacturer's instructions may result in serious injury or damage.
- Installing any item on a wall requires a certain amount of handyman skill.
- Understanding of proper tool use is essential.
- Hire professionals when in doubt.
If you are still up to the task of finding the studs in your walls, let's get started.
Electrical Outlets and Wall Jacks
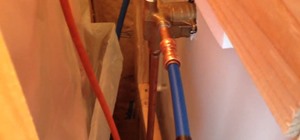
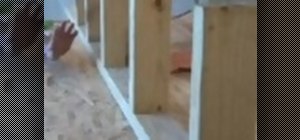
During the construction of your home, just after the walls are framed and raised, the electrical and data lines are run. These wires make their connections inside boxes that are attached to the sides of the studs. For this reason, anytime you see a faceplate on your wall, there is a stud directly beside it.
There is one exception; retro-fitted electrical or data locations may not be attached to a stud.
Step 1 Determining Appropriate Faceplates
While all faceplates are connected to the boxes, which in turn are attached to the studs (with the exception of the exception stated above), they will not all lead as accurately. Light switches in particular will be the least accurate in guiding you to studs in the vicinity. This is due to the typical placement next to doorway and openings.
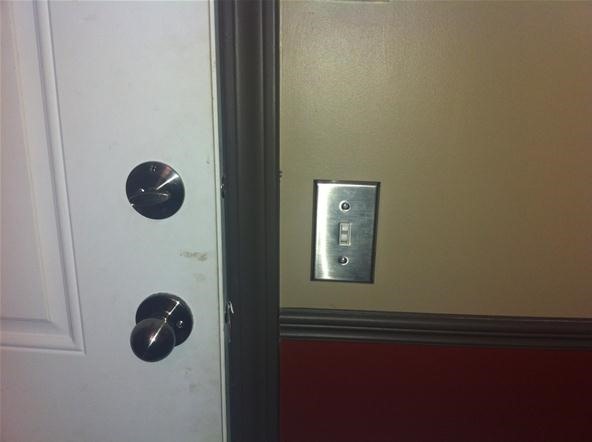
Useful junction boxes will be those found in the middle of the wall.
Warnings
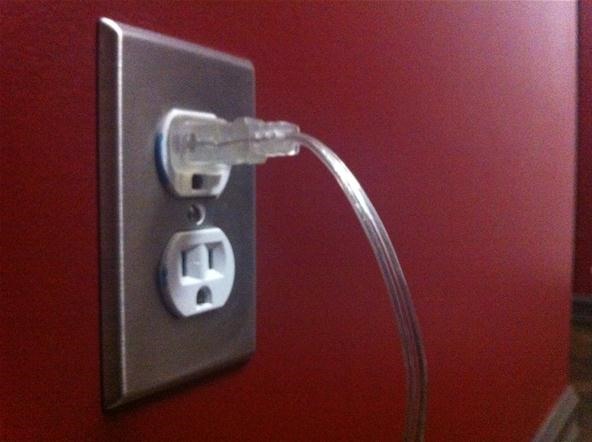
- Disconnect the power at the breaker before removing any faceplates.
- Test the outlet for power with a lamp or other small appliance before continuing.
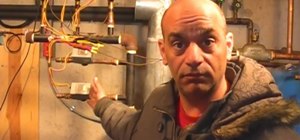
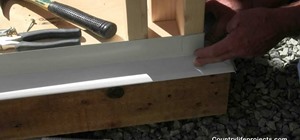
By removing the faceplate, you can probe each side of the of the box behind the wallboard. Inserting a small screwdriver at an angle beside the box will produce one of two results:
1) The probe will continue into the wall cavity...
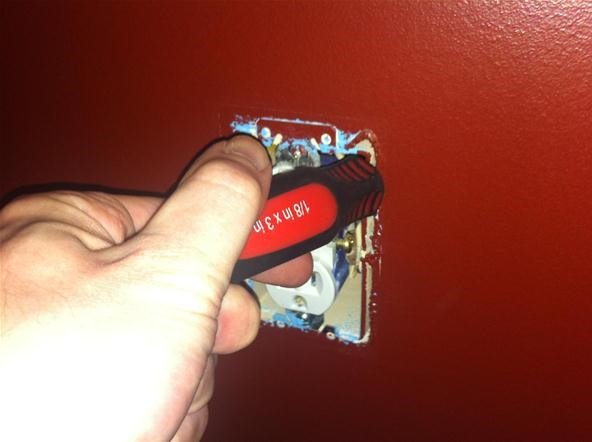
2) Or the probe will contact the structure of the stud.

If the probing device falls into the wall cavity on both sides, there is no stud at this location (and would be an example of the exception).
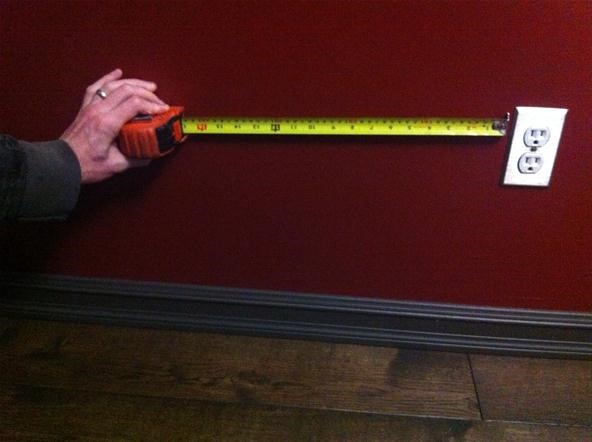
Step 2 Finding Studs in Proximity
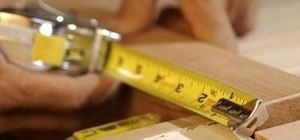
Once you have located the stud-side of the electrical / data box, it's as easy as measuring in either direction from that location. Depending on your local building code, studs will either be at 16" or 24" on center (though 16" is the more common).
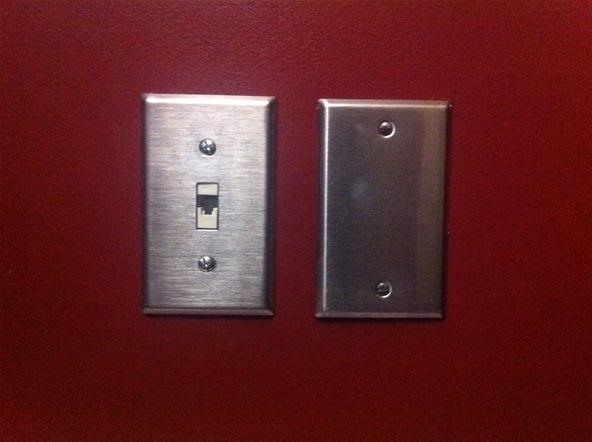
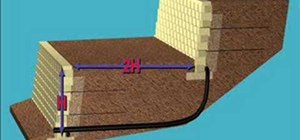
Step 3 Ideal Situation
There is one situation that is a tell-tale sign of a stud location. If two junction box faceplates are situated about 1" apart, the boxes are attached to the same stud, one on each side. If you have a layout such as this, just use Step 2 to find the studs in proximity, as required, basing your measurement from the center of this layout.
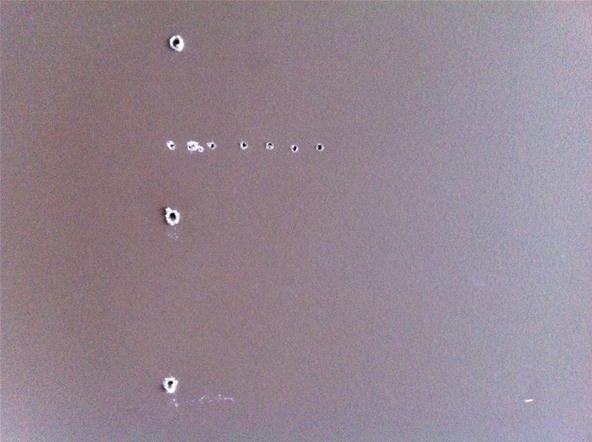
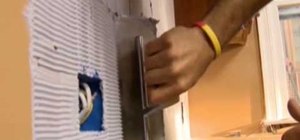
Congratulations!
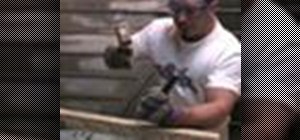
You are now able to find studs consistently without employing the "guess & check" method (seen below). This will make your DIY project quicker and more enjoyable because plaster and painting repairs will not be required.
Happy hanging!
Just updated your iPhone? You'll find new emoji, enhanced security, podcast transcripts, Apple Cash virtual numbers, and other useful features. There are even new additions hidden within Safari. Find out what's new and changed on your iPhone with the iOS 17.4 update.


2 Comments
Don't make your hole/anchor point at the 16" or 24" mark! You will hit the edge of the stud. Try poking into the wall at about 15" or 23". Remember you are measuring from the edge of one stud, not the center. Studs are placed at 16" or 24" "on center".
That's a very good point Dale.
The studs are on 16" or 24" measured from the center of one stud to the center of the next. In using the junction box layout as you guide, you will measure to the edge of the next stud. Add 3/4" to your measurement will ensure you hit the middle of the stud that you want.
Share Your Thoughts