


How To: Make Any Picture Into a Magnet
For this Project, You Will Need: A picture (that you've printed, and drawn yourself)
How To: Make your own embossing folders
Why spend money on embossing folders when you can make homemade ones for cheap? This video tutorial shows the process of making your own embossing folders easily and cheaply. You can make your own designs or you can use die cuts that you already have made, and make coordinating folders for them. All you need for this crafts project is card stock and glue. You can save a fortune!
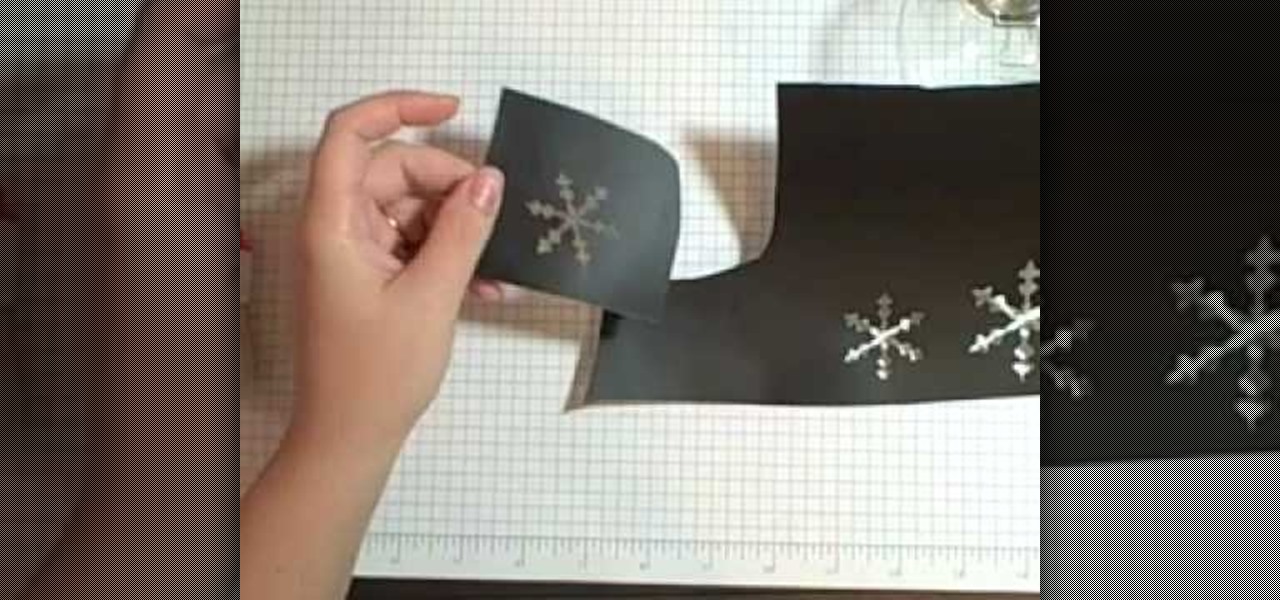
How To: Make a stencil with Adobe Illustrator
Stencils can be made in lots of ways, but using Adobe Illustrator gives a more professional finish. Acetate sheets and an X-acto knife are also required to cut our the image. Learn how to make a stencil by watching this tagging how-to video.
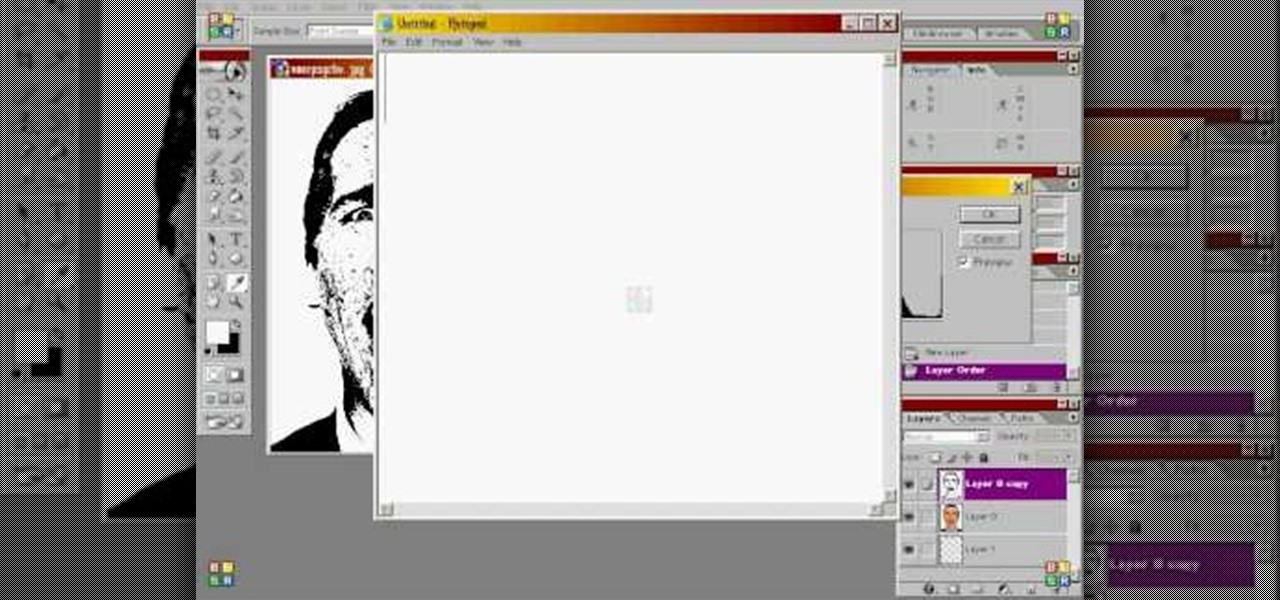
How To: Make a multilayer stencil in Photoshop
Multilayer stencils require a little bit more planning than a single layer, but are still easy to make, especially with the the help of Photoshop. Watch this video tutorial and learn how to digitally modify an image to create a multilayer stencil.
How To: Make Your Own Stencils and Hit the Streets
Feeling inspired? Looking for a place to express yourself creatively through art? Why not take to the streets, and use the city walls as your canvas. This video shows you how to make a stencil, just like the ones the international star Banksy uses.
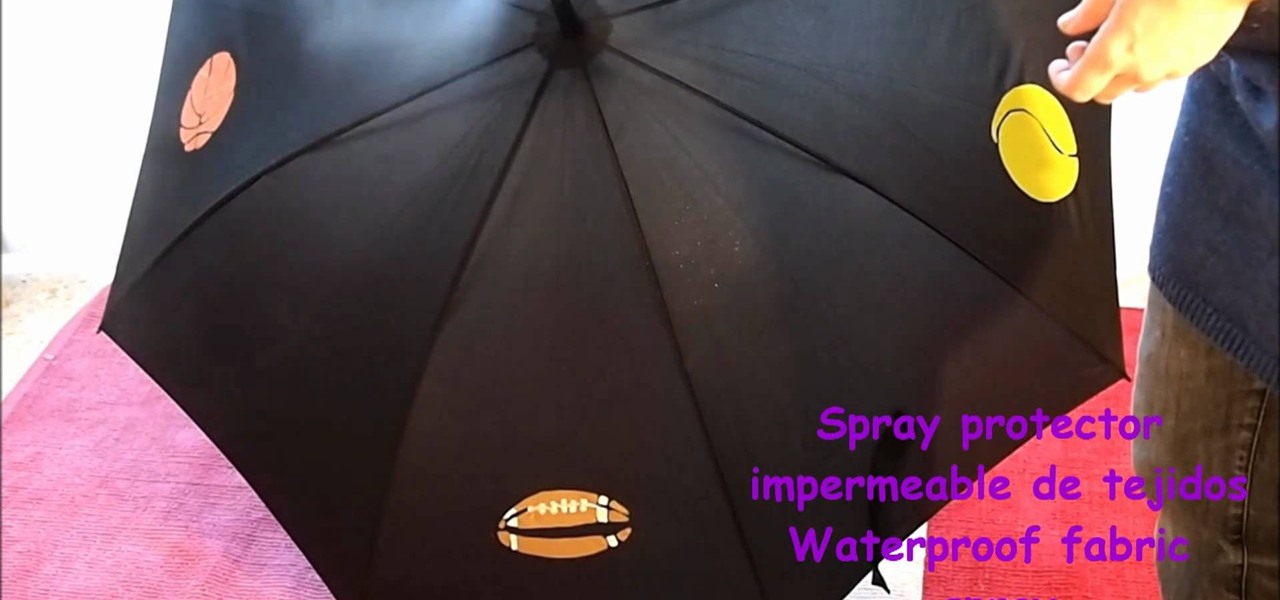
How To: Craft a colorful painted umbrella
Brighten up a rainy day with a beautiful painted umbrella. You'll stand out from the crowd, even in a downpour, if you follow this video's instructions on making stencils to decorate an umbrella. Heads will turn when you show off your fun design!
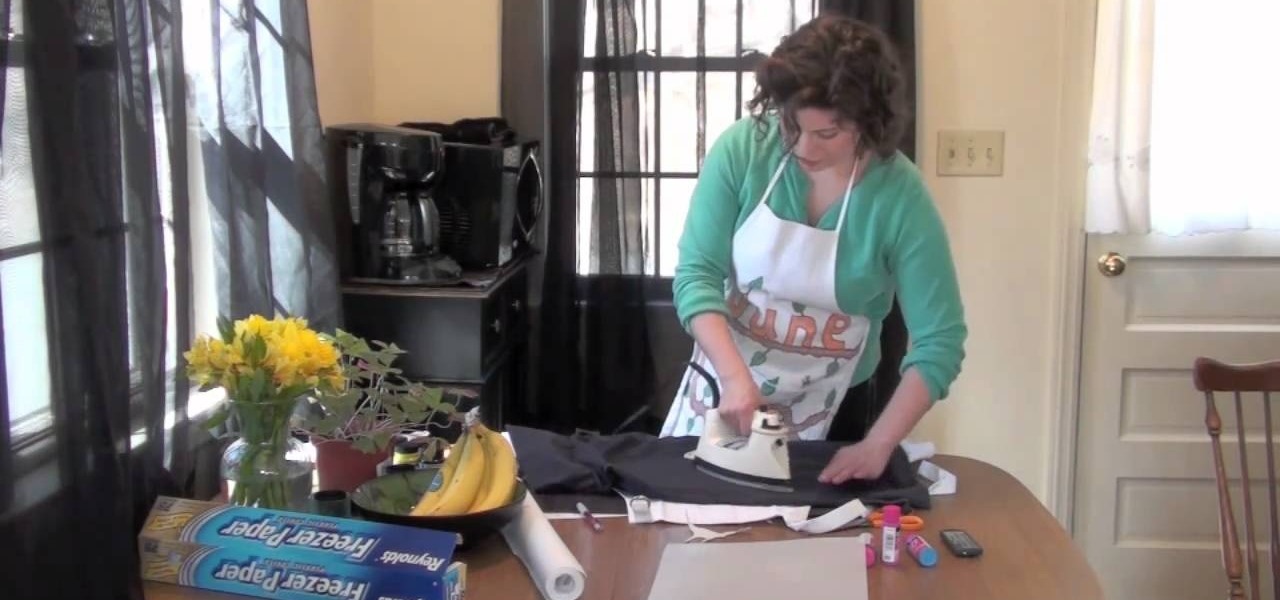
How To: Make iron-on freezer paper stencils to decorate clothing
Learn a fun and easy way to decorate your clothes with these iron-on freezer paper stencils. This video will show you how to create stencils perfect for personalizing aprons, tote bags, or t-shirts. With these stencils you can make thoughtful gifts for all of your loved ones.
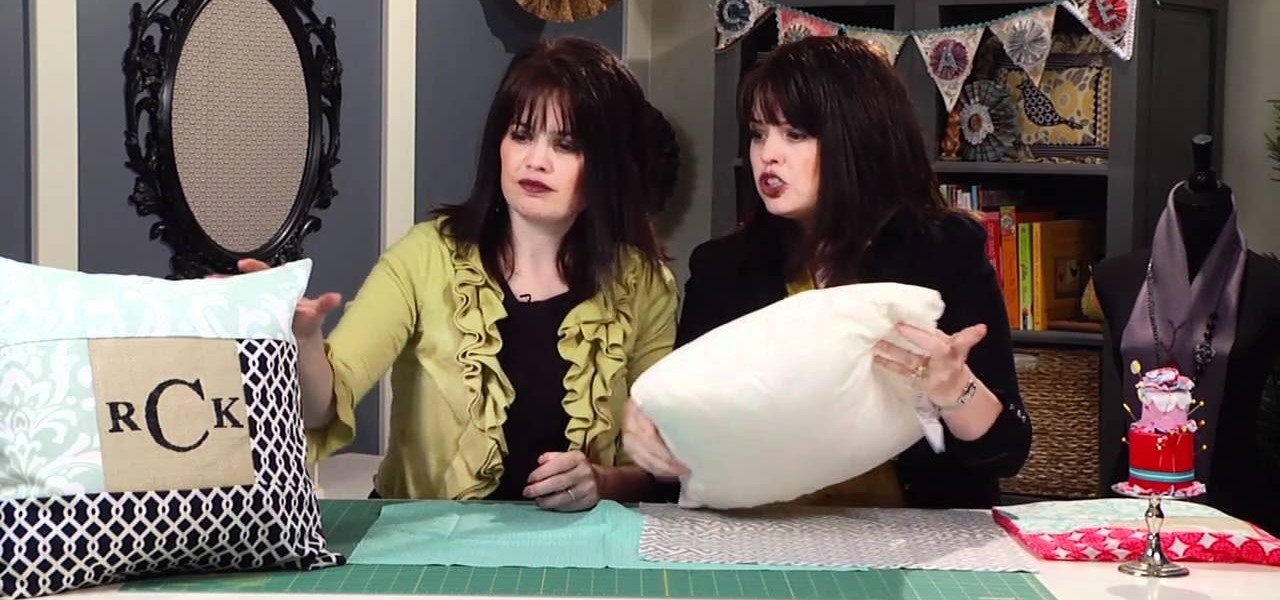
How To: Use freezer paper to create monogrammed pillows
Freezer paper to make stencils? We're aware that you're probably not used to using the food staple for crafting, but it's actually a super inexpensive way to create beautiful stencils - in this case, monograms - on fabric.
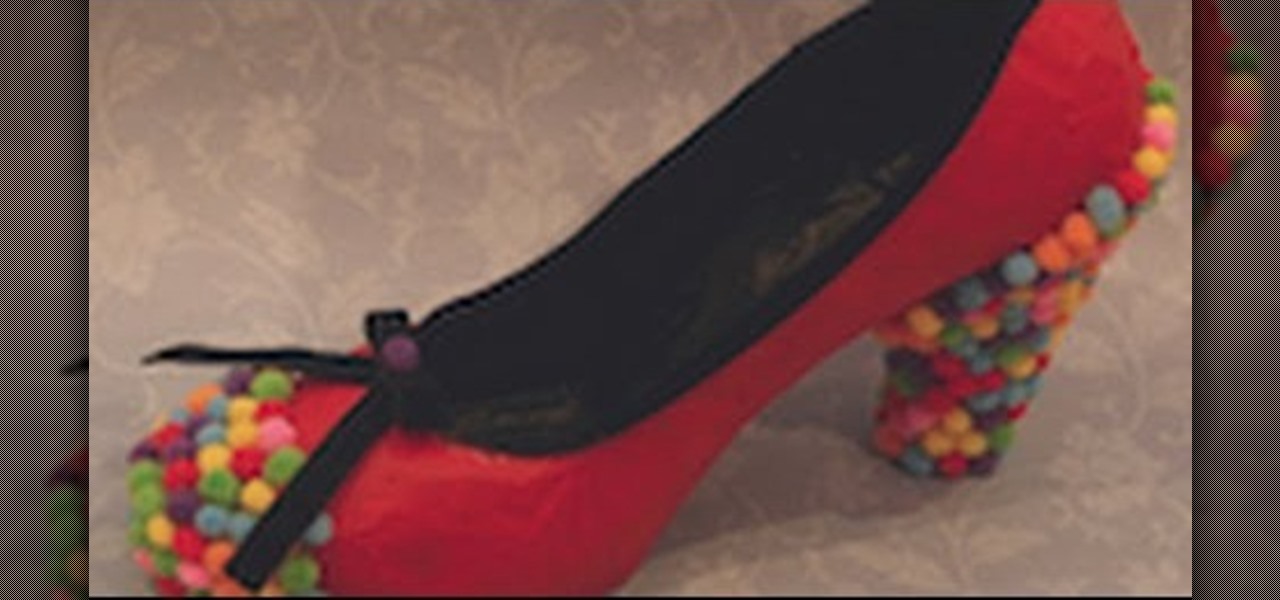
How To: Decorate a Shoe
Do you have some plain clothes that need a touch of your personality before you can wear them out? Watch this video and learn how you can make any shoe (or just about anything else) your own, by customizing with cute decorations.
How To: Decide if wood or acrylic stamps are better for your projects
There are so many choices at the craft stores when you go to buy some new stamps! Do you get wood or acrylic? How do you choose the best one? This video shows you everything you'll ever need to know when it comes to stamp types.

How To: Paint a Rangoli design using glass paint
This tutorial shows you how to replicate the Rangoli design onto a piece of glass using glass paint. You will also need a few stencils and a pen to trace your design onto. Great for dressing up windows and mirrors!
How To: Use your Cricut machine to create etched glass
Create your own glass etchings! You will need some pieces of vinyl, your Cricut machine, etching solution and the glass you want the design on. It's very easy, and all you need now is to pick the right graphic or design!

How To: Paint spring-loaded clothespins into colorful, decorative wooden fasteners
Spring-loaded clothespins are used for more than just clothes. If you looked in anyone's home, you'll see these springy wooden clothespins used for things like chip clips, photo holders and even for attaching sports cards on bicycle spokes. They're even used in the film industry (called C47s or bullets) for clamping colored gels or diffusion to hot lights on set. So, there's a million uses for these wooden clamps, but that doesn't mean they have to look the same— drab and unoriginal.
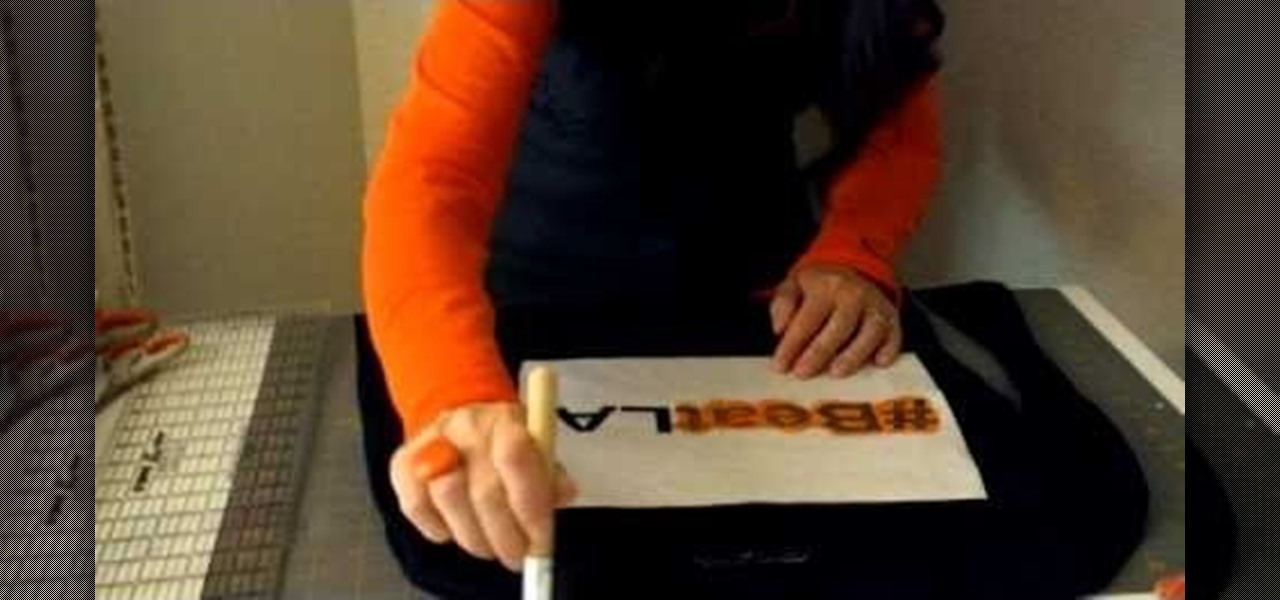
How To: Use freezer paper to stencil a hash tag design onto a t-shirt
Proclaim your love for hash tag #Bestof2010 by literally wearing it on your chest! Show off your Twitter addiction in the most fashionable way possible by making this awesome hash tag design t-shirt.
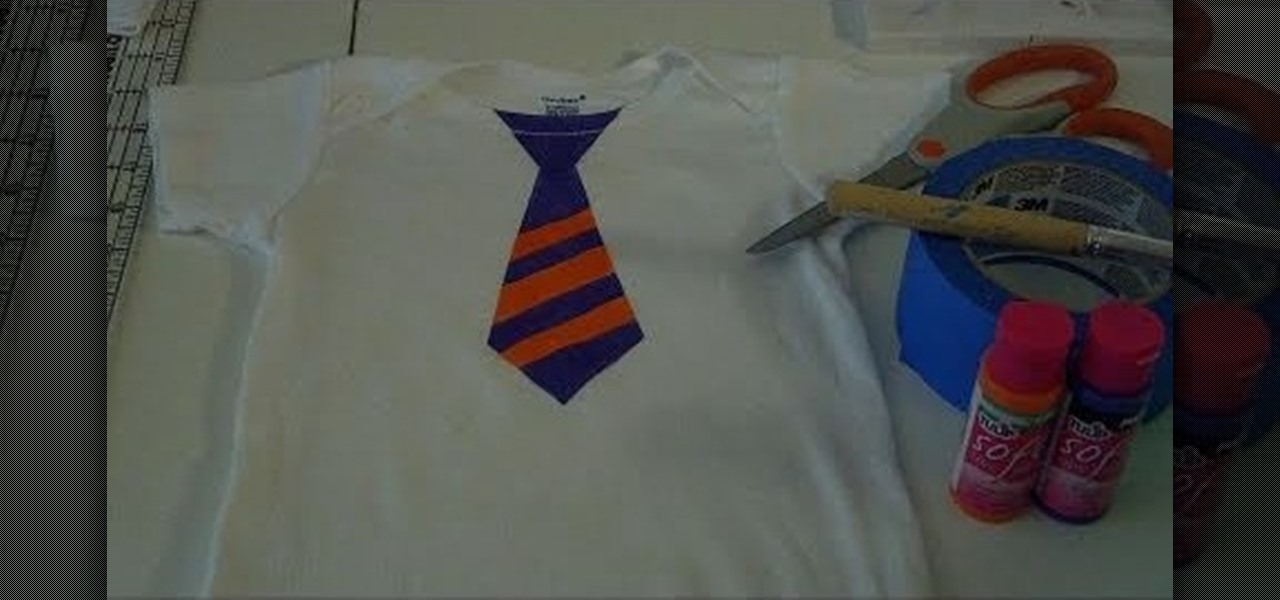
How To: Make a simple stenciled necktie onesie for your baby boy
Daddy doesn't have to be the only man in the house who wears a tie. Let your little one engage in some debonair "Mad Men" action by making this super easy stenciled necktie onesie.
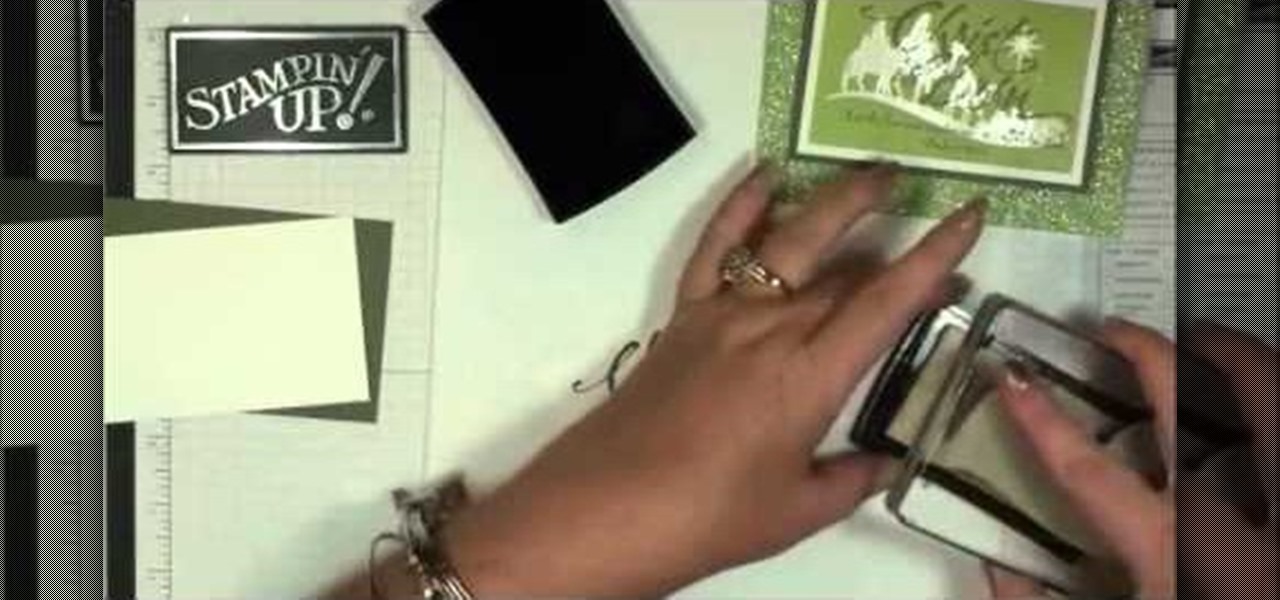
How To: Make a beautiful embossed 'Christ is Born' Christmas card
This tutorial shows you how to make a beautiful green embossed Christmas card, featuring the words 'Christ is Born,' for those who celebrate the religious aspect of Christmas. Make sure you have enough stamping supplies and embossing powder for this project!

How To: Make a paper Christmas wreath as an embellishment for a greeting card
This tutorial shows you how to make a lovely Christmas wreath out of cardstock, a few gems and some ribbon. You can include this as an embellishment to your handmade holiday cards, or include it in one of your scrapbooks.
How To: Make an embossed thank you card
Embossing can add an extra touch of beauty and elegance to any card. This tutorial shows you how to make a lovely thank you card (useful for the upcoming holidays!) and how you can use embossing to add an extra detail to it.

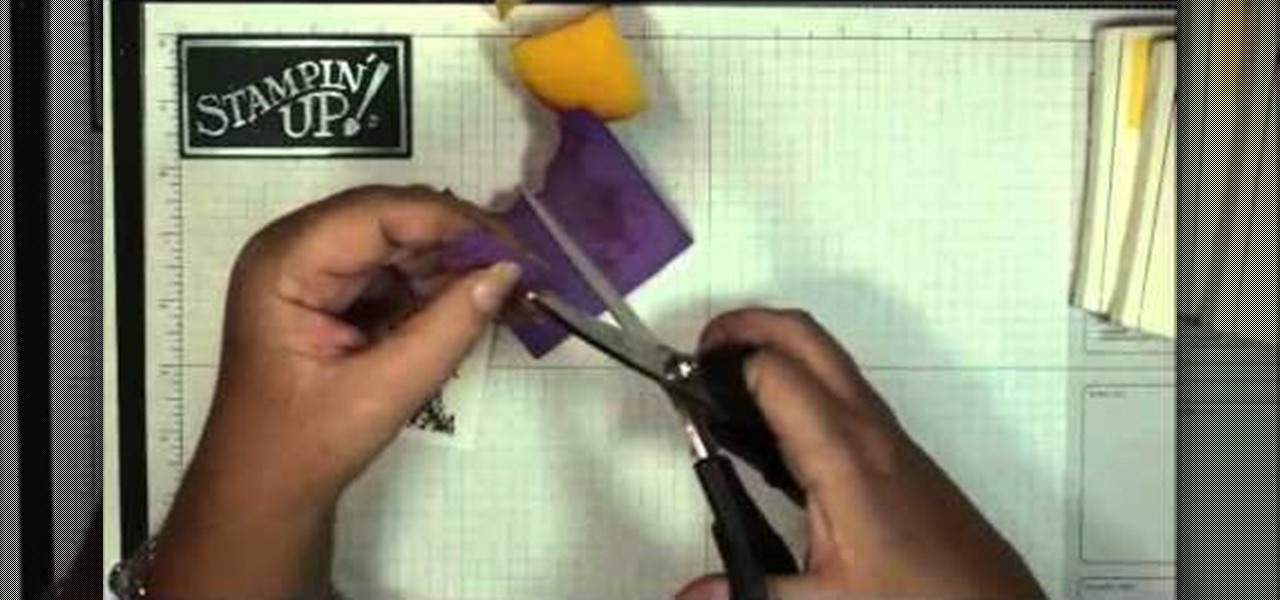
How To: Make a faux suede looking card with Stampin' Up!
This video tutorial is in the Arts & Crafts category which will show you how to make a faux suede looking card with Stampin' Up! Take the creamy caramel card stock and punch out a large star using the large star punch. Now use the bone folder to curl the star you punched out. Flip the star over and repeat on the other side as well. You will see the edges coming apart. Then peel the star apart and what you will get is a piece of card stock that looks like suede and is really soft. Now you can ...
How To: Make a friendship card with butterflies and pansies
This is a unique idea you can use to make a card for a dear friend - or anyone you want to express your admiration for. Make a handmade card which features beautiful butterflies and pansies. All you need is some basic crafting supplies.
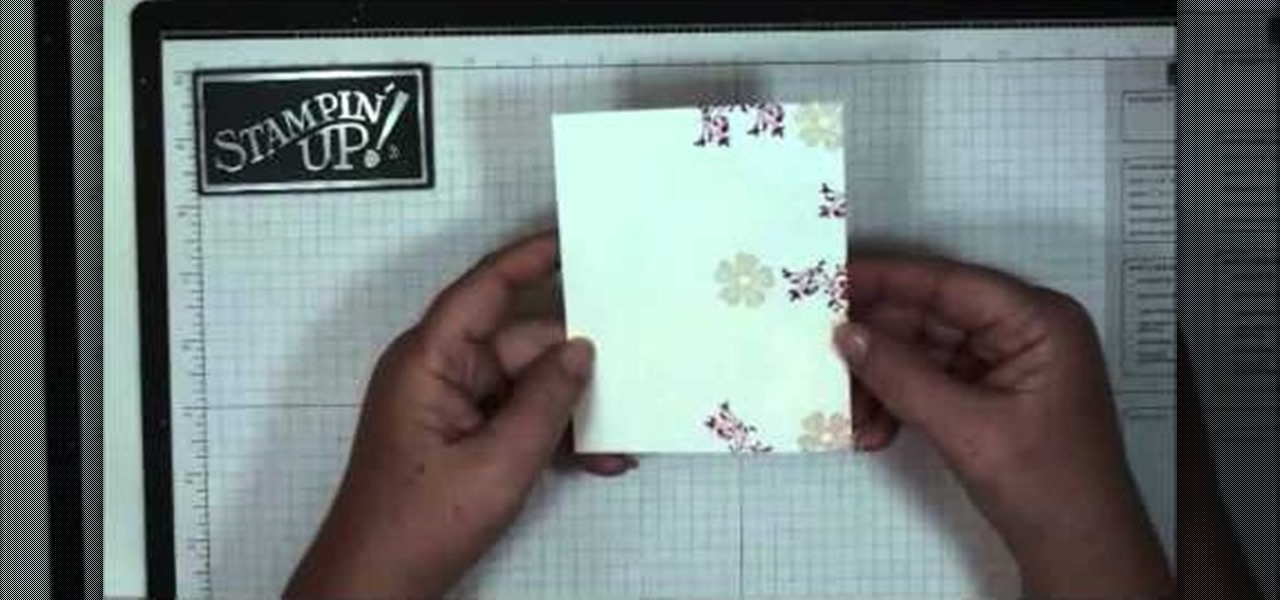
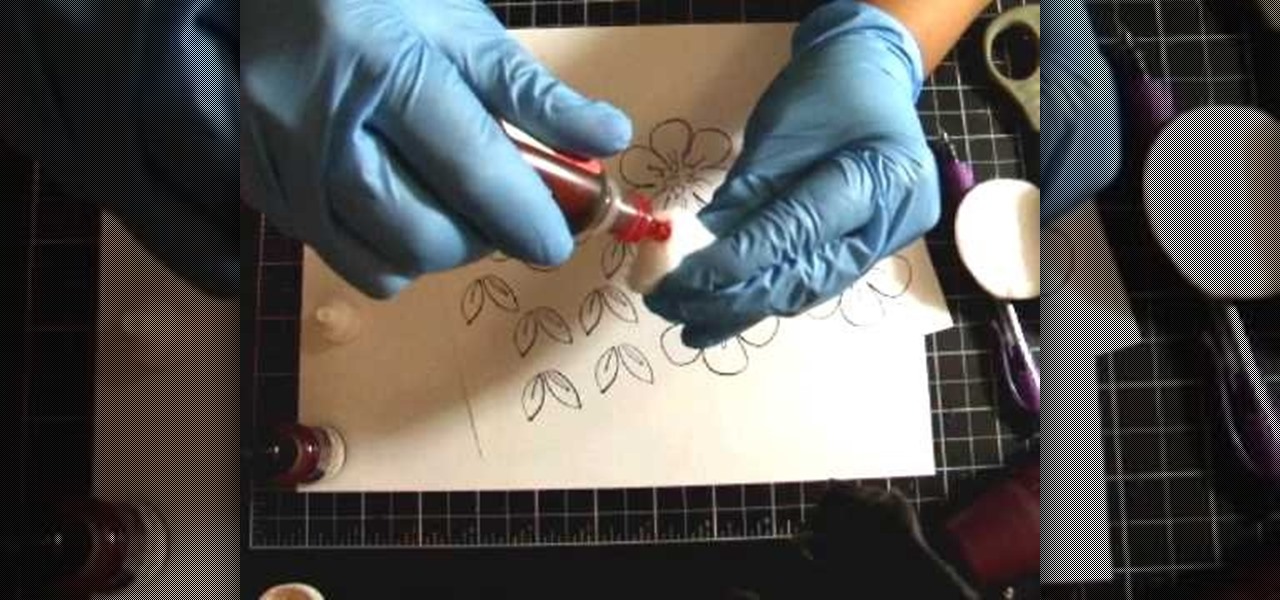
How To: Use the rubber stamp technique wet paper watercoloring
In this tutorial, we learn how to use the rubber stamp technique wet paper watercoloring. This is easy and fast and it will create a water colored background on your cards! First, dip your stamps into the watercolor and then stamp them onto your paper. Either wait for these to dry or dry them with a blow dryer. Once it's dry, go over the image again with the stamps and the watercolor. From here, it will appear more bold and decorative. Then, let this dry and start to decorate with ribbon, gli...
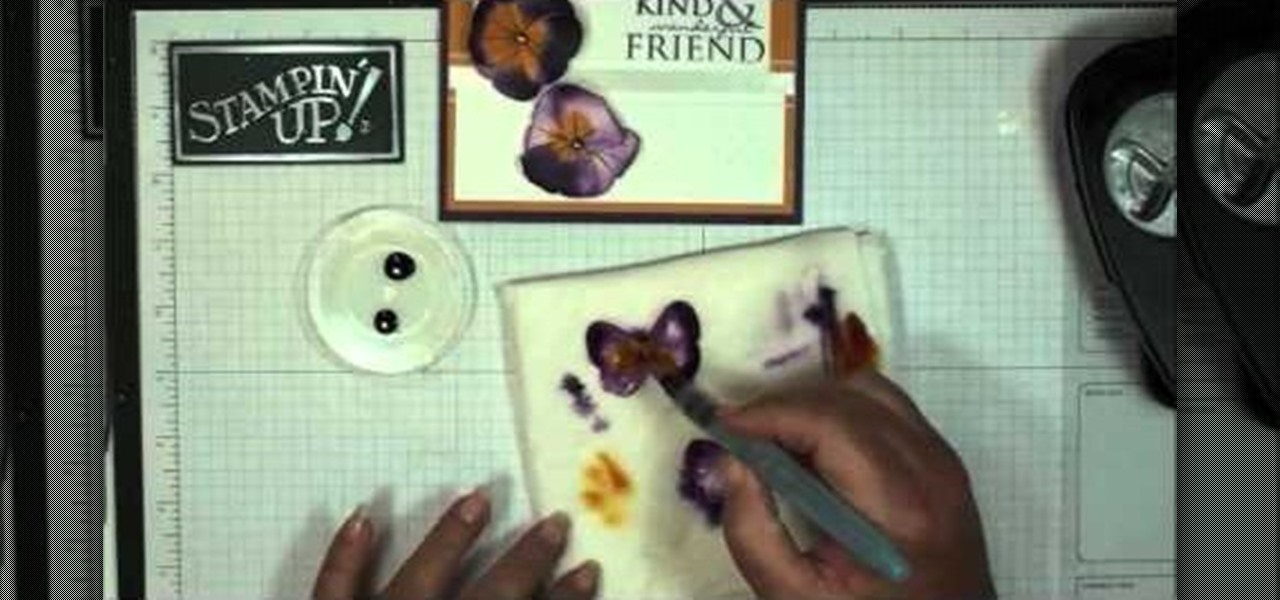
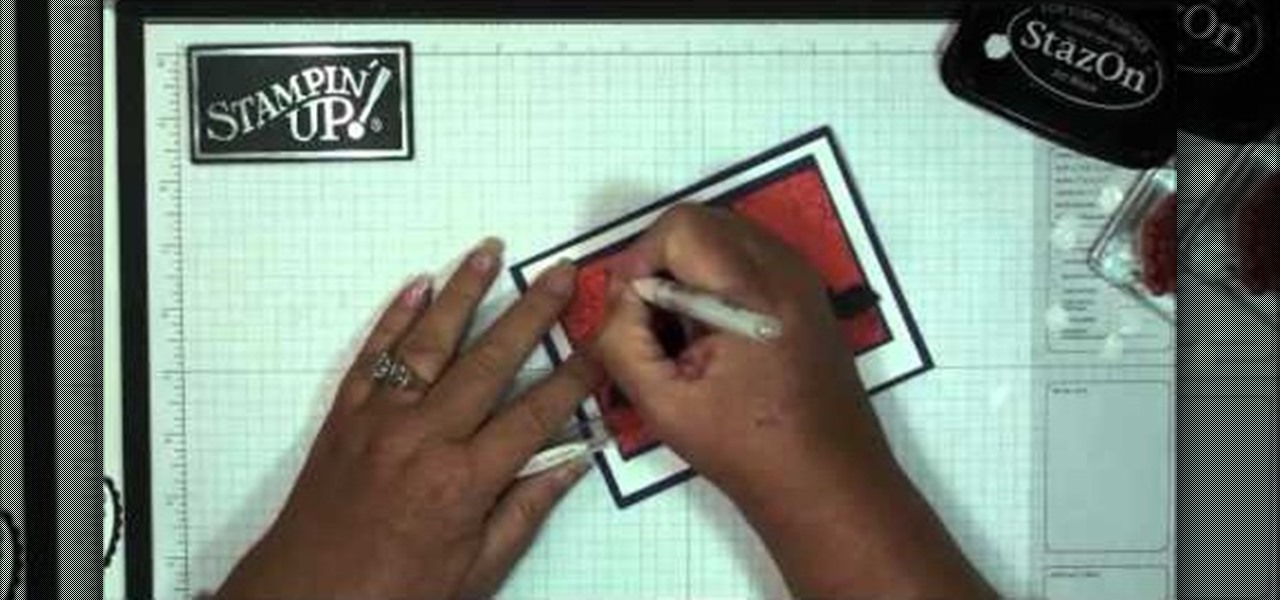
How To: Add texture to stamped images using rubbing alcohol
In this tutorial, we learn how to add texture to stamped images using rubbing alcohol. First, stamp on your image with a regular stamp to a piece of paper. After you do this, you will take a cotton ball and dip it into ink, then dab this on the images. From here, you will dip that into rubbing alcohol and then dab on top of the images as well. Allow this to dry and if you don't have time, blow dry it evenly. Then, use embossed ink to raise the images up from the page. When finished, you will ...
How To: Stencil your own t-shirt
In this tutorial we learn how to stencil your own t-shirt. Start off by grabbing your plain shirt and placing paper inside of it so it doesn't bleed to the back. After this, paint your background on the shirt in your desired color. From here, place what stencil you want on the top of the shirt and then paint inside of it. When you are finished painting it, carefully remove the stencil from the shirt. After this, you will need to let the shirt dry completely so it doesn't bleed at all. You can...
How To: Make a Halloween card using the masking techinque
Make a beautiful and spooky Halloween card using the masking technique! Masking technique? It's really not that hard! This card making tutorial shows you how to use masking to create a 3-D effect on your card - all you need is some Post-Its and scrap paper!
How To: Make a cute Halloween themed treat bag or gift bag
Whether you're looking for something extra to hand out to your trick or treaters, or party favors for a Halloween party, this tutorial shows you how to make a cute treat bag. You can make this bag using just some mini paper lunch sacks at the grocery store, plus a few extra paper crafting supplies.
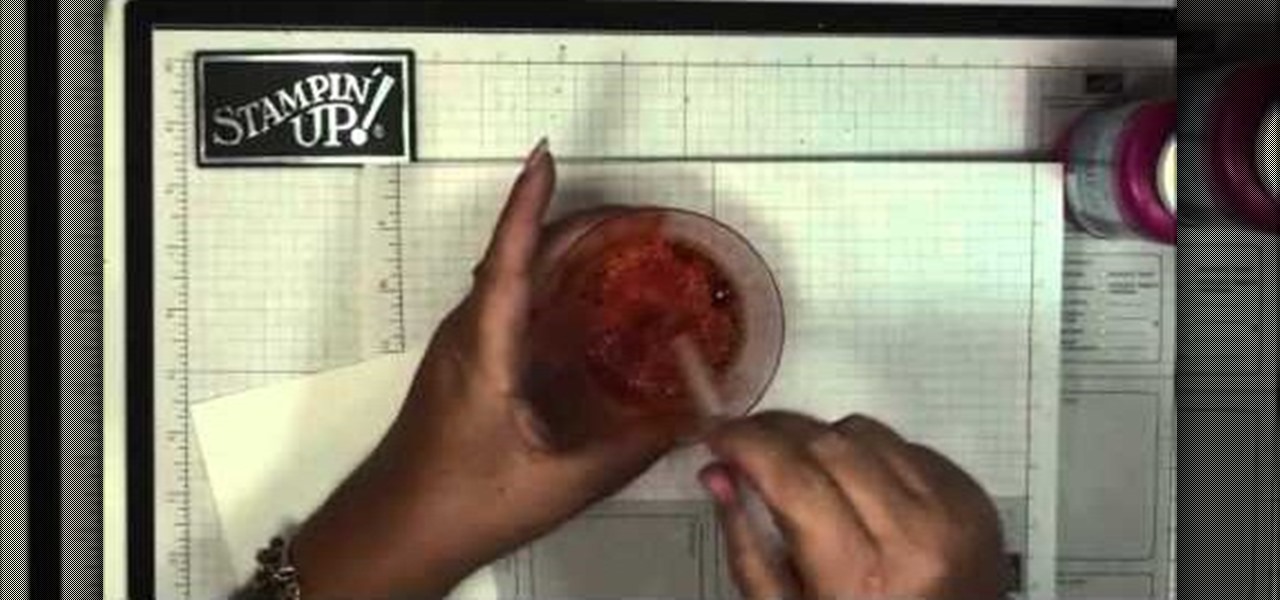
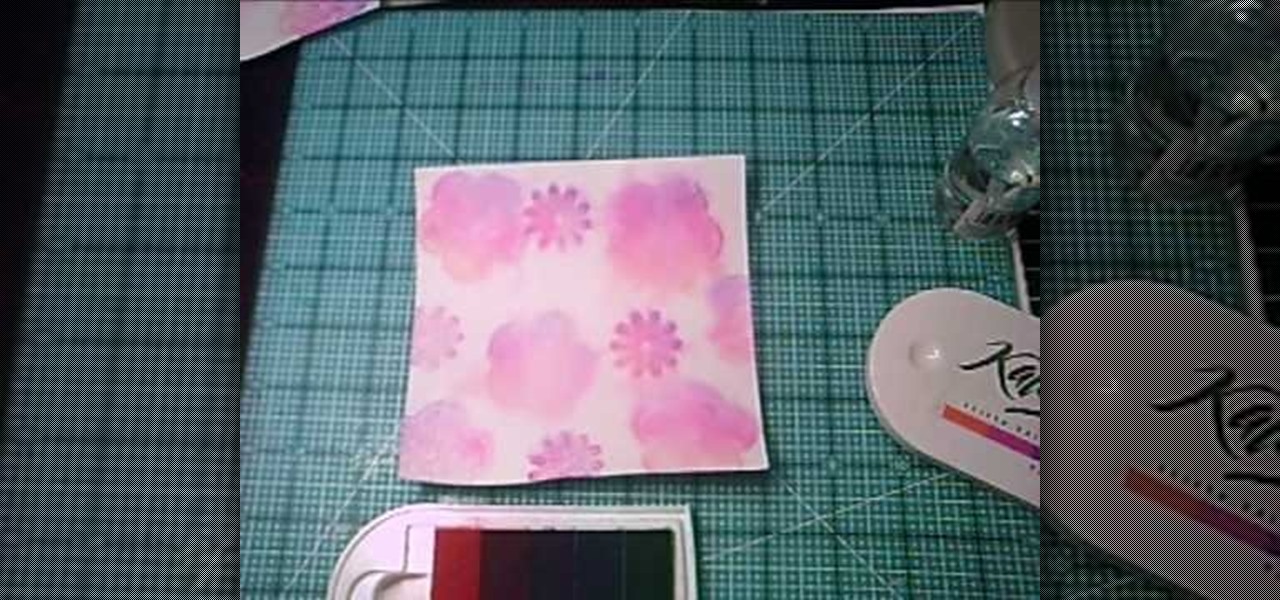
How To: Make a bubble background for your next paper crafting project
Here's a fun technique you can use to create a unique background for your next greeting card, scrap book or other paper crafting project. All you need is some bubble solution and a few drops of re-inker in your favorite color.
How To: Mix shimmer paint into a spray bottle to get spray shimmer
This is a quick tutorial that shows you how to take a small bottle of shimmer paint and then mix it into a spray bottle so you have shimmer paint, which you can spritz onto your projects for a little extra sparkle.
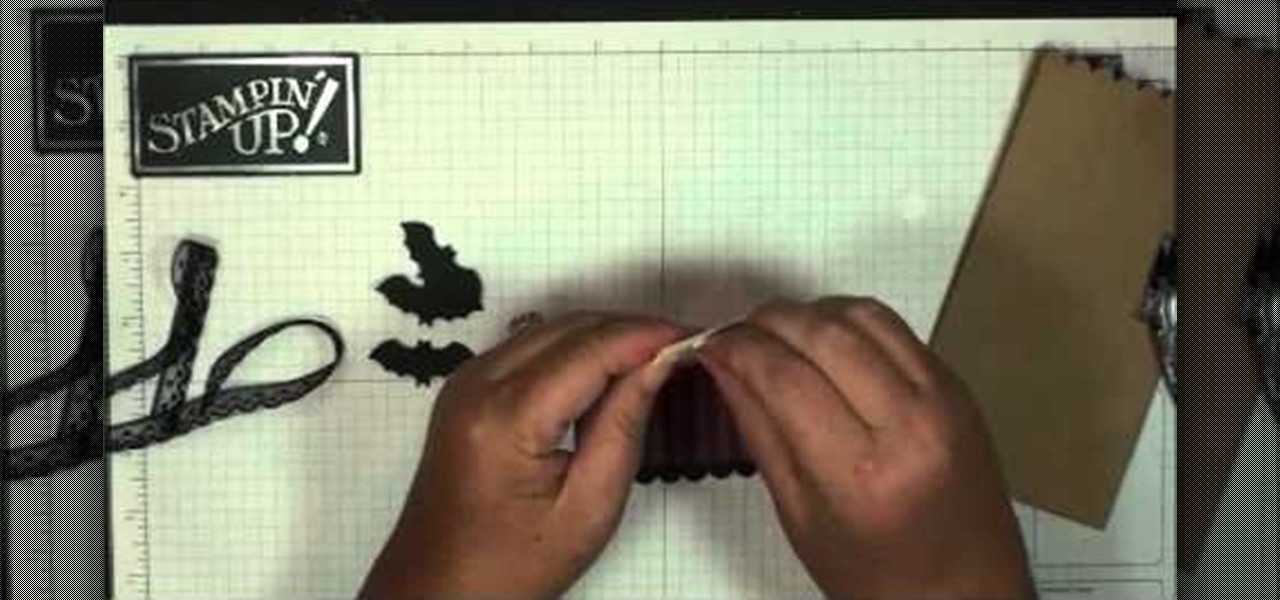
How To: Make a spooky Halloween themed greeting card
Send your best Halloween wishes to friends, family and zombies! This tutorial shows you how to start with some card stock and spiderwebs stamps, and end up with a crafty and creative Halloween greeting card, complete with bats flying around!

How To: Make your own autumn-themed thank you note cards
Make your own thank you note cards to send to friends, family, gift givers or hosts. This tutorial shows you how to create cards using cardstock and designer paper along with a few stamps to create your own lovely fall themed stationery.
How To: Make an easy and adorable five petaled flower out of designer paper
These cute little flowers can make the perfect addition or accessory to a gift, scrapbook or other similar project. Start with a few pieces of designer paper and then follow these instructions to end up with a lovely five petaled paper flower.
How To: Make a clever paper insert for a clear glass locket
Start with a clear glass locket, and then follow these instructions to make a few cute paper inserts to put inside your locket. Add a few personal touches, and you have a versatile and creativity-inspiring accessory that lets you dress up your wardrobe in a unique and clever way.

How To: Do the glitter windows technique when card making
In this tutorial, we learn how to do the glitter windows technique when card making. First, you will need to pick an area in the card where you want the window to be at. Then, grab a piece of card stock and stamp the areas out where you want the empty space for the window to be. Next, set this aside and grab another piece of paper in a different color. Apply glitter to this, then let it dry before attaching the cut out piece onto this. Now you can use this for the rest of your card and have a...
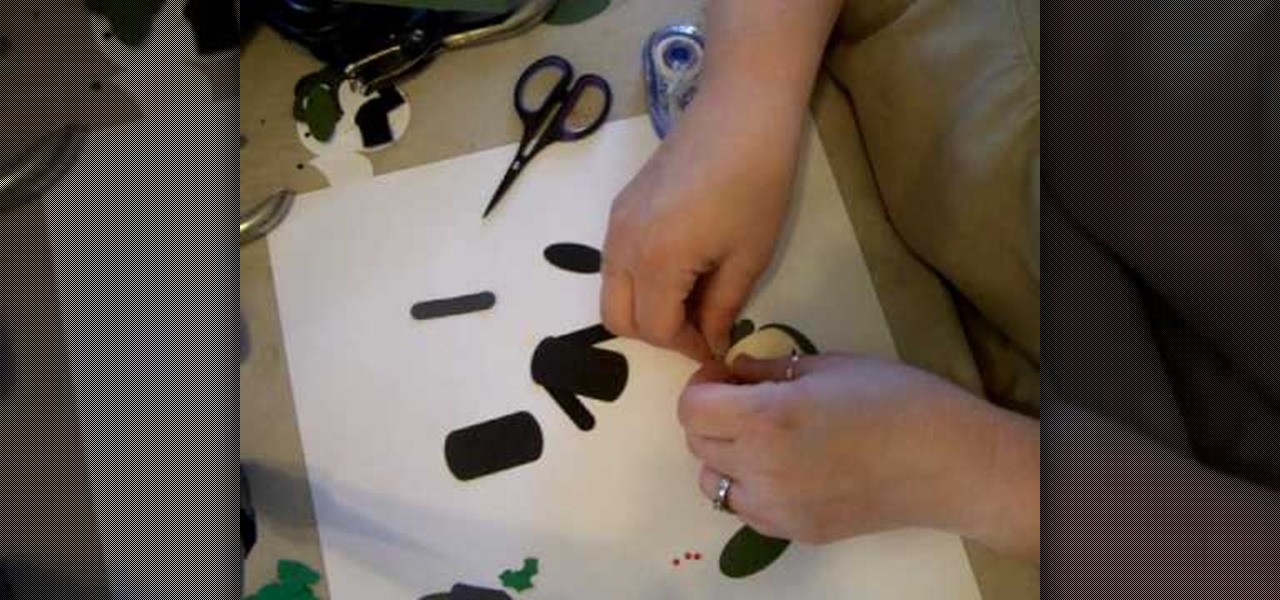
How To: Make Ebenezer Scrooge using Stampin' Up punches
In this tutorial, we learn how to make Ebenezer Scrooge using Stampin' Up punches. First, you will need to grab the guide that tells you which punches to punch out to make the character. Once you have all the colors and shapes punched out, then you will be able to put them together. The hat should be tall with a holly leaf and berries on it. Around his face should be a beard and a scarf around the neck. He should be wearing long sleeves with two buttons down the middle. Use a black gel pen to...
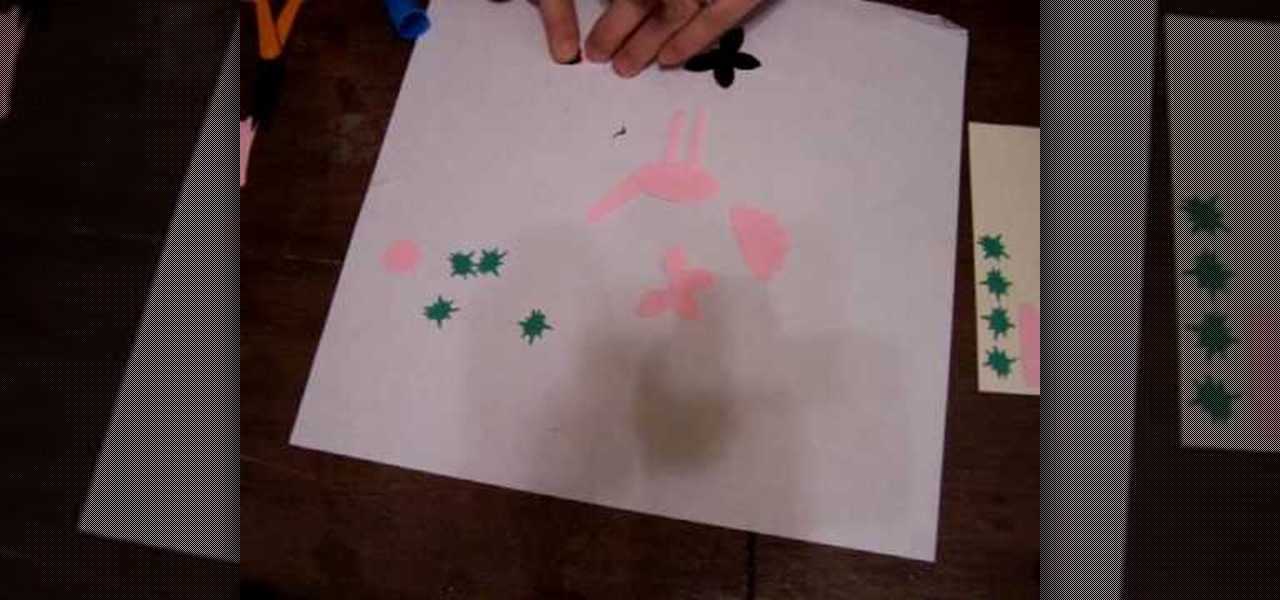
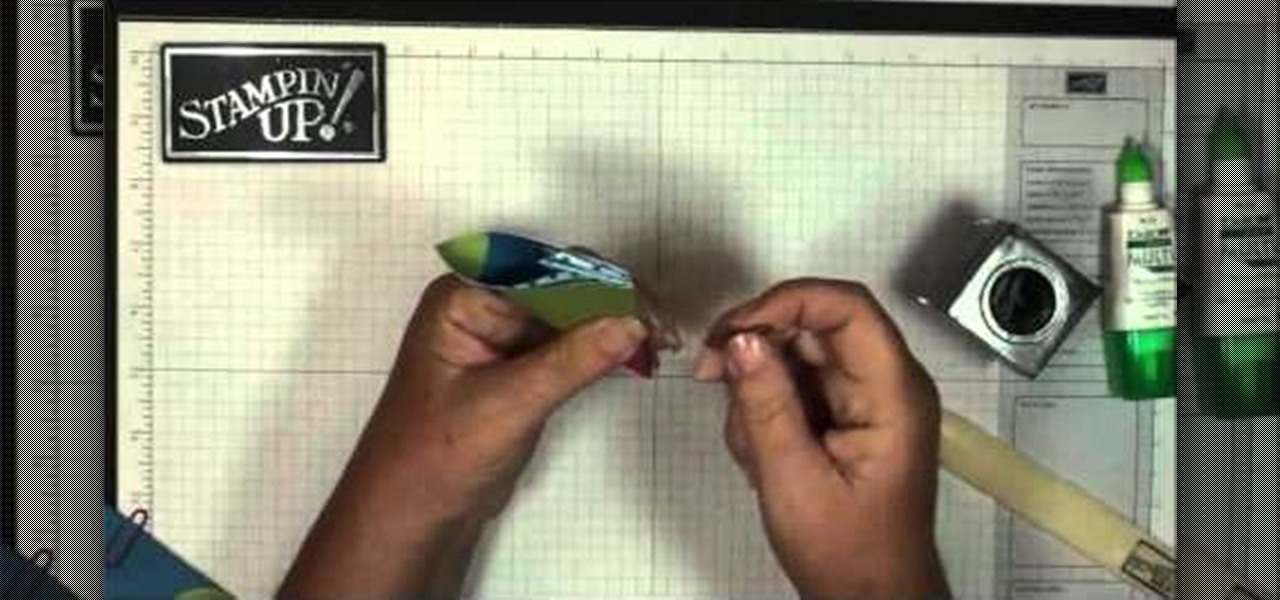
How To: Make a flamingo using Stampin' Up punches
In this tutorial, we learn how to make a flamingo using Stampin' Up punches. First, you will need to punch out two five petal punches (black and pink), pink scalloped punch, large oval pink punch, 1/2" circle punch, and 2 long window punches in pink. Also, four green star punches. First, put the long lines together to make the legs, then attach to the oval shape and another long one to make the neck. After this, make the beak, head, and wings of the flamingo as well. To finish this, draw on e...
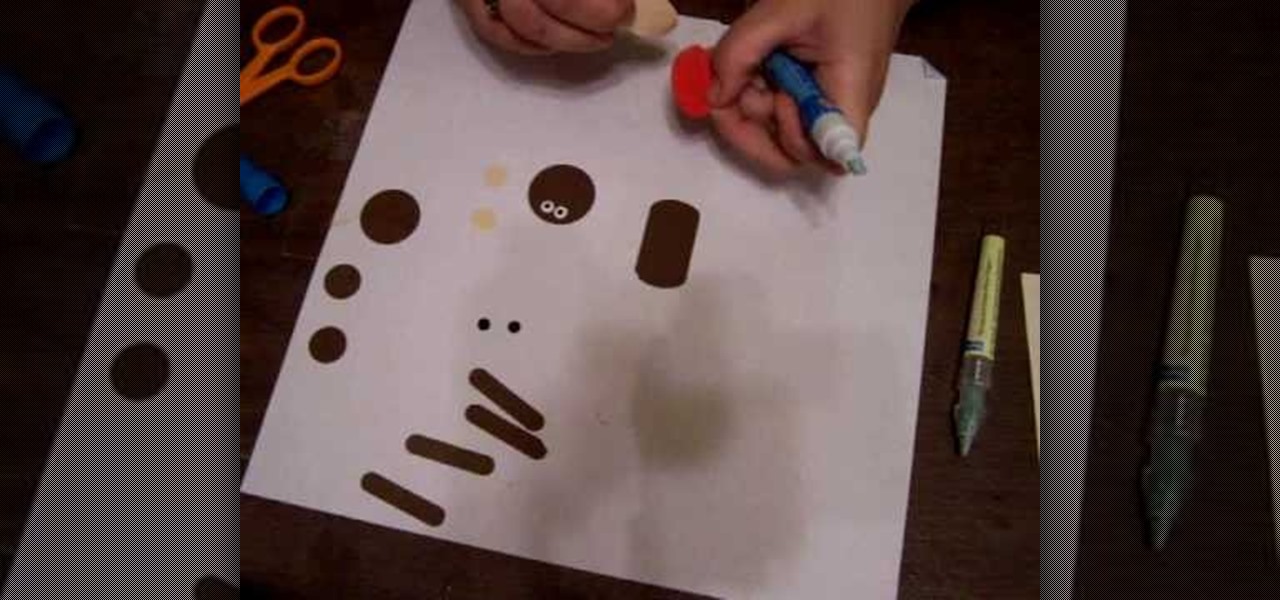
How To: Make a monkey with Stampin' Up punches
In this tutorial, we learn how to make a monkey with Stampin' Up punches. First, you will need to punch out all the appropriate punches that you need to make this. Once you have them, start to assemble by starting with the head. Place the eyes and the mouth on the appropriate spots, then use a black pen to add in further details on the face. As you continue, make sure to glue the different pieces together until you reach the bottom. Once you are done, add any additional details with the black...
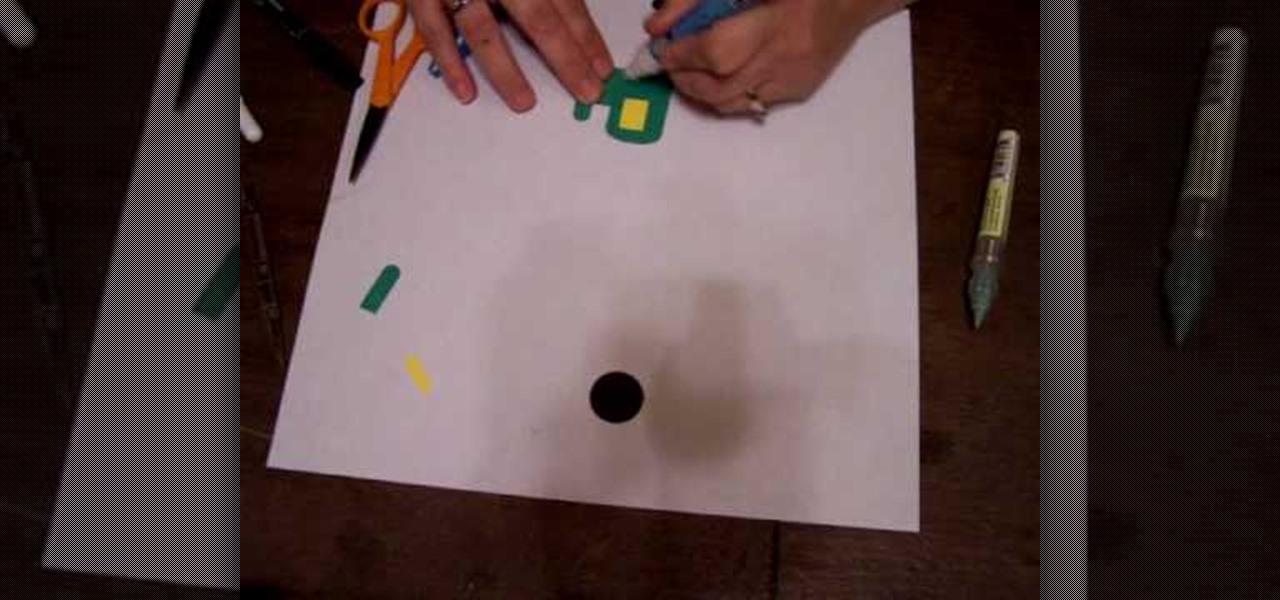
How To: Make a Tractor using Stampin' Up punches
In this tutorial, we learn how to make a Tractor using Stampin' Up punches. First, you will need to punch out a black scallop circle, another black circle, two yellow circles, a yellow square, and four green square shapes. After you have these cut out, you will glue the black scallop circle to the yellow circle so it's underneath. Then, take the green piece and glue it with the other yellows to create the shape of the tractor. Glue the circles at the bottom to make the wheels, then save this ...

How To: Make a clown punch using Stampin' Up! products
In this tutorial, we learn how to make a clown punch using Stampin' Up! products. You will need: a red scallop circle, green key punch, orange scallop circle, heart shape, circle, oval, red circle, flower, black eyes, and a yellow small circle. After you have these punched out, make the hat out of the green large and oval shapes, then apply the flower to the top of the hat. Next, glue the circle behind this, then cut up the orange and red scalloped circles to create hair on the sides. Next, a...
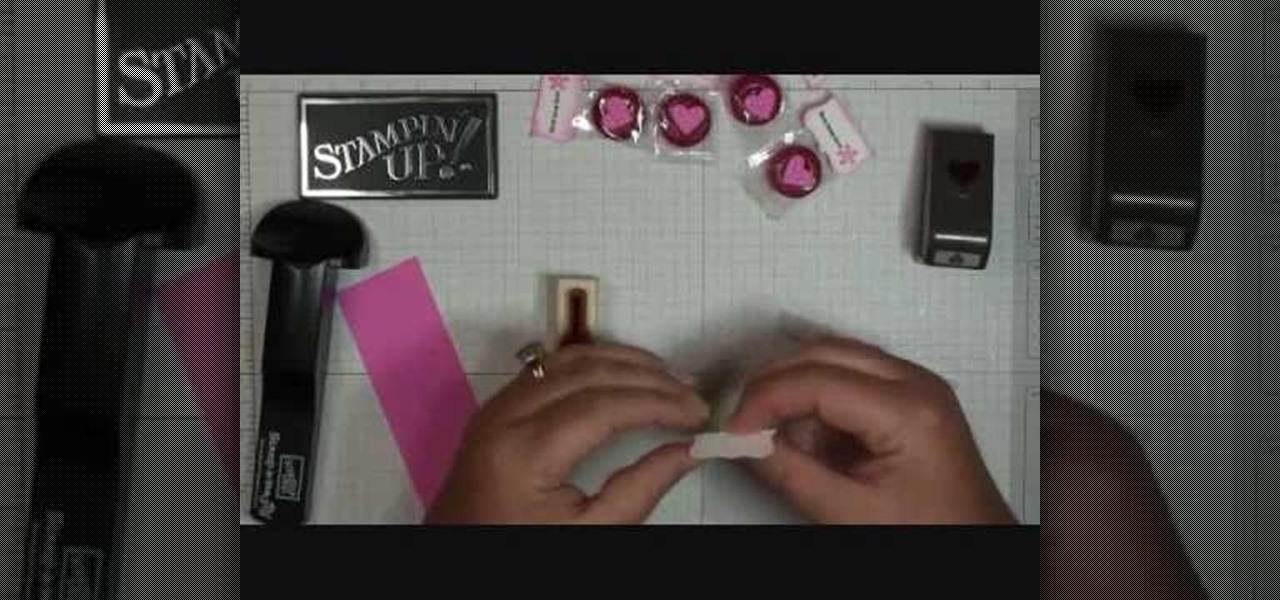
How To: Make Life Savers treats
In this video, we learn how to make Life Savers treats. First, use the curly label punch and punch it out of a white paper. Next, fold this in half and then use your stamp-a-ma-Jig on card stock with a love and flower stamp. Use a black and pink marker to fill in the colors of the stamp. Next, stamp this on the piece that was folded in half, then punch out a heart and use sticky strip to adhere the individual life saver to the middle of the sentiment. Once finished, apply the heart and you ar...
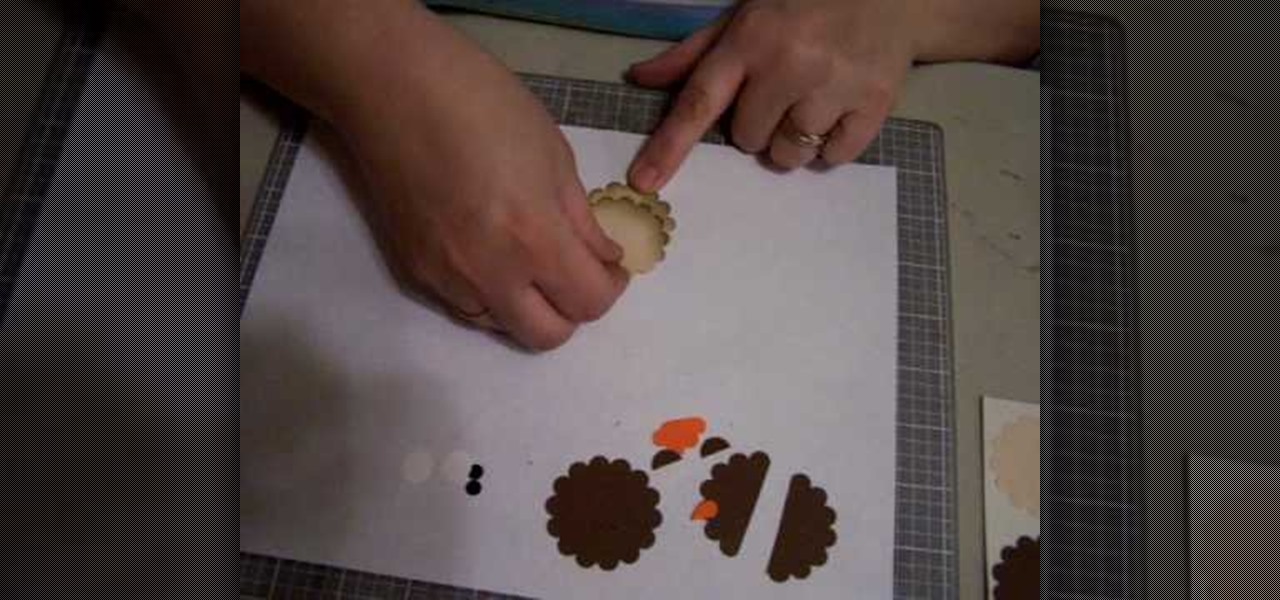
How To: Make an owl with Stampin' Up punches
In this video, we learn how to make an owl with Stampin' Up punches. First, cut out two dark brown scallop circles, then two light brown scallop circles. After this, cut out two orange flowers, two black small circles, three white circles, and an orange heart. To put these together, cut one of the dark brown punches in half so you have two pieces. Then, cut off half the flower on both of the flower shapes. Next, put all the pieces together, using the dark brown for the face along with white a...
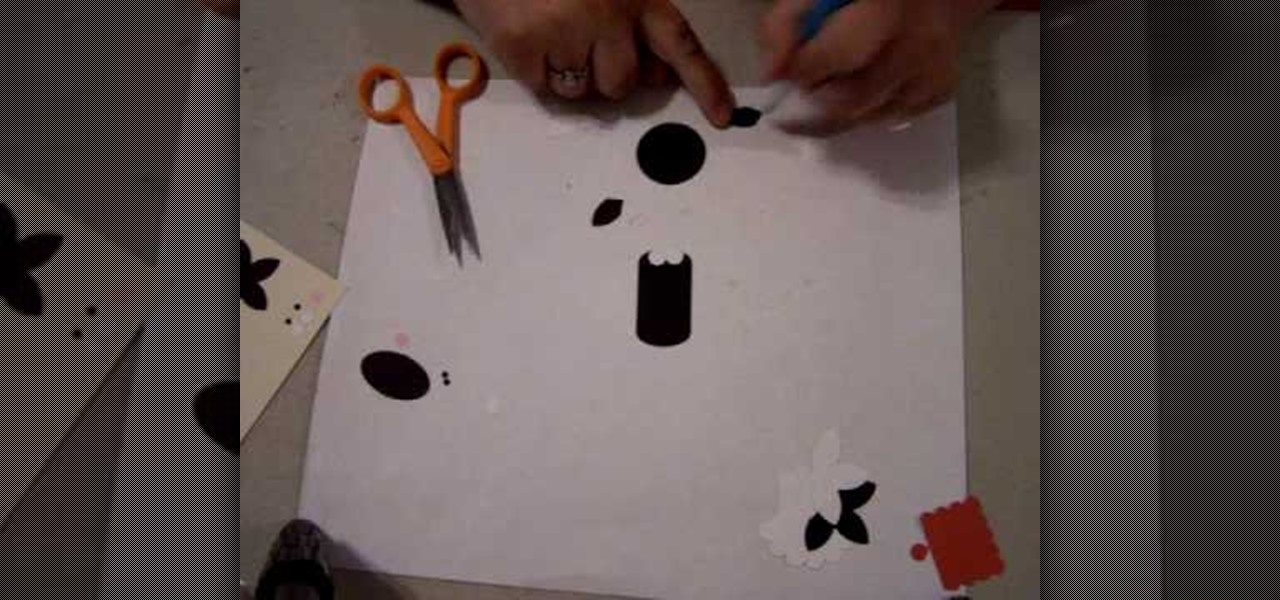
How To: Make a cat punch using Stampin' Up! products
In this tutorial, we learn how to make a cat punch using Stampin' Up! products. First, you will need to use the: circle scalp punch, circle punch, oval punch (black and white), and five petal punch (black and white). You will also need two small circles each of black and pink for the eye and cheek area. Once you have all of these punched out, you will be able to assemble the head. Use the circle as the head and apply the white and black circles in the middle for the eyes. Use the flower punch...
Next Page
Prev Page