

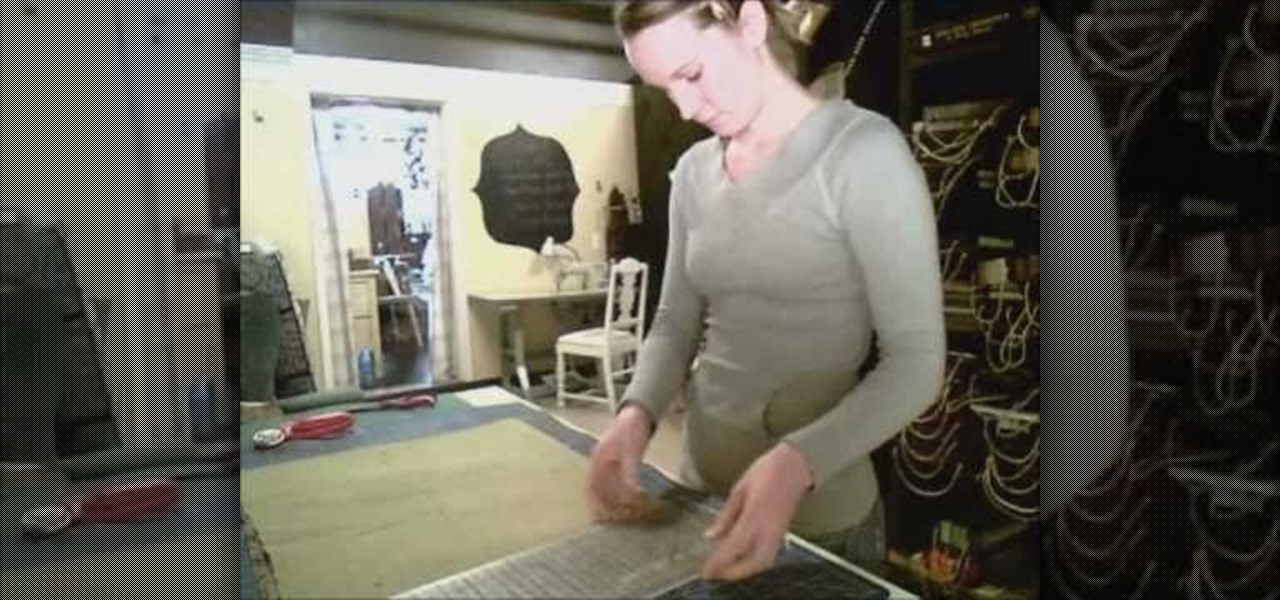


How To: Sew you own pair of easy, Victorian style bloomers
The perfect undergarment for your Victorian costume re-creation. You don't need any pattern, just take your measurements and get a yard or so of thin, lightweight fabric. Then cut, pin, sew and finish. Your own pair of Victorian inspired bloomer pants!
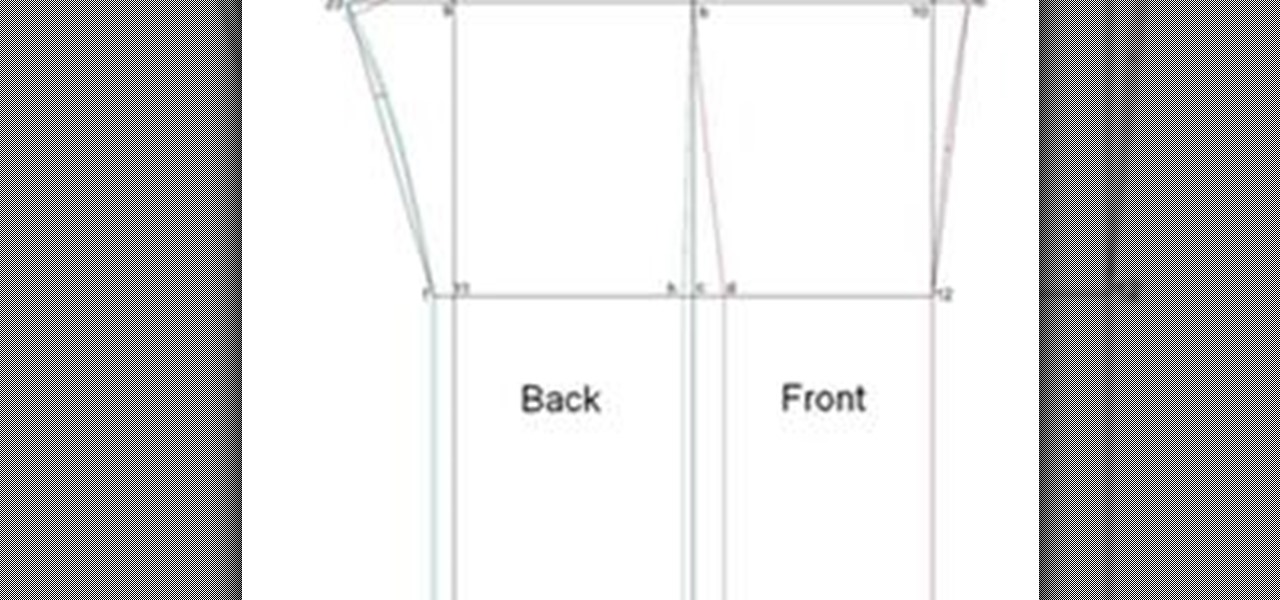
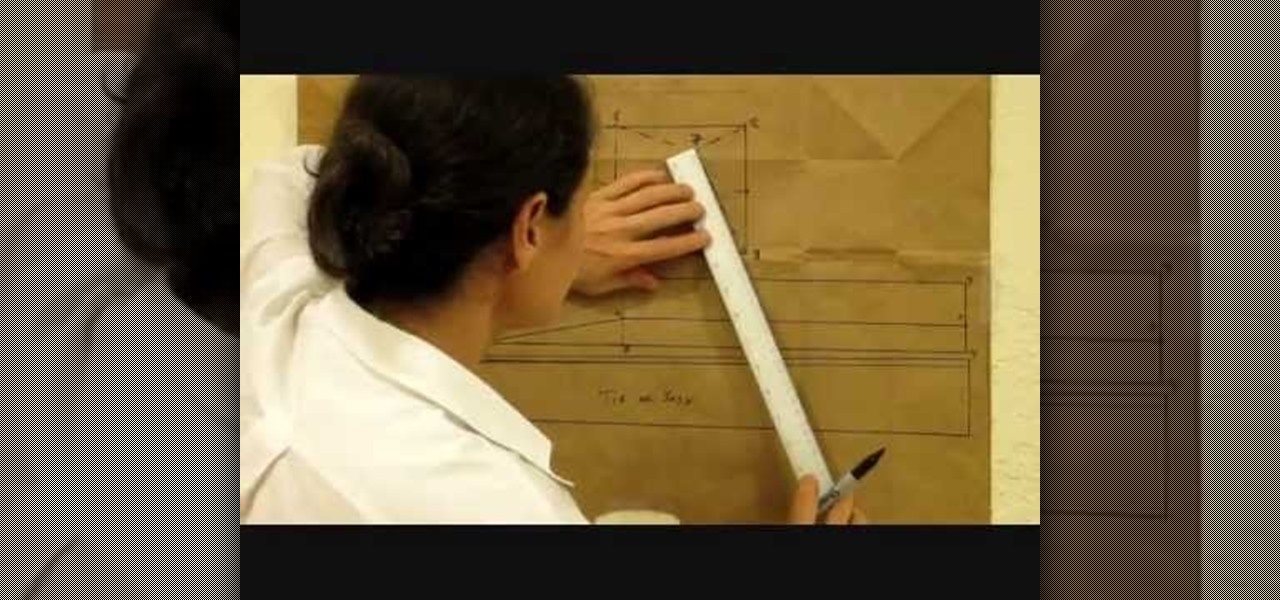
How To: Draft a Basic Pant Pattern
Written Instructions with accompanying video for anyone who wants to make a basic pant exactly to your measurements! Please get your correct measurements before you begin from How to Take Your Measurements.
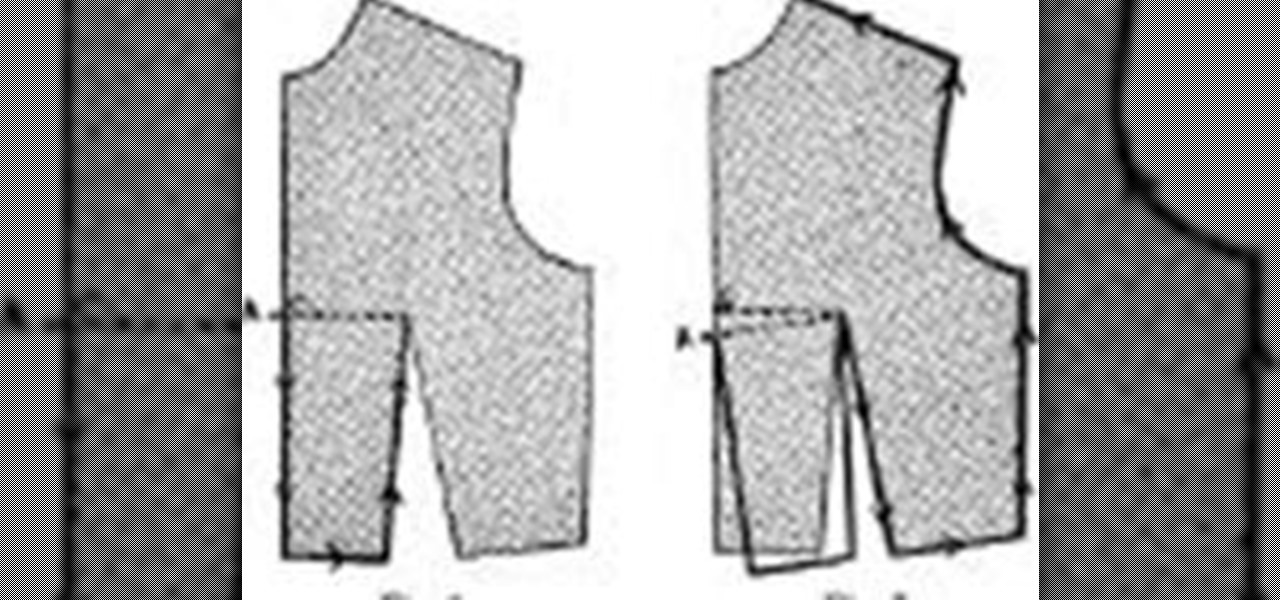
How To: Draft a Basic Bodice Pattern
Unlock the secret to clothing design. If you can draft and sew a basic bodice you can design virtually any kind of t-shirt, blouse or other top! Attach a skirt and you now have a dress! Take your measurements by using the guide in the " How to Take Your Measurements" section and let´s get started! If you would rather just whip up an easier beginners t-shirt go to How to Design a Quick T-Shirt.
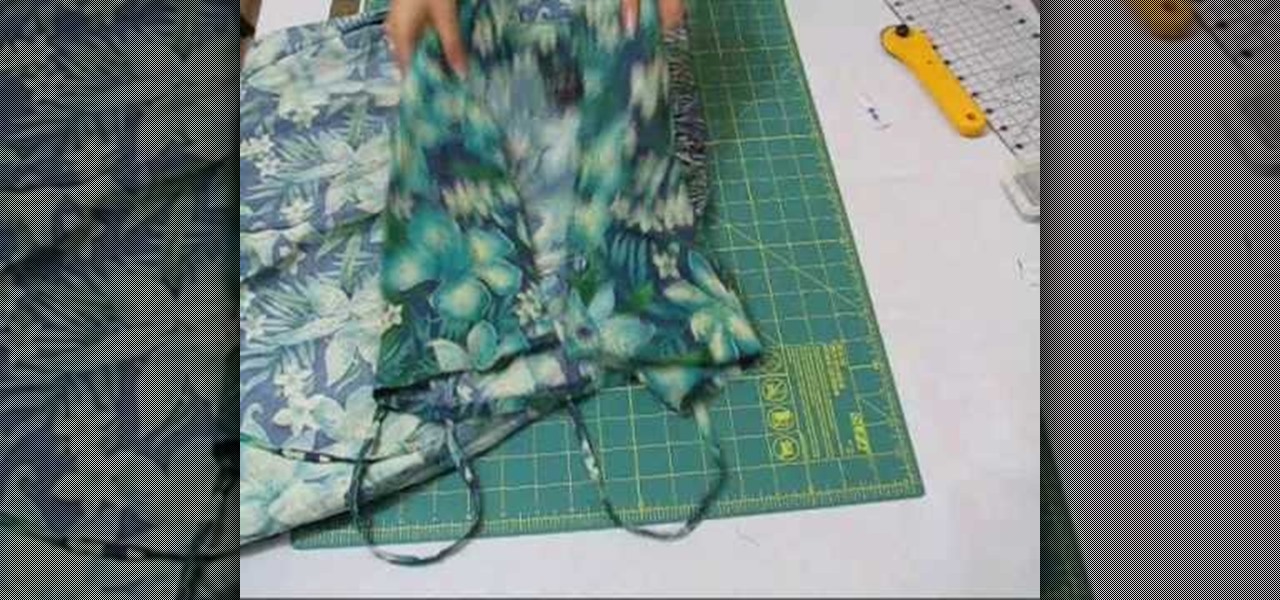
How To: Turn an old dress into a fashionable romper
Some dresses we just never get around to wearing. Like that hideous one our mom gave us with a decent tropical print but hemlines that go down to our ankles. Cute...if you live in the Pennsylvania Dutch Country. We're sure you probably have an ever accumulating stash of similar dresses that you know you'll never wear but don't want to toss either.

How To: Draft a Sleeve Pattern
A well designed sleeve is very important to creating a top or jacket that fits comfortably. Get your correct measurements before you begin. Please view the following step-by-step instructions and accompanying video and diagram to create the basic sleeve.
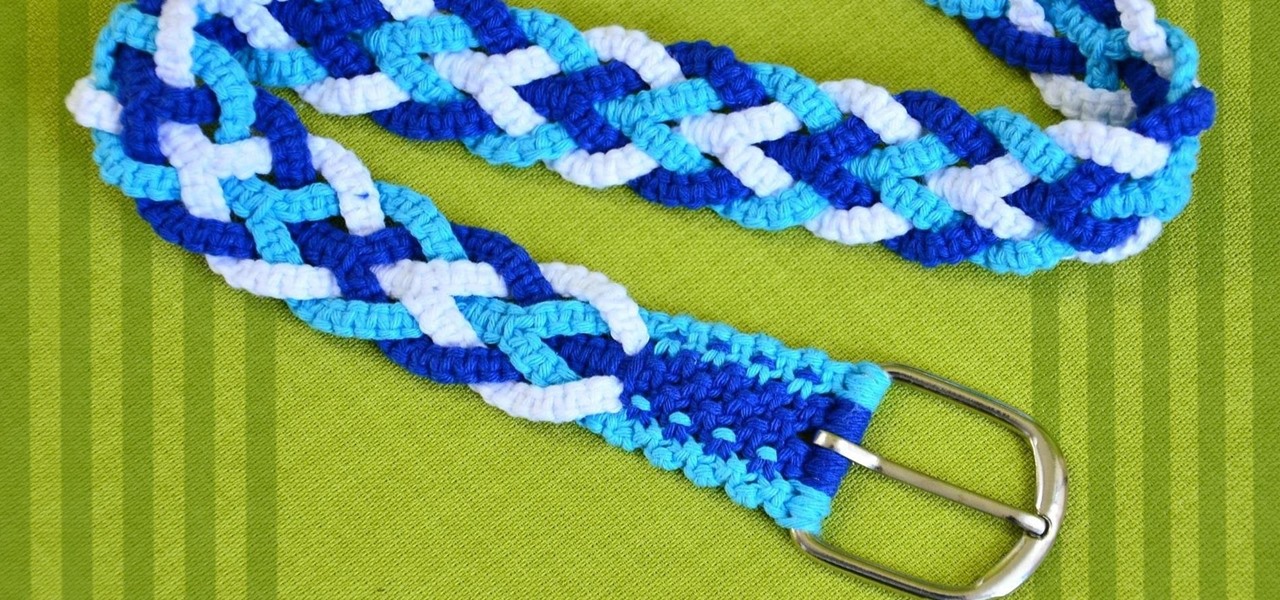
How To: Make a Macrame Belt
This is a trouser belt, but can also be applied as a bag strap, maybe used as a camera strap, etc. To make a macrame belt, measure the cords to your desired length. Tie using square knots.
How To: Crush velvet
This crushing process brings out color variations by flattening the pile or nap of the velvet, and adds surface texture by pleating the fabric. One benefit to this method is that a simple wash and tumble dry will restore the fabric to its original condition, so watch this video and see just how to create crushed velvet.
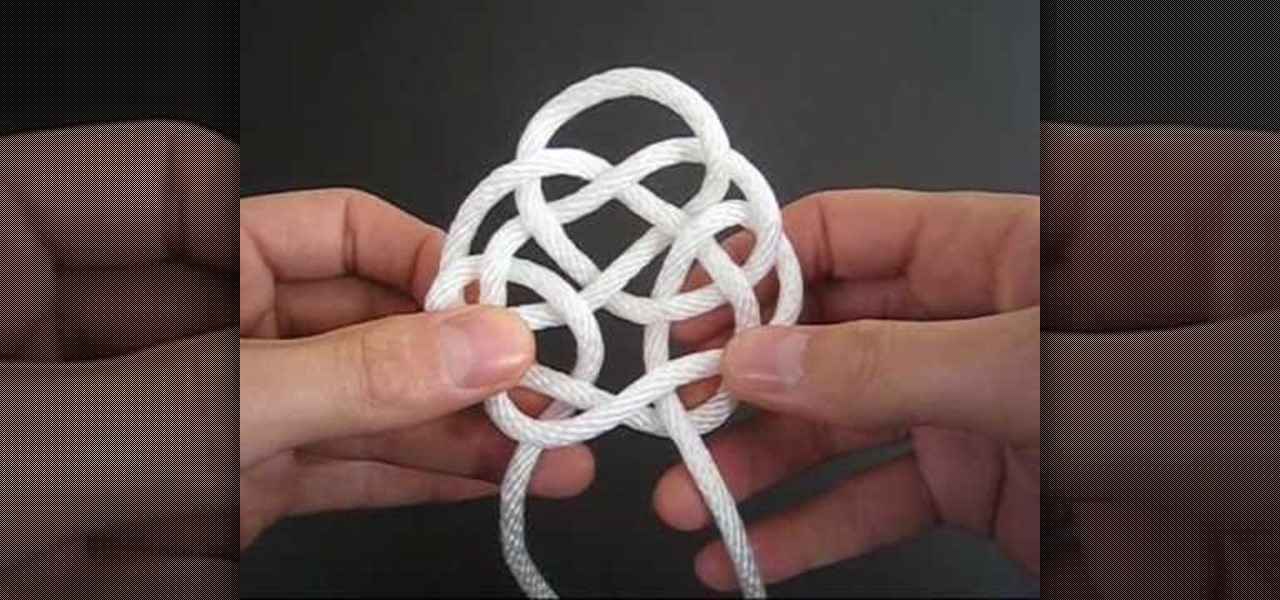
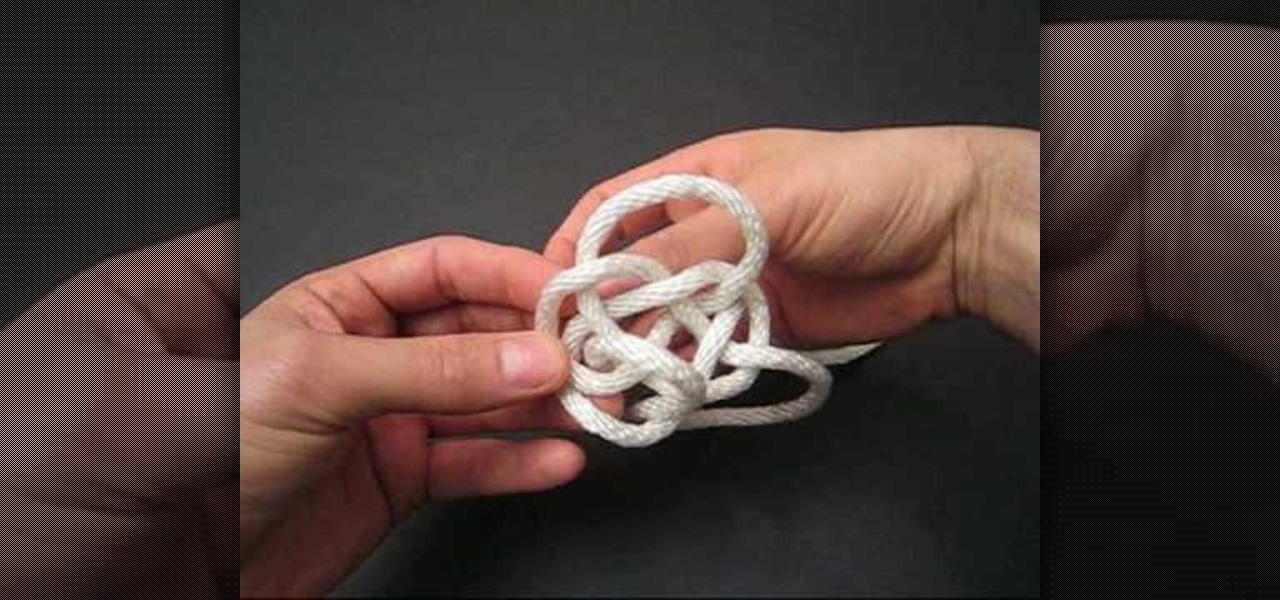
How To: Tie the Rising Sun decorative knot
In this tutorial, we learn how to tie the rising sun decorative knot. First, loop your string on the left side, then pull the right side over the top. Now, bring the bottom of the right side over and place the end into the first loop going over the other string. Next, remove the string from the last loop it was in, then bring the right over to the right loop and push through to the bottom. Next, bring the right string over to the left side and thread through the left loop closest to it. Next,...
How To: Make a Doo Rag Pattern
Video: . Whether you are gardening, cooking, riding a motorcycle or just want to cover up on a bad hair day, doo rags are easy to make and fun to personalize to suit to your style. If you would rather just download the durag pattern click here.
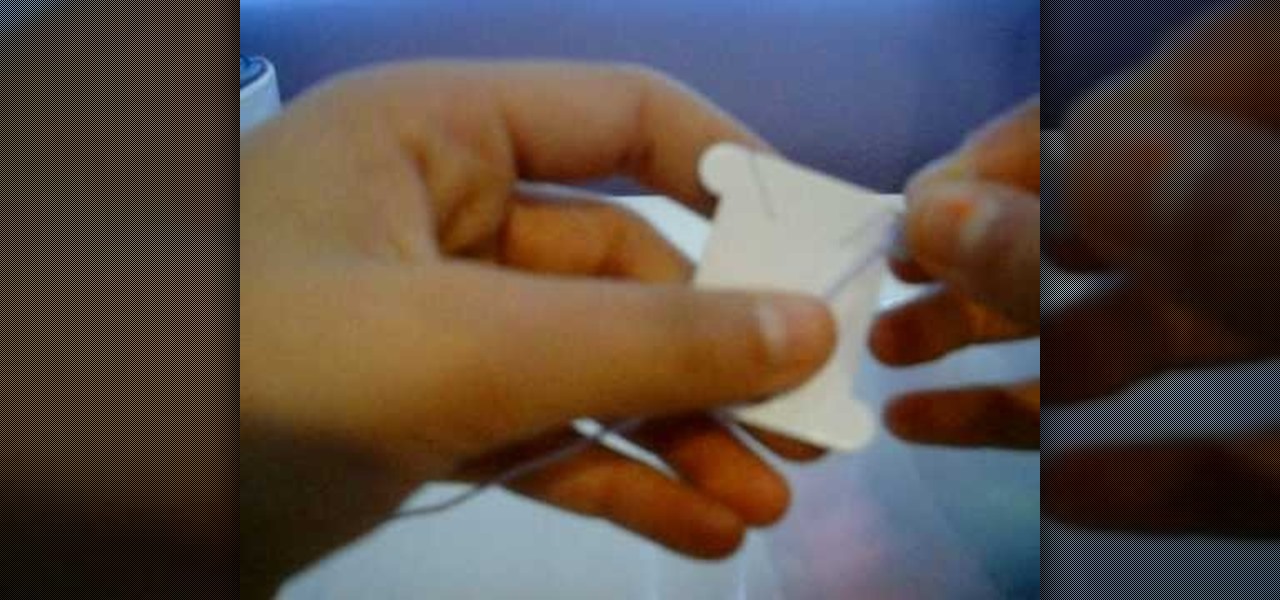
How To: Wrap embroidery thread around a bobbin
In this how-to video, you will learn how to wrap embroidery thread around a bobbin. In this example, the embroidery thread is both purple and light purple, but you can choose whatever you want. First, take the end of the embroidery thread and place it through one of the slots. Hold it back, and then wrap the embroidery thread around the bobbin until you get near the end of the thread. The end should be placed in a different slot on the bobbin. By viewing this video, you will learn how to quic...
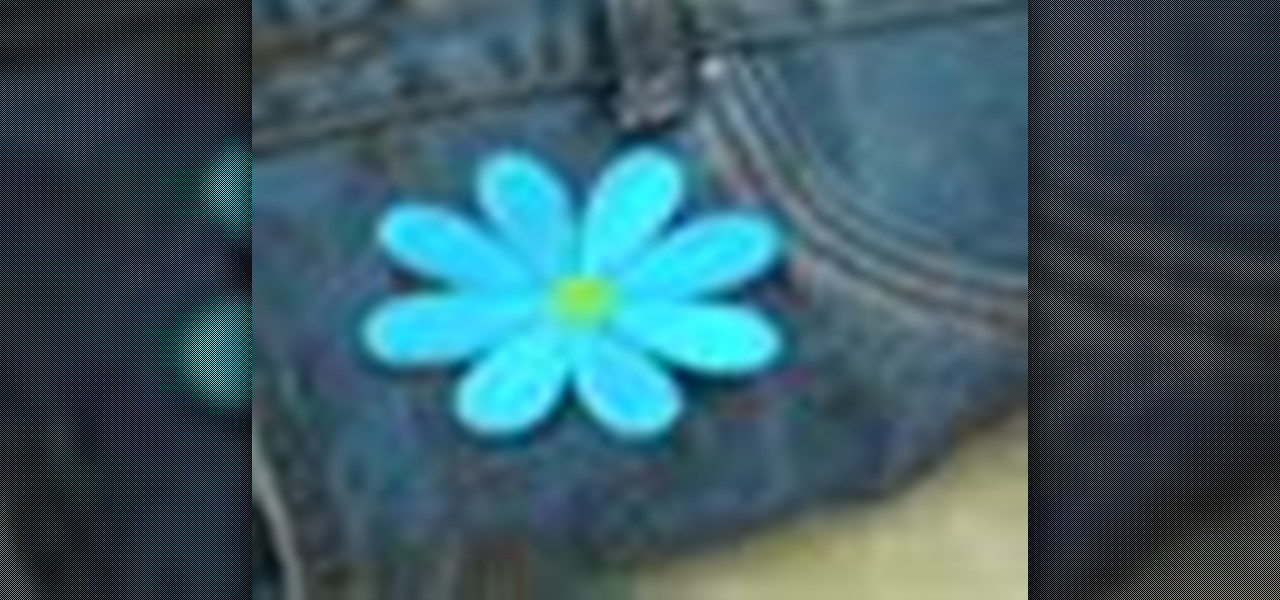
How To: Iron on patches for torn clothing
Is you favorite pair of jeans suffering from a hole in the knee? No problem. Extend the life of your clothing by using patches to cover worn or torn areas, or to embellish tired items and give them a fresh new look.

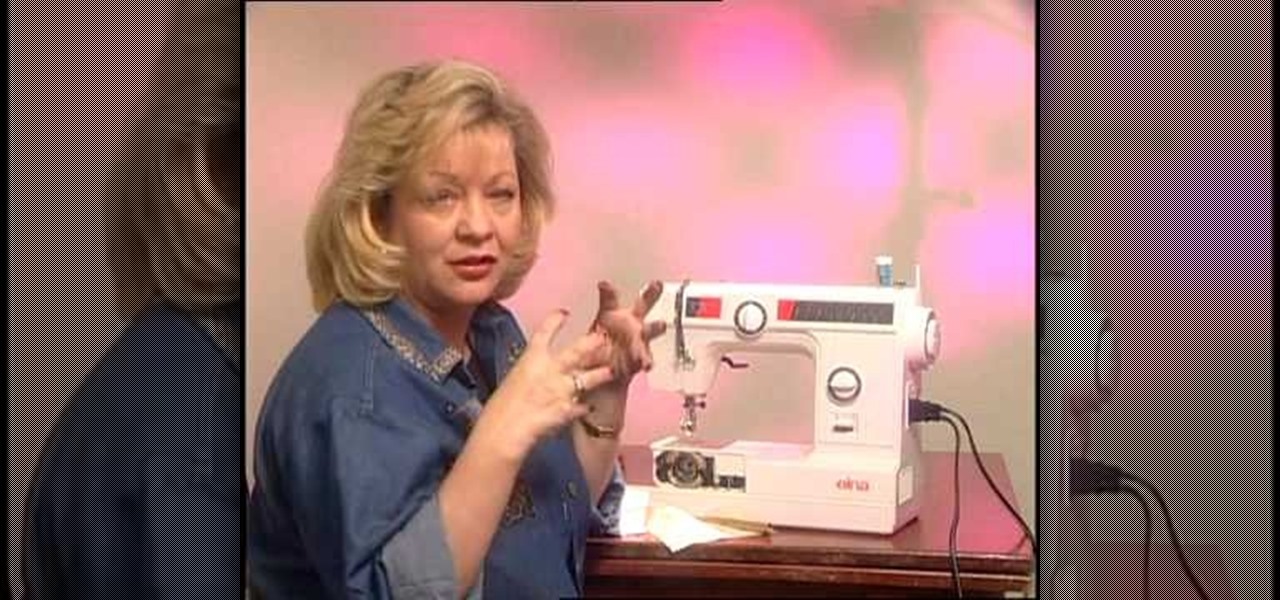
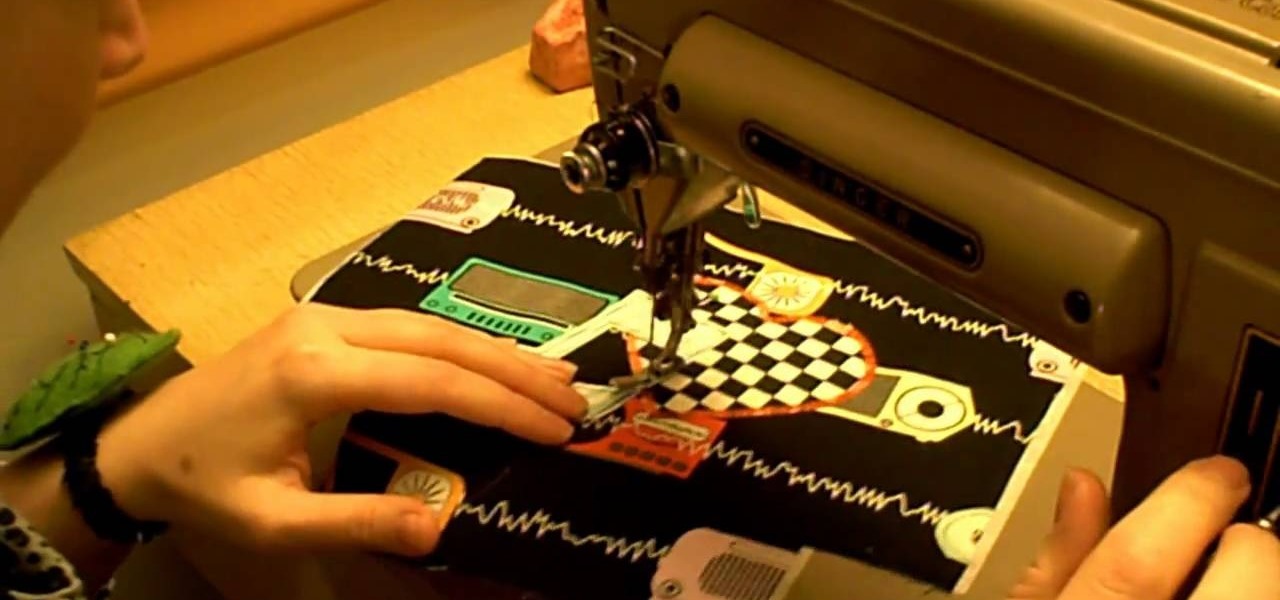
How To: Use a sewing machine properly
Even if you never took home ec, you can create simple projects by learning the basics of sewing machine use.
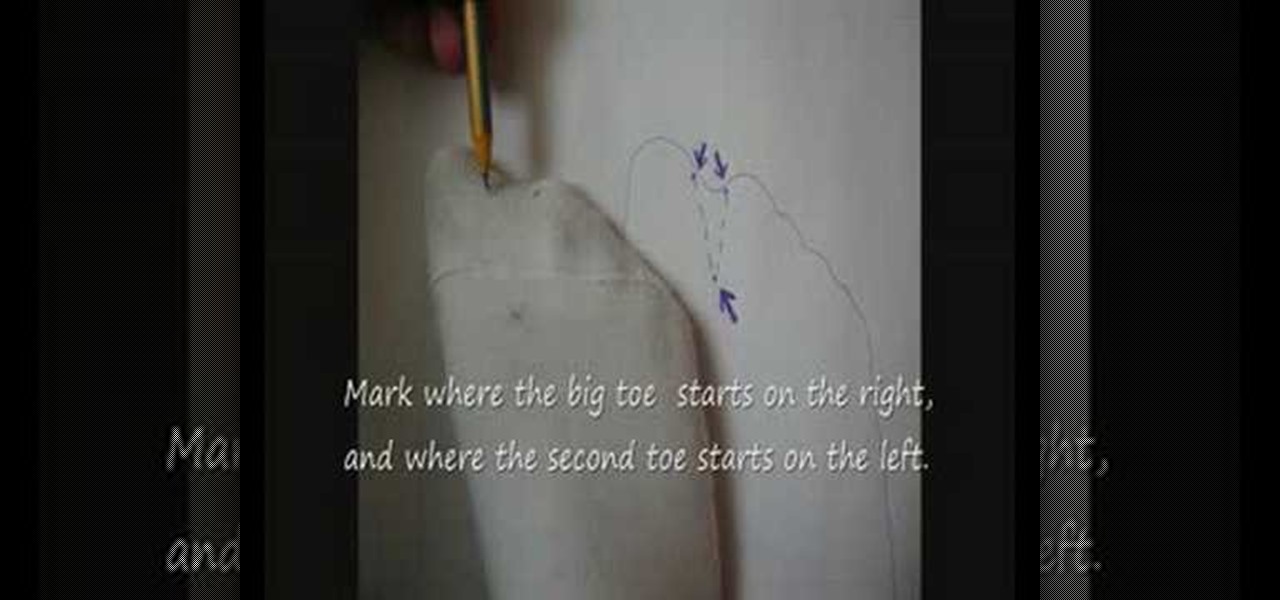
How To: Make Tabi socks
In this video, we learn how to make Tabi socks. You will need: pair of socks, thread, a needle, and scissors. First, you will turn the right sock inside out and put on your foot. Then, you will spread your big toe and second toe out as much as possible. From here, you will use a pencil to mark on the foot where you want to cut. Then, take the sock off and cut it out where you marked it. Take the needle and thread and sew along the shape that you cut out, to create separation between the toes....
How To: Tie a plafond (lanyard) knot
In this video, we learn how to tie a plafond knot. First, make a loop with your string, then make a smaller one directly underneath it. Make a larger loop underneath this, followed by another small one. After this, grab the bottom and lift it to the middle of the one on top of it. Next, bring the top down and push it into the middle of the bottom loop. Bring the left hand side of string through the top of the loop, followed by the right hand side through the right hand side middle. Now, pull ...
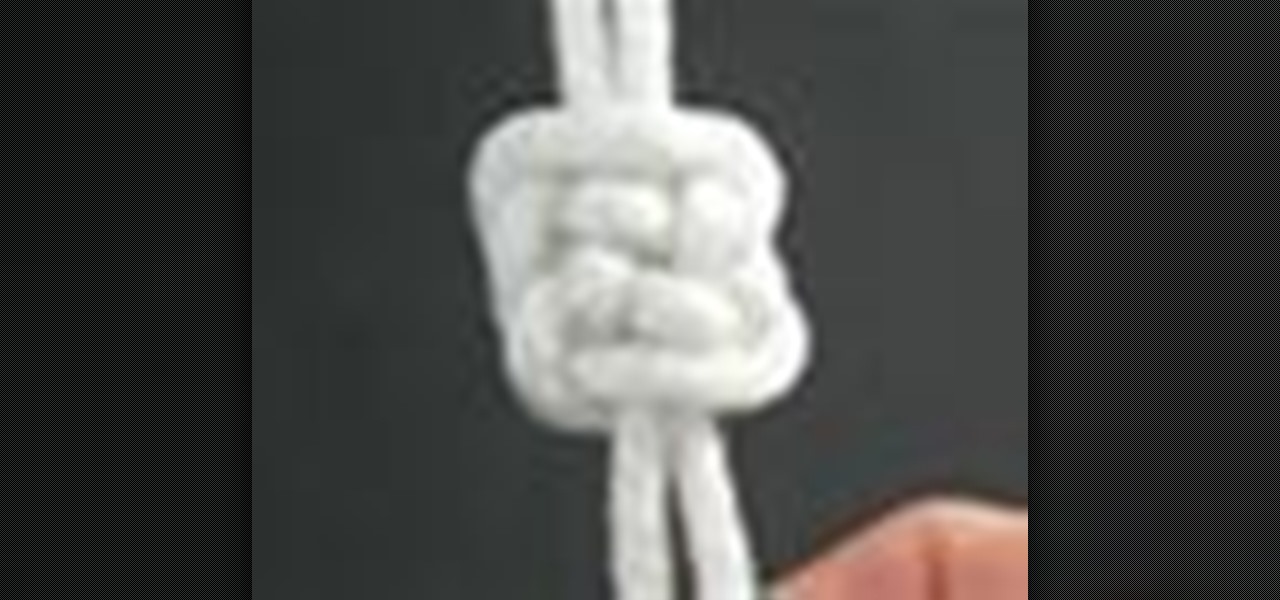
How To: Tie a Cloud knot
In this video, we learn how to tie a cloud knot. Start by making a loop in the middle of the string on the left side, then wrapping the right side around it and pushing it through the middle. Next, do the under-over weaving technique by bringing the string over one loop and weaving it into another. Continue to do this several times until you have done about four or five weaves. After this, pull the sides of the string out on both sides and you will have your finished knot! Pull tighter to hav...
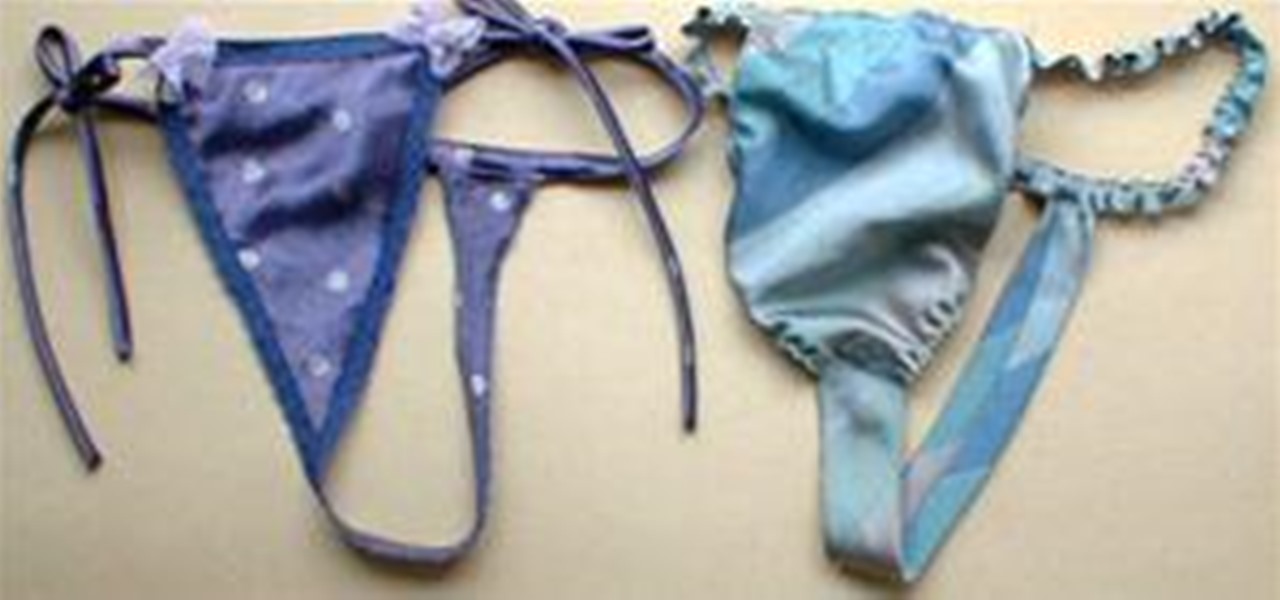
News: Whaddya Know? An Old Tie Makes the Perfect Thong
There's something undeniably naughty about upcycling your boyfriend's old tie into a thong. Japanese site Panty Hanty offers a library of free sewing patterns in the art of underwear-making.
How To: Tie a single-strand Ringbolt hitch knot
In this video, JD, from Tying It All Together, demonstrates how to tie a knot known as a "Ringbolt Hitch". This is also known as "coxcombing". This type of knot was once a common tie used by sailors to dress-up items and parts of their ships. When tying a wheel, a "Turk's Head" knot was used to cover the part of the wheel where the two ends of the ring bolt met, which would firm up the hitch, and help to keep the tied ends from unraveling. It is a nautical tradition to use this type of knot t...
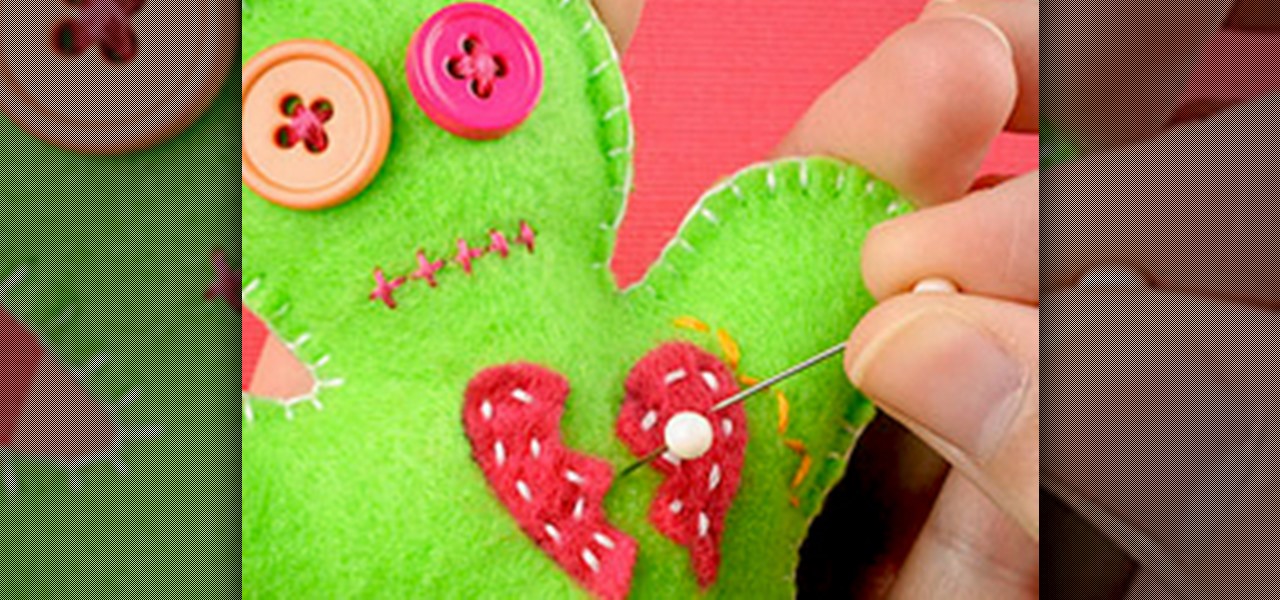
How To: Make a Voodoo Pincushion Doll for Valentine's Day Angst
Searching for a Valentine's Day gift? Great. That means you have someone to share V-Day with this coming Monday. And you want to get the best gift to show your love. But c'mon—no matter what you get, it's probably enough to woo your lover over, even if it's as simple as a battery and magnet.

How To: Stitch a EZ cross stitch frame
In this video tutorial, viewers learn how to use the Stitch EZ Cross Stitch and Needlework Frame. This frame is designed to provide hours of stitching enjoyment without pain to the hands or damage to the fabric. It simply is held under the edge of your leg. It allows users to work with both hands, allowing users to stitch much faster. It has a magnetic needle holder and it can flip over. The panel is also removable and has 3 adjustments for the height. This video will benefit those viewers wh...
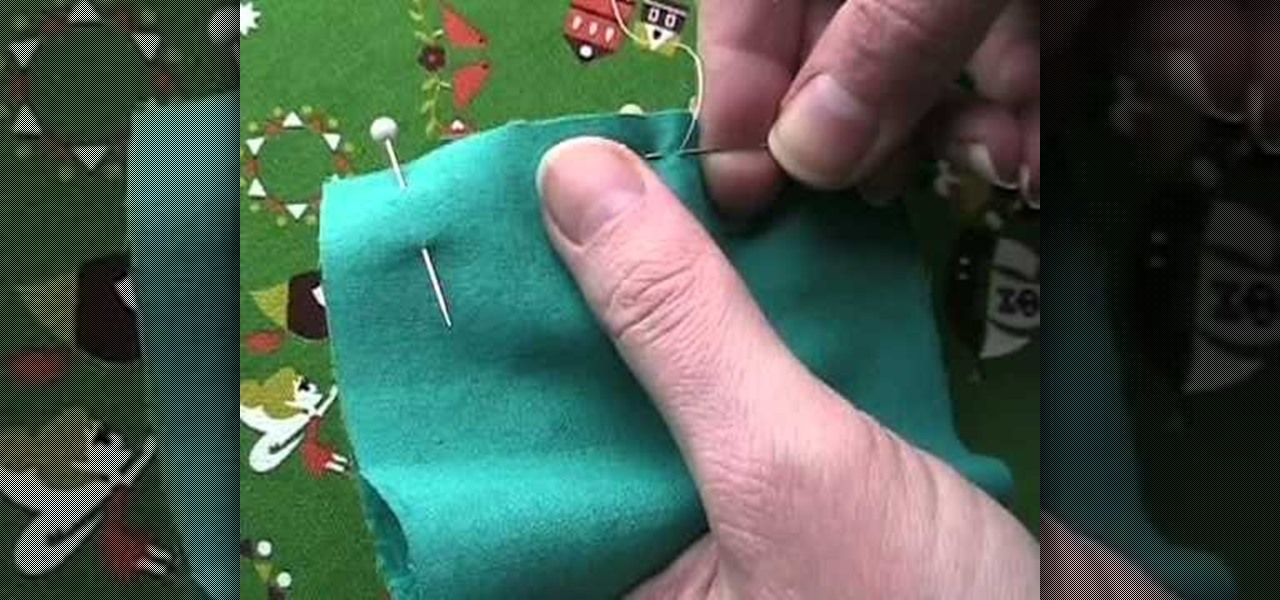
How To: Sew quickly by hand without using a sewing machine
Sewing by hand can actually go quite quickly if you don't have access to your sewing machine or if it's broken. Hand sewing can also be useful if you're working with especially delicate fabrics, attaching an applique or making a small repair.
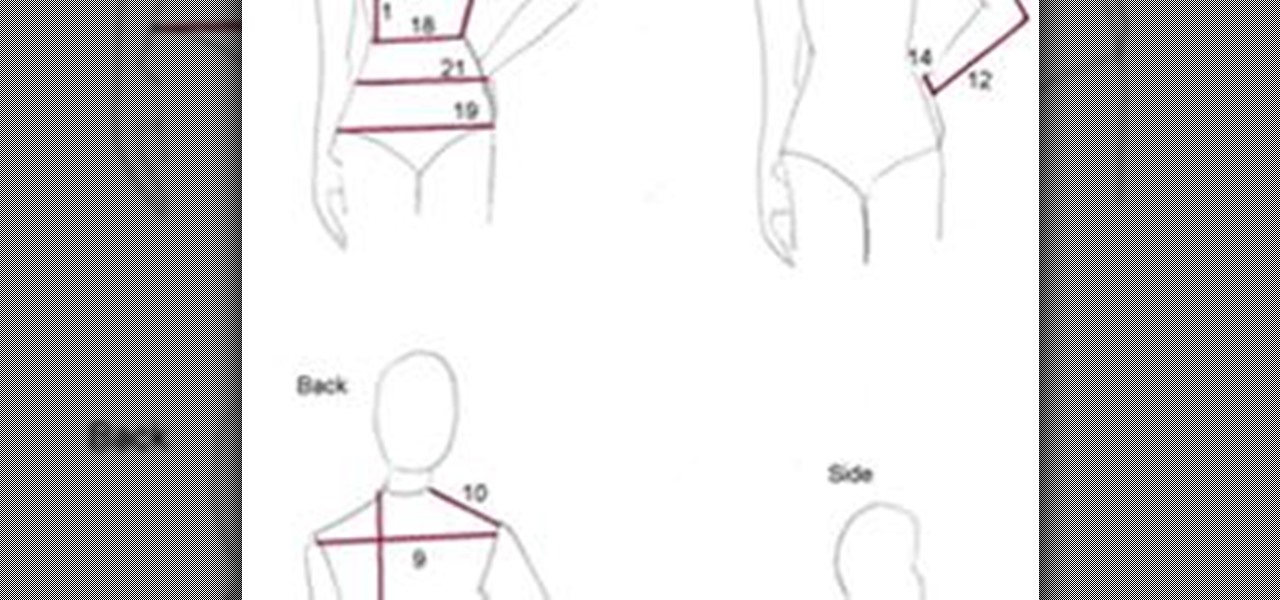
How To: Take Your Measurements
These measurments should be taken and recorded before drawing up you clothing design pattern. Wear the bra and panties you will be wearing with the final garment. Another option, especially if you are going to be selling a series of the garments, is to follow a size chart. While sizing is not very standardized in the clothing industry, I like the charts on the Burdastyle website which are in both inches and centimeters. When measuring, the tape measure should be neither too tight nor too loos...

How To: Thread a sewing machine and wind a bobbin
In order to thread your sewing machine and wind a bobbin, you will need the following, a sewing machine an empty bobbin, thread, and a pedal control for your sewing machine. Choose a good quality thread. Place the thread in the holder on top of the machine. Place the cap on the end of the thread, in order to hold it in place. Loop the thread around the first guide. String the thread through the hole in the bobbin. Place the bobbin in the slot on the top of the machine. Hold the thread in you ...
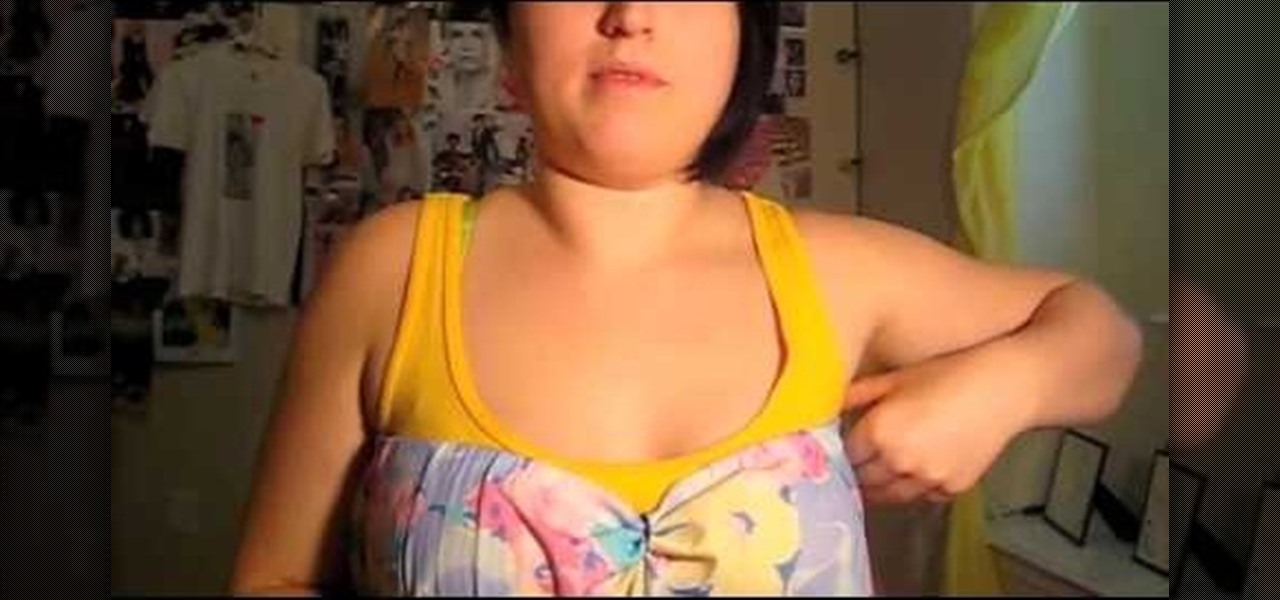
How To: Turn a skirt into a long, breezy summer dress
Like billowy, bohemian tops or billowy dresses that go aflutter in the wind? Then this is the perfect DIY fashion tutorial for you. Using a long old skirt you can probably find by digging through your own closet or your stylish mother's treasure trove, you will learn how to refashion the skirt into a full-body dress by simply adding some spaghetti straps.
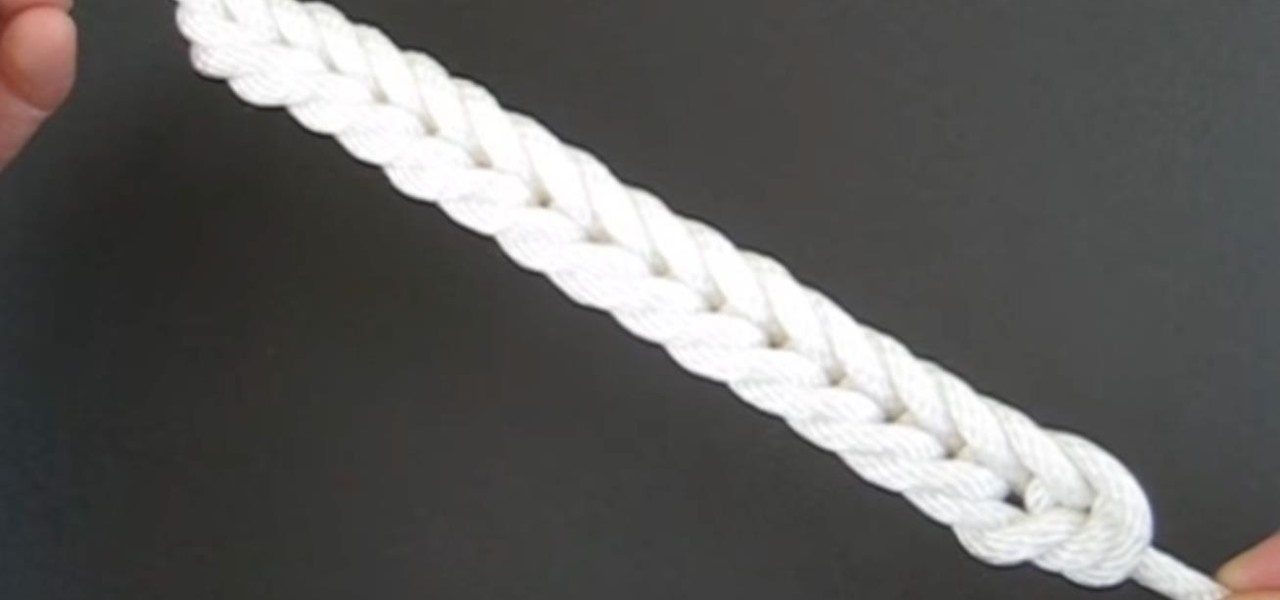
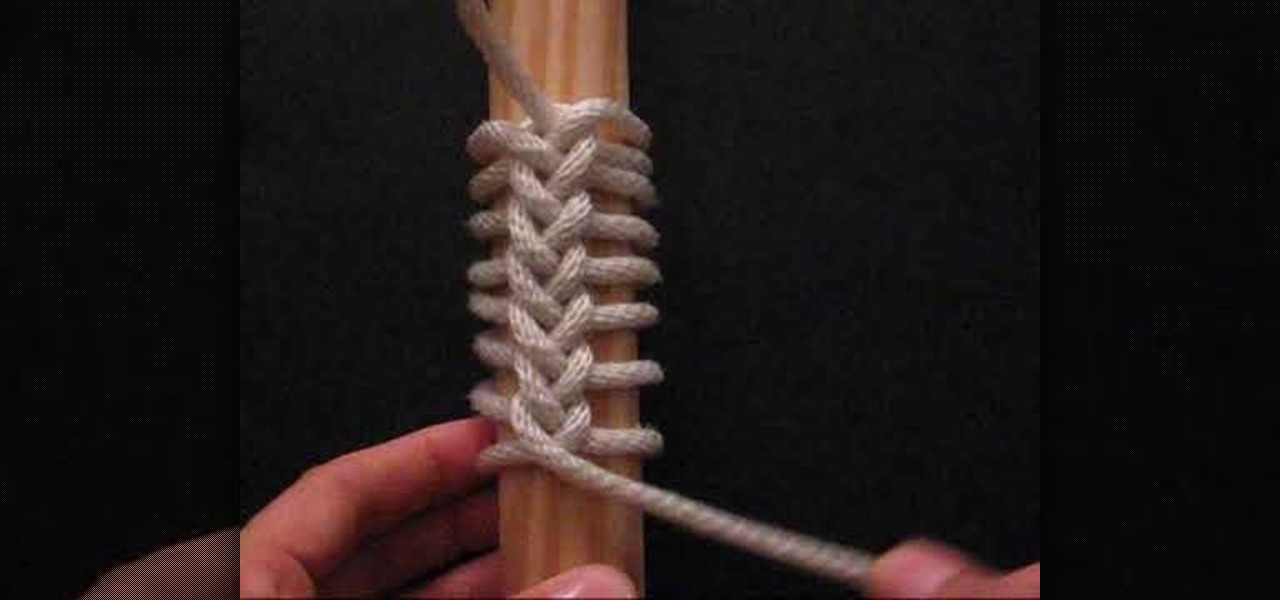
How To: Make a Military Bugle Cord Decorative Knot
Bugle cords are used as elaborate ornamental leashes on bugles and trumpets, but they are also used as snazzy ornamentation, called aiguillettes (a type of fourragère), on uniforms worn by certain members of the military. While you could buy one pre-made, you could also make one yourself. But this should not be confused with the infantry blue cord of the U.S. Army, which is another type of fourragère only with more elaborate knotting.
How To: Cut a hooded sweatshirt
You love your hooded sweatshirt but starting to feel like a weak person is strangling you all day long? With a quick snip with the scissors you can have a perfectly fitting sweatshirt and never have to worry about unnecessary discomfort again.
How To: Get a loose drawstring back into clothing
If you're drawstring fell out, it may seem like the end of the world, but take a deep breath -- it's possible to put back in!
How To: Machine baste on a Singer sewing machine
Machine basting is a common technique used in many patterns for garment construction. It's easy, and can help your garment look more professional when finished. This video tutorial shows you how to machine baste a seam.
How To: Sew a buttonhole in 4 steps on a Singer sewing machine
Making a buttonhole is easy to sew using the buttonhole presser foot and the four step buttonhole function on a Singer sewing machine. This video sewing tutorial guides through the simple step by step process of making a professionally finished buttonhole. Watch and learn how.

How To: Create a cute off the shoulder sweatshirt by cutting off the collar
Got a bunch of old, chunky sweaters accumulating in your closet? Of course you can donate them to Goodwill, but we're betting that you can get a lot more mileage out of those babies than you think.
How To: Maintain your sewing machine after it's been in storage or unused for awhile
Whether you have a Singer sewing machine, a Janome or a Brother, this video is good advice. If your sewing machine has been sitting in storage or has been unused for a long time, you'll need to do a little bit of maintenance before you start it up again.
How To: Tailor your own too large pants so they fit perfectly
Tailors can be expensive, but you can be your own tailor! This tutorial shows you how to take a pair of pants that might be a bit too big around the waist and take them in using professional tailoring techniques.
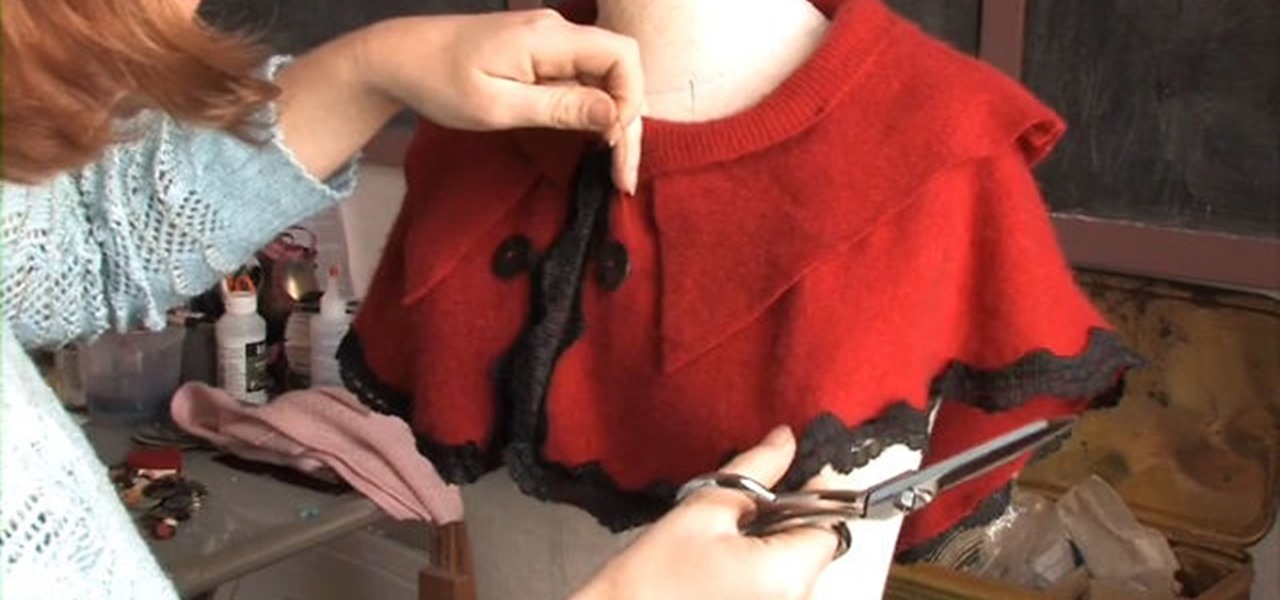
How To: Create a small capelet out of a vintage felted sweater
Start with a wool sweater, which you can easily find in any thrift or vintage store. Then felt it by running it through the dryer a couple of times to shrink it. Now you're ready to turn it into an elegant capelet!
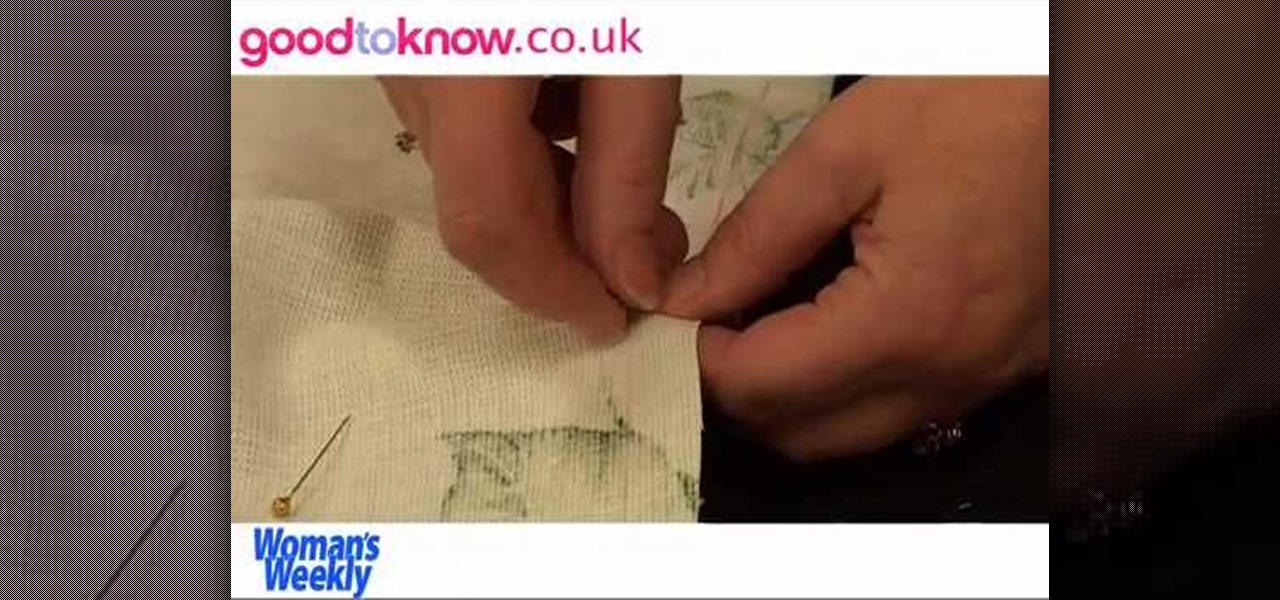
How To: Embroider a stretchy or knit fabric
The problem with stretchy fabrics is that stretching it out in am embroidery hoop will distort the look of the finished project. This tip shows you how to prepare your fabric by using a non stretchy stabilizer, which you can buy at any fabric store.
How To: Make your own fabric appliques or patches
Applique is fabric cut in a fun shape that is applied like a patch, directly onto the fabric. This tutorial shows you how you can use fun woven print fabrics and fusible interfacing to create your own appliques and patches for your projects.

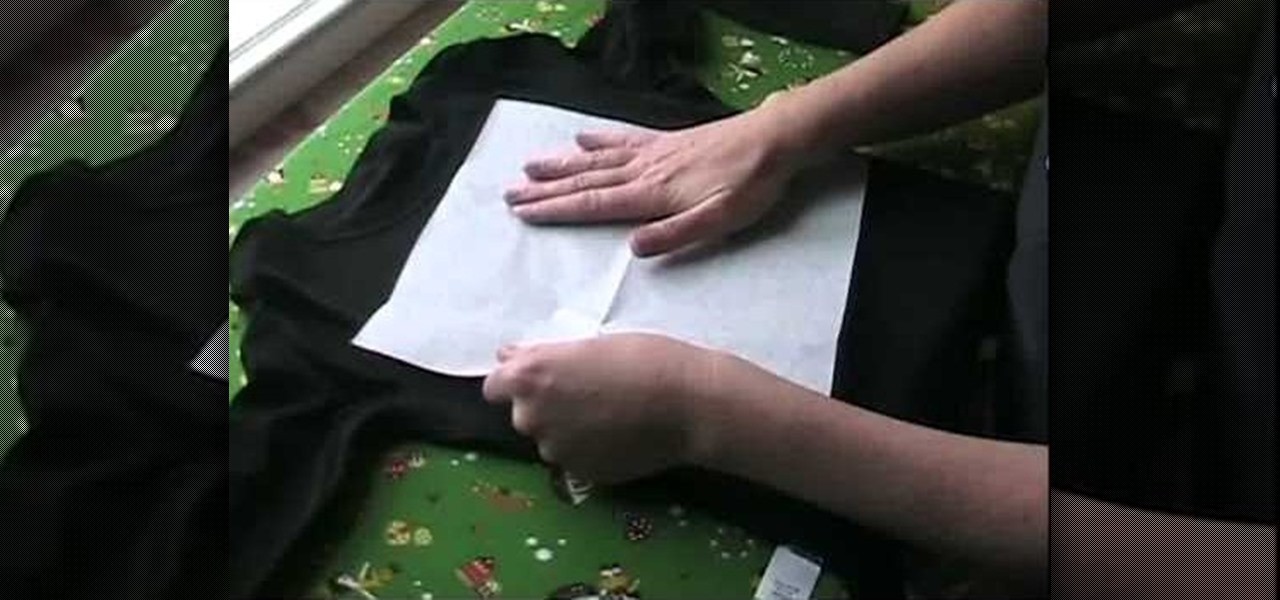
How To: Recycle an old t-shirt into a no-sew head scarf
In this tutorial, we learn how to recycle an old t-shirt into a no-sew head scarf. First, lay your shirt out flat on a table and download the paper pattern from the video. From here, measure sixteen inches from side to side on the t-shirt that you are using. After this, follow the paper pattern on the shirt and cut out the pattern with scissors. Once you have finished this, use a fabric bonding agent to make the edges less frayed and fold them into each other. This is great for the environmen...
How To: Make a cushion cover
With a little practice a cushion cover can be made at home easily. The materials/equipments required are as follows: fabric of your choice (having appropriate dimensions) to make the cover, scissors, measuring tape and ruler, needles, threads, sewing machine and an iron.
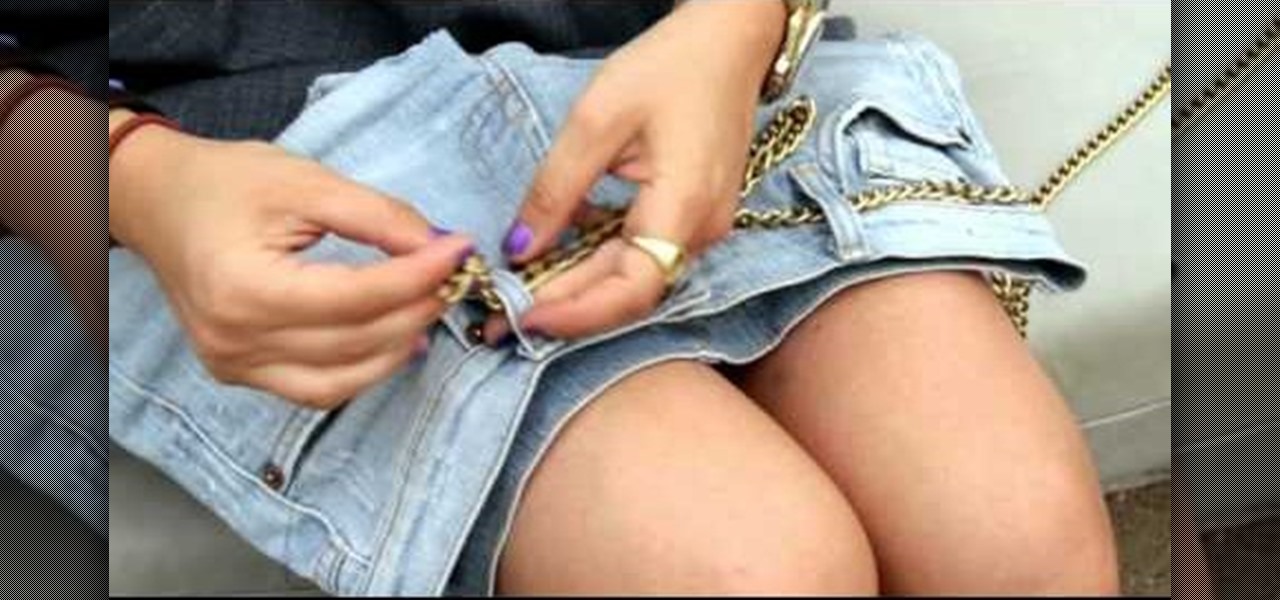
How To: Turn an old pair of denim shorts into a fun messenger bag
Repurpose a pair of denim shorts into a fun and cute messenger bag! You'll need a pair of denim shorts (or jeans), scissors, needle and thread, straight pins, pliers, chains, your favorite vintage brooches or buttons, and a length of Velcro.

How To: Dye your clothes red or pink with dye made from strawberries
Make your own environmentally friendly dye at home, out of strawberries! You'll also need some vinegar, salt and old nylon stockings. Mash up your strawberries, strain them in the nylon and then boil your strawberry puree with salt, vinegar and your fabric.
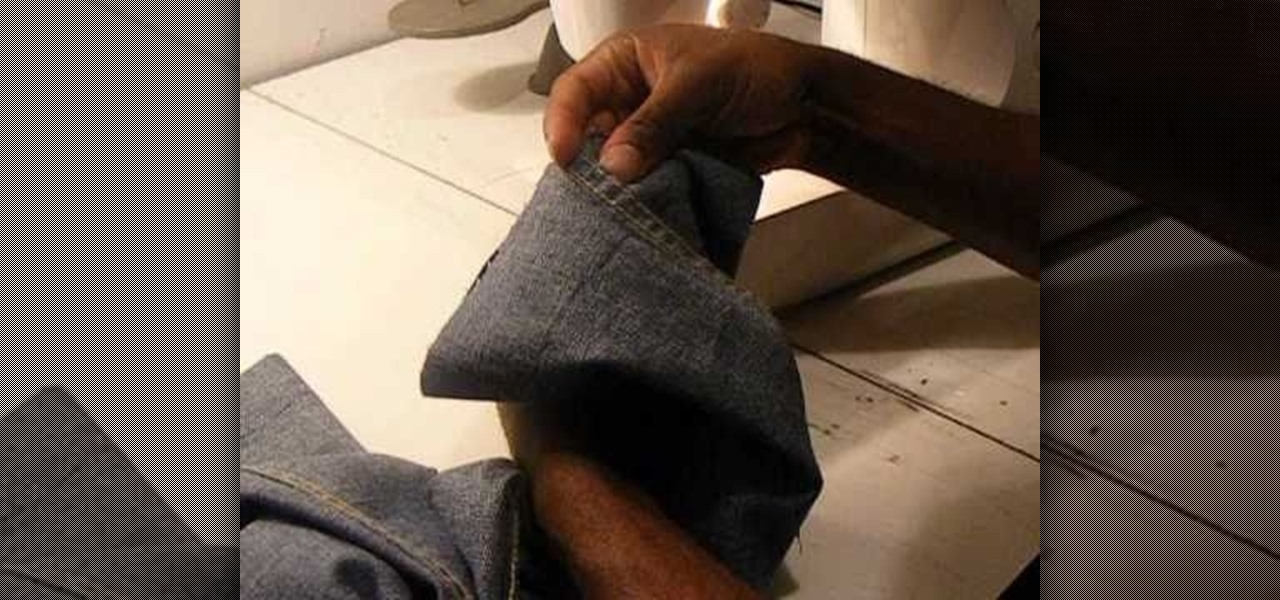
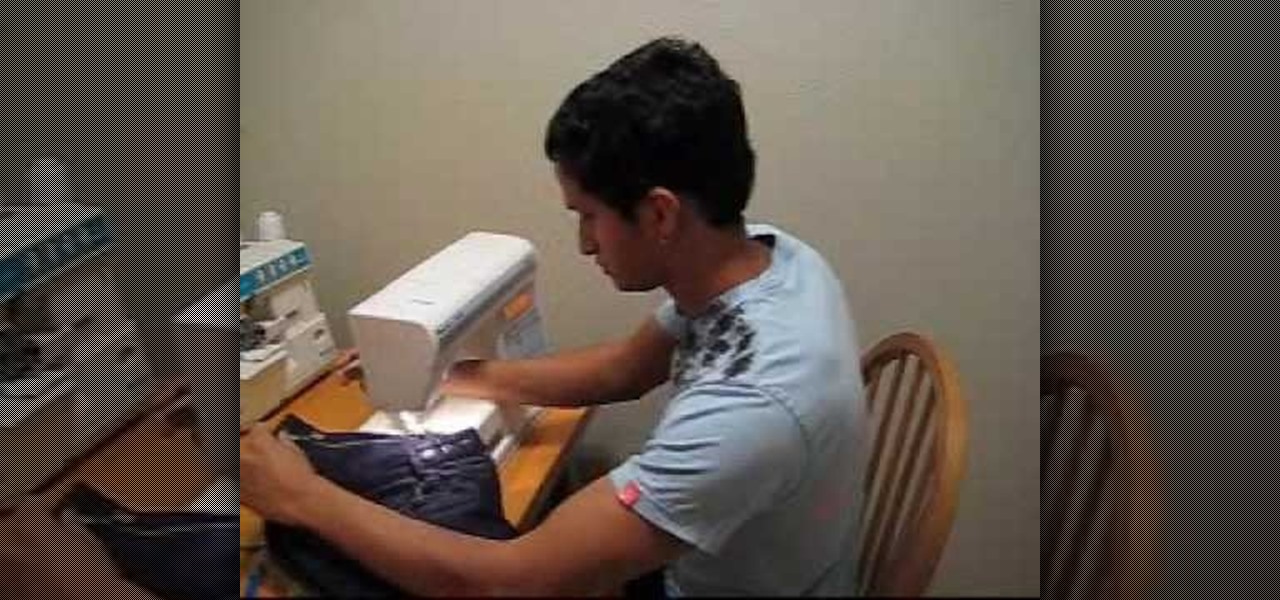
How To: Shorten jeans length by cutting, measuring and using a sewing machine
Are your jeans to long? How about your khakis? Corduroys? No matter what kind of pants you have, if they're too long, you can easily shorten the length with a few snips, a few marks and a basic sewing machine. The Brother LX-3125 compact sewing machine is used in this video, but any will do. See how to take a pair of jeans, cut and resew them like new again!
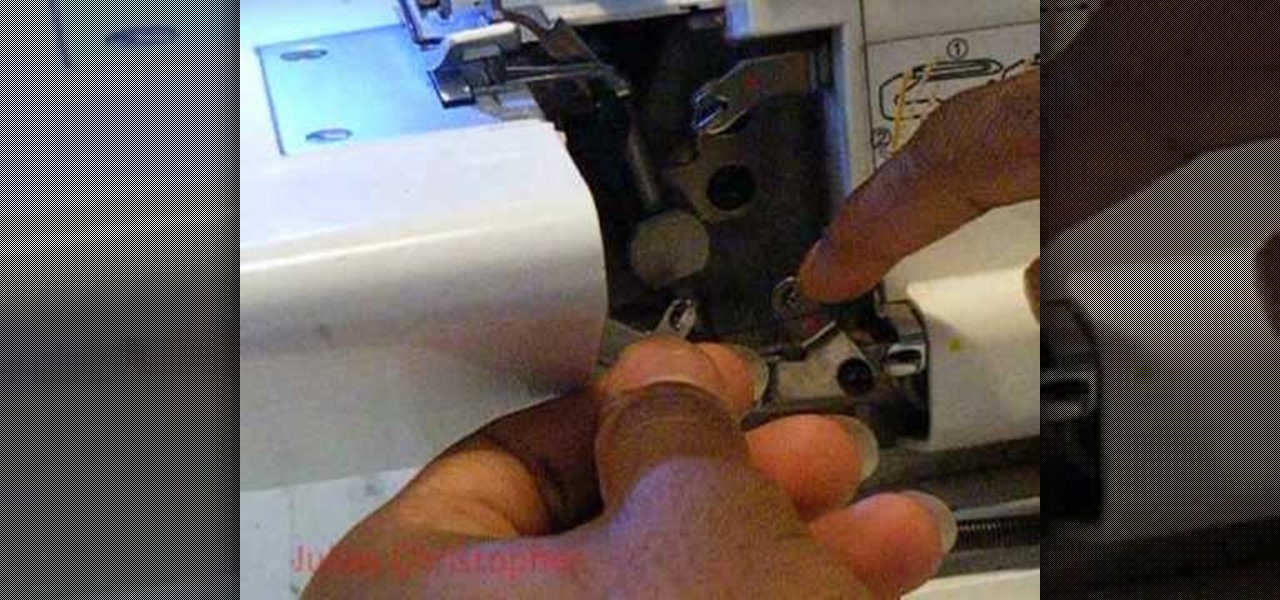
How To: Thread a Singer Finishing Touch serger sewing machine with differential feed
Sewing with a serger sewing machine can be quite difficult, if you're lucky enough to own one. Even threading the beastly sewing machine can be pretty tricky. But this two-part video tutorial should help you to properly thread one. This covers the threading of a Singer Differential-Feed Finishing Touch serger sewing machine (14SH654), which has 4/3 thread capability. Singer also has a PDF available with detailed threading instructions.
Next Page
Prev Page